Introduction
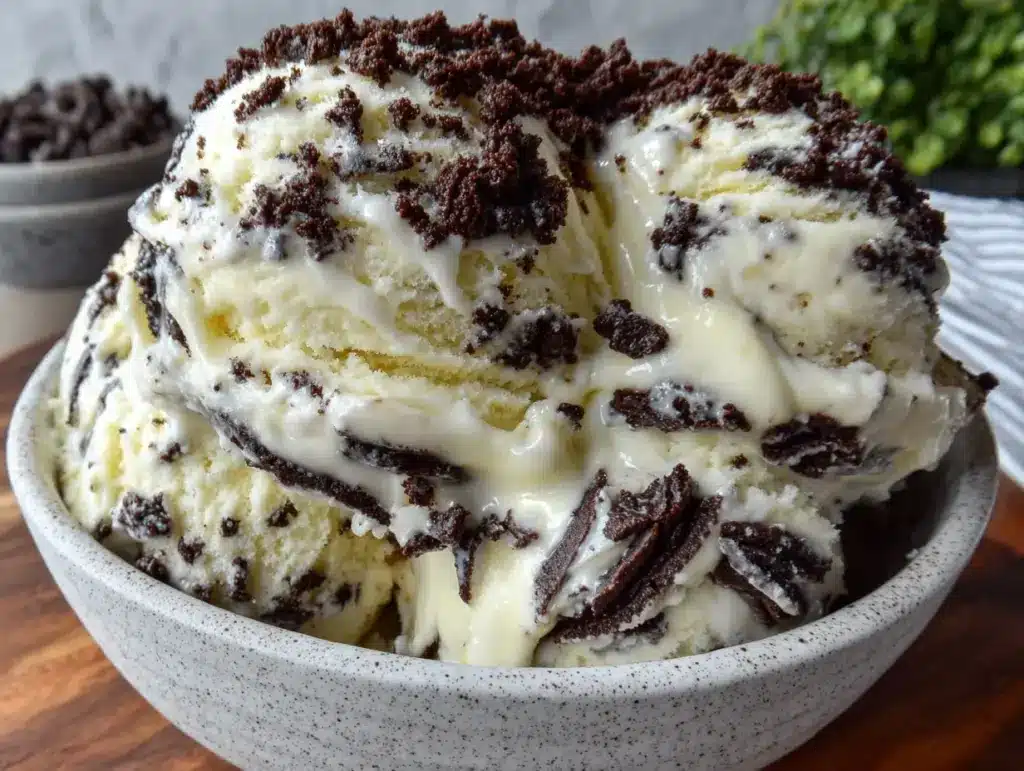
“You sure this is gonna work without an ice cream maker?” my friend squinted, eyeing the bowl of whipped cream and crushed cookies sitting on the counter. Honestly, I was skeptical too. I’d been craving that classic cookies and cream ice cream—smooth, creamy, with chunks of Oreos throughout—but didn’t want to wrestle with fancy gadgets or wait hours. So this no-churn cookies and cream ice cream recipe was born out of pure impatience and a pinch of curiosity. I remember scooping that first bite, expecting it to be just okay, but instead, it was a rich, velvety dream with the perfect cookie crunch. Nothing fancy, nothing complicated, just simple ingredients and a bit of patience in the freezer. Turns out, you can get that luscious homemade ice cream experience with zero mess and minimal effort. What really stuck with me is how this recipe feels like a little treat you can whip up whenever the craving hits—and honestly, it’s become my go-to dessert, especially on those evenings when I just want something sweet without the fuss. The kind of recipe that’s good enough to share but cozy enough to keep all to yourself.”
Why You’ll Love This Recipe
This creamy no-churn cookies and cream ice cream recipe quickly became a favorite in my kitchen, and here’s why you might fall for it too:
- Quick & Easy: Ready in under 10 minutes of prep, perfect for those spontaneous dessert urges or last-minute gatherings.
- Simple Ingredients: No need for fancy ice cream machines or hard-to-find stuff—just pantry staples like heavy cream, sweetened condensed milk, and Oreo cookies.
- Perfect for Any Occasion: Whether it’s a casual family night, a backyard BBQ, or a cozy summer afternoon, this ice cream fits right in.
- Crowd-Pleaser: Kids and adults alike can’t get enough—trust me, it disappears fast!
- Unbelievably Delicious: The creamy texture combined with crunchy cookie bits hits that nostalgic sweet spot every single time.
What sets this recipe apart? The magic lies in folding the crushed cookies gently into the softly whipped cream mixed with sweetened condensed milk. No churning means you keep that airy softness, and the cookies stay delightfully crunchy—not soggy or overworked. It feels like a classic ice cream parlor flavor, but homemade and way more satisfying. Plus, this recipe doesn’t demand any special skills or equipment, so it’s a stress-free way to impress without the sweat. Honestly, this has become my shortcut to happiness on busy nights—comfort food reimagined with a simple twist.
What Ingredients You Will Need
This recipe uses simple, wholesome ingredients to deliver bold flavor and a satisfying texture without the fuss. Most ingredients are pantry staples, and the star is definitely the humble Oreo cookie, which brings that unmistakable cookies and cream vibe. Here’s what you’ll gather:
- Heavy cream: 2 cups (480 ml), cold – This is the base that whips up fluffy and creamy. I prefer brands like Organic Valley for a richer taste.
- Sweetened condensed milk: 1 (14 oz) can (about 395 g) – Adds natural sweetness and creamy body without extra sugar granules.
- Vanilla extract: 1 tsp – Boosts flavor and rounds out the sweetness.
- Oreo cookies: 15-20 cookies, roughly crushed – Classic sandwich cookies work best. I like to crush them unevenly so you get both crumbs and chunks.
If you want to switch things up, you can replace Oreos with gluten-free sandwich cookies for a gluten-free version, or try chocolate wafer cookies for a slightly different crunch. For a dairy-free twist, use coconut cream in place of heavy cream and a plant-based condensed milk alternative, but keep in mind the texture might shift a bit. In summer, sometimes I swap in fresh berries alongside the cookies for a fruity surprise! The beauty here is in the simplicity—the ingredients come together without complicated substitutions.
Equipment Needed
This recipe keeps the kitchen gear minimal, which is one of its biggest perks. You’ll need:
- A large mixing bowl – preferably chilled for better whipping results.
- An electric hand mixer or stand mixer – whipping cream by hand is possible but takes some serious muscle.
- A rubber spatula – for folding the cookies gently without deflating the cream.
- A freezer-safe container – I typically use a 9×5-inch loaf pan or a plastic container with a lid.
- Optional: A zip-top freezer bag and rolling pin – handy for crushing the cookies evenly if you don’t want to do it by hand.
Personally, I’ve tried whipping with a balloon whisk, but it’s slow and uneven, so an electric mixer is definitely worth the investment if you make homemade ice cream often. For budget-conscious cooks, hand-crushing cookies in a sealed bag works just fine, no fancy cookie crushers needed. Just make sure the container you freeze in seals tightly to avoid ice crystals. A quick tip: chilling your mixing bowl and beaters before whipping the cream makes a world of difference in texture.
Preparation Method
- Chill your equipment: Pop your mixing bowl and beaters into the fridge for at least 15 minutes. Cold tools mean better whipped cream texture.
- Whip the heavy cream: Pour the 2 cups (480 ml) of cold heavy cream into the chilled bowl. Beat on medium-high speed using an electric mixer until stiff peaks form. This usually takes about 3-5 minutes. You’ll know it’s ready when the cream holds firm peaks without collapsing.
- Combine condensed milk and vanilla: In a separate bowl, gently stir together the 14 oz (395 g) can of sweetened condensed milk and 1 teaspoon of vanilla extract. This sweet mixture adds creaminess and flavor depth without extra sugar granules.
- Fold condensed milk into whipped cream: Slowly pour the condensed milk mixture into the whipped cream. Using a rubber spatula, fold gently but thoroughly until fully combined. Avoid overmixing—preserve that airiness!
- Prepare the cookies: Roughly crush 15 to 20 Oreo cookies—aim for a mix of fine crumbs and chunkier bits. If you want an extra crunch, leave some bigger pieces intact.
- Fold cookies into ice cream base: Gently fold the crushed cookies into the cream mixture, distributing evenly but without breaking down the crumbs too much.
- Transfer to container and freeze: Pour the mixture into a freezer-safe container (9×5-inch loaf pan or similar). Smooth the top with a spatula.
- Freeze for at least 6 hours: Cover the container tightly with a lid or plastic wrap. Freeze for a minimum of 6 hours or overnight. The ice cream will firm up beautifully without turning icy or hard.
- Serve and enjoy: When ready, let the ice cream sit at room temperature for 5-10 minutes before scooping. This softens it just enough for perfect scoops.
If you notice the whipped cream starts to deflate while folding in the condensed milk, stop mixing immediately and switch to gentle folding only. Trust me, it’s tempting to stir vigorously but patience keeps it smooth and fluffy. Also, if the ice cream feels too firm straight from the freezer, a few minutes on the counter before serving works wonders. This method has saved me many times from rock-hard scoops.
Cooking Tips & Techniques
Making no-churn ice cream is surprisingly simple, but a few tricks can really make your cookies and cream shine.
- Whip cream just right: Stiff peaks are key. If you stop too early, the ice cream will be runny; too far, and it turns buttery. Watch the texture closely and stop when peaks hold their shape but aren’t dry.
- Gentle folding: Always fold in ingredients like condensed milk and cookies with a spatula, not a whisk or mixer. It keeps the air trapped and the texture light.
- Cookie size matters: Too fine, and they disappear; too big, and they get soggy overnight. I aim for a mix—some crumbs for flavor, some chunks for texture.
- Freezing time: At least 6 hours is best. Less and you get a soft serve consistency; more and it firms up nicely without losing creaminess.
- Multitasking: While the ice cream freezes, it’s the perfect time to prep a dessert like the creamy peanut butter French silk pie with Oreo crust I recently tried—two desserts, one night!
My first time, I accidentally folded too vigorously and ended up with a dense mixture that lost its fluffiness. Lesson learned—fold like you’re tucking in a baby, slow and careful. Also, freezing in smaller portions can speed up the freezing time and make it easier to serve later. Trust me, no one wants that ice cream brick struggle.
Variations & Adaptations
This no-churn base is a perfect canvas for a bunch of tasty twists:
- Mint Cookies and Cream: Add 1/2 teaspoon peppermint extract to the condensed milk mixture and swap Oreos for mint-flavored sandwich cookies. It’s like a classic after-dinner treat without leaving your kitchen.
- Double Chocolate: Mix in mini chocolate chips or chunks of chocolate fudge along with the cookies for an extra chocolate punch.
- Fruit and Cookies Combo: Toss in chopped strawberries or raspberries for a fresh burst that pairs beautifully with the cookies.
- Dairy-Free Version: Use chilled coconut cream whipped to stiff peaks and a dairy-free condensed milk alternative. The texture is slightly different, but still a creamy delight.
- Crunch Upgrade: Add chopped toasted pecans or walnuts (like the ones in the Kentucky sawdust pie) for an unexpected nutty contrast.
I personally tried the mint version during the holidays and it was a big hit—felt like a grown-up twist without adding complexity. Feel free to experiment with mix-ins but remember to fold gently to keep that perfect creamy texture.
Serving & Storage Suggestions
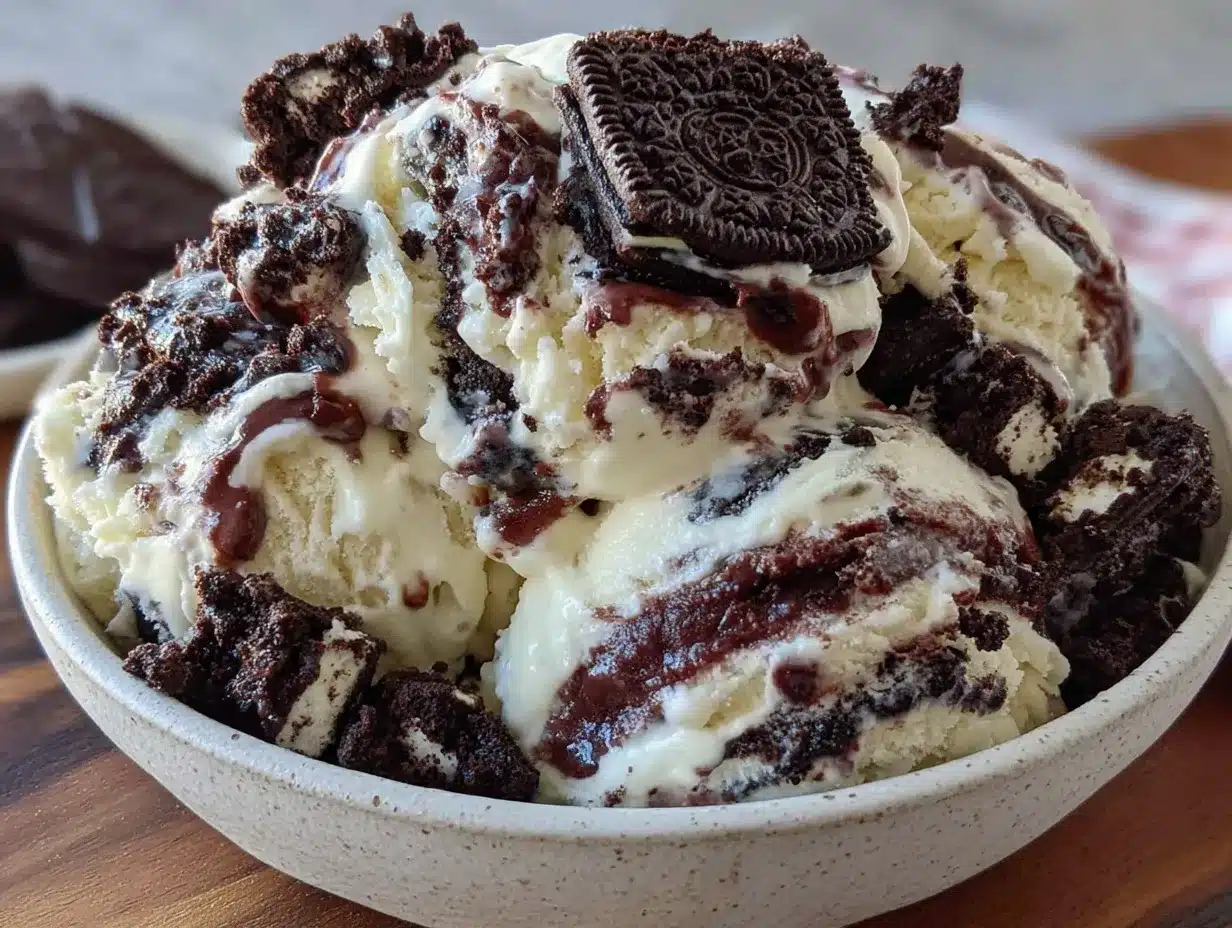
This creamy no-churn cookies and cream ice cream is best served straight from the freezer after sitting out for a few minutes to soften. Scoop into bowls or waffle cones, and if you want to get fancy, drizzle with chocolate syrup or sprinkle a few extra cookie crumbs on top.
It pairs wonderfully with warm desserts like a brownie or a slice of brown butter strawberry peach pie, balancing warm and cold in every bite. For drinks, a cold coffee or a simple milkshake is a delightful match.
Store leftovers in an airtight container in the freezer for up to 2 weeks. To keep it scoop-friendly, press a piece of parchment paper directly on the surface before sealing. When reheating, leave it out at room temperature for 5-10 minutes rather than microwaving—it keeps the texture intact.
Over time, the flavors deepen and the cookies soften just slightly, creating a luscious blend that’s even better the next day. Honestly, sometimes I prefer it after a day or two—the flavors just settle and get richer.
Nutritional Information & Benefits
Per serving (about 1/2 cup or 120 ml): approximately 250 calories, 15g fat, 27g carbohydrates, and 3g protein.
The main ingredients like heavy cream and sweetened condensed milk make this a rich treat, so it’s best enjoyed in moderation. The use of real cream provides a satisfying dose of calcium and fat-soluble vitamins.
If you’re mindful of allergens, note this recipe contains dairy and gluten (from the cookies). However, substitutions for gluten-free cookies or dairy-free cream can make it accessible for many diets.
From a wellness perspective, this recipe is a reminder that homemade treats can be both simple and indulgent without additives or preservatives, letting you control quality and freshness.
Conclusion
This creamy no-churn cookies and cream ice cream recipe is a keeper—simple, quick, and downright delicious. It’s proof that you don’t need fancy equipment or hours of work to make a homemade dessert that hits all the right notes. What I love most is how flexible it is—you can tweak the mix-ins, adjust sweetness, or swap out ingredients to match your mood or pantry.
Give it a try when you want that classic cookies and cream flavor without the hassle of churning. And if you experiment, I’d love to hear about your favorite variations! There’s something so satisfying about sharing homemade ice cream with friends and family, and this recipe makes that easy.
Whether it’s a sunny afternoon treat or a cozy night dessert, this ice cream brings a simple joy that never gets old. Keep scooping and savoring—you won’t regret it.
FAQs
- Can I use a different cookie besides Oreos? Absolutely! Chocolate wafer cookies, gluten-free sandwich cookies, or even crushed chocolate chip cookies work well.
- Do I have to chill the mixing bowl before whipping cream? It’s not mandatory but highly recommended to get better volume and stiffer peaks.
- How long can I store this no-churn ice cream in the freezer? Up to 2 weeks in an airtight container, but best enjoyed within the first week for optimal texture.
- Can I add mix-ins other than cookies? Yes! Chocolate chips, nuts, or fruit all make great additions—just fold gently to keep the cream fluffy.
- What if I don’t have sweetened condensed milk? You can make your own by simmering milk and sugar until thickened, but store-bought is easiest and most reliable for texture.
Pin This Recipe!
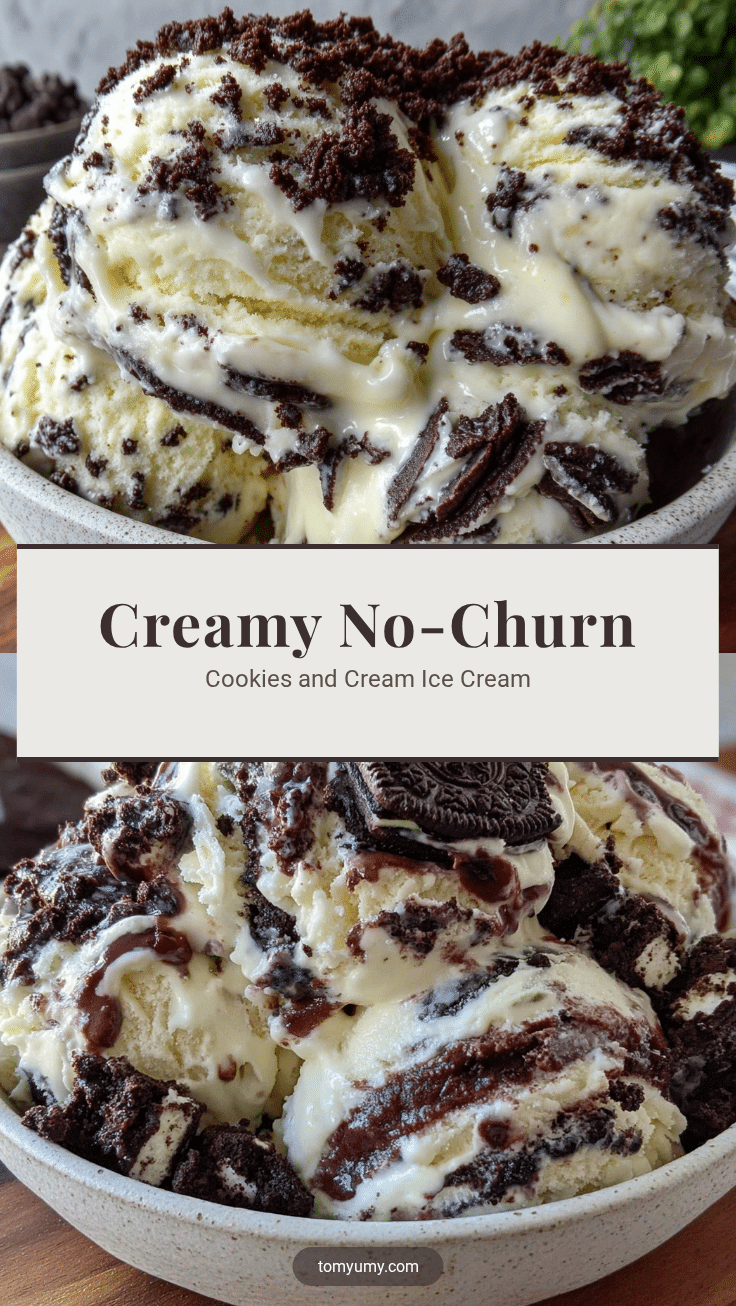
Creamy No-Churn Cookies and Cream Ice Cream

A quick and easy homemade no-churn cookies and cream ice cream recipe that delivers rich, velvety texture with crunchy cookie bits, perfect for any occasion without the need for an ice cream maker.
- Prep Time: 10 minutes
- Cook Time: 0 minutes
- Total Time: 6 hours 10 minutes
- Yield: 8 servings 1x
- Category: Dessert
- Cuisine: American
Ingredients
- 2 cups (480 ml) cold heavy cream
- 1 (14 oz) can (about 395 g) sweetened condensed milk
- 1 teaspoon vanilla extract
- 15–20 Oreo cookies, roughly crushed
Instructions
- Chill your mixing bowl and beaters in the fridge for at least 15 minutes.
- Pour the cold heavy cream into the chilled bowl and beat on medium-high speed with an electric mixer until stiff peaks form, about 3-5 minutes.
- In a separate bowl, gently stir together the sweetened condensed milk and vanilla extract.
- Slowly fold the condensed milk mixture into the whipped cream using a rubber spatula, being careful not to overmix.
- Roughly crush the Oreo cookies, leaving a mix of crumbs and chunks.
- Gently fold the crushed cookies into the cream mixture.
- Pour the mixture into a freezer-safe container and smooth the top.
- Cover tightly and freeze for at least 6 hours or overnight until firm.
- Before serving, let the ice cream sit at room temperature for 5-10 minutes to soften for easier scooping.
Notes
Chilling the mixing bowl and beaters improves whipped cream texture. Fold ingredients gently to maintain airiness. Freeze for at least 6 hours for best texture. Let ice cream soften at room temperature before scooping to avoid rock-hard scoops. Variations include mint extract, chocolate chips, fruit, or nuts. For dairy-free or gluten-free versions, substitute ingredients accordingly.
Nutrition
- Serving Size: About 1/2 cup (120 m
- Calories: 250
- Fat: 15
- Carbohydrates: 27
- Protein: 3
Keywords: no-churn ice cream, cookies and cream, homemade ice cream, easy dessert, Oreo ice cream, no ice cream maker


