That bright, tart pop of a ripe strawberry against the soft, yielding sweetness of a blueberry — the kind that stains your fingers and makes you smile before you even take a bite — still takes me straight to my grandmother’s kitchen on a humid July afternoon. It was the kind of day where the ice cream in the freezer was barely frozen, and the only thing keeping us sane was the promise of something cold, colorful, and ridiculously easy to make. I remember watching her layer things in a giant glass bowl, not measuring a thing, just trusting her hands and the rhythm of the season. She’d laugh at my obsession with perfect symmetry, telling me that a trifle isn’t about looking like a magazine cover; it’s about looking like a party happened in a bowl.
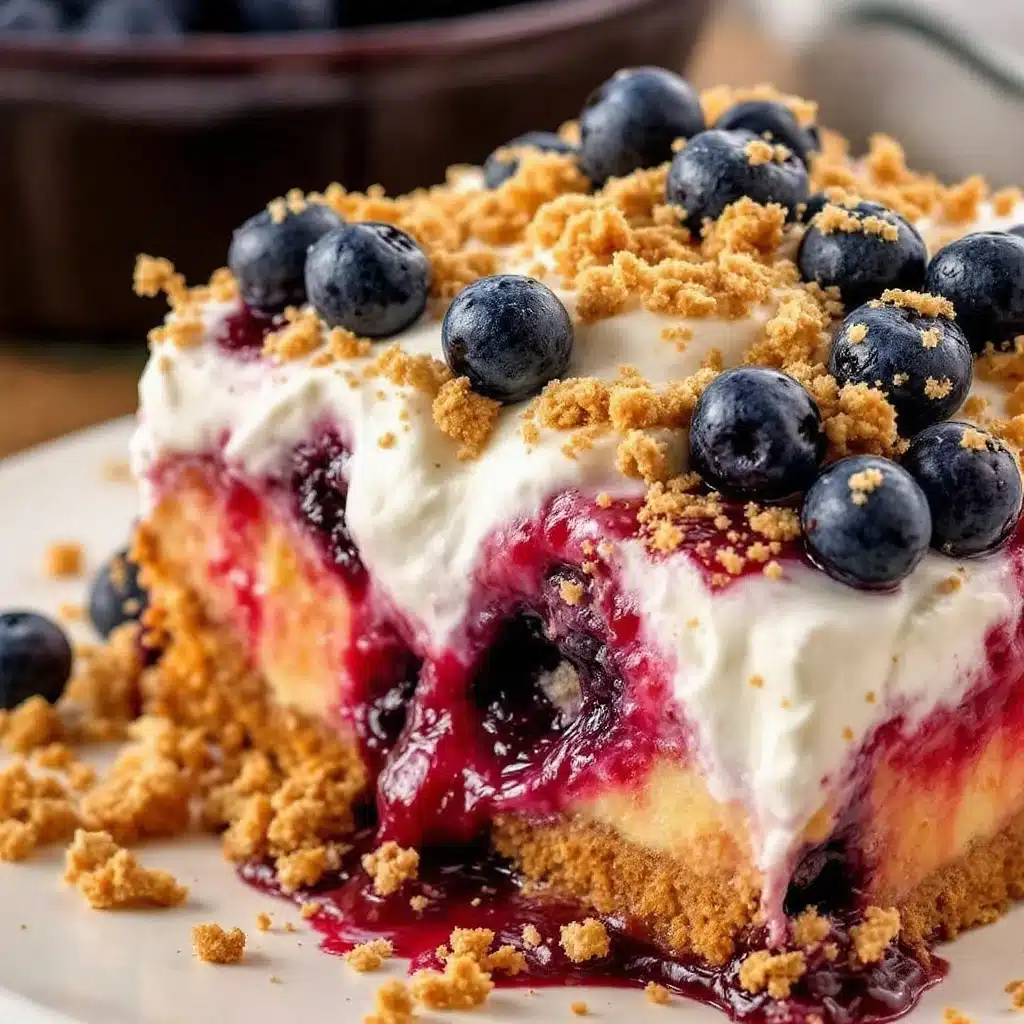
That memory has stuck with me more than any precise recipe card ever could. When Labor Day rolls around, bringing with it that heavy, golden feeling of summer winding down, I don’t want complicated baking projects. I want something that honors the end of the season without demanding my entire weekend. This Perfect Red White & Blueberry Trifle for Labor Day is exactly that. It’s a nod to those lazy afternoons, a celebration of the last of the fresh berries, and a dessert that looks impressive enough for a holiday dinner but comes together while you’re grilling burgers or chatting with friends.
There’s something deeply comforting about the colors themselves. Red, white, and blue isn’t just patriotic flair; it’s the natural palette of summer fruit and creamy custard. I’ve made this for potlucks, for last-minute guests, and just for myself on quiet evenings. Every time, it feels less like cooking and more like assembling a memory. You know how it is — you want to feel connected to the past, even if it’s just through a bowl of whipped cream and berries. This recipe is my way of keeping that connection alive, one layer at a time.
Why You’ll Love This Recipe
Let’s face it, Labor Day desserts often fall into two categories: overly complicated pies that require a crust you can’t get right, or sad, store-bought cakes that lack soul. This trifle sits comfortably in the “perfect” zone. It’s not just good; it is the kind that makes you close your eyes after the first bite. It’s comfort food reimagined—healthier, faster, but with the same soul-soothing satisfaction. I’ve tested this version dozens of times, tweaking the ratio of berries to cream until it hit that sweet spot where every spoonful feels balanced and indulgent.
- Quick & Easy: Comes together in under 30 minutes, perfect for busy weeknights or last-minute cravings when you realize you forgot dessert.
- Simple Ingredients: No fancy grocery trips needed; you likely already have everything in your kitchen, from heavy cream to vanilla.
- Perfect for Labor Day: Great for potlucks, family reunions, and cozy dinners where you want a festive touch without the stress.
- Crowd-Pleaser: Always gets rave reviews from kids and adults alike. The colorful layers are a hit, and the flavor is universally loved.
- Unbelievably Delicious: The texture and flavor combo is next-level comfort food. The contrast between the crisp berries and the airy cream is just right.
What makes this recipe different from the rest is the balance. Too many trifle recipes drown the fruit in heavy, cloying cream. Here, we keep it light. I use a technique of macerating the berries slightly to release their juices, which then mingle with the cream to create a natural, fruity syrup. It’s not just another version—it’s your best version. This isn’t just about feeding people; it’s about creating a moment. It’s perfect for impressing guests without stress, or turning a simple meal into something memorable.
What Ingredients You Will Need
This recipe uses simple, wholesome ingredients to deliver bold flavor and satisfying texture without the fuss. The beauty of a trifle lies in its simplicity. You don’t need exotic spices or hard-to-find items. The flavor profile relies on the quality of the berries and the richness of the cream. If you have leftover pound cake or even some store-bought sponge cake, this works beautifully. I personally prefer a vanilla pound cake for its sturdy structure, which holds up well against the juicy berries without turning into mush too quickly.
Here is what you’ll need to assemble your masterpiece:
- Vanilla Pound Cake: 1 loaf, sliced into 1-inch cubes. (I recommend Wegmans or a local bakery for the best crumb structure. If you’re short on time, a high-quality store-bought version works fine, just avoid the ones that are too dense.)
- Strawberries: 2 cups, hulled and sliced. Look for berries that are firm but fully red. Avoid any that are white at the tips; they’ll be sour.
- Blueberries: 2 cups, fresh. If they’re large, give them a quick rinse and pat dry. You want them plump and juicy.
- Raspberries: 1 cup, fresh. These add a nice tartness that cuts through the sweetness. Handle them gently so they don’t break.
- Heavy Cream: 2 cups, cold. This is crucial for whipping. Make sure your bowl and whisk are chilled for best results.
- Confectioners’ Sugar: 1/4 cup, sifted. This dissolves easily into the cream, preventing any gritty texture.
- Vanilla Extract: 1 tablespoon, pure. Avoid imitation vanilla; the flavor difference is noticeable in a dish with so few ingredients.
- Instant Pudding Mix: 1 package (3.4 oz) vanilla instant pudding. (I prefer Jell-O brand for its smooth texture. This is the secret to a stable, creamy layer that doesn’t weep.)
- Milk: 2 cups, cold whole milk. Used to prepare the pudding mix.
- White Chocolate Shavings: 1/2 cup, for garnish. Adds a touch of elegance and extra sweetness.
If you need substitutions, you can use almond milk for a dairy-free option in the pudding, though the cream will still need to be dairy. For a gluten-free version, simply swap the pound cake for a gluten-free sponge or even ladyfingers. The berries are naturally gluten-free, so you’re mostly just adjusting the base.
Equipment Needed
You don’t need a lot of fancy tools to make this trifle, but having the right equipment makes the process smoother. A large glass trifle bowl is traditional and looks stunning, allowing everyone to see the beautiful layers. If you don’t have one, a large glass punch bowl or even a deep, clear casserole dish works just as well. I often use a 9×13 glass baking dish if I’m feeding a crowd, as it’s easier to slice and serve.
You’ll also need a large mixing bowl for whipping the cream. A stand mixer with a whisk attachment is helpful, but a hand mixer works perfectly fine. If you’re doing it by hand, be prepared for a little arm workout! A sieve or sifter is important for the confectioners’ sugar to ensure your cream is silky smooth. Finally, have a few serving spoons ready. A large slotted spoon is great for scooping out the fruit-heavy portions, while a regular serving spoon works for the creamy layers.
Preparation Method
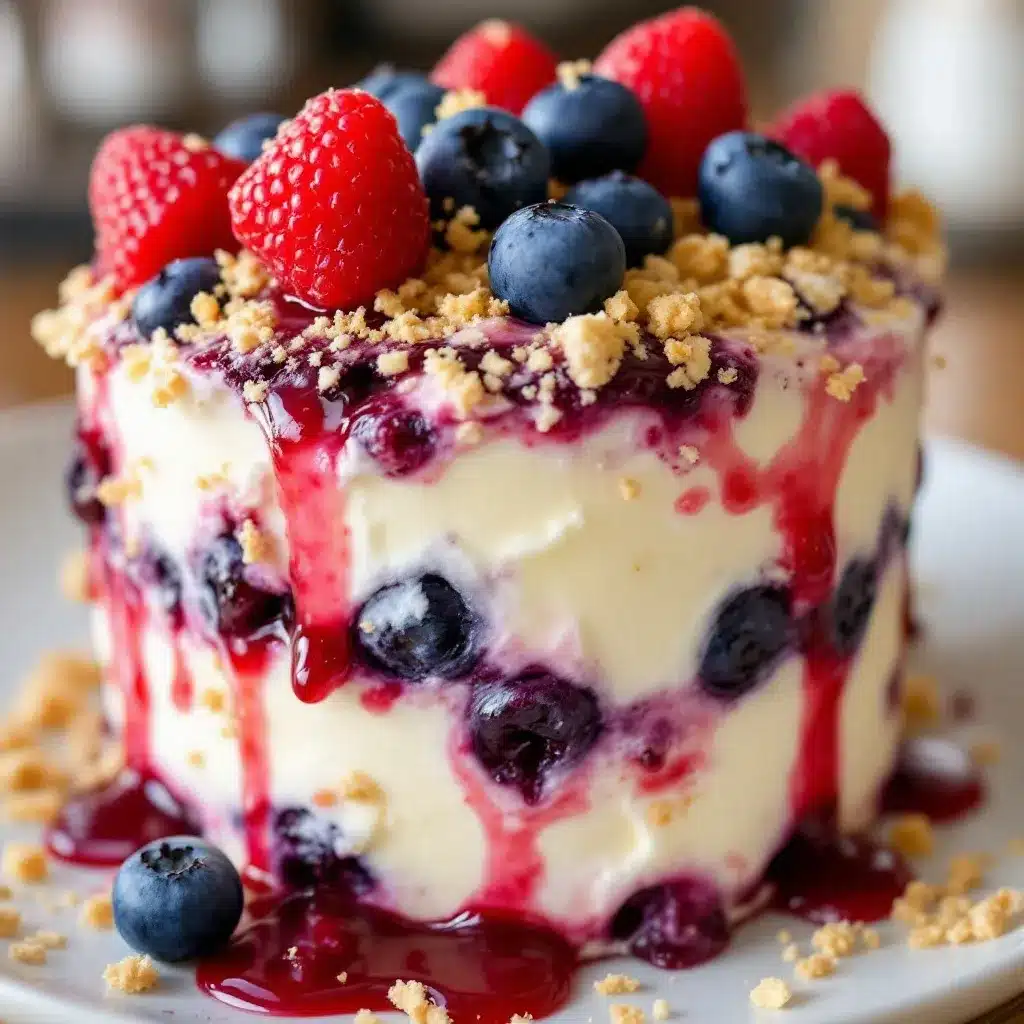
Getting this trifle together is straightforward, but taking your time with each step ensures the best results. Here is how to build your perfect dessert.
- Prepare the Cake Base: Start by slicing your pound cake into 1-inch cubes. If the cake is very fresh, you might want to toast the cubes lightly in the oven at 350°F (175°C) for 5-7 minutes. This dries them out slightly so they absorb the juices without getting soggy. Let them cool completely before using. (Time: 10 minutes)
- Make the Pudding Layer: In a medium bowl, whisk together the instant vanilla pudding mix and the cold milk. Whisk vigorously for about 2 minutes until thickened. Cover and refrigerate for at least 10 minutes to set. This step is crucial for getting that thick, mousse-like texture. (Time: 15 minutes)
- Whip the Cream: In a large chilled bowl, pour the cold heavy cream. Add the sifted confectioners’ sugar and the vanilla extract. Whip on medium-high speed until stiff peaks form. Be careful not to over-whip, or the cream will turn grainy. Set aside. (Time: 5 minutes)
- Layer 1 – Cake: Arrange a single layer of pound cake cubes at the bottom of your trifle bowl. Try to cover the entire bottom, but don’t worry if there are small gaps. (Time: 2 minutes)
- Layer 2 – Pudding: Spoon half of the prepared pudding mixture over the cake layer. Use the back of a spoon to spread it evenly, letting it seep into the gaps between the cake cubes. (Time: 2 minutes)
- Layer 3 – Berries: Scatter half of the strawberries, blueberries, and raspberries over the pudding. Distribute them evenly for a colorful effect. (Time: 2 minutes)
- Layer 4 – Cream: Spoon half of the whipped cream over the berries. Gently spread it out, covering the fruit completely. (Time: 2 minutes)
- Layer 5 – Cake: Add the remaining pound cake cubes on top of the cream. (Time: 2 minutes)
- Layer 6 – Pudding: Spread the remaining pudding mixture over the second cake layer. (Time: 2 minutes)
- Layer 7 – Berries: Top with the remaining fresh berries. Arrange them artfully; this is your decorative layer. (Time: 3 minutes)
- Layer 8 – Cream: Pipe or spoon the remaining whipped cream over the top. Create peaks and swirls for a professional look. (Time: 3 minutes)
- Garnish: Sprinkle white chocolate shavings over the top and add a few extra whole berries for color. (Time: 1 minute)
- Chill: Refrigerate for at least 2 hours before serving to allow the flavors to meld and the cake to soften. (Time: 2+ hours)
Cooking Tips & Techniques
There are a few tricks I’ve learned over the years that make this trifle stand out. First, always chill your bowl and whisk before whipping cream. Warm cream will never reach stiff peaks, and you’ll end up with whipped butter instead of light, airy cream. If you’re in a rush, you can put your mixing bowl in the freezer for 10 minutes beforehand.
Another common mistake is using too much pudding. The pudding should be a creamy layer, not the main event. If you use too much, the trifle becomes heavy and cloying. The balance is key. Also, when layering the berries, try to distribute them evenly. You don’t want one bite to be all cake and another to be all fruit. Consistency is what makes a trifle satisfying.
I’ve also learned that toasting the cake cubes makes a huge difference. Fresh pound cake can be moist and dense, which might make the trifle soggy if it sits too long. Toasting adds a subtle crunch and helps the cake hold its structure. It’s a small step that pays off in texture. Finally, don’t skip the chilling time. This dessert tastes better the next day, as the flavors have time to meld together. It’s worth the wait.
Variations & Adaptations
While this classic red, white, and blue version is perfect for Labor Day, there are plenty of ways to adapt it. For a summer twist, swap the berries for sliced peaches and nectarines in late July. The stone fruit pairs beautifully with vanilla and cream. If you want a chocolate lover’s version, replace the pound cake with chocolate sponge cake and use chocolate pudding mix. The white chocolate shavings still work well here.
For a lighter option, you can substitute half of the heavy cream with Greek yogurt. This adds a tangy note that complements the berries nicely. If you’re hosting guests with dietary restrictions, use a gluten-free pound cake and ensure your pudding mix is certified gluten-free. You can also make a vegan version by using coconut cream instead of heavy cream and a dairy-free pudding mix.
I once tried adding a layer of lemon curd between the cake and pudding, and it was a hit. The citrus brightness cuts through the richness of the cream. If you’re feeling adventurous, try adding a splash of Grand Marnier to the whipped cream for an adult twist. These variations keep the recipe fresh and exciting, allowing you to enjoy it throughout the year.
Serving & Storage Suggestions
This trifle is best served chilled, straight from the refrigerator. It pairs wonderfully with a light white wine or a glass of sparkling water with lemon. For a more festive presentation, serve it in individual glass cups or jars. This allows you to see the layers clearly and makes it easier for guests to serve themselves. Garnish each serving with a fresh mint leaf or a single raspberry for a pop of color.
If you have leftovers, store the trifle in the refrigerator, covered tightly with plastic wrap. It will keep for up to 3 days. Note that the cake will continue to soften over time, so it might become quite moist by the second day. This is often preferred by many, but if you like some texture, try to serve it within the first 24 hours. You can also freeze the cake cubes separately and the cream separately, then assemble just before serving. However, the fresh berries are best used fresh, so freezing the assembled trifle isn’t recommended.
Nutritional Information & Benefits
While this is definitely a dessert to enjoy in moderation, it does have some nutritional benefits. The fresh berries are packed with antioxidants, vitamins, and fiber. Strawberries are high in vitamin C, while blueberries are known for their brain-boosting properties. The whipped cream provides calcium and fat, which helps with satiety. If you use a whole grain pound cake, you’ll get some additional fiber. Overall, it’s a balanced treat that feels indulgent but isn’t overly heavy. Just be mindful of portion sizes, as the combination of sugar and fat can add up quickly.
Conclusion
This Perfect Red White & Blueberry Trifle for Labor Day is more than just a dessert; it’s a celebration of summer’s end and the joy of gathering with loved ones. It’s easy to make, visually stunning, and absolutely delicious. I hope you try it and find it becomes a staple in your holiday repertoire. Feel free to customize it with your favorite fruits or flavors. I’d love to hear how you make it your own, so please leave a comment below or share your photos on social media. Thank you for cooking with me, and here’s to many more delicious memories around the table.
FAQs
Can I make this trifle ahead of time?
Yes, this trifle is actually better the next day. You can assemble it up to 24 hours in advance. Just cover it tightly and refrigerate. The flavors will meld, and the cake will soften nicely.
What kind of cake works best?
Vanilla pound cake is the classic choice because it’s sturdy and holds up well. However, you can also use sponge cake, angel food cake, or even ladyfingers for a different texture.
Can I use frozen berries?
Fresh berries are best for their texture and flavor. If you must use frozen berries, thaw them completely and drain off excess liquid to prevent the trifle from becoming watery.
How do I keep the whipped cream from deflating?
Make sure your cream and bowl are very cold, and don’t over-whip. Adding the confectioners’ sugar helps stabilize the cream. Also, fold the whipped cream gently into the pudding if you’re mixing them, rather than stirring vigorously.
Can I add alcohol to the trifle?
Absolutely. You can brush the cake cubes with a little liqueur like Amaretto or Grand Marnier, or add a splash of vodka or rum to the whipped cream for an adult twist.
Pin This Recipe!
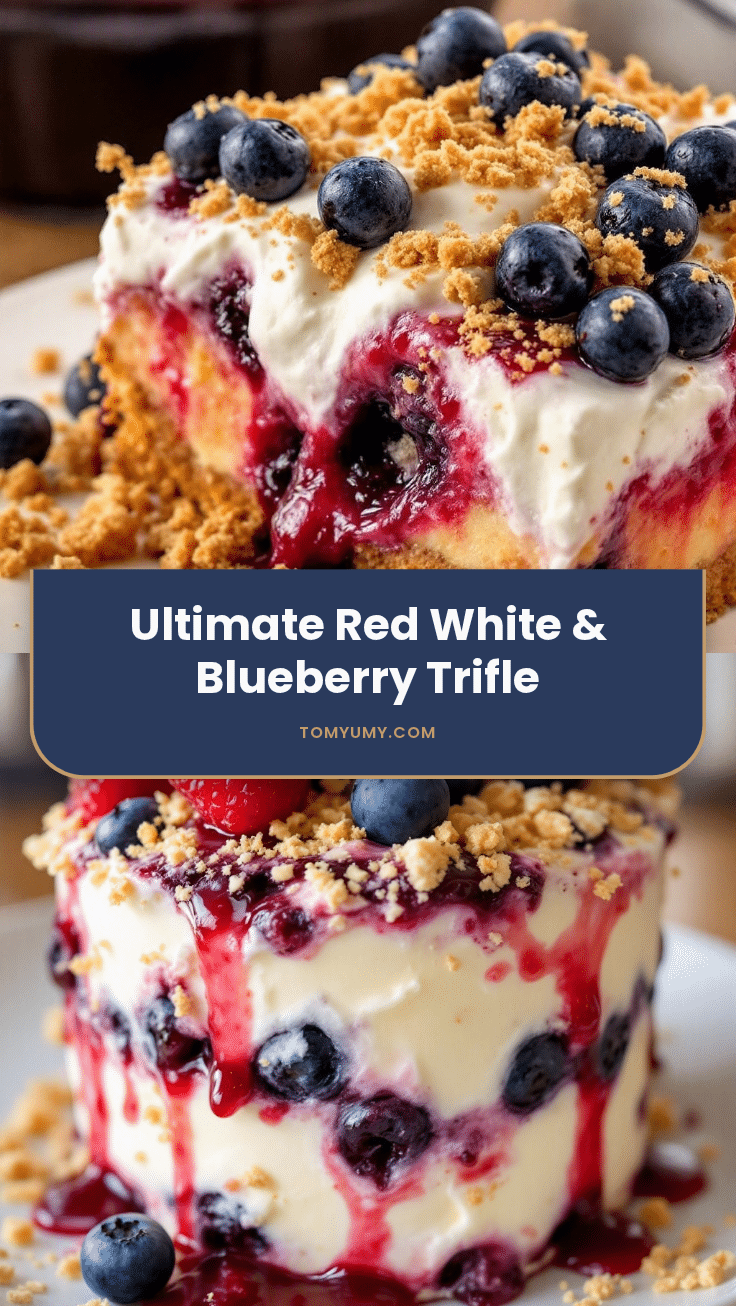
Perfect Red White & Blueberry Trifle: Easy Labor Day Dessert

A festive, no-bake dessert featuring layers of vanilla pound cake, vanilla pudding, whipped cream, and fresh red, white, and blue berries. It is quick to assemble, visually stunning, and perfect for Labor Day celebrations.
- Prep Time: 30 minutes
- Cook Time: 0 minutes
- Total Time: 2 hours 30 minutes
- Yield: 8 servings 1x
- Category: Dessert
- Cuisine: American
Ingredients
- 1 loaf vanilla pound cake, sliced into 1-inch cubes
- 2 cups strawberries, hulled and sliced
- 2 cups fresh blueberries
- 1 cup fresh raspberries
- 2 cups cold heavy cream
- 1/4 cup confectioners’ sugar, sifted
- 1 tablespoon pure vanilla extract
- 1 package (3.4 oz) vanilla instant pudding mix
- 2 cups cold whole milk
- 1/2 cup white chocolate shavings, for garnish
Instructions
- Slice pound cake into 1-inch cubes. Optionally toast cubes at 350°F (175°C) for 5-7 minutes to dry them out, then let cool completely.
- In a medium bowl, whisk instant vanilla pudding mix and cold milk vigorously for 2 minutes until thickened. Cover and refrigerate for at least 10 minutes to set.
- In a large chilled bowl, pour cold heavy cream. Add sifted confectioners’ sugar and vanilla extract. Whip on medium-high speed until stiff peaks form. Set aside.
- Arrange a single layer of pound cake cubes at the bottom of a large glass trifle bowl.
- Spoon half of the prepared pudding mixture over the cake layer, spreading it evenly to seep into gaps.
- Scatter half of the strawberries, blueberries, and raspberries over the pudding layer.
- Spoon half of the whipped cream over the berries, gently spreading to cover the fruit.
- Add the remaining pound cake cubes on top of the cream.
- Spread the remaining pudding mixture over the second cake layer.
- Top with the remaining fresh berries, arranging them artfully.
- Pipe or spoon the remaining whipped cream over the top, creating peaks and swirls.
- Sprinkle white chocolate shavings over the top and add extra whole berries for garnish.
- Refrigerate for at least 2 hours before serving to allow flavors to meld and cake to soften.
Notes
Chill your bowl and whisk before whipping cream for best results. Toasting the cake cubes helps prevent sogginess. The trifle tastes better the next day as flavors meld. For a gluten-free version, use gluten-free pound cake and pudding mix. For a dairy-free option, use almond milk in the pudding and coconut cream for whipping, though the pudding mix may need adjustment.
Nutrition
- Serving Size: 1 bowl
- Calories: 450
- Sugar: 32
- Sodium: 250
- Fat: 28
- Saturated Fat: 16
- Carbohydrates: 45
- Fiber: 3
- Protein: 6
Keywords: Labor Day dessert, trifle recipe, red white and blue dessert, berry trifle, easy no-bake dessert, summer dessert, pound cake trifle