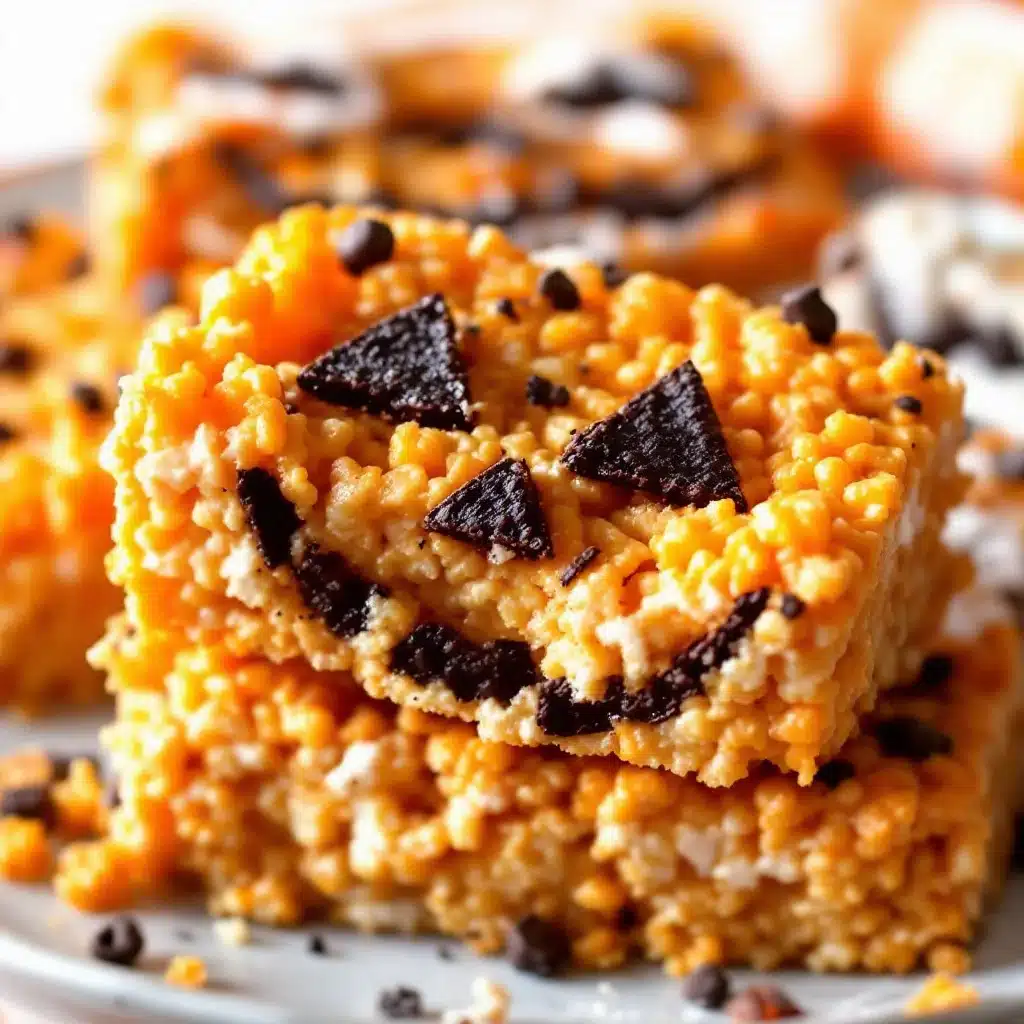
It wasn’t even supposed to be about the color. I was just trying to make a decent Halloween treat for my niece, who has been obsessed with spooky snacks since she was old enough to hold a spoon. But every time I tried to dye the Rice Krispie mixture, it either turned a muddy brown or, worse, I set the pan on fire because I was looking at my phone instead of the stove.
Let’s face it, making orange food from scratch is surprisingly difficult. You end up with something that looks like pumpkin puree instead of a cheerful jack-o-lantern. I spent two hours stirring in red food coloring until my wrist hurt, only to realize the marshmallows themselves were too yellow to begin with. That was the moment I stopped trying to force it and started thinking about how to make it work without a trip to the emergency room.
These Halloween Jack-O-Lantern Rice Krispie Treats aren’t just about looking cute for the photo op. They are about getting the texture right—crispy on the outside, chewy in the middle—while keeping the kitchen from looking like a crime scene. I’ve tested this method enough times to know that patience pays off when you’re dealing with melted sugar and nervous kids.
Once I figured out the ratio of butter to marshmallows, the rest was just simple fun. You know how it is with these old classics; you think you know how to make them, but there’s always a little trick that changes everything. This version stays together in cubes, which makes them perfect for lunchboxes or handing out at the door without making a sticky mess on your fingers.
I still keep the burnt pan in the back of my mind as a warning, but the treats I serve now? They’re bright, they’re festive, and they actually taste like the Halloween party they were meant for. That’s the real goal here, not just a pretty picture for social media.
Why You’ll Love This Recipe
There is a specific kind of magic that happens when you combine nostalgia with a little bit of seasonal flair. These Halloween Jack-O-Lantern Rice Krispie Treats hit that sweet spot perfectly. I’ve made hundreds of batches over the years, from simple squares to elaborate shapes, and this one remains my go-to for a reason. It’s not just because they look adorable; it’s because they deliver that exact comfort food texture we all crave in the fall.
- Quick & Easy: You can have these ready in under 20 minutes. This is perfect for last-minute trick-or-treaters or a quick after-school snack when the energy levels are dropping.
- Simple Ingredients: You likely already have everything in your pantry. Marshmallows, butter, cereal, and food coloring are staples that don’t require a special grocery run.
- Perfect for Halloween Parties: Whether it’s a school party or a haunted house event, these orange cubes are a crowd favorite. They are easy to grab and eat while walking around.
- Crowd-Pleaser: Kids love the spooky faces, and adults love the nostalgic taste. It’s a win-win situation that rarely ends with complaints.
- Unbelievably Delicious: The combination of salty butter and sweet marshmallow is timeless. Adding the orange tint doesn’t change the flavor, just the vibe.
What makes this recipe different from the rest is the focus on structural integrity. Many recipes for shaped treats fail because the mixture is too wet or too dry. I’ve tested the butter ratios extensively to ensure that when you cut them into squares, they hold their shape without crumbling. It’s that perfect balance of chewy and crisp that makes you close your eyes after the first bite.
It’s comfort food reimagined for the season. It’s healthier in the sense that it’s just a few ingredients, but it has that soul-soothing satisfaction of a warm dessert. Perfect for impressing guests without stress, or turning a simple Tuesday night into something memorable.
What Ingredients You Will Need
This recipe uses simple, wholesome ingredients to deliver bold flavor and satisfying texture without the fuss. The beauty of Rice Krispie treats is that they rely on technique rather than complex chemistry. You don’t need fancy flours or rare spices. You just need to get the melting process right. I recommend using high-quality marshmallows, as cheaper brands can sometimes have a waxy texture that doesn’t melt as smoothly.
Here is what you will need to get started:
- Unsalted Butter: One cup (2 sticks). I prefer unsalted so you can control the saltiness, but salted works if you adjust the added salt. Use real butter, not margarine, for the best flavor and melt.
- Mini Marshmallows: One 10-ounce bag. Mini marshmallows melt much faster and more evenly than large ones. This saves you from burning the butter while waiting for the marshmallows to soften.
- Rice Krispies Cereal: Six cups. Standard size works best. Do not use puffed rice or puffed wheat, as the texture will be completely different and too heavy.
- Orange Food Coloring: Gel-based food coloring is essential here. Liquid coloring will make the treats too wet and affect the texture. I recommend brands like Chefmaster for vibrant, intense color without adding extra liquid.
- Black Food Coloring: Just a small amount for the eyes and mouth. You can use gel black or even black sprinkles for a different effect.
- White Chocolate Chips: Optional, for the eyes. This adds a nice contrast and makes the jack-o-lantern faces pop more than just white icing.
If you need substitutions, you can use butter-flavored shortening if you want a dairy-free option, though the flavor won’t be as rich. For the cereal, you can use a gluten-free crisp rice cereal if needed, but check the package to ensure it’s certified gluten-free. I’ve tried using honey instead of some of the butter, but it changes the chewiness too much, so stick to butter for the classic taste.
Equipment Needed
You don’t need a lot of fancy gadgets for this, but having the right tools makes the process much less frustrating.
- Large Pot: A 4-6 quart heavy-bottomed pot is ideal. It needs to be large enough to hold the melted marshmallows and the six cups of cereal without overflowing. I once used a pot that was too small and ended up with marshmallow everywhere on my stove.
- Silicone Spatula: A heat-resistant silicone spatula is crucial. It allows you to scrape the sides of the pot and fold in the cereal without sticking. Metal spoons can damage the pot and don’t scrape as well.
- 8×8 Inch Baking Pan: A standard 8×8 pan gives the treats the perfect thickness. Grease it well with butter or non-stick spray.
- Parchment Paper: Line the pan with parchment paper for easy removal. This is especially helpful if you want to cut them into perfect squares later.
- Microwave-Safe Bowl: If you choose to use white chocolate for the eyes, you’ll need a small bowl for melting. A microwave is the easiest way to melt chocolate chips without burning them.
If you don’t have an 8×8 pan, a 9×9 pan will work, but the treats will be thinner. You can also use a 9×13 pan if you want thinner bars, but the cooking time and texture will vary slightly. I always recommend greasing the pan with butter rather than spray, as it adds a nice flavor to the edges.
Preparation Method
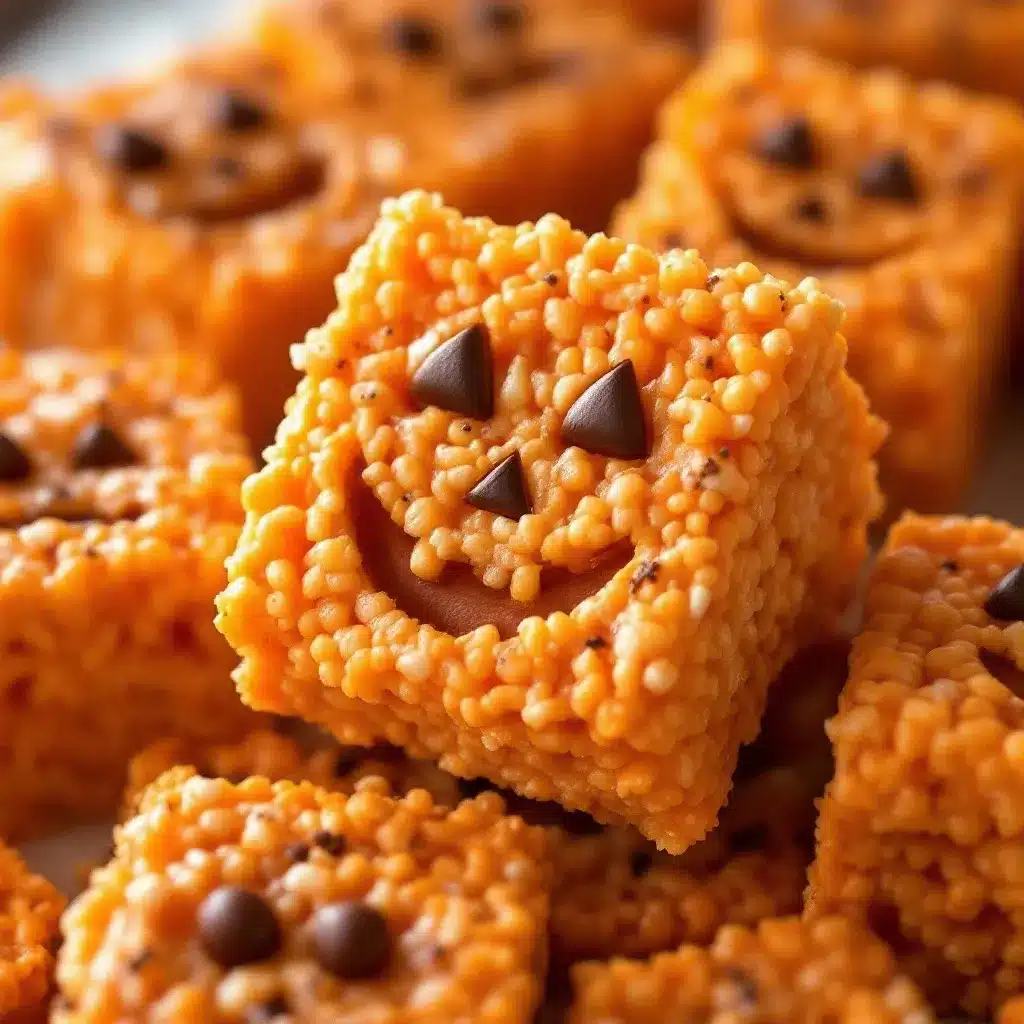
Getting these Halloween Jack-O-Lantern Rice Krispie Treats right comes down to timing and temperature. Here is how to do it step-by-step.
- Prep the Pan: Start by greasing your 8×8 inch baking pan with butter. Line it with parchment paper, leaving an overhang on the sides. This will help you lift the finished treats out of the pan later, making cutting much easier. (Time: 2 minutes)
- Melt the Butter: Place your large pot over medium-low heat. Add the one cup of butter. Let it melt slowly, stirring occasionally. Do not let it brown or burn. You just want it fully liquid. (Time: 3 minutes)
- Add Marshmallows: Once the butter is melted, add the entire bag of mini marshmallows. Stir constantly. The key here is patience. If you turn the heat up too high, the marshmallows will seize up or burn. Keep the heat low and steady. (Time: 5-7 minutes)
- Add Food Coloring: When the marshmallows are mostly melted and smooth, add your orange gel food coloring. Start with a small amount and stir. Add more until you get a vibrant orange color. Remember, the color will darken slightly as it cools, so go a bit brighter than you think you need. (Time: 2 minutes)
- Remove from Heat: Once the mixture is smooth and orange, remove the pot from the heat. Do not overheat the marshmallows, or they will become tough and chewy rather than soft and gooey. (Time: 1 minute)
- Add Cereal: Immediately add the six cups of Rice Krispies cereal to the pot. Use your silicone spatula to fold the cereal into the marshmallow mixture. You want every piece of cereal to be coated. This needs to happen quickly before the marshmallows start to set. (Time: 3 minutes)
- Press into Pan: Transfer the mixture to your prepared pan. Wet your hands with a little water or butter to prevent sticking. Press the mixture down firmly and evenly. Don’t press too hard, or the treats will be dense. Just enough to make it flat and compact. (Time: 3 minutes)
- Cool Completely: Let the treats cool at room temperature for at least one hour. Do not refrigerate, as this can make the marshmallows too hard. Once cooled, lift the slab out of the pan using the parchment paper. (Time: 60 minutes)
- Cut and Decorate: Cut the slab into squares. Use a sharp knife for clean cuts. If you are using white chocolate for the eyes, melt it in the microwave in 30-second intervals, stirring in between. Pipe or dot the eyes and mouth onto the treats using the black food coloring or black icing. (Time: 15 minutes)
Make sure your cereal is fresh. Old cereal loses its crunch and will make the treats soggy. Also, work quickly when folding in the cereal, as the marshmallow mixture sets fast. If it starts to harden in the pot, put it back on low heat for a few seconds to soften it up again.
Cooking Tips & Techniques
I’ve learned a few things the hard way, so you don’t have to. The biggest mistake people make is using high heat. Low and slow is the rule for marshmallows. If you rush the melting process, you risk scorching the butter and the sugar, which will give the treats a bitter taste.
Another tip is to use gel food coloring. Liquid coloring adds too much water to the mixture, which can prevent the marshmallows from setting properly. Gel coloring gives you that intense orange hue without altering the consistency. A little goes a long way, so add it gradually.
When pressing the mixture into the pan, wet your hands. This prevents the sticky marshmallow from adhering to your skin. You can also use a piece of parchment paper to press down on the mixture, which keeps your hands clean and ensures an even layer.
Don’t skip the cooling time. If you try to cut the treats while they are warm, they will be a mess. They need to set completely to hold their shape. Patience is key here. Also, if you want the jack-o-lantern faces to be more defined, you can use a toothpick to draw the features into the marshmallow before it fully hardens, or use edible markers.
Multitasking is helpful here. While the marshmallows are melting, you can prepare the pan and measure out the cereal. This way, when the marshmallows are ready, you are prepared to move quickly. This efficiency helps maintain the texture of the final product.
Variations & Adaptations
While the classic orange jack-o-lantern is the star, there are plenty of ways to tweak this recipe to suit different tastes or dietary needs.
Gluten-Free Option: Simply swap the Rice Krispies for a certified gluten-free crisp rice cereal. Brands like Nature’s Path or Barleyo make great alternatives. The texture might be slightly different, but it will still be delicious.
Dairy-Free Option: Use butter-flavored shortening or a dairy-free butter substitute. For the marshmallows, check the label, as some brands are vegan, but most contain gelatin. You can use vegan marshmallows if you can find them.
Chocolate Dipped: For an extra treat, dip the bottom half of each square in melted chocolate. This adds a nice crunch and makes them look even more festive. You can sprinkle edible glitter on top while the chocolate is wet.
Flavor Twist: Add a teaspoon of orange extract to the marshmallow mixture for a subtle citrus flavor that complements the Halloween theme. This is a great way to add depth without changing the texture.
I once tried adding crushed cookies to the mixture, but it made the treats too crumbly. Stick to the classic cereal for the best results. If you want to customize for different taste preferences, you can add a pinch of cinnamon to the butter for a warm, spiced flavor.
Serving & Storage Suggestions
These treats are best served at room temperature. They hold their shape well and are easy to eat. For presentation, arrange them on a platter with some green frosting “vines” or black sprinkles for a spooky effect.
Storage: Store the treats in an airtight container at room temperature. They will stay fresh for up to three days. If you live in a humid environment, they might get a bit sticky, so keep them in a cool, dry place.
Freezing: You can freeze these treats for up to a month. Wrap them tightly in plastic wrap and then place them in a freezer bag. Thaw them at room temperature before serving. This is a great option for meal prepping for Halloween parties.
Reheating: You don’t need to reheat these treats. They are meant to be eaten cold or at room temperature. If they get too hard, you can microwave a single treat for 10 seconds to soften it up.
The flavors develop nicely over the first day, as the marshmallow continues to set and the flavors meld together. They are perfect for packing in lunchboxes or handing out to trick-or-treaters.
Nutritional Information & Benefits
While these treats are a dessert and should be enjoyed in moderation, they are made from simple ingredients. Each serving provides a quick source of energy from the sugar and carbohydrates.
Key Ingredients: Marshmallows provide sugar and gelatin, while rice cereal offers some carbohydrates. Butter adds fat and flavor.
Dietary Considerations: These treats contain gluten (unless using gluten-free cereal) and dairy (unless using substitutes). They are not suitable for vegans due to the gelatin in marshmallows.
Allergens: Common allergens include gluten and dairy. Always check the labels of your ingredients if you have specific allergies.
From a wellness perspective, these are a fun, occasional treat. They are better than many processed candies because you control the ingredients. I try to use high-quality marshmallows with less artificial ingredients when possible.
Conclusion
Making these Halloween Jack-O-Lantern Rice Krispie Treats is a fun, low-stress way to get into the Halloween spirit. They are easy to make, delicious to eat, and look fantastic on any dessert table. I hope you enjoy making them as much as I have over the years.
Feel free to customize the jack-o-lantern faces with different expressions or add some chocolate dipping for an extra treat. These recipes are meant to be flexible and fun. If you try this recipe, I’d love to hear how it turned out. Leave a comment below or share your photos on social media.
Happy Halloween, and happy baking! May your treats be bright, your kitchen be clean, and your jack-o-lanterns be perfectly orange.
Frequently Asked Questions
Can I use large marshmallows instead of mini?
Yes, but they take longer to melt. You will need to stir more frequently to ensure they melt evenly without burning. Mini marshmallows are recommended for ease and speed.
How do I keep the treats from sticking to the pan?
Grease the pan well with butter and line it with parchment paper. This creates a non-stick surface and makes it easy to lift the treats out for cutting.
Can I make these ahead of time?
Yes, you can make them up to three days in advance. Store them in an airtight container at room temperature. They can also be frozen for longer storage.
What if I don’t have orange food coloring?
You can use a mix of red and yellow food coloring, but it may take more coloring to achieve the right shade. Gel coloring is still preferred to avoid adding too much liquid.
Can I add nuts to the treats?
Yes, you can add chopped nuts for extra crunch and flavor. Just be aware that this will change the texture and introduce allergens. It’s a great variation for those who enjoy nuts.
Pin This Recipe!
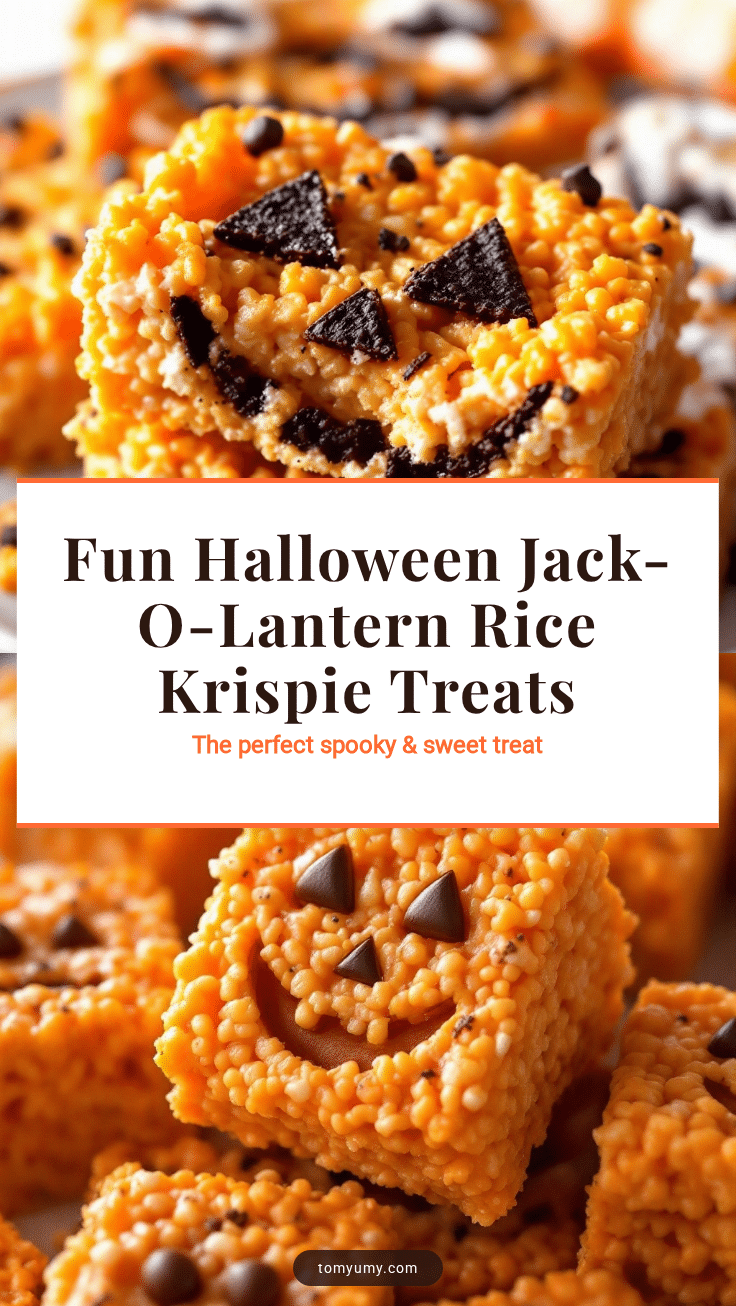
Halloween Jack-O-Lantern Rice Krispie Treats
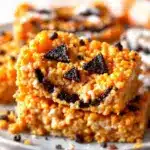
These festive Halloween treats combine crispy Rice Krispies with melted marshmallows and orange gel food coloring to create chewy, jack-o-lantern-shaped desserts that are perfect for parties and trick-or-treating.
- Prep Time: 15 minutes
- Cook Time: 15 minutes
- Total Time: 1 hour 30 minutes
- Yield: 16 servings 1x
- Category: Dessert
- Cuisine: American
Ingredients
- 1 cup (2 sticks) unsalted butter
- 1 10-ounce bag mini marshmallows
- 6 cups Rice Krispies cereal
- Orange gel food coloring
- Black food coloring or black icing
- White chocolate chips (optional, for eyes)
Instructions
- Grease an 8×8 inch baking pan with butter and line with parchment paper, leaving an overhang on the sides.
- Melt the butter in a large heavy-bottomed pot over medium-low heat, stirring occasionally until fully liquid but not browned.
- Add the mini marshmallows to the melted butter and stir constantly over low heat until melted and smooth (5-7 minutes).
- Remove the pot from heat and stir in orange gel food coloring until a vibrant orange color is achieved.
- Immediately add the Rice Krispies cereal to the pot and fold with a silicone spatula until every piece is coated.
- Transfer the mixture to the prepared pan. Wet your hands with water or butter and press the mixture down firmly and evenly.
- Let the treats cool at room temperature for at least one hour until completely set.
- Lift the slab out of the pan using the parchment paper and cut into squares.
- If using white chocolate, melt it in the microwave in 30-second intervals. Use black food coloring or icing to pipe jack-o-lantern faces onto the treats.
Notes
Use gel food coloring instead of liquid to prevent the treats from becoming too wet. Work quickly when folding in the cereal as the mixture sets fast. Do not refrigerate as this makes the marshmallows too hard. For gluten-free options, use certified gluten-free crisp rice cereal. For dairy-free options, use butter-flavored shortening and vegan marshmallows.
Nutrition
- Serving Size: 1 square
- Calories: 220
- Sugar: 25
- Sodium: 120
- Fat: 8
- Saturated Fat: 5
- Carbohydrates: 35
- Protein: 2
Keywords: Halloween, Rice Krispie Treats, Jack-O-Lantern, Easy Dessert, Kids Recipes, Party Snacks, Fall Treats