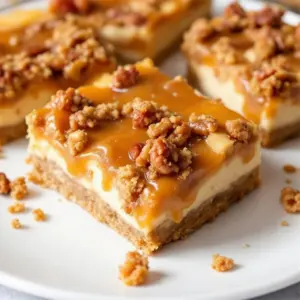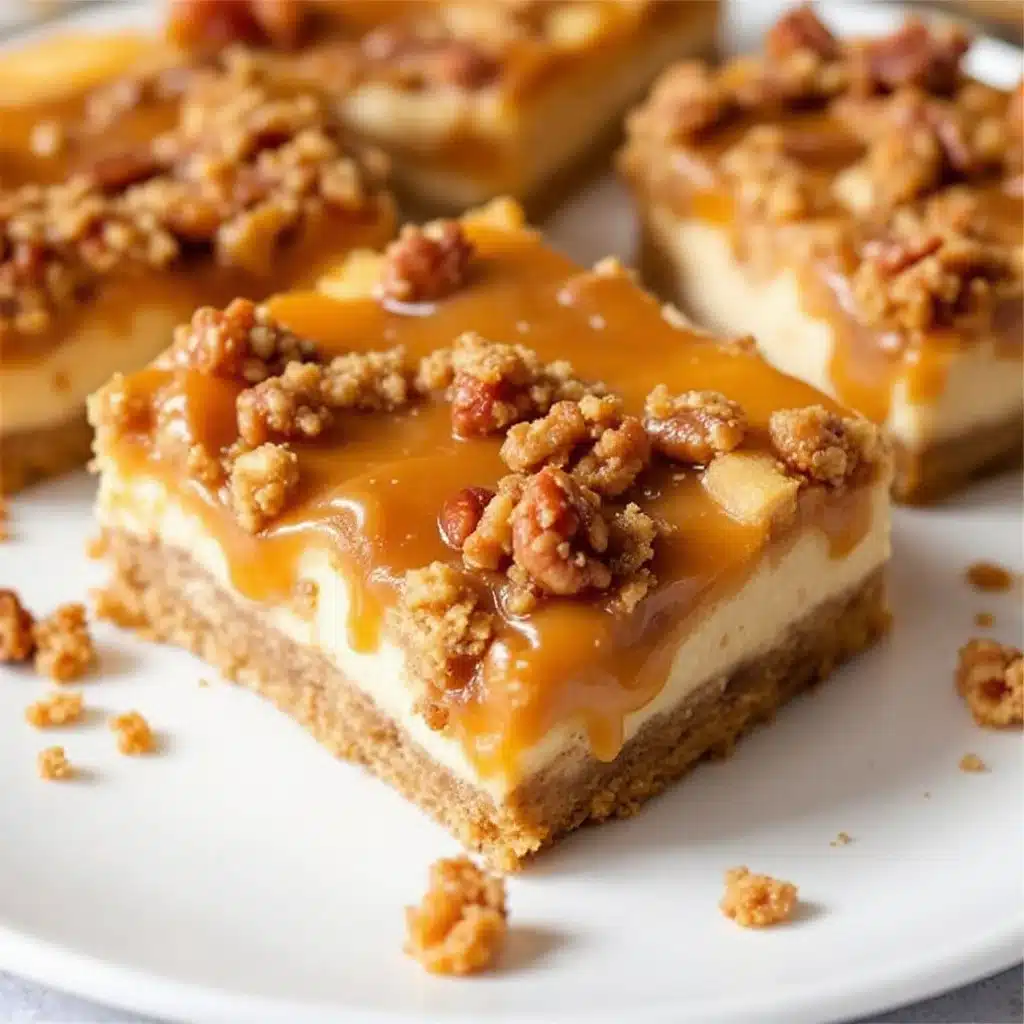
“You’re using a pecan crust? Again?” My sister-in-law Sarah asked, squinting at me over the rim of her wine glass. We were standing in my kitchen, the air thick with the scent of browned butter and tart apples. I had just pulled the first batch out of the oven, and she was looking at me like I’d tried to put a bicycle wheel on a car. It wasn’t the first time she’d questioned my crust choices. Honestly, she thinks graham crackers are the only acceptable base for cheesecake. But I’ve always felt that pecans bring something else to the table—something nuttier, richer, and way more interesting than the usual crumbly base.
I didn’t argue. I just slid a warm bar onto a plate and handed it to her. “Just try it,” I said, knowing full well that the caramel dripping down her chin would silence any criticism. She took a bite, closed her eyes, and hummed. That was the moment I knew these Crispy Caramel Apple Cheesecake Bars with Pecan Crust weren’t just a dessert; they were a conversation starter. They bridge the gap between a heavy, traditional cheesecake and a light, flaky pie, landing somewhere in that perfect sweet spot of comfort food.
The origin of this recipe is actually pretty simple. I was trying to use up a bag of pecans that had been sitting in the pantry for months, worried they’d gone rancid. I toasted them, crushed them, and mixed them with butter and brown sugar. The result was a crust so crunchy it sounded like stepping on autumn leaves. I layered it with a creamy, tangy cheesecake filling, topped it with sautéed apples in cinnamon sugar, and finished it with a drizzle of salted caramel. It was messy, it was indulgent, and it was absolutely perfect. Now, it’s my go-to for fall gatherings, and I suspect it might become yours too.
Why You’ll Love This Recipe
There is a specific kind of magic that happens when you combine the tang of cream cheese with the earthy crunch of pecans. I’ve tested this recipe dozens of times, tweaking the ratios of sugar and butter, and I’m convinced this is the ultimate version. Here is why these bars deserve a spot in your baking rotation:
- Texture Contrast: The star here is definitely the crust. It’s not just a base; it’s a crispy, buttery foundation that holds up against the soft, creamy cheesecake and the tender apples. You get that satisfying crunch in every bite, which is something you just don’t get with a standard graham cracker crust.
- Flavor Depth: Pecans have a natural nuttiness that pairs beautifully with caramel. When you toast them before crushing, you unlock oils that make the entire dessert taste more complex. It’s not just sweet; it’s savory-sweet, which keeps you coming back for more without feeling weighed down.
- Perfect for Fall: These bars scream autumn. The combination of cinnamon, apple, and pecan is iconic for a reason. They are ideal for Thanksgiving tables, cozy dinner parties, or just a rainy Sunday afternoon treat. They feel festive but are actually quite simple to make.
- Make-Ahead Friendly: Unlike a big wheel cheesecake that can crack or slump, bars are sturdy. They hold their shape in the fridge, making them perfect for prepping the night before your event. The flavors actually meld and improve overnight, so making them ahead is a huge win.
- Unique Twist: Most apple desserts rely on pie crusts or streusel toppings. By using a pecan crust, you’re adding a layer of sophistication that feels homemade and thoughtful. It’s the kind of detail that makes guests ask for the recipe immediately.
This recipe isn’t just another apple dessert; it’s a reimagining of comfort food. The balance of tart apples against the rich, creamy filling creates a harmony that feels both nostalgic and new. It’s the kind of dessert that makes people close their eyes after the first bite, letting the flavors wash over them. It’s indulgent without being overly heavy, and it’s designed to be shared.
What Ingredients You Will Need
This recipe relies on a handful of high-quality ingredients to build layers of flavor. The key is to use fresh, good-quality components, especially the cream cheese and the pecans, as they form the backbone of the dish. You don’t need fancy, hard-to-find items, but you do need to pay attention to the details.
For the Pecan Crust
- Pecan halves: 1 ½ cups. I recommend using whole pecans and toasting them yourself for the best flavor. Pre-chopped pecans often lack that fresh, nutty punch. (Toast at 350°F for 5-7 minutes until fragrant)
- Unsalted butter: 6 tablespoons, melted. This binds the crust together and adds richness. (Kerrygold or Plugrá work great for their high butterfat content)
- Granulated sugar: ¼ cup. Adds a bit of sweetness and helps create a caramelized edge in the crust.
- Brown sugar: ¼ cup, packed. This adds moisture and a deeper molasses flavor that complements the pecans.
- All-purpose flour: ½ cup. This is the secret weapon for the crust. It prevents it from being too greasy and helps it hold its crispy structure.
- Salt: ¼ teaspoon. Essential for balancing the sweetness.
For the Cheesecake Filling
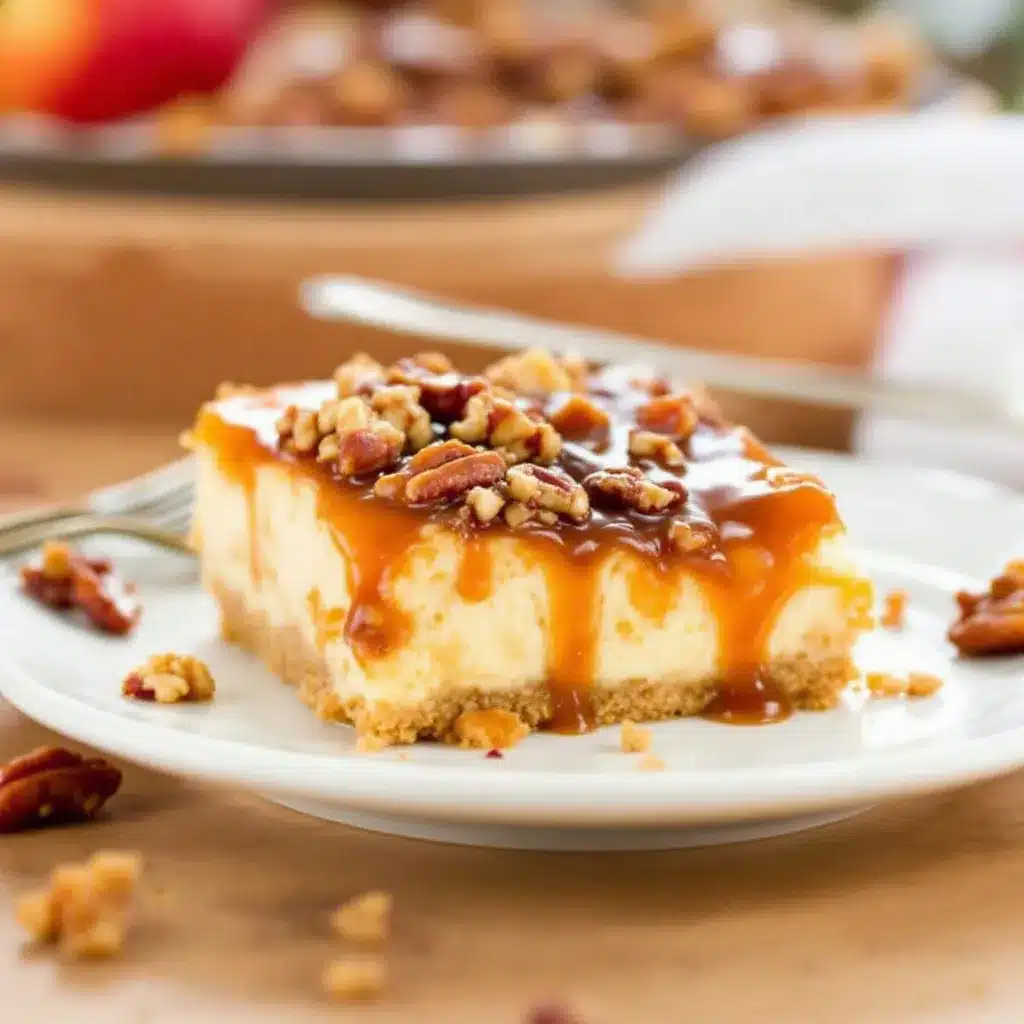
- Cream cheese: 24 ounces (3 blocks), full-fat, softened to room temperature. (Do not use light cream cheese; it will make the filling runny and less flavorful)
- Granulated sugar: 1 cup. Provides the primary sweetness for the creamy layer.
- Sour cream: ½ cup, room temperature. Adds tang and helps keep the cheesecake moist and creamy.
- Vanilla extract: 2 teaspoons. Use pure vanilla extract, not imitation, for a rich aroma.
- Eggs: 3 large eggs, room temperature. (Room temp eggs emulsify better, preventing curdling)
- All-purpose flour: 2 tablespoons. A small amount of flour helps stabilize the filling so it doesn’t crack.
For the Apple Caramel Topping
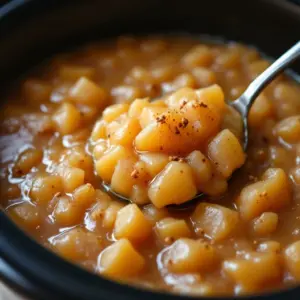
- Apples: 3 large Granny Smith apples, peeled and diced. Granny Smiths hold their shape well and provide a necessary tartness to cut through the sweetness.
- Unsalted butter: 2 tablespoons.
- Brown sugar: 3 tablespoons.
- Cinnamon: 1 teaspoon.
- Apple butter or caramel sauce: ½ cup. (Homemade is best, but a good quality store-bought jar works fine too)
- Sea salt flakes: For sprinkling on top. (This adds a professional finish and enhances the flavor)
If you need to substitute, you can use walnuts instead of pecans, though the flavor will be slightly different. For the apples, you can use Honeycrisp or Fuji, but keep in mind they will be sweeter and softer. If you want a dairy-free option, you can swap the butter for coconut oil and use a vegan cream cheese alternative, though the texture will be slightly less rich.
Equipment Needed
You don’t need a fancy kitchen to make these bars, but having the right tools will make the process much smoother. A 9×13 inch baking dish is essential; don’t try to scale this down to a smaller pan, or the layers will be too thin and hard to cut cleanly.
- 9×13 inch baking dish: Glass or ceramic is best for even heating. (Line it with parchment paper for easy removal)
- Food processor or blender: This is crucial for grinding the pecans into a fine, sand-like consistency. (A zip-top bag and rolling pin works in a pinch, but a food processor gives a more uniform crust)
- Mixing bowls: One large bowl for the filling and one medium for the crust.
- Electric mixer: Handheld or stand mixer. (You need to whip the cream cheese until it’s completely smooth to avoid lumps)
- Measuring cups and spoons: Accuracy matters in baking, especially with the flour and sugar ratios.
- Spatula: A rubber spatula is best for scraping down the sides of the bowl and folding in the apples gently.
I’ve tried making the crust with a rolling pin before, and while it works, the texture is chunky. The food processor ensures every bite has that consistent crunch. Also, make sure your parchment paper extends over the edges of the pan; this acts as a sling, allowing you to lift the entire block of bars out of the dish once they’ve cooled. It makes cutting them into neat squares much easier and keeps your pan clean.
Preparation Method
Making these bars is straightforward, but it requires a bit of patience, especially when it comes to cooling. Here is how to bring it all together.
- Preheat and Prep: Preheat your oven to 350°F (175°C). Line your 9×13 inch baking dish with parchment paper, leaving an overhang on the long sides. This is non-negotiable for easy removal later. Lightly grease the parchment with butter or cooking spray.
- Make the Crust: In a food processor, pulse the toasted pecans until they are finely ground. Be careful not to over-process them into butter; you want a sandy texture. Add the melted butter, granulated sugar, brown sugar, flour, and salt. Pulse a few more times until the mixture looks like wet sand. Press this mixture firmly and evenly into the bottom of the prepared baking dish. Use the bottom of a measuring cup to pack it down tightly. Bake for 10 minutes, then remove and let it cool while you make the filling.
- Prepare the Cheesecake Filling: In a large bowl, beat the softened cream cheese and sugar on medium speed until completely smooth and creamy. This should take about 2-3 minutes. Scrape down the sides and bottom of the bowl to ensure no lumps remain. Add the sour cream and vanilla extract, and mix until combined. Add the eggs one at a time, mixing on low speed just until incorporated. Overmixing at this stage can incorporate too much air, which might cause cracking. Finally, stir in the 2 tablespoons of flour by hand with a spatula.
- Assemble: Pour the cheesecake batter over the warm pecan crust. Smooth the top with a spatula so it’s even. You can gently tap the pan on the counter a few times to release any air bubbles.
- Bake: Bake at 350°F (175°C) for 35-40 minutes. The edges should be set, but the center should still have a slight jiggle. It will firm up as it cools. Do not overbake, or the texture will become dense.
- Cool: Turn off the oven and crack the door open slightly. Let the bars sit in the oven for 1 hour. This gradual cooling helps prevent cracks. Then, remove them and let them cool completely to room temperature before refrigerating.
- Make the Topping: While the bars cool, melt the 2 tablespoons of butter in a skillet over medium heat. Add the diced apples, brown sugar, and cinnamon. Cook for 5-7 minutes until the apples are tender but still hold their shape. Remove from heat.
- Final Assembly: Once the cheesecake bars are completely cool, spread the apple mixture evenly over the top. Drizzle the caramel sauce over the apples. Sprinkle with sea salt flakes. Refrigerate for at least 4 hours, or ideally overnight, to set the layers completely.
- Serve: Use the parchment sling to lift the bars out of the pan. Cut into squares and serve chilled.
Cooking Tips & Techniques
I learned the hard way that cheesecake can be temperamental. The biggest mistake people make is not letting their ingredients reach room temperature. Cold cream cheese and eggs will create a lumpy batter that is impossible to smooth out. Plan ahead and take your dairy out of the fridge at least two hours before you start baking.
Another common issue is overmixing the batter. Once you add the eggs, mix on the lowest speed possible. You just want to combine them; you don’t need to whip air into the mixture. Too much air leads to cracks and a less dense, creamy texture. If you see small cracks after baking, don’t worry—they’ll be covered by the apples and caramel anyway.
When pressing the crust, make sure it’s packed down firmly. A loose crust will crumble when you cut the bars. If you find it’s too dry, add a teaspoon more of melted butter. If it’s too wet, add a bit more flour. The consistency should be like wet sand that holds together when squeezed.
For the apple topping, don’t skip the step of cooking them down. Raw apples will release water into the cheesecake layer, making it soggy. Cooking them with the sugar and butter caramelizes their natural sugars and reduces their moisture content, ensuring they stay distinct and flavorful.
Patience is key with the cooling process. Rushing this step can result in a messy, gooey bar that falls apart. Let it cool in the oven, then at room temperature, then in the fridge. This gradual process ensures a clean slice every time.
Variations & Adaptations
While this recipe is perfect as is, there are plenty of ways to tweak it to suit your tastes or dietary needs. Here are a few ideas:
- Gluten-Free Option: Swap the all-purpose flour in the crust and filling with a 1:1 gluten-free baking flour blend. Make sure your pecans are certified gluten-free if you have celiac disease.
- Dairy-Free: Use vegan butter and a high-quality vegan cream cheese alternative. For the caramel, ensure it’s made with coconut milk instead of dairy cream. The texture might be slightly less rich, but the flavor will still be delicious.
- Walnut Crust: If you don’t like pecans, walnuts are a great substitute. They have a slightly more bitter, earthy flavor that pairs well with the sweet apples.
- Spiced Variation: Add a pinch of nutmeg or allspice to the apple topping for a warmer, more complex spice profile. This works especially well in the winter months.
- Chocolate Twist: Drizzle melted dark chocolate over the caramel topping before serving. The bitterness of the chocolate contrasts beautifully with the sweet caramel and tart apples.
I once tried making this with a ginger snap crust, and while it was tasty, the pecan crust really is the standout. It adds a texture and flavor that is hard to replicate. If you want to keep it simple, you can skip the apple topping and just use caramel sauce and a sprinkle of sea salt. It’s still amazing, but the apples add that fresh, fruity element that balances the richness.
Serving & Storage Suggestions
These bars are best served cold, right out of the refrigerator. The cold temperature helps the cheesecake layer set firmly, making clean cuts possible. I recommend serving them with a dollop of whipped cream or a scoop of vanilla ice cream if you want to make them extra special.
For storage, keep the bars in an airtight container in the refrigerator. They will stay fresh for up to 5 days. If you want to make them further in advance, you can freeze the untopped cheesecake bars for up to 2 months. Thaw them in the refrigerator overnight, then add the apple topping and caramel just before serving. This prevents the apples from becoming soggy during storage.
When reheating, avoid the microwave, as it can make the crust soggy. If you must reheat, use a low-temperature oven for a few minutes to warm the center slightly. However, I find that these bars are best enjoyed cold, as the flavors are most pronounced that way.
The flavors continue to meld in the fridge, so day two is often better than day one. The caramel soaks slightly into the crust, and the apple flavor permeates the cheesecake. It’s a delicious transformation that makes planning ahead worth it.
Nutritional Information & Benefits
While these bars are definitely a treat, they do offer some nutritional benefits depending on how you view indulgence. Pecans are a great source of healthy monounsaturated fats, fiber, and antioxidants. They are also rich in magnesium and zinc, which are good for heart health and immune function.
Apples provide fiber and vitamin C, adding a touch of fruit to the dessert. The cream cheese offers calcium and protein, though it is also high in saturated fat. Overall, these bars are calorie-dense, so portion control is key. A single square is a perfect serving size for a dessert.
For those watching their sugar intake, you can reduce the sugar in the crust and filling by 25% without significantly affecting the texture. Using natural sweeteners like maple syrup is an option, but it will change the consistency of the filling, so it’s best to stick with granulated sugar for the best results.
I always remind my readers that food is meant to be enjoyed. While we can talk about macros and nutrients, the real benefit of these bars is the joy they bring. Sharing a dessert with loved ones is a form of nourishment in itself. So, enjoy these bars guilt-free, knowing they are made with real, wholesome ingredients.
Conclusion
These Crispy Caramel Apple Cheesecake Bars with Pecan Crust are more than just a dessert; they are a celebration of fall flavors. The combination of the crunchy pecan crust, the creamy cheesecake, and the spiced apples creates a harmony that is hard to beat. I hope you try this recipe and find it as much of a hit in your kitchen as it has been in mine.
I encourage you to experiment with the variations I mentioned. Maybe you’ll add some bourbon to the caramel, or swap the apples for pears. The beauty of baking is that it’s flexible. Feel free to make it your own. And if you do try this recipe, I’d love to hear about it. Leave a comment below with your thoughts, or tag me on social media so I can see your creations.
Thanks for stopping by, and happy baking! Don’t forget to check out my salted caramel apple butter thumbprint cookies for another cozy fall treat, or try my caramel apple pie bombs if you’re in the mood for something flaky and fun.
FAQs
Can I use a different type of nut for the crust?
Yes, you can substitute pecans with walnuts, almonds, or even hazelnuts. Walnuts will give a slightly more bitter, earthy flavor, while almonds will be milder. Just make sure to toast them for the best flavor.
Why did my cheesecake crack?
Cracking is usually caused by overmixing the batter, which incorporates too much air, or by baking it at too high a temperature. Make sure to mix the eggs on low speed and cool the cheesecake gradually in the turned-off oven.
Can I make this recipe gluten-free?
Absolutely. Simply swap the all-purpose flour in the crust and filling with a 1:1 gluten-free baking flour blend. Ensure your pecans are certified gluten-free if you have celiac disease.
How long do these bars last in the fridge?
They will stay fresh in an airtight container in the refrigerator for up to 5 days. For best texture, store them in a single layer if possible.
Can I freeze the cheesecake bars?
Yes, you can freeze the untopped cheesecake bars for up to 2 months. Wrap them tightly in plastic wrap and foil. Thaw them in the refrigerator overnight before adding the apple topping and caramel.
Pin This Recipe!
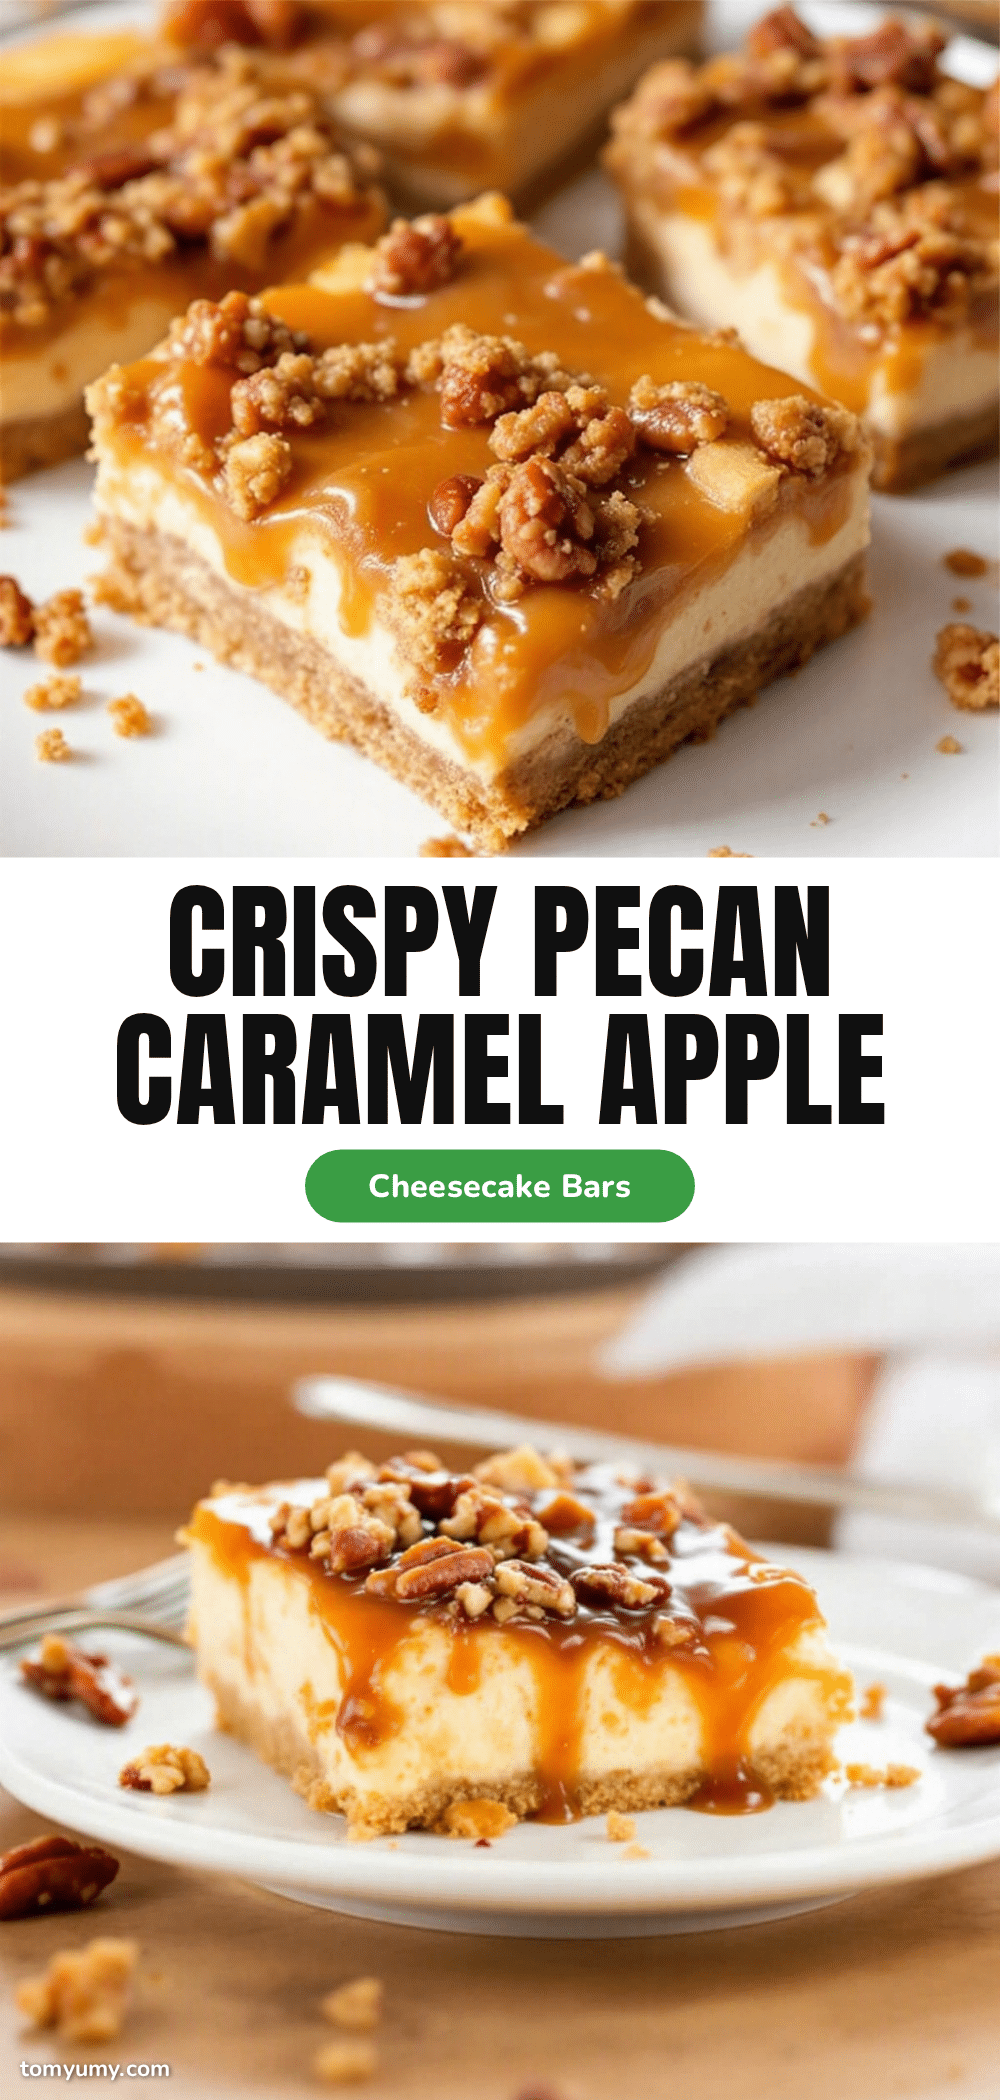
Crispy Caramel Apple Cheesecake Bars with Pecan Crust
A rich and indulgent dessert featuring a crunchy toasted pecan crust, a creamy tangy cheesecake filling, and a topping of cinnamon-spiced sautéed apples with salted caramel.
- Prep Time: 30 minutes
- Cook Time: 50 minutes
- Total Time: 80 minutes
- Yield: 12 servings 1x
- Category: Dessert
- Cuisine: American
Ingredients
- 1 ½ cups pecan halves, toasted
- 6 tablespoons unsalted butter, melted
- ¼ cup granulated sugar
- ¼ cup packed brown sugar
- ½ cup all-purpose flour
- ¼ teaspoon salt
- 24 ounces full-fat cream cheese, softened to room temperature
- 1 cup granulated sugar
- ½ cup sour cream, room temperature
- 2 teaspoons pure vanilla extract
- 3 large eggs, room temperature
- 2 tablespoons all-purpose flour
- 3 large Granny Smith apples, peeled and diced
- 2 tablespoons unsalted butter
- 3 tablespoons brown sugar
- 1 teaspoon cinnamon
- ½ cup apple butter or caramel sauce
- Sea salt flakes, for sprinkling
Instructions
- Preheat oven to 350°F (175°C). Line a 9×13 inch baking dish with parchment paper, leaving an overhang on the long sides, and lightly grease.
- In a food processor, pulse toasted pecans until finely ground. Add melted butter, granulated sugar, brown sugar, flour, and salt; pulse until mixture resembles wet sand.
- Press the crust mixture firmly and evenly into the bottom of the prepared dish. Bake for 10 minutes, then remove and let cool.
- In a large bowl, beat cream cheese and sugar until smooth. Add sour cream and vanilla, mixing until combined.
- Add eggs one at a time, mixing on low speed just until incorporated. Stir in 2 tablespoons of flour by hand.
- Pour batter over the warm crust and smooth the top. Bake at 350°F for 35-40 minutes until edges are set but center jiggles slightly.
- Turn off oven, crack door open, and let bars sit for 1 hour. Remove and cool completely to room temperature.
- While bars cool, melt 2 tablespoons butter in a skillet. Add diced apples, brown sugar, and cinnamon; cook for 5-7 minutes until tender.
- Spread apple mixture over cooled bars, drizzle with caramel sauce, and sprinkle with sea salt flakes.
- Refrigerate for at least 4 hours or overnight before slicing and serving.
Notes
Ensure all dairy ingredients are at room temperature to prevent lumps. Do not overmix the batter after adding eggs to avoid cracking. The bars must be chilled overnight for the best texture and clean cuts. For a gluten-free version, substitute all-purpose flour with a 1:1 gluten-free baking blend.
Nutrition
- Serving Size: 1 bar
- Calories: 450
- Sugar: 32
- Sodium: 220
- Fat: 28
- Saturated Fat: 12
- Carbohydrates: 42
- Fiber: 2
- Protein: 6
Keywords: cheesecake bars, pecan crust, caramel apple, fall dessert, make-ahead dessert, easy baking