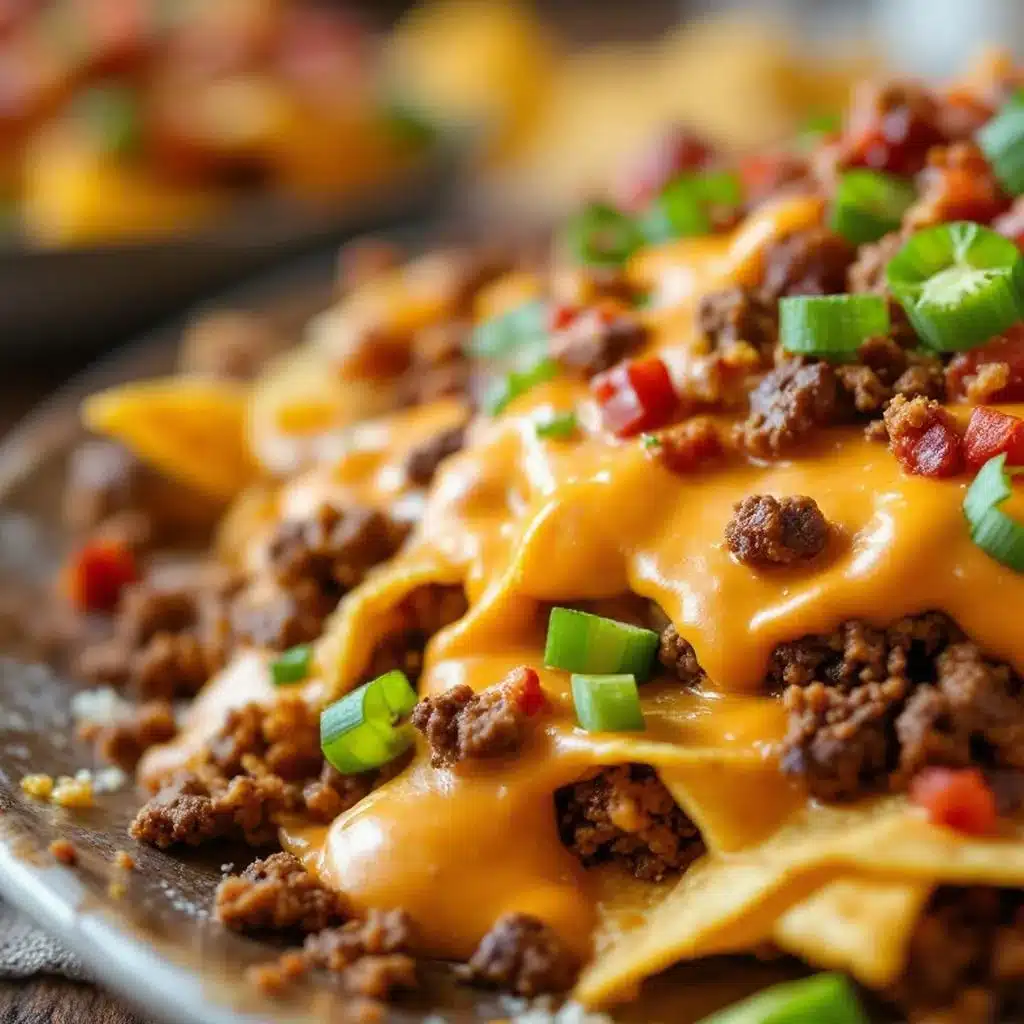
I was twenty-two, broke, and convinced that “fancy” meant buying the good tortilla chips from the specialty store downtown. It was a Friday night, and the air conditioning had just given up the ghost. The room was humid, sticky, and smelled faintly of old carpet. But then, the microwave beeped. That sound. It was the trigger. I pulled out the mug, and there it was: a bubbling, golden pool of queso, studded with bits of jalapeño and suspended in a sea of processed cheese slices.
I didn’t have a fancy party. I didn’t have friends over. I just had a spoon and a bag of corn chips, sitting on a wobbly IKEA table. But that first dip? It was pure comfort. It was warm, salty, and slightly spicy, cutting through the heat of the Texas summer like a dream. I remember closing my eyes, letting the creaminess coat my tongue, and thinking, okay, I can survive this degree. That moment stuck with me. Not because it was gourmet, but because it was honest. It was food made for hunger, not for Instagram.
Years later, I’ve made hundreds of batches of cheese dip. I’ve tried artisanal aged cheeses, homemade roux bases, and even some weird experiments with cauliflower. But honestly? Nothing beats the simplicity of that original vibe. The Ultimate Loaded Nacho Bar with Creamy Queso isn’t about being fancy. It’s about that feeling of abundance. It’s about building something together, whether it’s with roommates, family, or just yourself on a lonely Tuesday night. It’s the kind of recipe that feels like a hug. And let’s face it, we could all use a hug in dip form.
Why You’ll Love This Recipe
This isn’t just another cheese sauce that separates in the pan or turns into a rubbery mess after ten minutes. I’ve tested this Ultimate Loaded Nacho Bar with Creamy Queso recipe so many times that I can probably make it with my eyes closed (and my hands covered in flour, because I’m always multitasking). The secret isn’t in a complicated technique; it’s in the balance of fats and acids, plus a little bit of patience that pays off big time.
- Quick & Easy: You can have the base queso ready in under 15 minutes. It’s perfect for those nights when you want something indulgent but don’t want to spend hours in the kitchen.
- Simple Ingredients: No fancy grocery trips needed. You likely already have most of the pantry staples like butter, flour, and milk. The rest are just good-quality cheeses and some pantry spices.
- Perfect for Game Day: Whether it’s the Super Bowl, a casual Sunday watch party, or just Friday night football with the neighbors, this dish is the centerpiece.
- Crowd-Pleaser: Kids love the mild cheese flavor, and adults appreciate the depth from the spices. It’s rare to find a dish that satisfies both generations without compromise.
- Unbelievably Delicious: The texture is silky, not greasy. The flavor is bold but balanced. It’s next-level comfort food that feels homemade but tastes like it came from a high-end Mexican restaurant.
What makes this recipe different? Most people add the cheese too fast, causing it to clump. Or they skip the acid, leaving the dip flat. I use a classic roux base but finish it with a splash of lime juice and a pinch of cumin. This cuts the richness and wakes up the palate. It’s not just good—it’s the kind of dip that makes you scrape the bowl clean. It’s comfort food reimagined: faster, easier, but with the same soul-soothing satisfaction. It’s perfect for impressing guests without stress, or turning a simple meal into something memorable. Plus, if you’ve ever made my savory jalapeño popper cheesy cornbread casserole, you’ll notice a similar love for bold, cheesy flavors, but this dip is even more versatile.
What Ingredients You Will Need
This recipe uses simple, wholesome ingredients to deliver bold flavor and satisfying texture without the fuss. The key is quality. You don’t need expensive cheese, but you do need cheese that melts well. Avoid pre-shredded bags when possible; they contain anti-caking agents that can make your sauce grainy. Buy blocks and shred them yourself. It takes five extra minutes but makes a huge difference in the final mouthfeel.
Here is what you’ll need to assemble the base queso and the toppings for your bar:
For the Creamy Queso Base
- Unsalted butter: 4 tablespoons (57g). Use high-quality butter for better flavor.
- All-purpose flour: 4 tablespoons (30g). This creates the roux that thickens the sauce.
- Garlic powder: 1 teaspoon. Adds a savory depth without raw garlic bites.
- Onion powder: 1 teaspoon. Complements the garlic for a solid aromatic base.
- Ground cumin: 1 teaspoon. Essential for that authentic Mexican flavor profile.
- Chili powder: 1/2 teaspoon. Adds warmth, not just heat.
- Cayenne pepper: 1/4 teaspoon. Optional, for a little kick.
- Milk: 2 cups (480ml). Whole milk works best for richness, but 2% is fine.
- Sharp cheddar cheese: 2 cups (220g), freshly shredded. Sharp cheddar provides the punch.
- Monterey Jack cheese: 1 cup (110g), freshly shredded. This cheese melts beautifully and adds creaminess.
- Green chiles: 1 can (4 oz, 113g), diced. Mild roasted green chiles add moisture and flavor. I recommend Rotel brand for consistency.
- Lime juice: 1 tablespoon. Freshly squeezed. This is the secret weapon that balances the fat.
- Salt: To taste. Start with 1/2 teaspoon and adjust.
For the Loaded Toppings
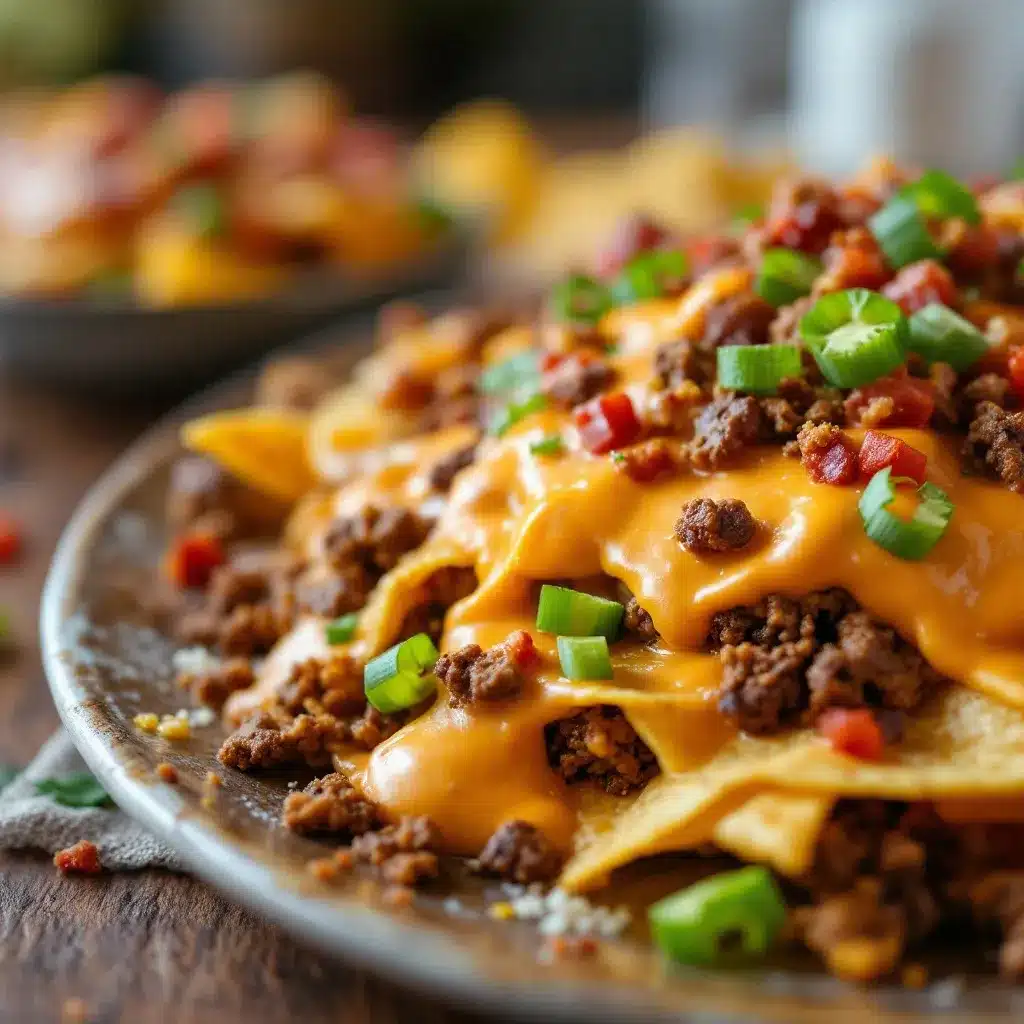
- Tortilla chips: 1 large bag (approx. 10-12 oz). Look for sturdy, thick chips that won’t break under weight.
- Ground beef or turkey: 1/2 lb (225g). Browned with taco seasoning. For a vegetarian option, use black beans.
- Black beans: 1 can (15 oz, 425g), rinsed and drained. Adds protein and texture.
- Shredded lettuce: 1 cup, chopped. For crunch and freshness.
- Diced tomatoes: 1 cup. Fresh Roma tomatoes work best.
- Sour cream: 1/2 cup. For cooling contrast.
- Green onions: 2 stalks, sliced. For a mild onion bite.
- Jalapeños: Fresh or pickled, sliced. For extra heat lovers.
- Cilantro: 1/4 cup, chopped. Fresh herb finish.
For the cheese, I personally prefer a mix of cheddar and Jack. If you want a smoother texture, you can add a slice of American cheese, but it’s not necessary if you shred your own. If you’re looking for other ways to use those green chiles, check out my creamy jalapeño popper corn casserole for a baked twist.
Equipment Needed
You don’t need a fancy kitchen to make this. A medium-sized saucepan or Dutch oven is perfect for the queso. I use a 3-quart saucepan because it has a wide base, which helps the roux cook evenly without burning. If you don’t have one, a heavy-bottomed skillet works too. You’ll also need a whisk—specifically a balloon whisk—to break up any lumps in the roux. It’s the most important tool for a smooth sauce.
For the toppings, you’ll need small bowls or ramekins to hold each ingredient. This keeps the Ultimate Loaded Nacho Bar with Creamy Queso organized and prevents cross-contamination of flavors. A large serving platter or a wooden board is great for the chips. If you don’t have a big platter, just use a clean baking sheet. For shredding cheese, a box grater is fine, but a microplane gives you finer shreds that melt faster. I also recommend having a pair of tongs for serving the chips, so people don’t have to touch the food directly. It’s more hygienic and looks nicer.
Preparation Method
- Prepare the Toppings (10 minutes): Start by browning the ground beef or turkey in a skillet over medium-high heat. Break it up into small crumbles as it cooks. Once browned, drain any excess fat. Stir in your taco seasoning and a splash of water, then let it simmer for 2 minutes. Set aside. Meanwhile, rinse and drain the black beans. Chop the lettuce, tomatoes, and green onions. Place all toppings into small bowls. This step is crucial because you want everything ready before you start the cheese sauce. Tip: Keep the meat warm in a slow cooker on the “warm” setting.
- Make the Roux (5 minutes): In your medium saucepan, melt the butter over medium heat. Once foamy, add the flour, garlic powder, onion powder, cumin, chili powder, and cayenne. Whisk constantly for about 2 minutes. The mixture should look like wet sand and smell nutty. Do not let it brown. This cooks out the raw flour taste. Warning: Keep the heat medium. High heat will burn the flour instantly.
- Add the Liquid (5 minutes): Slowly pour in the milk, about 1/2 cup at a time, whisking vigorously after each addition. This prevents lumps. Once all the milk is in, continue whisking until the mixture thickens and comes to a gentle simmer. This should take about 3-4 minutes. The sauce should coat the back of a spoon. Sensory cue: The sauce will look glossy and smooth.
- Melt the Cheese (3 minutes): Reduce the heat to low. Add the shredded cheddar and Monterey Jack cheese, a handful at a time. Stir gently until melted before adding more. Do not boil the sauce once the cheese is added, or it may separate. Stir in the diced green chiles and lime juice. Taste and add salt as needed. The sauce should be thick enough to coat a chip but still fluid enough to pour. Tip: If it’s too thick, add a splash more milk.
- Assemble the Bar (5 minutes): Spread the tortilla chips in a single layer on your serving platter. Pour the warm queso over the chips, ensuring all chips get some sauce. Then, arrange the bowls of toppings around the platter. Let guests add their own meat, beans, veggies, and cold toppings to the warm chips and cheese. Serving note: Serve immediately while the queso is warm and fluid.
Cooking Tips & Techniques
The biggest mistake people make with queso is boiling it. Cheese proteins tighten up when exposed to high heat, squeezing out the fat and water, which leads to a greasy, grainy sauce. Always keep the heat low once the cheese is added. If you’re making a large batch, consider using a double boiler or keeping the saucepan in a bowl of warm water to maintain temperature without direct heat.
Another trick is the order of ingredients. Adding the lime juice at the very end helps preserve its brightness. If you add it too early, the flavor can dull. Also, when shredding cheese, toss the shreds with a teaspoon of cornstarch. This absorbs excess moisture and prevents clumping. It sounds like a secret chef trick, but it’s just food science. I learned this the hard way when I made a cheese sauce for a party and it turned into a rubber ball. Never again.
Multitasking is key here. While the roux is simmering, get your toppings ready. Have your bowls lined up. When the cheese is melting, you want to be able to stir smoothly without rushing. If you’re short on time, you can use a food processor to shred the cheese quickly, but hand-shredding gives you better control over the size. And don’t skip the whisk. A spoon won’t get into the corners of the pan or break up lumps effectively. A good whisk is worth its weight in gold.
Variations & Adaptations
This recipe is incredibly adaptable. Here are a few ways to make it your own:
- Vegetarian Version: Skip the ground meat and add an extra can of black beans or some sautéed mushrooms. Mushrooms add a meaty texture that pairs well with the cheese.
- Spicy Kick: Add diced fresh jalapeños to the queso base, or use a spicy pepper jack cheese instead of Monterey Jack. You can also add a dash of hot sauce directly into the sauce.
- Seafood Twist: Swap the beef for cooked shrimp or crab meat. Add some Old Bay seasoning to the roux for a Cajun flair. This pairs beautifully with the lime juice.
- Gluten-Free: Use corn tortilla chips instead of flour-based ones, and substitute the all-purpose flour with a gluten-free 1:1 baking blend. Most corn chips are naturally gluten-free, but always check the label.
- Slow Cooker Method: You can make the queso in a slow cooker. Melt the butter and whisk in the flour and spices, then add the milk. Cook on low for 1-2 hours until smooth, then add the cheese and stir until melted. This is great for parties because it stays warm for hours without drying out.
I once tried making this with gouda cheese for a smoky twist. It was delicious, but the texture was a bit thicker. If you experiment with different cheeses, remember that aged cheeses melt differently than young ones. Stick to cheeses known for melting well, like cheddar, jack, mozzarella, or fontina.
Serving & Storage Suggestions
Serve the Ultimate Loaded Nacho Bar with Creamy Queso immediately while the cheese is warm and gooey. The contrast between the hot cheese and the cold toppings like sour cream and lettuce is what makes this dish special. If you’re hosting a large group, consider having two platters so you can refresh the chips and cheese as needed. Nachos are best eaten fresh.
If you have leftovers (which is rare, but happens), store the queso in an airtight container in the refrigerator for up to 3 days. The sauce will thicken significantly when cold. To reheat, add a splash of milk and warm it gently on the stove over low heat, stirring constantly. Do not microwave it in a lump; stir every 30 seconds to ensure even heating. The toppings can be stored separately in the fridge for 2-3 days.
For freezing, the queso base can be frozen, but the texture may change slightly due to the dairy. Thaw in the fridge and reheat slowly, adding extra milk if needed. The meat and bean toppings freeze well. I usually freeze the meat mixture in portions so I can quickly reheat it for a quick meal later. The fresh veggies should not be frozen, as they will become mushy.
Nutritional Information & Benefits
This recipe is rich in protein and calcium, thanks to the cheese and meat/beans. However, it is also high in saturated fat and sodium, so enjoy it in moderation. One serving of chips with queso and toppings can range from 300-500 calories, depending on the amount of toppings used. To lighten it up, use reduced-fat cheese or Greek yogurt instead of sour cream. You can also increase the vegetable ratio by adding more lettuce, tomatoes, and peppers.
The cumin and chili powder in the queso offer antioxidant properties, and the lime juice provides vitamin C. While this isn’t a health food, it can be part of a balanced diet if you’re mindful of portions. I like to think of it as a treat food, something to enjoy with friends and family. The social aspect of sharing a large platter of nachos has its own wellness benefits—connection and joy are good for the soul.
Conclusion
The Ultimate Loaded Nacho Bar with Creamy Queso is more than just a snack; it’s an experience. It’s about gathering around a table, building your perfect bite, and enjoying the simple pleasure of good food. Whether you’re hosting a big party or having a cozy night in, this recipe is sure to be a hit. I love it because it’s flexible, flavorful, and fun. Don’t be afraid to experiment with toppings and make it your own. Try adding some crispy bacon bits or some pickled onions for a tangy twist. I’d love to hear how you customize your nacho bar! Leave a comment below and let me know what toppings you added. Share your photos on social media and tag me—I love seeing your creations. Enjoy every cheesy, crunchy bite!
Frequently Asked Questions
Why is my queso grainy?
This usually happens if the cheese is added too quickly or if the heat is too high. Always add cheese gradually over low heat and stir constantly. Also, avoid pre-shredded cheese, as the anti-caking agents can cause graininess.
Can I make the queso ahead of time?
Yes, you can make the queso base a few hours ahead. Store it in the refrigerator and reheat gently on the stove with a splash of milk. The texture may change slightly, but it will still be delicious.
What kind of chips work best?
Thick, sturdy tortilla chips work best because they can hold up to the heavy queso and toppings without breaking. Look for chips labeled “restaurant style” or “heavy duty.”
Can I use vegan cheese?
Yes, many vegan cheeses melt well. Look for brands specifically designed for melting, like Daiyo or Violife. You may need to adjust the liquid content slightly, as vegan cheese can behave differently.
How do I keep the nachos from getting soggy?
Assemble the nachos just before serving. If you’re making a large batch, put the chips on the platter, pour the queso, and then immediately add the toppings. Serve right away. If you need to hold them, keep the toppings separate and let guests assemble their own portions.
Pin This Recipe!
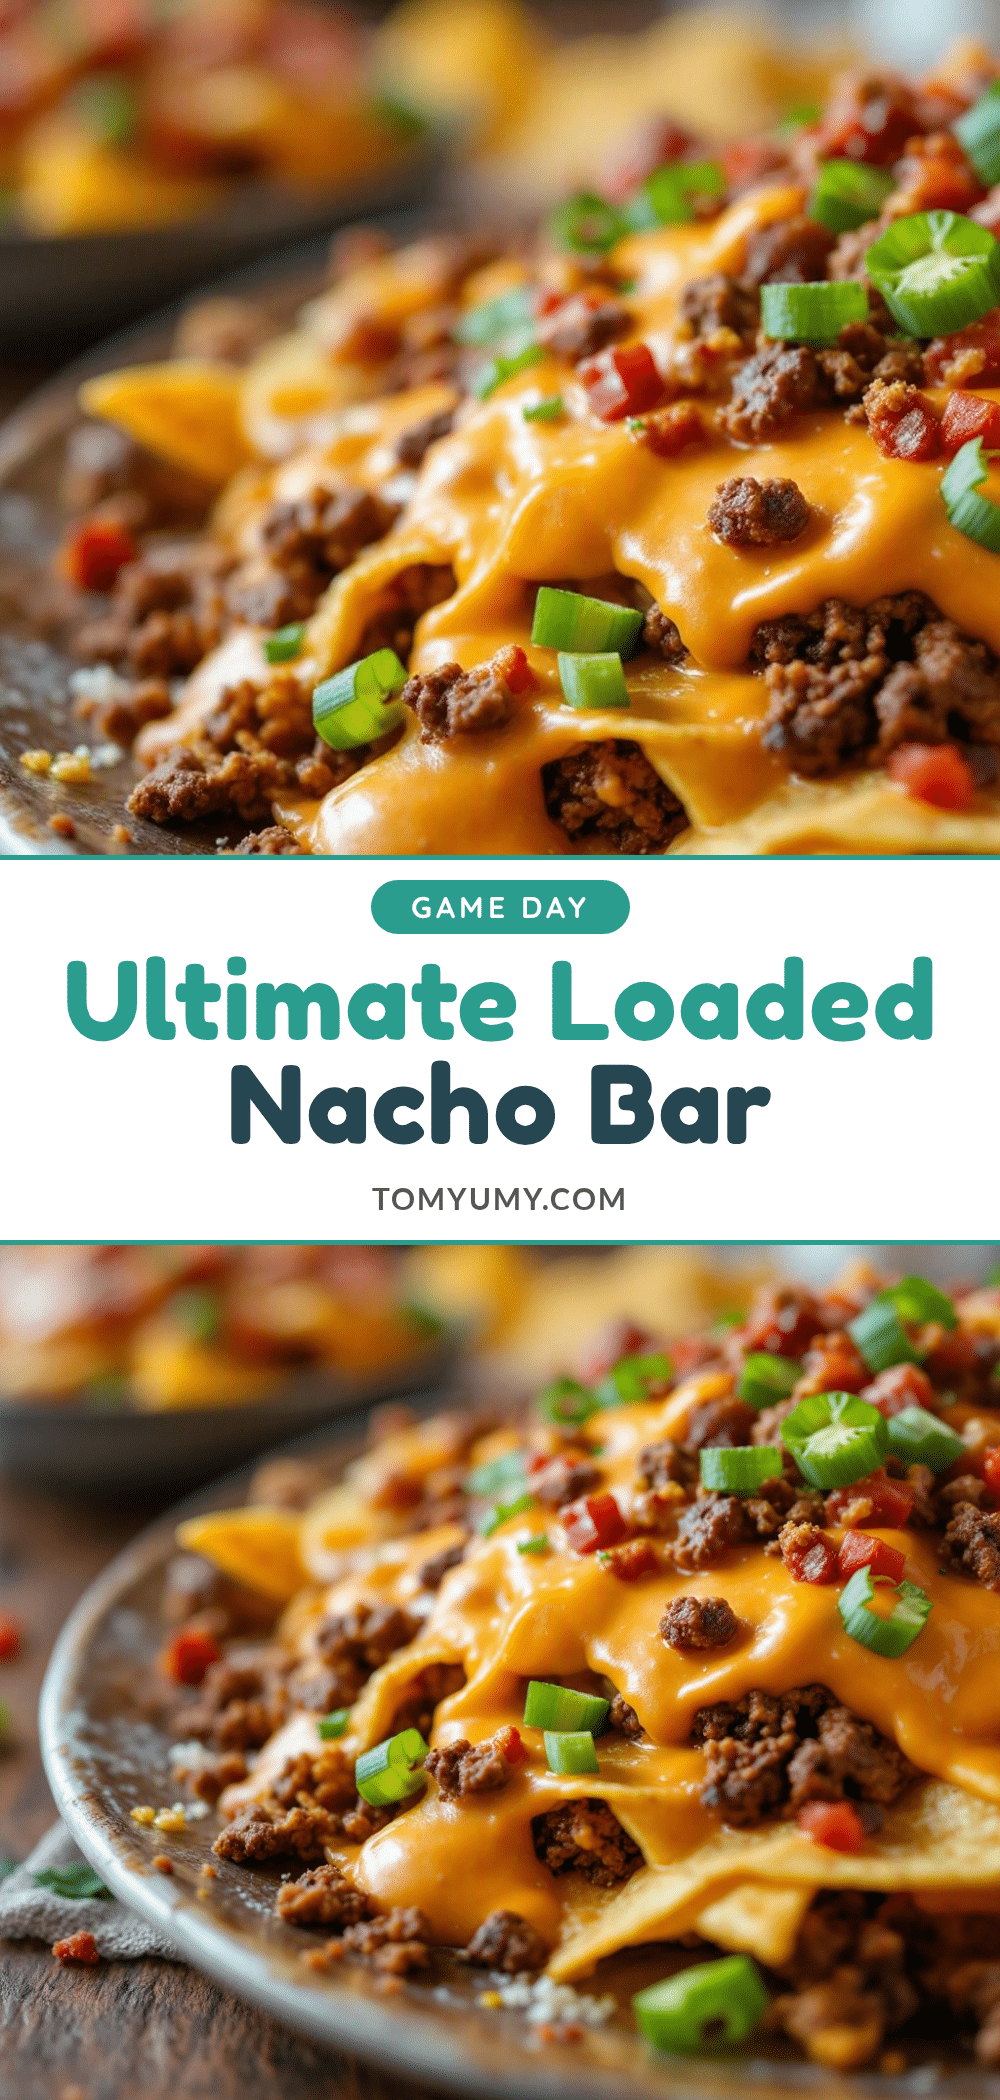
Ultimate Loaded Nacho Bar with Creamy Queso: Easy 15-Min Dip

A quick and easy creamy queso dip made with a classic roux base, perfect for game day or casual gatherings. Served as a loaded bar with toppings like seasoned meat, beans, and fresh veggies.
- Prep Time: 10 minutes
- Cook Time: 15 minutes
- Total Time: 25 minutes
- Yield: 8 servings 1x
- Category: Appetizer
- Cuisine: Mexican
Ingredients
- 4 tablespoons unsalted butter
- 4 tablespoons all-purpose flour
- 1 teaspoon garlic powder
- 1 teaspoon onion powder
- 1 teaspoon ground cumin
- 1/2 teaspoon chili powder
- 1/4 teaspoon cayenne pepper (optional)
- 2 cups whole milk
- 2 cups sharp cheddar cheese, freshly shredded
- 1 cup Monterey Jack cheese, freshly shredded
- 1 can (4 oz) diced green chiles
- 1 tablespoon lime juice
- Salt to taste
- 1 large bag tortilla chips (10–12 oz)
- 1/2 lb ground beef or turkey, browned with taco seasoning
- 1 can (15 oz) black beans, rinsed and drained
- 1 cup shredded lettuce
- 1 cup diced tomatoes
- 1/2 cup sour cream
- 2 stalks green onions, sliced
- Fresh or pickled jalapeños, sliced
- 1/4 cup chopped cilantro
Instructions
- Brown the ground beef or turkey in a skillet over medium-high heat, breaking into crumbles. Drain excess fat, stir in taco seasoning and a splash of water, and simmer for 2 minutes. Set aside.
- Rinse and drain black beans. Chop lettuce, tomatoes, and green onions. Place all toppings into small bowls.
- In a medium saucepan, melt butter over medium heat. Add flour, garlic powder, onion powder, cumin, chili powder, and cayenne. Whisk constantly for 2 minutes until the mixture smells nutty.
- Slowly pour in milk, 1/2 cup at a time, whisking vigorously to prevent lumps. Continue whisking until the mixture thickens and simmers gently.
- Reduce heat to low. Add shredded cheddar and Monterey Jack cheese a handful at a time, stirring gently until melted. Do not boil.
- Stir in diced green chiles and lime juice. Taste and add salt as needed.
- Spread tortilla chips on a serving platter. Pour warm queso over chips and arrange topping bowls around the platter for guests to assemble.
Notes
Avoid pre-shredded cheese as anti-caking agents can cause graininess. Shred cheese yourself for best results. Keep heat low when adding cheese to prevent separation. Serve immediately while warm.
Nutrition
- Serving Size: 1 cup chips with que
- Calories: 400
- Sugar: 4
- Sodium: 650
- Fat: 28
- Saturated Fat: 14
- Carbohydrates: 25
- Fiber: 3
- Protein: 15
Keywords: nacho bar, queso dip, cheese dip, game day food, easy appetizer, loaded nachos, creamy queso, party dip