I want crispy edges right now and have everything except the patience to wait for the oven to preheat. Honestly, it is 3 AM and the refrigerator light is the only thing illuminating my face as I stare at a lumpy, green acorn squash sitting on the counter. It looks like a alien egg. A very heavy, very dense alien egg that demands to be roasted. I don’t want sweet. I don’t want mushy. I want something that crunches. Something that holds its own against a main course but doesn’t ask for attention. Just golden, caramelized, honey-glazed perfection.
The problem with winter squash is usually the soggy center. We’ve all been there. You roast it, you wait, you cut it, and it’s steamed in its own juices. Disappointing. But here is the secret I learned after burning three batches of wedges last November: space. You need space. And you need heat. High, aggressive heat that sears the surface before the inside gets a chance to turn into soup.
I grabbed the honey because I had it. I grabbed the olive oil because it was nearby. I grabbed some salt and pepper because that’s just how life works. I didn’t plan this. I reacted to it. And when those wedges came out of the oven, glistening and browned at the tips, I realized I wasn’t just hungry. I was vindicated. This isn’t just a side dish. It’s a lesson in simplicity. It’s the kind of recipe that sticks because it works every single time, no matter how tired you are.
Why You’ll Love This Recipe
Let’s be real for a second. Cooking vegetables shouldn’t feel like a chore. It should feel like a win. This recipe for crispy honey roasted acorn squash wedges is the kind of culinary victory that fits into a busy weeknight schedule. It relies on basic techniques that I’ve tested dozens of times over the years, from my first cramped apartment kitchen to my current setup with a proper convection oven. The result is consistent, reliable, and absolutely delicious.
Here is why this specific method beats the rest:
* **Quick & Easy**: From prep to plate, this comes together in under 45 minutes. The actual hands-on time is minimal, mostly just cutting and tossing. It is perfect for busy weeknights or when you need a side dish that doesn’t require babysitting.
* **Simple Ingredients**: No fancy grocery trips needed. You likely already have acorn squash, honey, olive oil, salt, and pepper in your kitchen. If you have a spice cabinet, you might even have some thyme or sage lying around for extra flair.
* **Perfect for Fall Dinners**: This is the ultimate autumn side dish. It pairs beautifully with roast chicken, grilled pork chops, or even a hearty bean stew. It brings warmth and color to the table without complicating the menu.
* **Crowd-Pleaser**: Kids who usually turn their noses up at anything green or orange will eat these if they are crispy and sweet. Adults love them because they feel sophisticated but are actually very forgiving to make.
* **Unbelievably Delicious**: The texture is the star here. You get that tender, creamy interior contrasted with a sticky, caramelized, crunchy exterior. It is next-level comfort food that feels indulgent but is actually quite healthy.
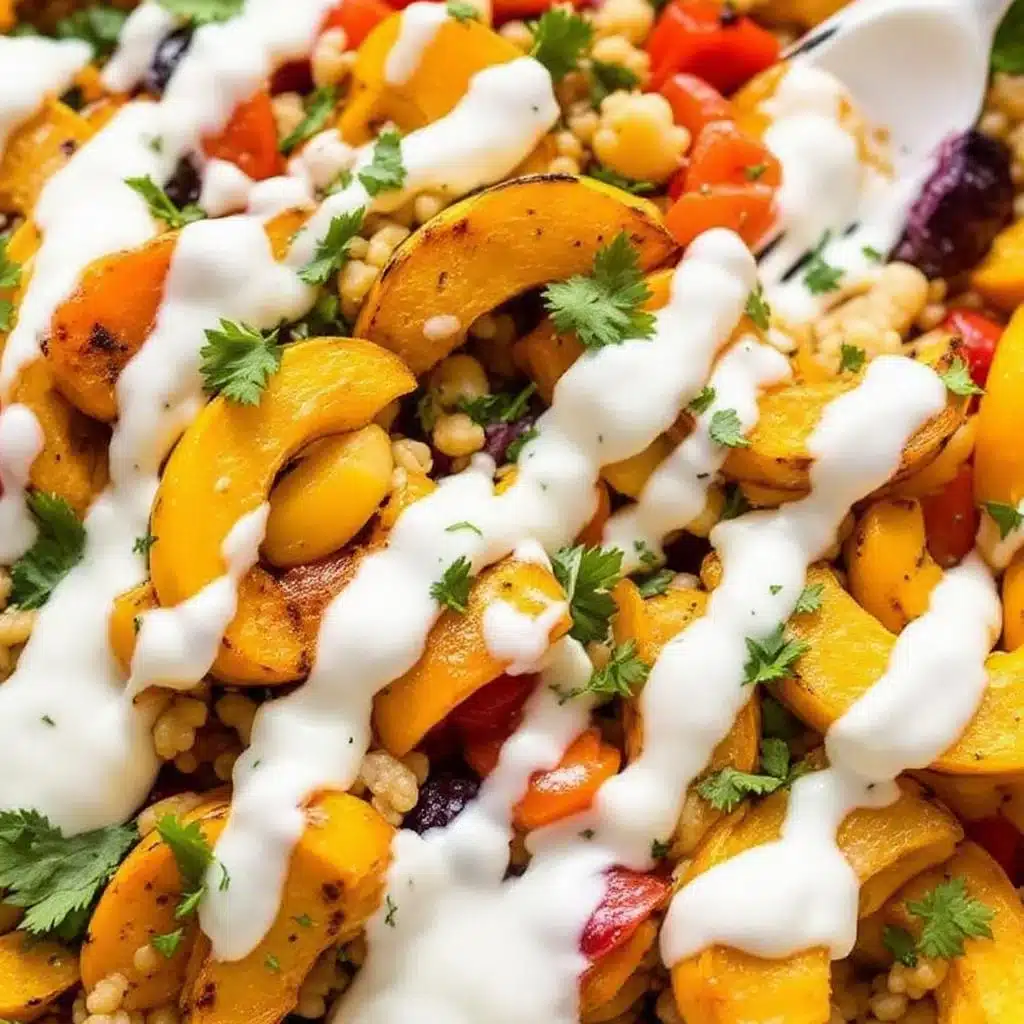
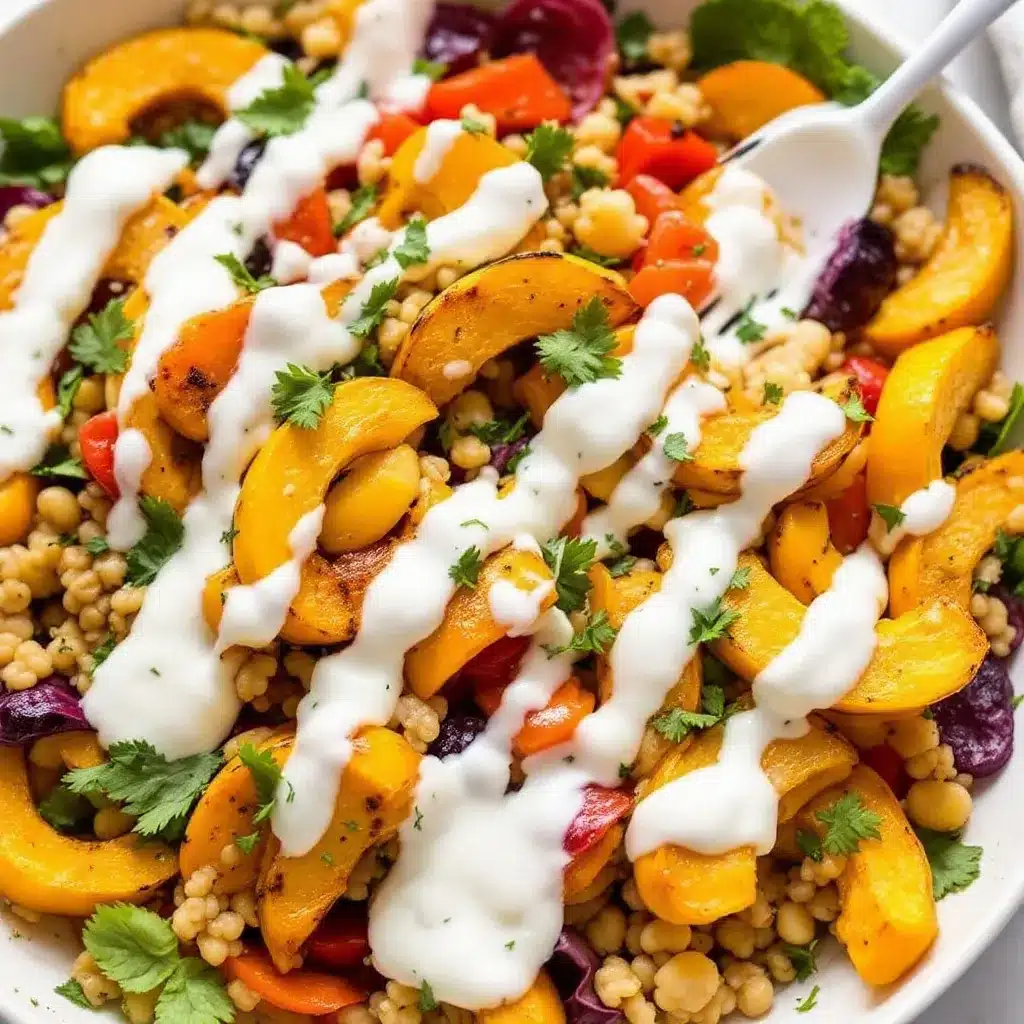
What makes this recipe different from the hundreds of other squash recipes out there? It’s the focus on the *crisp*. Most recipes just roast the squash until it’s soft. This method uses a specific arrangement on the baking sheet and a precise temperature to ensure the edges actually crisp up. It’s not just another version—it’s the best version. It’s the kind of recipe that makes you close your eyes after the first bite and forget about your to-do list. It’s comfort food reimagined—healthier, faster, but with the same soul-soothing satisfaction.
What Ingredients You Will Need
This recipe uses simple, wholesome ingredients to deliver bold flavor and satisfying texture without the fuss. The beauty of acorn squash is its natural sweetness, which pairs perfectly with savory and salty elements. You don’t need a pantry full of exotic spices to make this work. In fact, keeping it simple allows the natural flavor of the squash to shine through. Most of these items are likely already in your kitchen, making this a truly accessible recipe for anyone.
Here is what you need to gather:
* **Acorn Squash**: One medium-to-large squash, about 2 to 3 pounds. Look for one that feels heavy for its size and has a hard shell. This indicates it is mature and sweet. I recommend buying organic if you can, as the skin is edible, but standard squash works fine if you peel it.
* **Olive Oil**: Extra virgin olive oil works best for roasting. You need about two tablespoons. This helps conduct the heat and promotes browning. If you don’t have olive oil, avocado oil is a good high-heat alternative.
* **Honey**: Pure honey is key here. You only need one tablespoon. It provides the sticky glaze and caramelization. Avoid honey blends with added syrups, as they can make the wedges too runny. I prefer local raw honey when it’s in season, but any clear honey works.
* **Salt**: Kosher salt is my go-to because it’s easier to control. Use about half a teaspoon. It enhances the natural sweetness of the squash. Sea salt is also a great option if that’s what you have on hand.
* **Black Pepper**: Freshly cracked black pepper adds a nice bite. About a quarter teaspoon is sufficient. It balances the sweetness of the honey and adds depth.
* **Optional Spices**: While not strictly necessary, a pinch of cinnamon or nutmeg can add a warm, cozy flavor. I sometimes add a small sprig of fresh thyme or rosemary to the pan for aroma.
If you want to substitute, you can use maple syrup instead of honey for a different flavor profile, though it won’t caramelize quite as well. For a vegan version, just ensure your honey is replaced with a plant-based syrup. The rest of the ingredients are straightforward and easy to find at any grocery store.
Equipment Needed
You don’t need a fancy kitchen to make this recipe work. In fact, keeping the equipment simple helps keep the process stress-free. Here is what you will need to get started.
* **Large Baking Sheet**: A standard half-sheet pan is ideal. Make sure it is heavy-duty if possible, as thinner pans can lead to uneven cooking. I prefer my rimmed baking sheets because they prevent any honey drips from burning on the oven floor.
* **Sharp Chef’s Knife**: Acorn squash can be tough to cut. A sharp, heavy-duty chef’s knife is essential for safety and ease. A dull knife is dangerous and makes the job much harder.
* **Cutting Board**: Use a sturdy cutting board that won’t slip. I have a large wooden one that I’ve had for years. It’s stable and gentle on my knives.
* **Pastry Brush or Spoon**: For applying the honey glaze. A silicone pastry brush works well for coating the wedges evenly, but a spoon works just as fine if you are careful.
* **Parchment Paper**: Lining your baking sheet with parchment paper makes cleanup a breeze. It also helps prevent sticking, especially since you are using honey. I always keep a roll in my drawer.
* **Oven Mitts**: Hot pans are no joke. Good quality oven mitts protect your hands and give you peace of mind when sliding the pan in and out of the oven.
If you don’t have a large baking sheet, you can use two smaller ones, but you will need to roast the squash in batches to ensure they have enough space. Crowding the pan is the enemy of crispiness. Also, consider investing in a good knife sharpener. A sharp knife makes cutting vegetables safer and more enjoyable.
Preparation Method
Getting started with this recipe is straightforward, but attention to detail makes all the difference. Follow these steps carefully for the best results.
1. **Preheat the Oven**: Start by preheating your oven to 400°F (200°C). This temperature is crucial for achieving that crispy exterior. If the oven is too low, the squash will steam instead of roast. Allow the oven to fully preheat for about 10-15 minutes before you put the squash in.
2. **Prepare the Squash**: Wash the acorn squash thoroughly. Place it on a stable cutting board. Using your sharp chef’s knife, carefully cut the squash in half from stem to base. Then, cut each half into four wedges. Remove the seeds and stringy pulp from the center with a spoon. This step takes about 5 minutes.
3. **Season the Wedges**: Place the squash wedges in a large mixing bowl. Drizzle with the olive oil and sprinkle with salt and pepper. Toss the wedges until they are evenly coated. This ensures every bite is flavorful.
4. **Arrange on Pan**: Line a large baking sheet with parchment paper. Arrange the squash wedges in a single layer, cut-side down. This is important! Cutting side down allows the flat surface to brown and crisp up. Leave space between each wedge. Do not overcrowd the pan.
5. **First Roast**: Place the pan in the preheated oven. Roast for 20 minutes. After 20 minutes, check the squash. The edges should start to brown slightly.
6. **Add Honey**: Remove the pan from the oven. Brush or drizzle the honey over the top of each wedge. Return to the oven and roast for another 10-15 minutes. The honey will bubble and caramelize, creating a sticky glaze.
7. **Final Check**: The squash is done when a fork easily pierces through to the center and the edges are deeply golden brown. Total roasting time is usually 30-35 minutes. Let them cool for 2-3 minutes before serving. This allows the glaze to set slightly.
Why Cut-Side Down Matters
You might be tempted to roast them cut-side up for a prettier look. Resist that urge. Cutting side down maximizes surface contact with the hot pan, which drives off moisture and creates that essential crunch. It’s a small detail that makes a huge difference in texture.
Troubleshooting Sticking
If you find the honey sticking to the parchment paper, you can lightly oil the paper before adding the squash. This is a good backup plan if your parchment isn’t non-stick grade.
Cooking Tips & Techniques
Mastering roasted vegetables takes a bit of practice, but these tips will help you avoid common pitfalls and achieve consistent results every time.
* **Uniform Wedges**: Try to cut your wedges as evenly as possible. If some are much thicker than others, the thin ones will burn while the thick ones remain raw. Aim for consistent thickness for even cooking.
* **Don’t Skip the Space**: I cannot stress this enough. Crowding the pan traps steam. Steam makes things soggy. If you have a small oven, roast in two batches. It’s worth the extra effort for the crispiness.
* **Watch the Honey**: Honey burns easily. Keep an eye on the last 5-10 minutes of roasting. If the honey starts to darken too much, you can tent the pan with foil. You want caramelization, not char.
* **Fresh Herbs**: If you add fresh herbs like thyme or rosemary, add them in the last 5 minutes of roasting. This preserves their flavor and prevents them from burning.
* **Seasoning Balance**: Taste your squash after roasting. The flavors intensify when cooked. You might need a final pinch of salt or a squeeze of lemon juice to brighten the flavor. Lemon juice adds a nice acidity that cuts through the sweetness.
My Personal Failure
I once tried to rush this recipe by lowering the temperature to 350°F to save energy. The result was a bowl of mushy, watery squash. It was a disaster. I learned the hard way that high heat is non-negotiable for crispiness. Don’t cut corners on the temperature.
Multitasking Strategy
While the squash is roasting, use that time to prep your main course. Since the squash only needs occasional attention, it’s a great passive cooking task. You can chop vegetables for a salad or marinate proteins while the squash does its thing.
Variations & Adaptations
One of the best things about this recipe is how adaptable it is. You can tweak it to suit your dietary needs or flavor preferences without losing the core appeal.
* **Spicy Kick**: Add a pinch of cayenne pepper or red pepper flakes to the olive oil mixture before roasting. The heat contrasts beautifully with the sweet honey. This is great if you like a bit of fire with your comfort food.
* **Herb-Infused**: Add fresh thyme, sage, or rosemary to the pan. These earthy herbs complement the natural flavor of the squash perfectly. I often throw in a few sprigs of thyme for a rustic touch.
* **Nutty Crumble**: For added texture, sprinkle chopped pecans or walnuts over the squash in the last 5 minutes of roasting. The nuts toast in the oven and add a wonderful crunch. This is especially good if you are serving this as part of a holiday meal.
* **Dairy-Free Option**: This recipe is naturally dairy-free, but if you want to add richness, you can drizzle with a little tahini or almond butter after roasting. It adds a creamy element without using dairy.
* **Gluten-Free**: This recipe is naturally gluten-free, making it safe for those with celiac disease or gluten sensitivity. Just ensure your honey and spices are certified gluten-free if you are strictly avoiding cross-contamination.
My Favorite Variation
I love adding a dash of smoked paprika to the seasoning mix. It gives the squash a subtle smoky flavor that mimics bacon. It’s a game-changer if you are trying to reduce meat consumption but still want that savory depth.
Serving & Storage Suggestions
Serving these wedges is easy, but presentation can elevate them. Here is how to serve and store them for best results.
* **Serving Temperature**: Serve warm, not hot. The honey glaze sets as it cools, so let them rest for a few minutes. They are best eaten fresh out of the oven when the edges are still crisp.
* **Garnish**: Sprinkle with fresh chopped parsley or chives for a pop of color. A drizzle of balsamic glaze can also add a nice tangy contrast.
* **Pairing**: These wedges pair well with roasted chicken, grilled salmon, or a simple green salad. They also complement hearty grain bowls.
* **Storage**: Store leftovers in an airtight container in the refrigerator for up to 3 days. The squash will soften slightly, but the flavor remains good.
* **Reheating**: Reheat in the oven or toaster oven at 350°F for 5-10 minutes to restore crispiness. Avoid the microwave, as it will make the squash soggy.
* **Freezing**: You can freeze roasted squash, but the texture may change. It’s best used in soups or smoothies if frozen. Freshly roasted is always better.
Flavor Development
The flavors actually meld and deepen over the first day. Leftover squash tastes surprisingly good the next day, especially if reheated properly. It’s a great way to reduce food waste.
Nutritional Information & Benefits
Acorn squash is not just delicious; it is also packed with nutrients. Here is a brief overview of the health benefits associated with this ingredient.
* **Low Calorie**: Acorn squash is low in calories but high in volume, making it a great choice for weight management. You can eat a generous portion without feeling guilty.
* **Rich in Vitamins**: It is an excellent source of Vitamin A and Vitamin C, which support immune health and skin integrity. A single serving provides a significant portion of your daily needs.
* **High in Fiber**: The fiber content aids digestion and promotes satiety. This helps you feel full longer, which can prevent overeating.
* **Antioxidants**: The orange flesh contains beta-carotene, a powerful antioxidant that helps protect cells from damage.
* **Dietary Considerations**: This recipe is naturally gluten-free, dairy-free, and vegan (if using plant-based honey). It fits well into various dietary lifestyles.
Personal Wellness Perspective
I find that incorporating more vegetables into my diet improves my energy levels. This recipe makes it easy to enjoy vegetables without feeling like I’m eating a diet. It’s a small change that makes a big difference.
Conclusion
This crispy honey roasted acorn squash wedges recipe is a testament to the power of simple ingredients and proper technique. It is a dish that brings warmth and comfort to your table, whether it’s a busy Tuesday or a holiday feast. I love this recipe because it is forgiving and reliable. It always turns out delicious, no matter who is eating it.
I encourage you to try it and customize it to your liking. Add your favorite spices or herbs. Share it with friends and family. I would love to hear how you adapt it. Please leave a comment below with your variations or questions.
FAQs
Can I use butternut squash instead of acorn squash?
Yes, you can use butternut squash. Cut it into cubes instead of wedges. The cooking time may be slightly shorter, so check for doneness around 25 minutes.
Why is my squash soggy instead of crispy?
This usually happens if the pan is overcrowded or if the temperature is too low. Ensure you leave space between wedges and preheat your oven fully.
Can I make this recipe ahead of time?
You can prep the squash and season it ahead of time, but roast it just before serving for the best texture. Roasted squash is best eaten fresh.
Is honey necessary for this recipe?
Honey provides the sweetness and caramelization. You can substitute it with maple syrup, but the texture and flavor will be slightly different.
How do I store leftover roasted squash?
Store in an airtight container in the refrigerator for up to 3 days. Reheat in the oven to maintain crispiness.
Pin This Recipe!
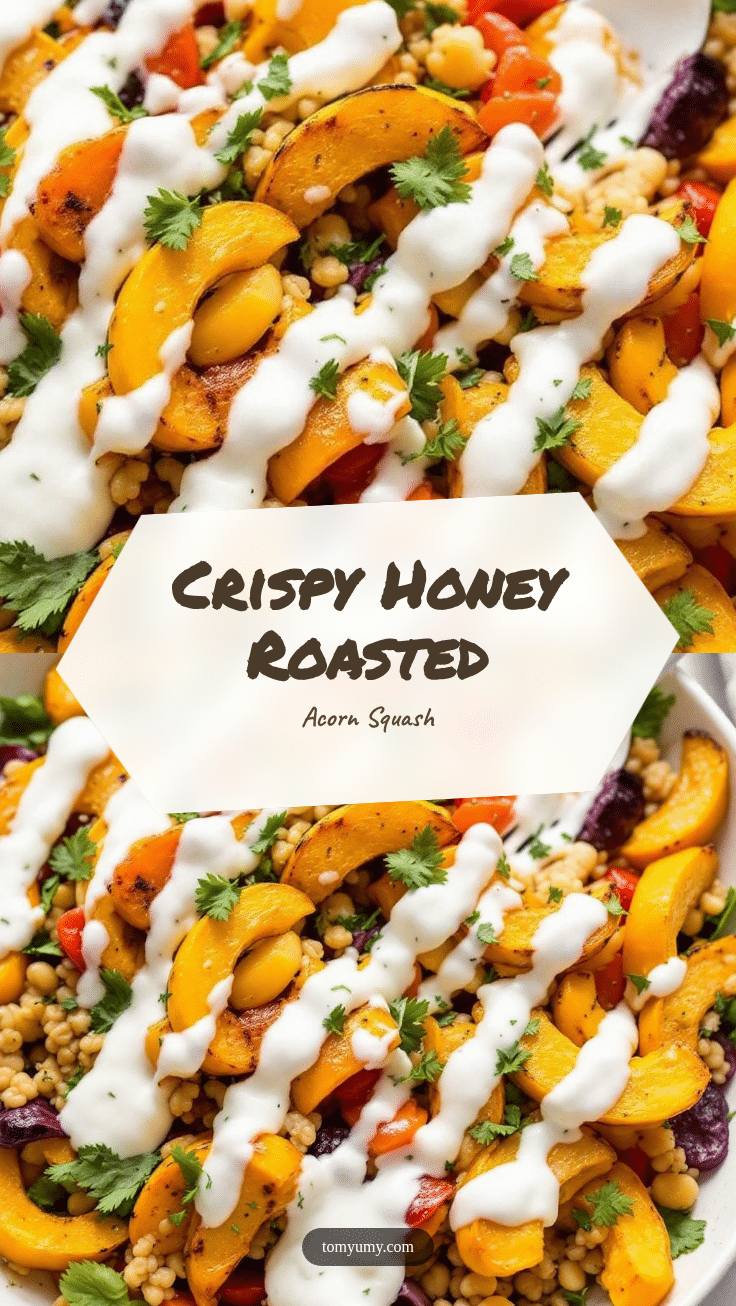
Crispy Honey Roasted Acorn Squash Wedges

A simple 5-ingredient side dish featuring acorn squash wedges roasted at high heat for crispy edges and a sweet, caramelized honey glaze.
- Prep Time: 10 minutes
- Cook Time: 35 minutes
- Total Time: 45 minutes
- Yield: 4 servings 1x
- Category: Side Dish
- Cuisine: American
Ingredients
- 1 medium-to-large acorn squash (2–3 lbs)
- 2 tablespoons extra virgin olive oil
- 1 tablespoon pure honey
- 1/2 teaspoon kosher salt
- 1/4 teaspoon freshly cracked black pepper
Instructions
- Preheat oven to 400°F (200°C).
- Wash the acorn squash and cut it in half from stem to base, then into four wedges per half. Remove seeds and pulp.
- Place wedges in a large bowl and toss with olive oil, salt, and pepper until evenly coated.
- Line a large baking sheet with parchment paper. Arrange wedges in a single layer, cut-side down, ensuring space between each piece.
- Roast for 20 minutes until edges begin to brown.
- Remove from oven and brush or drizzle honey over the top of each wedge.
- Return to oven and roast for another 10-15 minutes until edges are deeply golden and a fork pierces the center easily.
- Let cool for 2-3 minutes before serving to allow glaze to set.
Notes
Cut the squash cut-side down to maximize surface contact with the pan for crispiness. Do not overcrowd the pan, as steam will make the squash soggy. Honey burns easily, so watch the last 5-10 minutes of roasting. If the honey darkens too much, tent with foil.
Nutrition
- Serving Size: 1-2 wedges per servi
- Calories: 120
- Sugar: 12
- Sodium: 250
- Fat: 6
- Saturated Fat: 1
- Carbohydrates: 18
- Fiber: 3
- Protein: 1
Keywords: acorn squash, roasted squash, honey roasted, crispy vegetables, fall side dish, healthy side dish, gluten-free, vegan