The house was already loud. The dog was barking at a leaf. The toddler was demanding something that definitely wasn’t in the pantry. I stared at that sad, spotted banana like it owed me money. It was the classic “I need to use this before it rots” panic. You know the feeling. It’s that mix of guilt and hunger that strikes right when you’re trying to find your keys.
I didn’t have time to go to the store. I didn’t have time to measure out cups and cups of flour if I didn’t have to. I just wanted something warm, something that smelled like October, and something that didn’t require a mountain of dishes. So I grabbed a can of pumpkin puree. Not the pie filling stuff. The real thing. And I dumped it in with the banana.
Honestly, I didn’t expect much. I expected a dense, weird puck. But then I added the spices—just the good stuff, no weird nutmeg experiments—and threw it in a mini loaf pan. The smell that hit me when it started baking was the best part. It smelled like a hug. It smelled like I hadn’t completely failed at breakfast.
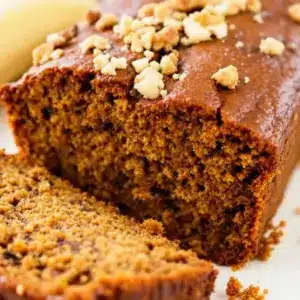
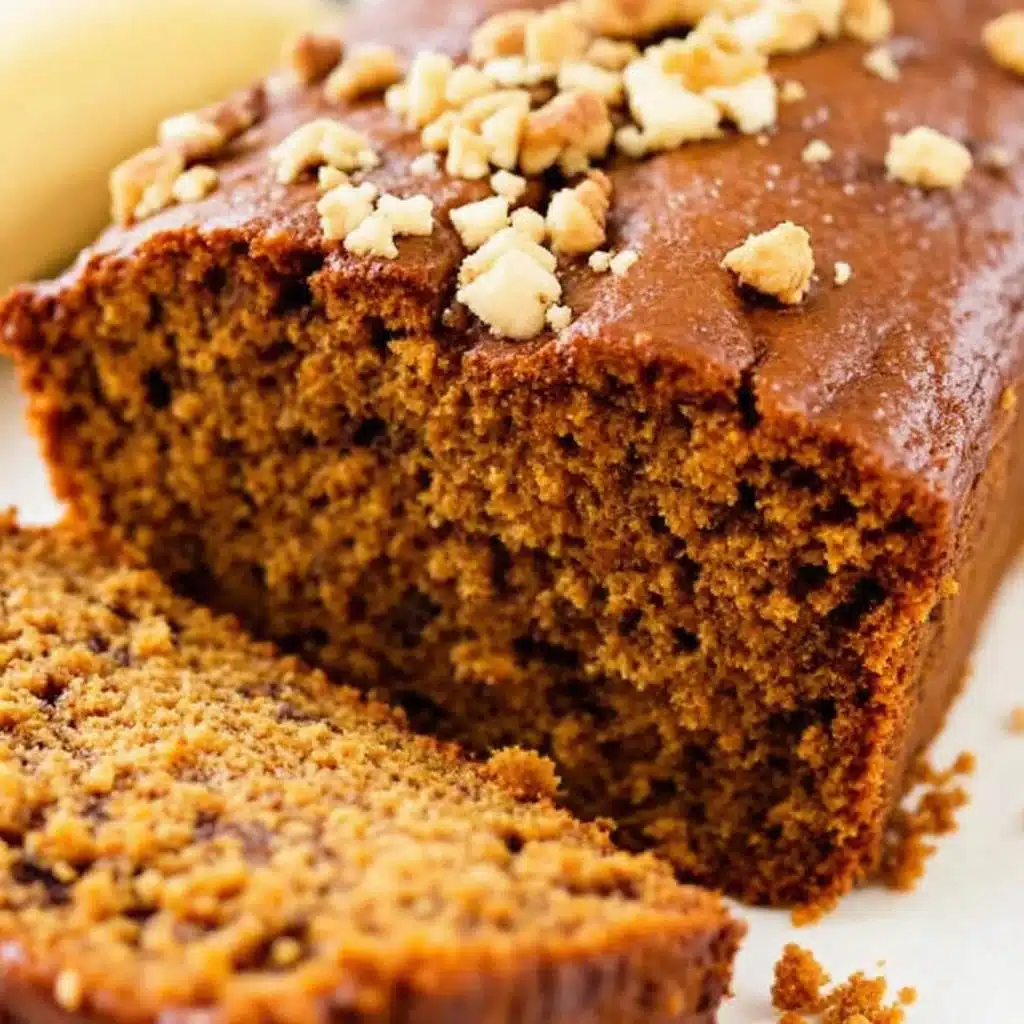
This moist small-batch pumpkin banana bread wasn’t planned. It was an accident born of necessity. But now? It’s my go-to. It’s for those mornings when I need comfort but have zero energy for baking. It’s for the “I just need one slice before I leave” moments. It stuck because it’s forgiving. It’s forgiving when you overmix it. It’s forgiving when you forget the baking powder (don’t do that, but it still works). It’s just good.
Why You’ll Love This Recipe
Let’s be real for a second. Most small-batch recipes feel like a compromise. Like, “Yeah, it’s small, but is it good?” With this moist small-batch pumpkin banana bread, the answer is a hard yes. I’ve tested this version enough times to know it’s not just a quick fix. It’s actually the best way to get that bakery-style texture without eating a whole loaf over three days.
Here is why this recipe earns its spot in your regular rotation:
- Quick & Easy: This comes together in under 10 minutes of prep time. You literally mash, mix, and bake. Perfect for busy weeknights or last-minute cravings when you need sugar ASAP.
- Simple Ingredients: No fancy grocery trips needed. You likely already have canned pumpkin, ripe bananas, and basic pantry staples in your kitchen. It’s zero-fuss baking.
- Perfect for Single Servings: Great for cozy dinners, rainy afternoon snacks, or when you just want fresh bread for one or two people without the waste.
- Crowd-Pleaser: Always gets rave reviews from kids and adults alike. The kids think it’s just sweet bread; the adults know it’s pumpkin spice magic.
- Unbelievably Delicious: The texture and flavor combo is next-level comfort food. It’s moist, not dry. It’s spiced, not bland. It’s the kind of bread that makes you close your eyes after the first bite.
What makes this different? A lot of small-batch breads turn out like bricks. This one uses the moisture from both the banana and the pumpkin puree to create a tender crumb. It’s not just good—it’s the kind that makes you feel like a pro baker even if you burned the toast this morning. It’s comfort food reimagined—faster, but with the same soul-soothing satisfaction.
If you love this vibe, you might also enjoy my pumpkin spice molasses crinkle scones for a weekend treat, or these brown butter maple pumpkin cookies if you want something handheld.
What Ingredients You Will Need
This recipe uses simple, wholesome ingredients to deliver bold flavor and satisfying texture without the fuss. The magic here is the ratio. You need enough banana for sweetness and structure, and enough pumpkin for that dense, moist crumb that keeps it fresh for days. You don’t need a lot, which is why this is perfect for small households or single bakers.
Here is what you need to gather:
- Ripe Bananas (2 medium): The riper, the better. Look for peels that are mostly brown or black. These provide natural sweetness and moisture. (adds richness)
- Pumpkin Puree (1/2 cup): Use 100% pure pumpkin, not pie filling. Pie filling has sugar and spices that will mess up the balance. (use canned or fresh roasted)
- Granulated Sugar (1/2 cup): White sugar works best for structure, but you can swap in brown sugar for a deeper molasses note.
- Melted Butter (1/4 cup): Unsalted is best so you control the salt. Melt it and let it cool slightly so it doesn’t cook the eggs.
- Egg (1 large): Room temperature eggs bind everything together better. Don’t skip this; it’s the glue.
- All-Purpose Flour (1 cup): Standard flour gives that classic bread texture. For a lighter crumb, you can sift it first.
- Baking Soda (1/2 teaspoon): This is the leavening agent. It reacts with the acidic banana and pumpkin to create lift.
- Baking Powder (1/2 teaspoon): Just a little boost to ensure it rises nicely in the small pan.
- Cinnamon (1 teaspoon): The backbone of the flavor. Use fresh ground if you have it.
- Ginger (1/2 teaspoon): Adds a little warmth and complexity without overpowering.
- Nutmeg (1/4 teaspoon): Just a pinch. Too much makes it taste medicinal.
- Salt (1/4 teaspoon): Essential to balance the sweetness. Never skip the salt.
I recommend using a good quality pumpkin puree like Libby’s or Trader Joe’s for consistent texture. If you are watching your sugar intake, you can reduce the sugar to 1/4 cup, but the bread won’t brown as nicely. For a gluten-free option, use a 1:1 gluten-free flour blend, though the texture will be slightly denser.
Equipment Needed
You don’t need a fancy kitchen to make this. In fact, the simpler the equipment, the better. Here is what you’ll need:
- Mini Loaf Pan: A standard mini loaf pan (about 5×3 inches) is ideal. This ensures the bread bakes evenly and creates that perfect crust-to-crumb ratio. If you don’t have one, a standard 4×2 inch mini pan works too.
- Muffin Tin (Optional): If you want individual portions, you can use a muffin tin. Just reduce the baking time by 5-7 minutes.
- Mixing Bowl: A medium-sized bowl is all you need. One bowl is better for easy cleanup.
- Fork or Potato Masher: For mashing the bananas. A fork is fine if the bananas are very ripe; a masher is faster if they’re stubborn.
- Whisk: To mix the dry ingredients and combine everything smoothly without overmixing.
- Parchment Paper: Highly recommended for the mini loaf pan. It makes removing the bread a breeze and keeps cleanup minimal.
I’ve tried using silicone mini loaf pans before, and while they are easy to clean, they don’t conduct heat as well as metal. You might get a paler crust. If you use silicone, just give it an extra 5 minutes in the oven. Budget-friendly tip: A basic metal mini loaf pan costs about $5 and will last forever.
Preparation Method
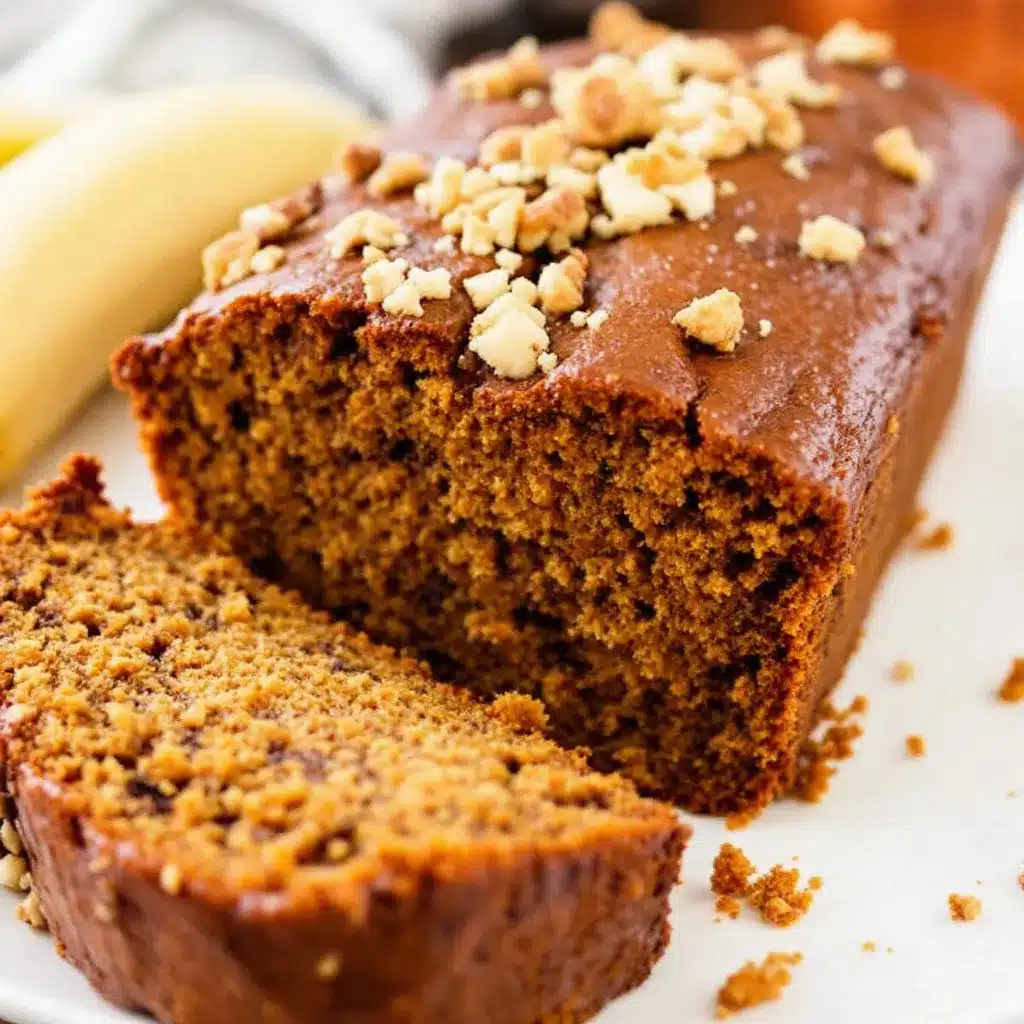
Let’s get into the nitty-gritty. This process is straightforward, but there are a few tricks to keep it moist and delicious.
- Prep the Oven and Pan (2 minutes): Preheat your oven to 350°F (175°C). Grease your mini loaf pan with butter or non-stick spray. For easy removal, line it with parchment paper, leaving a little overhang on the sides like a sling. This is a lifesaver for getting the bread out intact.
- Mash the Bananas (2 minutes): Peel your ripe bananas and toss them into the mixing bowl. Mash them with a fork until they are mostly smooth. You want some small lumps for texture, but no big chunks. You should have about 3/4 cup of mashed banana.
- Combine Wet Ingredients (2 minutes): To the mashed bananas, add the melted butter, sugar, egg, and pumpkin puree. Whisk these together vigorously. You want the sugar to start dissolving a bit and the mixture to look uniform. It should be a bit runny, like a thick batter. Don’t worry, that’s normal.
- Mix Dry Ingredients (1 minute): In a separate small bowl (or just on top of the wet mix if you’re lazy, but separate is safer), whisk together the flour, baking soda, baking powder, cinnamon, ginger, nutmeg, and salt. Make sure there are no clumps of baking soda left, or you’ll get bitter bits.
- Combine Wet and Dry (1 minute): Pour the dry ingredients into the wet mixture. Gently fold them together using a spatula or whisk. Stop as soon as you no longer see streaks of flour. Overmixing is the enemy of moist bread. It develops gluten and makes the bread tough. We want tender, not chewy.
- Bake (35-40 minutes): Pour the batter into your prepared mini loaf pan. It should fill the pan about 3/4 full. Place it in the center of the oven. Bake for 35-40 minutes. Start checking at 35 minutes. Insert a toothpick into the center; if it comes out clean or with just a few moist crumbs, it’s done. If it’s wet, give it 5 more minutes.
- Cool (10 minutes): Let the bread cool in the pan for 10 minutes. Then, use the parchment sling to lift it out and place it on a wire rack. Let it cool completely before slicing, or at least until it’s warm enough to handle. Cutting it while piping hot can make it gummy.
Pro tip: If your toothpick comes out clean but the top looks like it’s burning, cover the top loosely with aluminum foil for the last 10 minutes of baking. This allows the inside to finish cooking without scorching the crust.
Cooking Tips & Techniques
I’ve made this recipe enough times to know where people trip up. Here is how to avoid those mistakes and get the best results.
- Don’t Skimp on Ripe Bananas: Green bananas are starchy and bland. You need those black-spotted bananas for maximum sweetness and moisture. If you don’t have ripe bananas, you can bake green ones on a sheet pan at 300°F for 15-20 minutes until the skins turn black. It’s a great hack.
- Measure Flour Correctly: If you scoop the flour directly with the measuring cup, you’ll pack it down and end up with too much flour. This leads to dry bread. Spoon the flour into the cup and level it off with a knife. This simple change makes a huge difference.
- Room Temperature Ingredients: While not strictly necessary for a quick bread, having your egg and butter at room temperature helps the batter emulsify better. It creates a smoother, more uniform texture. If you’re in a rush, just drop the egg in warm water for 5 minutes.
- Check Early: Ovens vary. Every oven is different. Mine runs hot, so I check at 30 minutes. Yours might take 45. Trust the toothpick test, not just the clock. If the toothpick is wet, it needs more time. If it’s clean, it’s done.
- Resting is Key: I know it’s hard to wait, but let the bread rest. The structure sets as it cools. If you cut it immediately, it might fall apart. Letting it rest for 10-15 minutes ensures clean slices.
Personal fail: I once tried to rush this by using cold eggs. The batter looked curdled. It still baked up fine, but the texture was slightly uneven. Lesson learned: warm up your ingredients if you can.
Variations & Adaptations
This recipe is a blank canvas. Once you master the base, you can play around with it. Here are a few variations I love.
- Chocolate Chip Pumpkin Banana Bread: Add 1/3 cup of mini chocolate chips to the batter. The chocolate pairs beautifully with the pumpkin spices. It’s like a dessert in bread form.
- Walnut or Pecan Addition: Fold in 1/2 cup of chopped walnuts or pecans for crunch. Toast the nuts in a dry pan for 2 minutes before adding them for extra flavor. This adds a nice textural contrast to the soft bread.
- Gluten-Free Option: Swap the all-purpose flour for a high-quality 1:1 gluten-free flour blend. Add a teaspoon of xanthan gum if your blend doesn’t include it. The bread will be slightly denser but still delicious.
- Vegan Version: Use flax eggs (1 tablespoon ground flaxseed mixed with 3 tablespoons water, let sit for 5 minutes) instead of the egg. Use coconut oil instead of butter. The texture will be slightly different but still moist.
- Spice It Up: Add a pinch of cardamom or allspice for a more complex spice profile. I also like a little grated orange zest in the batter for a bright, citrusy note that cuts through the richness.
My personal favorite variation is adding a swirl of cream cheese. Mix 2 tablespoons of cream cheese with 1 teaspoon of sugar and swirl it into the batter before baking. It creates these amazing marbled ribbons of tangy sweetness.
Serving & Storage Suggestions
This bread is best served warm. I love it toasted with a little butter for breakfast. The crust gets crispy, and the inside stays soft. It’s perfect with a cup of coffee or tea.
For storage, let the bread cool completely. Wrap it tightly in plastic wrap or place it in an airtight container. It will keep at room temperature for up to 3 days. If you live in a humid climate, store it in the fridge to prevent mold. It will last up to 5 days in the fridge.
You can also freeze this bread. Wrap individual slices or the whole loaf in plastic wrap, then in aluminum foil or a freezer bag. It will keep in the freezer for up to 3 months. Thaw it at room temperature or warm it in the microwave for 30 seconds.
The flavors actually get better after a day or two. The spices meld together, and the bread becomes even more moist. It’s great for meal prep—slice it up and freeze portions for quick snacks during the week.
Nutritional Information & Benefits
This moist small-batch pumpkin banana bread is a bit of a nutritional win compared to traditional cakes. Pumpkin is packed with Vitamin A and fiber, which adds a healthy boost. Bananas provide potassium and natural sweetness, reducing the need for refined sugar.
Each slice (assuming 8 slices) contains approximately:
- Calories: 180
- Carbohydrates: 30g
- Sugar: 14g
- Fat: 6g
- Protein: 2g
- Fiber: 2g
It’s not a health food, but it’s a better choice than a slice of cake. The fiber from the pumpkin and banana helps with digestion. If you’re watching your sugar, you can reduce the sugar in the recipe or use a natural sweetener like maple syrup, though the texture will be slightly wetter.
For those with allergies, this recipe is naturally nut-free if you skip the walnut/pecan variation. It’s also easily made gluten-free or vegan as noted above. It’s a versatile recipe that can fit into many dietary needs without sacrificing taste.
Conclusion
This moist small-batch pumpkin banana bread is the ultimate solution for your baking cravings. It’s quick, it’s easy, and it tastes incredible. I hope you try it and enjoy it as much as I do. It’s perfect for those chaotic mornings or quiet afternoons when you need a little comfort.
Feel free to customize it with your favorite add-ins. Chocolate chips? Go for it. Nuts? Sure. Just make it your own.
If you make this recipe, I’d love to hear from you. Leave a comment below and let me know how it turned out. Did you add chocolate chips? Did you use fresh pumpkin? Share your tips and variations with the community. And if you loved this, share it with a friend who needs a little baking inspiration.
Thanks for reading, and happy baking!
FAQs
Can I use fresh pumpkin instead of canned?
Yes, you can. You’ll need about 1/2 cup of mashed fresh pumpkin. Roast a small sugar pumpkin, scoop out the flesh, and mash it until smooth. Canned is just more convenient, but fresh tastes great too.
Why is my bread dense?
This usually happens if you overmix the batter or use too much flour. Make sure you spoon and level your flour, and stop mixing as soon as the dry ingredients are incorporated. Also, ensure your baking soda and powder are fresh.
Can I make this in a regular loaf pan?
You can, but you’ll need to double the recipe. If you use a regular loaf pan with the single batch, the bread will be very thin and bake too quickly. For a regular loaf, double the ingredients and bake at 350°F for 50-60 minutes.
How do I know when the bread is done?
The best way is the toothpick test. Insert a toothpick into the center of the loaf. If it comes out clean or with a few moist crumbs, it’s done. If it has wet batter on it, it needs more time.
Can I freeze this bread?
Absolutely. Wrap the cooled loaf tightly in plastic wrap and then in a freezer bag. It will keep for up to 3 months. Thaw it at room temperature or warm slices in the microwave.
Pin This Recipe!
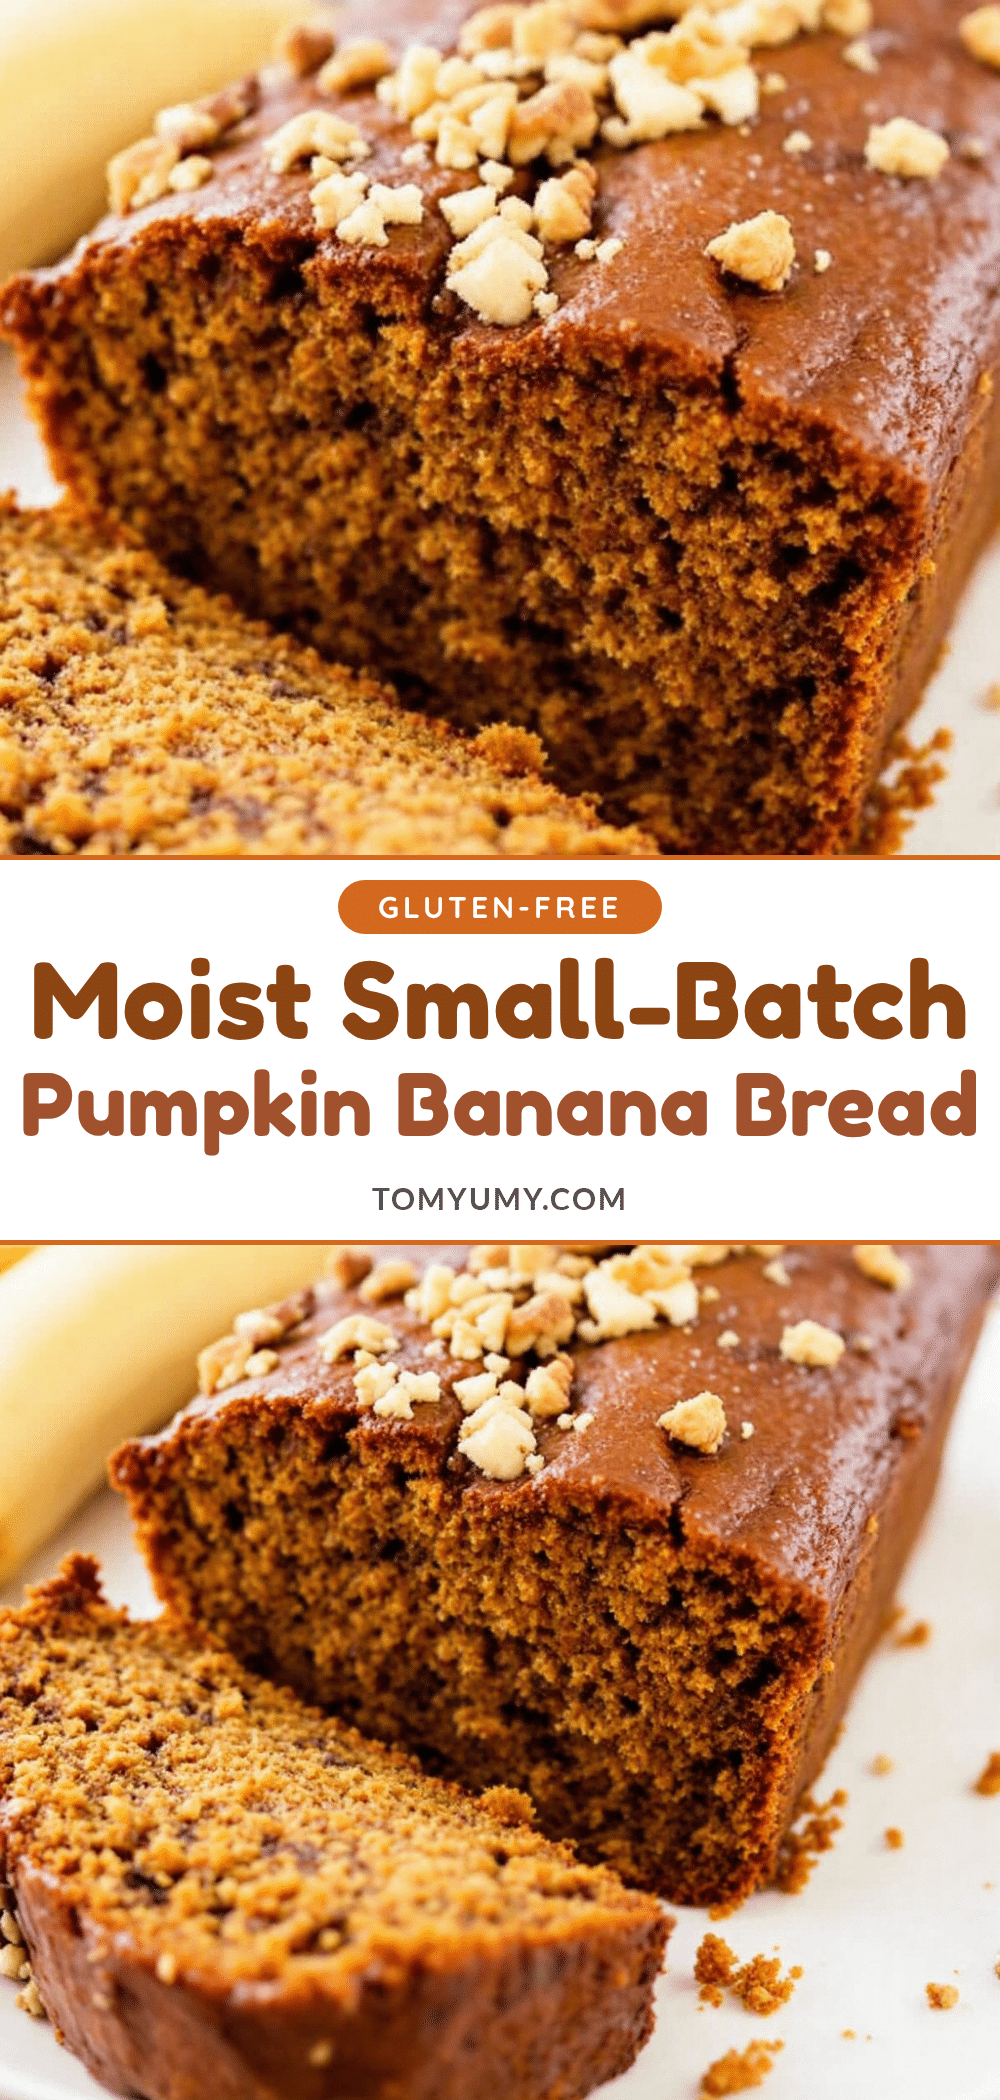
Moist Small-Batch Pumpkin Banana Bread: 3-Ingredient Easy Recipe
A quick, moist, and forgiving small-batch pumpkin banana bread made with simple pantry staples. Perfect for busy mornings or single servings, this recipe delivers bakery-style texture without the fuss.
- Prep Time: 10 minutes
- Cook Time: 35-40 minutes
- Total Time: 45-50 minutes
- Yield: 8 slices 1x
- Category: Breakfast
- Cuisine: American
Ingredients
- 2 medium ripe bananas
- 1/2 cup pumpkin puree (100% pure, not pie filling)
- 1/2 cup granulated sugar
- 1/4 cup melted butter (unsalted)
- 1 large egg (room temperature)
- 1 cup all-purpose flour
- 1/2 teaspoon baking soda
- 1/2 teaspoon baking powder
- 1 teaspoon cinnamon
- 1/2 teaspoon ginger
- 1/4 teaspoon nutmeg
- 1/4 teaspoon salt
Instructions
- Preheat oven to 350°F (175°C). Grease a mini loaf pan and line with parchment paper.
- Mash ripe bananas in a mixing bowl until mostly smooth with small lumps.
- Add melted butter, sugar, egg, and pumpkin puree to the bananas. Whisk vigorously until uniform and slightly runny.
- In a separate bowl, whisk together flour, baking soda, baking powder, cinnamon, ginger, nutmeg, and salt.
- Pour dry ingredients into the wet mixture. Gently fold together with a spatula until just combined; do not overmix.
- Pour batter into the prepared pan, filling it about 3/4 full.
- Bake for 35-40 minutes, or until a toothpick inserted into the center comes out clean or with moist crumbs.
- Cool in the pan for 10 minutes, then lift out using the parchment sling and place on a wire rack to cool completely before slicing.
Notes
Ensure bananas are very ripe (brown/black peels) for maximum sweetness and moisture. Spoon and level flour to avoid dry bread. Do not overmix the batter to maintain a tender crumb. If the top browns too quickly, cover loosely with foil for the last 10 minutes. Can be made gluten-free with a 1:1 flour blend or vegan using flax eggs and coconut oil.
Nutrition
- Serving Size: 1 slice
- Calories: 180
- Sugar: 14
- Sodium: 150
- Fat: 6
- Saturated Fat: 3
- Carbohydrates: 30
- Fiber: 2
- Protein: 2
Keywords: pumpkin banana bread, small batch baking, easy bread recipe, moist banana bread, fall baking, quick breakfast, single serving bread