It was always 4:00 PM on a rainy Tuesday, or maybe a snowed-in Saturday. The kind of day where the world outside feels gray and distant, but inside, the air is thick with warmth. I remember standing on a step stool, watching her slide the rimmed baking sheet into the oven. She never used a timer for the first batch. She just knew. You could smell the sugar caramelizing on the edges before you saw it.
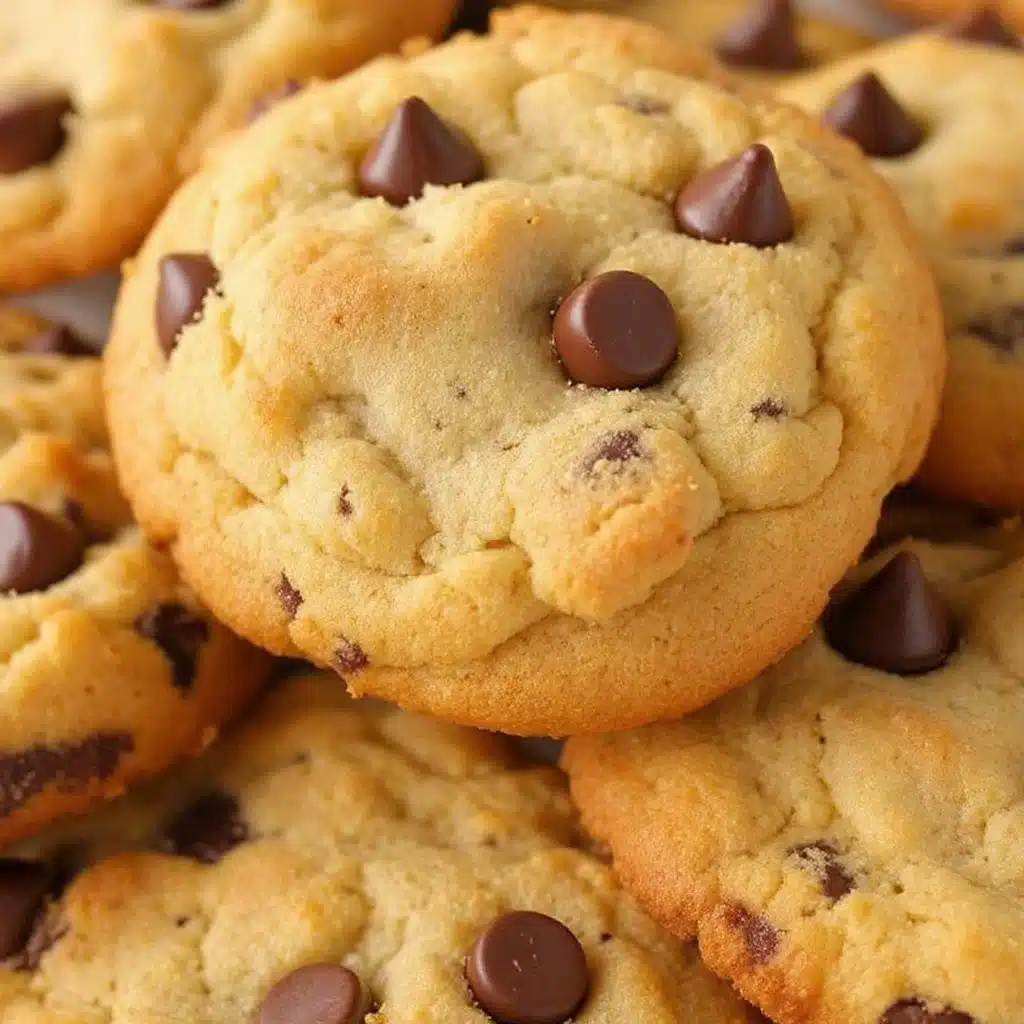
Those were the bakery-style soft-baked chocolate chip cookies. Not the thin, crispy ones from the grocery store freezer aisle. Not the dense, fudgy bars that break your teeth. But something in between. Something that felt like a hug you could eat. The centers were pillowy and underdone-looking, while the edges held that perfect golden crunch. I’d wait until they cooled just enough to not burn my tongue, then take that first bite. The chocolate would melt instantly. The texture was everything.
I’ve spent years trying to recreate that exact sensation. I’ve burned batches. I’ve made cookies that spread into flat discs. I’ve tried adding too much baking soda, which left a metallic aftertaste, and not enough, which resulted in rocks. But honestly, it wasn’t about finding a new recipe. It was about understanding why the old one worked. It was about the ratio of brown sugar to white sugar, the importance of chilling the dough, and the secret weapon of bread flour. Now, when I make these, I don’t just bake cookies. I capture that rainy afternoon. I capture the feeling of safety and sweetness that comes from knowing exactly what you’re making. And now, you can too.
Why You’ll Love This Recipe
There is a reason this bakery-style soft-baked chocolate chip cookie recipe has become the cornerstone of my weekend baking routine. It’s not just about taste, though it certainly delivers there. It’s about the reliability and the experience. After dozens of test batches, I’ve dialed in a method that guarantees soft, chewy centers every single time. This isn’t just another cookie recipe; it’s a tested, trusted approach that balances structure with indulgence.
- Quick & Easy: While the dough needs to chill, the actual active time is minimal. You can have these in the oven in under 20 minutes, making them perfect for last-minute cravings or impromptu guests.
- Simple Ingredients: You likely have almost everything in your pantry right now. Flour, butter, sugars, eggs, chocolate. No obscure flours or weird extracts. Just wholesome, simple components that work together.
- Perfect for Gifting: These cookies travel well. They stay soft for days if stored properly, making them ideal for lunchboxes, office treats, or holiday gifts. They pair wonderfully with other easy dessert recipes like salted caramel apple butter thumbprint cookies for a varied cookie platter.
- Crowd-Pleaser: Kids love the softness. Adults appreciate the depth of flavor from the brown butter step. They are universally loved, which is a rare feat in the dessert world.
- Unbelievably Delicious: The texture is next-level. Crispy edges give way to a center that is almost cake-like but still chewy. It’s comfort food at its finest.
What makes this recipe different is the technique. We aren’t just creaming butter and sugar and hoping for the best. We are using a combination of bread flour for structure and cake flour for tenderness. We are chilling the dough to prevent excessive spreading. And we are adding a touch of cornstarch to keep them pillowy soft. This isn’t just a cookie; it’s a engineered treat designed for maximum satisfaction. It’s the kind of cookie that makes you close your eyes after the first bite and forget about the dishes in the sink.
What Ingredients You Will Need
This recipe relies on a few key components to achieve that bakery-quality texture. You don’t need fancy, hard-to-find items, but the quality of what you do use matters. High-quality butter and good chocolate make a huge difference in the final flavor profile. Here is what you need to gather.
For the Dough
- Unsalted Butter: 1 cup (2 sticks or 226g), softened to room temperature. I recommend using a high-fat European-style butter like Kerrygold for richer flavor, but standard unsalted butter works fine too.
- Brown Sugar: 1 ½ cups (300g), packed. Dark brown sugar adds more molasses flavor and moisture, which helps keep the cookies soft. Light brown sugar works, but dark is better for that deep, caramel note.
- Granulated White Sugar: ½ cup (100g). This helps create the crispy edges. Don’t skip it entirely, or the cookies will be too cakey.
- Eggs: 2 large eggs, room temperature. Room temperature eggs emulsify better with the butter and sugar, creating a smoother dough.
- Vanilla Extract: 2 teaspoons. Use pure vanilla extract, not imitation. The flavor is crucial here.
- All-Purpose Flour: 2 ½ cups (315g). This is the base of the cookie.
- Bread Flour: ½ cup (60g). This is the secret weapon. The higher protein content in bread flour gives the cookies structure and that slight chewiness you get at a bakery. If you don’t have it, you can use all all-purpose flour, but the texture will be slightly different.
- Cornstarch: 1 teaspoon. This tenderizes the gluten, ensuring the center stays soft and pillowy rather than tough.
- Baking Soda: 1 teaspoon. This helps the cookies spread and brown.
- Salt: 1 teaspoon. Fine sea salt or table salt. Salt is essential to balance the sweetness.
For the Mix-Ins

- Chocolate Chips: 2 cups (340g). I prefer a mix of semi-sweet chocolate chips and chopped chocolate bars. Chopping a bar gives you pockets of melted chocolate that are more impressive than uniform chips. Look for a brand with at least 60% cocoa content for the best flavor.
- Flaky Sea Salt (Optional): For sprinkling on top after baking. This adds a nice contrast to the sweet dough.
Substitutions are easy here. If you need a gluten-free option, you can use a 1:1 gluten-free flour blend, though the texture might be slightly more crumbly. For a dairy-free version, use a high-quality vegan butter stick, but be aware that the cookies may spread more. You can also swap the chocolate chips for white chocolate or butterscotch chips if you prefer a different flavor profile.
Equipment Needed
You don’t need a lot of fancy gadgets to make these cookies, but having the right tools makes the process smoother. The most important item is a large mixing bowl. A glass or stainless steel bowl is best because it doesn’t retain heat as much as plastic when you’re mixing in cold ingredients.
A stand mixer with a paddle attachment is helpful for creaming the butter and sugars, but a sturdy hand mixer or even a wooden spoon and some elbow grease will work. Just make sure the butter is softened enough to mix easily. If you’re using a hand mixer, you’ll need about 3-4 minutes to get that light and fluffy texture.
For baking, use heavy-gauge rimmed baking sheets. Lightweight, flimsy pans can cause uneven baking, leading to burnt edges and raw centers. If you don’t have heavy sheets, line them with parchment paper. This is non-negotiable for easy cleanup and consistent browning. I also recommend investing in a digital kitchen scale. While you can use cups, weighing your flour is the only way to get consistent results. Too much flour leads to dry cookies. Too little leads to spreads. A scale takes the guesswork out.
A cooling rack is essential. You don’t want to leave the cookies on the hot pan, or they will continue to cook and become tough. Transfer them to a wire rack immediately after baking. If you’re worried about your baking sheets warping over time, rotate them halfway through baking. This is a simple trick that ensures even browning on all sides.
Preparation Method
Let’s get into the nitty-gritty of making these cookies. The process is straightforward, but attention to detail is key. Follow these steps closely for the best results.
- Prepare your dry ingredients: In a medium bowl, whisk together the all-purpose flour, bread flour, cornstarch, baking soda, and salt. Set this aside. Whisking ensures that the leavening agents and salt are evenly distributed, so you don’t get any bitter bites of baking soda.
- Cream the butter and sugars: In a large bowl, beat the softened unsalted butter, brown sugar, and granulated sugar together. If using a stand mixer, use the paddle attachment on medium speed. If mixing by hand, use a wooden spoon and put some effort in. You want this mixture to be light, fluffy, and pale in color. This should take about 3-4 minutes. This step incorporates air, which helps the cookies rise slightly.
- Add the eggs and vanilla: Beat in the eggs one at a time, mixing well after each addition. Scrape down the sides of the bowl with a spatula to ensure everything is incorporated. Add the vanilla extract and mix until combined. The mixture might look slightly curdled at this point, which is normal.
- Combine wet and dry: Gradually add the dry ingredients to the wet ingredients. Mix on low speed until just combined. Do not overmix. Once the flour disappears, stop mixing. Overmixing develops gluten, which can make the cookies tough instead of tender.
- Fold in the chocolate: Use a spatula to gently fold in the chocolate chips. Be careful not to crush them. You want distinct chunks of chocolate in every cookie.
- Chill the dough: Cover the bowl with plastic wrap or a lid and refrigerate for at least 1 hour, or up to 3 days. This step is crucial. Chilling solidifies the fat, which prevents the cookies from spreading too much in the oven. It also allows the flour to hydrate fully, resulting in a deeper, richer flavor. If you’re in a hurry, you can freeze the dough for 30 minutes.
- Preheat and prepare pans: Preheat your oven to 350°F (175°C). Line two large baking sheets with parchment paper. Do not grease the pans; the parchment is enough.
- Scoop the dough: Use a cookie scoop or a tablespoon to portion the dough onto the baking sheets. Leave about 2 inches between each cookie because they will spread. For uniform cookies, try to make them all the same size. Aim for about 2-3 tablespoons of dough per cookie.
- Bake: Bake for 10-12 minutes. The edges should be golden brown, but the centers should still look soft and slightly underdone. They will firm up as they cool. Do not overbake them in the oven, or they will be dry.
- Cool: Let the cookies sit on the baking sheet for 5 minutes. Then, transfer them to a wire rack to cool completely. If you can’t wait, eat one warm. They are best eaten warm, fresh from the oven.
Cooking Tips & Techniques
There are a few common pitfalls that can ruin a batch of cookies, but with a few simple adjustments, you can avoid them. First, don’t skip the chilling step. I know it’s tempting to bake them right away, but the difference in texture is night and day. Chilled dough produces thicker, chewier cookies. Room temperature dough produces thin, crispy ones.
Another common mistake is overmixing the dough. Once you add the flour, mix until it just comes together. If you keep mixing, you’re developing gluten, and your cookies will be tough. Think of it like making pie crust; you want minimal handling.
Pay attention to your oven temperature. Ovens can vary wildly. If your cookies are spreading too much, your oven might be too hot. If they are staying too puffy and not browning, it might be too cold. Use an oven thermometer to check. Also, rotate your baking sheets halfway through baking. This ensures even browning, especially if your oven has hot spots.
If you want extra chewy cookies, use more brown sugar than white sugar. The molasses in brown sugar retains moisture. If you want crispier cookies, increase the white sugar. You can also try adding an extra egg yolk for richness and chewiness. I often add an extra yolk to this recipe for that extra bakery-style softness.
Don’t be afraid to taste the dough. It’s safe to eat because there is no raw flour (if you heat-treat it) or raw eggs (if you use pasteurized eggs). But even if you don’t taste it, trust the process. The aroma alone should tell you it’s working.
Variations & Adaptations
While the classic chocolate chip version is my favorite, there are plenty of ways to customize these cookies. Here are a few ideas.
- Double Chocolate: Add ¼ cup of cocoa powder to the dry ingredients. This gives the dough a chocolate base, and you can still add the chocolate chips on top for a double chocolate hit. This pairs well with other chocolate-heavy treats like crispy brown butter salted caramel chocolate chip cookies.
- Peanut Butter: Swirl 2 tablespoons of peanut butter into each ball of dough before baking. This adds a nice salty, nutty contrast to the sweet chocolate.
- Macadamia Nut: Swap half of the chocolate chips for chopped macadamia nuts. This gives a tropical twist and adds a nice crunch.
- White Chocolate Macadamia: Use white chocolate chips and macadamia nuts. This is a classic combination that is sweet and buttery.
- Gluten-Free: Use a 1:1 gluten-free flour blend. Add an extra teaspoon of xanthan gum if your blend doesn’t include it, to help with structure.
For dietary restrictions, you can use dairy-free butter and chocolate chips. The texture might be slightly different, but the flavor will still be great. If you’re avoiding nuts, just stick to the classic chocolate chip version. These cookies are versatile and easy to adapt to your needs.
Serving & Storage Suggestions
These cookies are best served at room temperature, but they are also delicious warm. If you want to serve them for a party, arrange them on a platter with a variety of other desserts. They pair well with coffee, tea, or a cold glass of milk. For a more sophisticated touch, serve them with a scoop of vanilla bean ice cream or a drizzle of salted caramel sauce.
For storage, keep the cookies in an airtight container at room temperature for up to 5 days. To keep them soft, add a slice of bread to the container. The bread will release moisture, keeping the cookies soft for longer. If you want to freeze the dough, scoop it onto a baking sheet and freeze until solid. Then transfer the dough balls to a freezer bag. You can bake them straight from the freezer, just add 1-2 minutes to the baking time.
If you have leftover baked cookies, you can freeze them for up to 3 months. Thaw them at room temperature before eating. The flavor remains strong, and the texture stays soft. These cookies are great for meal prepping or having a dessert ready to go. They also make great gifts. Package them in a tin or a box with a ribbon for a homemade touch.
Nutritional Information & Benefits
While these cookies are a treat, they are made with simple, wholesome ingredients. Here is an estimated nutritional breakdown per cookie (assuming 24 cookies per batch):
| Nutrient | Amount |
|---|---|
| Calories | 220 |
| Total Fat | 12g |
| Saturated Fat | 7g |
| Cholesterol | 35mg |
| Sodium | 180mg |
| Total Carbohydrates | 28g |
| Dietary Fiber | 1g |
| Sugars | 18g |
| Protein | 3g |
The butter provides healthy fats, and the eggs offer protein. The chocolate contains antioxidants, especially if you use dark chocolate. While these cookies are indulgent, they are balanced enough to be enjoyed as part of a varied diet. They are a great way to satisfy a sweet tooth without feeling overly guilty. Just remember, moderation is key. Enjoy one or two and savor every bite.
Conclusion
Making bakery-style soft-baked chocolate chip cookies at home is easier than you think. With the right ingredients and a few simple techniques, you can create cookies that are soft, chewy, and full of chocolate. This recipe is reliable, delicious, and perfect for any occasion. Whether you’re baking for your family, gifting to friends, or just treating yourself, these cookies are sure to please.
I encourage you to try this recipe and make it your own. Experiment with different chocolates, add nuts, or swirl in some peanut butter. The possibilities are endless. And if you do make these cookies, I’d love to hear how they turned out. Leave a comment below with your thoughts and any variations you tried. Happy baking!
FAQs
Why are my cookies too flat?
This usually happens if the butter was too warm or if the dough wasn’t chilled enough. Make sure your butter is softened but not melted. Also, chill the dough for at least 1 hour before baking. This helps the cookies hold their shape.
Can I use margarine instead of butter?
I don’t recommend it. Margarine has a higher water content, which can lead to spreading and a different texture. Butter provides the best flavor and structure for these cookies.
How do I make the cookies softer?
To make them softer, use more brown sugar than white sugar. You can also add an extra egg yolk for richness. Avoid overbaking; take them out of the oven when the edges are just starting to brown but the centers look soft.
Can I freeze the cookie dough?
Yes, you can. Scoop the dough onto a baking sheet and freeze until solid. Then transfer to a freezer bag. Bake from frozen, adding 1-2 minutes to the baking time. This is great for having fresh cookies on demand.
What kind of chocolate is best?
I recommend using a mix of semi-sweet chocolate chips and chopped chocolate bars. Chopping a bar gives you irregular chunks that melt nicely. Look for a brand with 60% cocoa content for the best balance of sweetness and chocolate flavor.
Pin This Recipe!
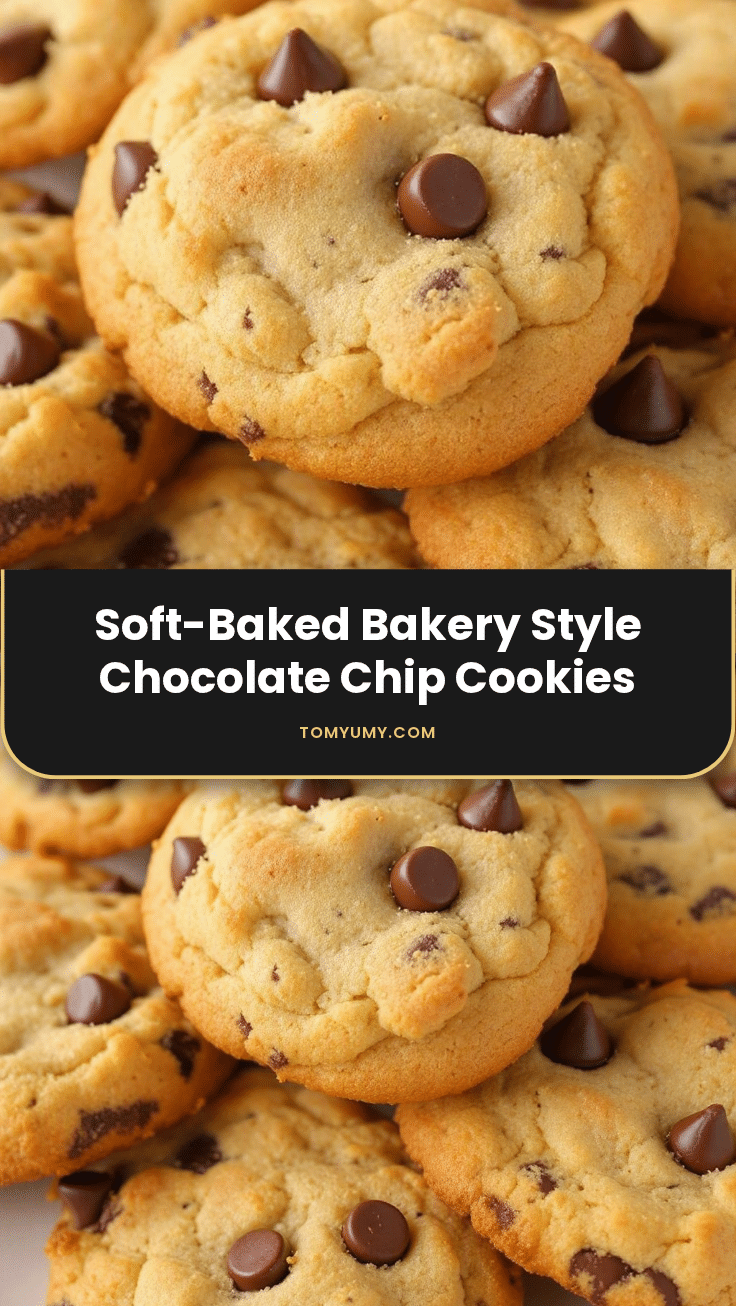
Bakery-Style Soft-Baked Chocolate Chip Cookies

These bakery-style soft-baked chocolate chip cookies feature pillowy centers, golden crispy edges, and rich chocolate flavor. Made with a blend of bread and all-purpose flour, chilled dough, and high-quality ingredients for a reliable, crowd-pleasing treat.
- Prep Time: 20 minutes
- Cook Time: 10-12 minutes
- Total Time: 1 hour 30 minutes
- Yield: 24 cookies 1x
- Category: Dessert
- Cuisine: American
Ingredients
- 1 cup (2 sticks or 226g) unsalted butter, softened to room temperature
- 1 ½ cups (300g) packed brown sugar (dark preferred)
- ½ cup (100g) granulated white sugar
- 2 large eggs, room temperature
- 2 teaspoons pure vanilla extract
- 2 ½ cups (315g) all-purpose flour
- ½ cup (60g) bread flour
- 1 teaspoon cornstarch
- 1 teaspoon baking soda
- 1 teaspoon salt
- 2 cups (340g) chocolate chips (semi-sweet or mix of chips and chopped bars)
- Flaky sea salt (optional, for topping)
Instructions
- In a medium bowl, whisk together the all-purpose flour, bread flour, cornstarch, baking soda, and salt. Set aside.
- In a large bowl, beat the softened unsalted butter, brown sugar, and granulated sugar together until light, fluffy, and pale in color (about 3-4 minutes).
- Beat in the eggs one at a time, mixing well after each addition. Scrape down the sides of the bowl. Add the vanilla extract and mix until combined.
- Gradually add the dry ingredients to the wet ingredients. Mix on low speed until just combined. Do not overmix.
- Use a spatula to gently fold in the chocolate chips.
- Cover the bowl and refrigerate the dough for at least 1 hour (or up to 3 days) to chill.
- Preheat oven to 350°F (175°C). Line two large baking sheets with parchment paper.
- Scoop dough onto baking sheets, leaving 2 inches between cookies. Aim for 2-3 tablespoons of dough per cookie.
- Bake for 10-12 minutes until edges are golden brown but centers still look soft.
- Let cookies sit on the baking sheet for 5 minutes, then transfer to a wire rack to cool completely.
Notes
Chilling the dough is crucial for preventing excessive spreading and developing flavor. Do not overmix the dough once flour is added to avoid tough cookies. For extra softness, use more brown sugar than white sugar or add an extra egg yolk. Cookies can be frozen as dough balls for up to 3 months.
Nutrition
- Serving Size: 1 cookie
- Calories: 220
- Sugar: 18
- Sodium: 180
- Fat: 12
- Saturated Fat: 7
- Carbohydrates: 28
- Fiber: 1
- Protein: 3
Keywords: chocolate chip cookies, bakery style, soft baked cookies, homemade cookies, easy dessert, chocolate chip cookie recipe, chewy cookies