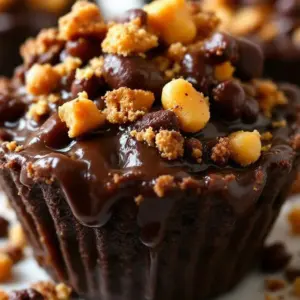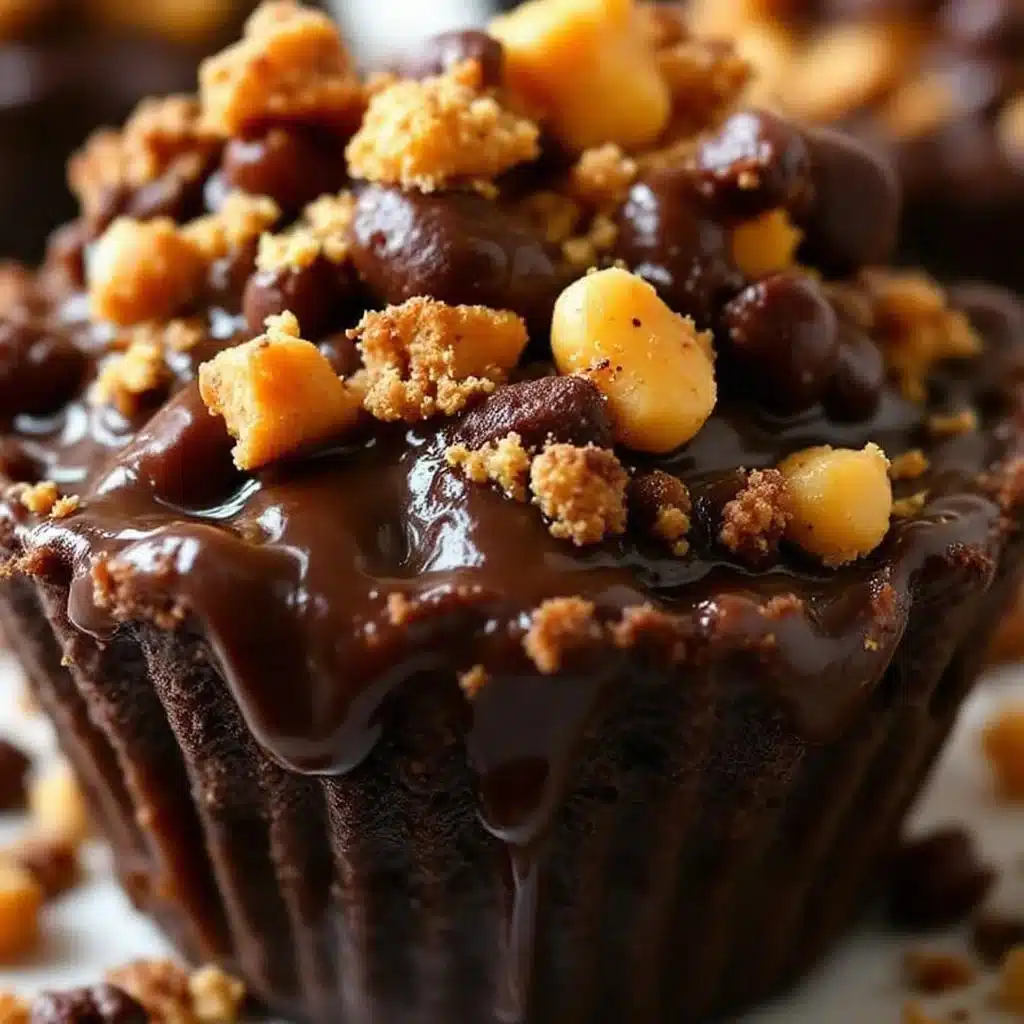
Fourth time in a month and the dirt still looks perfect. Honestly, I didn’t plan this. I just wanted a quick dessert for the kids’ Halloween party at school, and then the neighbor kids asked if they could come over. Then my husband mentioned his office had a “spooky potluck.” Suddenly, I was staring at empty mason jars and a mountain of crushed Oreos for the third time that week.
There is something strangely meditative about layering pudding. You know that feeling when you’re just trying to get through the day, and then you start packing those little cups? It’s like therapy, but with chocolate. I keep making these because they are the only thing that stays stable in my hot car on the way to school. The other no-bake desserts I’ve tried? They turn into soup by the time we get there. Not this one.
The first time I made creamy graveyard dirt pudding cups, I was nervous. Would the kids actually eat it? Would it look like actual dirt? It turned out so good that I started making them every Friday just to watch my husband’s face when he realized it was a treat, not a snack. He still pretends to be confused, which is cute, but mostly I just love how easy it is to pull together when I’m exhausted.
Now, I have the ratios down to a science. The pudding needs to be thick enough to hold the shape, but creamy enough to melt on your tongue. The whipped cream adds that lightness that keeps it from being too heavy. And the “dirt” has to be fine enough to look like topsoil but chunky enough to have some texture. It’s a balance. I’ve learned this through trial and error, and plenty of wasted pudding.
What keeps pulling me back isn’t just that it tastes good. It’s the simplicity. It’s the fact that I can make twenty of these in an hour while the house is quiet. It’s the way the kids line up to grab one. It’s the quiet pride of knowing I made something special without turning my kitchen into a disaster zone. I just keep making them. Because honestly, who doesn’t love a good dirt cake?
Why You’ll Love This Recipe
I’ve spent years testing no-bake desserts, and let’s be honest, most of them are either too sweet or fall apart before you get a bite. This creamy graveyard dirt pudding cups recipe is different because it’s built on a foundation of stability and flavor that actually holds up. I developed this specific method after realizing that store-bought instant pudding mixed with heavy cream creates a texture that is far superior to using whipped topping or just plain pudding. The fat content in the cream stabilizes the pudding, giving it that rich, cheesecake-like mouthfeel without the hassle of a water bath.
- Quick & Easy: You can have these assembled and ready for the fridge in under 20 minutes. No oven, no waiting for cooling racks, no stress. It’s perfect for last-minute Halloween parties or a spontaneous Tuesday night treat.
- Simple Ingredients: You likely have everything in your pantry right now. Instant chocolate pudding mix, heavy cream, milk, Oreos, and some candy for decoration. No fancy grocery trips needed. It’s pantry-friendly cooking at its best.
- Perfect for Halloween: This is the ultimate seasonal treat. It fits the spooky theme perfectly but tastes like a classic dessert. It’s great for school parties, office potlucks, or just a fun activity to do with kids before the holiday.
- Crowd-Pleaser: I’ve served these to picky eaters and chocolate lovers alike. Everyone loves the contrast between the soft pudding and the crunchy cookie crumbs. It’s a texture combo that works every single time.
- Unbelievably Delicious: The chocolate pudding is rich and velvety, while the Oreo “dirt” adds a satisfying crunch. It’s comfort food that feels a bit fancy because of the presentation, but is actually super simple to make.
What makes this recipe stand out from the rest is the specific ratio of pudding to cream. Most recipes just say “mix pudding,” but I found that adding half-and-half or heavy cream to the instant pudding mix creates a denser, more stable base. This prevents the cups from getting watery if they sit out for a few hours. It’s a small detail that makes a huge difference in the final quality. It’s not just another dirt cake; it’s the version that actually works.
There’s also the emotional connection. Making these feels like stepping back into my own childhood, but with better ingredients. It’s nostalgic but elevated. It’s the kind of recipe that brings people together. You can watch kids’ eyes light up when they see the little tombstones. It’s simple joy in a jar.
What Ingredients You Will Need
This recipe relies on a few key components to create that perfect balance of creamy, crunchy, and spooky. The ingredients are chosen for their ability to hold structure and deliver bold chocolate flavor without requiring any baking skills. You don’t need specialty items, just good quality basics.
- Instant Chocolate Pudding Mix (3.4 oz boxes): I use two boxes of Jell-O or similar brand. Look for the “Fast Set” or standard instant variety. Do not use the cook-and-serve kind; it won’t set properly in this no-bake format. The powder is the base of the creaminess.
- Heavy Whipping Cream (2 cups): This is crucial. You need cold heavy cream with at least 36% fat content. This gives the pudding its rich, stable texture. If you use half-and-half, it might be too runny. I recommend using a brand like Horizon or organic options if you prefer, but the fat content is the most important factor.
- Whole Milk (1/2 cup): Used to activate the pudding mix. Whole milk adds more richness than skim milk, which helps maintain that creamy mouthfeel. Cold milk works best when whisking the initial mix.
- Oreo Cookies (1 package, 36 count): You’ll need about 15-20 cookies for the “dirt.” Use original Oreos for the classic chocolate-vanilla contrast. For a gluten-free option, you can use gluten-free chocolate sandwich cookies, though they may be slightly drier. Crush them finely for the best dirt effect.
- Cream Cheese (4 oz, softened): Adding a block of softened cream cheese to the pudding mixture adds tang and stability. It helps the pudding hold its shape in the cups and adds a cheesecake-like depth. Make sure it’s fully softened to avoid lumps.
- Whipped Cream Topping (Optional): For the “graveyard” clouds or extra layers, you can use store-bought whipped topping or make your own stabilized whipped cream. This adds a nice visual contrast.
- Candy Decorations:
- Mini Tombstones: You can buy pre-made chocolate tombstones or make your own using white chocolate and black food coloring pens.
- Gummy Worms: Essential for the “dirt” effect. Red worms look especially creepy.
- Edible Glitter or Dust: Optional, but adds a nice sparkle to the “mud.”
- Vanilla Extract (1 tsp): Just a teaspoon to enhance the chocolate flavor and add a subtle aromatic note. Don’t skip it; it rounds out the sweetness.
When selecting your Oreos, look for fresh packages. Old cookies will be stale and won’t crush as evenly. If you’re making these ahead of time, store the cookies in an airtight container until you’re ready to crush them. The freshness of the cookies directly impacts the texture of your dirt layer.
Equipment Needed
You don’t need much to make this recipe, which is part of its charm. However, having the right tools makes the process smoother.
- Mixing Bowls (2): One large bowl for the pudding mixture and one medium bowl for crushing cookies. I prefer glass bowls because they are easy to clean and don’t retain odors.
- Electric Hand Mixer or Stand Mixer: Essential for whipping the heavy cream and beating the cream cheese into the pudding. Doing this by hand is possible but takes effort and might not get the texture as smooth. A stand mixer with a whisk attachment is ideal.
- Whisk: For mixing the instant pudding powder with milk initially. A simple balloon whisk works fine.
- Ziploc Bags or Food Processor: To crush the Oreos. A food processor gives the most consistent “dirt” texture, but a Ziploc bag and a rolling pin work perfectly fine if you don’t want to wash extra dishes. Just be careful not to over-process if you want some larger chunks.
- Serving Cups: Clear plastic or glass cups work best so the layers are visible. Mason jars are trendy and reusable, but small plastic dessert cups are great for parties because they are unbreakable. I use 6-ounce cups for a perfect portion size.
- Spatula: A rubber spatula is needed to fold the whipped cream into the pudding gently, keeping the air in the mixture.
If you don’t have an electric mixer, you can whip the cream by hand, but it will take about 10-15 minutes of vigorous whisking. Invest in a good hand mixer if you plan on making no-bake desserts often. They pay for themselves in saved time and arm strength.
Preparation Method
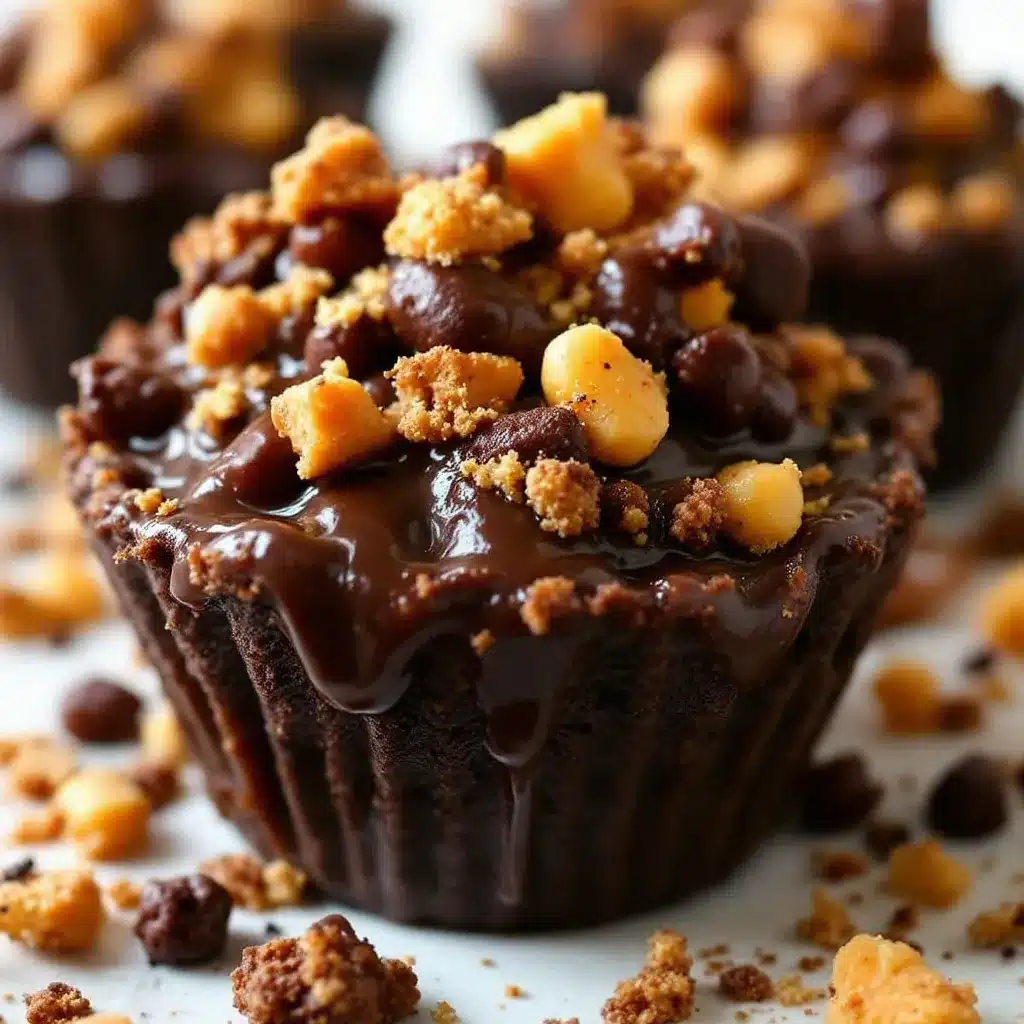
- Prepare the Cookie Dirt: Start by crushing the Oreos. If using a food processor, pulse until you have fine crumbs. If using a bag, crush them with a rolling pin until they resemble wet sand. Set aside about 1/4 cup of the crumbs for later decoration. (Time: 5 minutes)
- Make the Pudding Base: In a large bowl, combine the instant chocolate pudding mix and the softened cream cheese. Whisk them together until the cream cheese is broken down and incorporated into the powder. This step is important to avoid lumps later. (Time: 2 minutes)
- Add Milk and Cream: Pour in the cold milk and half of the cold heavy whipping cream. Whisk vigorously for about 2 minutes until the mixture thickens. The cream cheese and heavy cream will help stabilize the pudding, making it thicker than standard prepared pudding. (Time: 3 minutes)
- Whip the Remaining Cream: In a separate chilled bowl, whip the remaining heavy cream until stiff peaks form. This adds air and lightness to the final dessert. Be careful not to over-whip it into butter. (Time: 3 minutes)
- Fold the Cream: Gently fold the whipped cream into the pudding mixture using a spatula. Do this in two additions to keep the mixture light and airy. You want a uniform chocolate color with no white streaks. (Time: 2 minutes)
- Assemble the Cups: Take your serving cups. Add a layer of Oreo crumbs to the bottom (about 1 tablespoon). Then, spoon or pipe the chocolate pudding mixture into the cup, filling it about 3/4 full. The contrast of the dark crumbs and the lighter pudding is visually appealing. (Time: 10 minutes for multiple cups)
- Add the Top Dirt Layer: Sprinkle another layer of Oreo crumbs on top of the pudding. This looks like the surface of the dirt. Press it down lightly so it sticks to the pudding. (Time: 5 minutes)
- Decorate: Insert the mini tombstones into the dirt layer. Add gummy worms by pushing them into the side of the cup or laying them on top. Add a dollop of whipped cream on top of one or two cups for a “cloud” effect if desired. (Time: 5 minutes)
- Chill: Place the cups in the refrigerator for at least 1 hour before serving. This allows the pudding to set fully and the flavors to meld. (Time: 1 hour)
When assembling, try to keep the layers distinct. The visual appeal is half the fun. If the pudding seems too soft, add a bit more whipped cream to stabilize it. If it’s too stiff, add a teaspoon of milk.
Cooking Tips & Techniques
There are a few tricks I’ve learned to ensure these cups come out perfect every time. First, temperature matters. Keep your heavy cream cold until the moment you whip it. If the cream is warm, it won’t whip properly, and your pudding will be runny. I usually keep my mixing bowl in the fridge for 15 minutes before starting.
Another common mistake is not crushing the Oreos finely enough. If the crumbs are too large, they won’t look like dirt. They’ll look like rocks. Aim for a texture similar to coarse sand. If you use a food processor, pulse in short bursts. You want control.
I also recommend using a piping bag to fill the cups. It’s cleaner and allows you to create a more professional-looking mound on top. If you don’t have a piping bag, a spoon works, but you’ll get messy fingers. No shame in that, though.
When folding the whipped cream, use a gentle motion. Cut down through the middle and fold over the top. Rotate the bowl. This preserves the air bubbles, making the pudding light. If you stir too much, you’ll deflate the cream and make the dessert dense.
Finally, don’t skip the chilling time. The pudding needs time to set. If you serve them immediately, the layers might slide around. An hour in the fridge is the sweet spot. Overnight is fine too, but the Oreo crumbs might get a bit soggy if stored for too long. Best to make them the day of or the night before.
Variations & Adaptations
While the classic chocolate version is my favorite, there are fun ways to tweak this recipe.
- Pumpkin Spice Version: Swap the chocolate pudding for instant pumpkin pudding. Use vanilla Oreos for the “dirt” and decorate with mini pumpkins or orange candy corn. This is great for Thanksgiving.
- Strawberry Dirt: Use strawberry pudding mix and crushed vanilla wafers or strawberry Oreos. Top with fresh strawberry slices. It’s a lighter, fruitier option.
- Gluten-Free Option: Use gluten-free instant pudding mix and gluten-free sandwich cookies. Many brands now make GF Oreos that crush just as well. Be sure to check the label on the pudding mix as well.
- Dairy-Free Option: Use dairy-free milk and dairy-free heavy cream alternative (like coconut cream). Use dairy-free chocolate pudding and dairy-free cookies. Note that coconut cream might impart a slight coconut flavor, which pairs well with chocolate.
- Flavor Boost: Add a teaspoon of espresso powder to the chocolate pudding mix. It enhances the chocolate flavor without making it taste like coffee. It’s a secret weapon for richer chocolate desserts.
I once tried making this with vanilla pudding and chocolate crumbs. It was okay, but the contrast wasn’t as striking. Stick to the classic combo for the best visual impact.
Serving & Storage Suggestions
These cups are best served chilled. The cold temperature enhances the creamy texture of the pudding. Present them on a platter with a spooky tablecloth for maximum effect. They are perfect for Halloween parties, school events, or family movie nights.
For storage, keep the cups in the refrigerator in an airtight container. They will last for up to 3 days. However, the Oreo crumbs will continue to absorb moisture from the pudding, so the texture will change slightly over time. The first day is best for the crunchiest dirt.
Do not freeze these cups. The whipped cream and pudding can separate upon thawing, resulting in a grainy texture. If you need to make them ahead, assemble them 24 hours in advance and store them in the fridge.
When serving, consider pairing them with a cold glass of milk or a cup of hot coffee. The contrast of temperatures and flavors is delightful. You can also serve them alongside other Halloween treats like creamy pumpkin spice ghost Oreo truffles for a spooky spread.
Nutritional Information & Benefits
Each cup contains approximately 250-300 calories, depending on the size of the cup and the amount of toppings used. The main ingredients are sugar and fat, so enjoy in moderation. The chocolate pudding provides a small amount of calcium from the milk and cream. The Oreos offer some iron, though it’s minimal.
For a healthier twist, you can use low-fat milk and reduce the heavy cream to half-and-half, though the texture will be less rich. You can also reduce the sugar in the pudding by using a sugar-free mix, but note that the texture might be affected.
This recipe is not suitable for vegans due to the dairy content. For nut-free diets, ensure your cookies and pudding mix are processed in nut-free facilities. Always check labels if you have severe allergies.
I view this recipe as a fun, occasional treat rather than a health food. It’s about the joy of making something special for loved ones. The happiness it brings outweighs the calories.
Conclusion
These creamy graveyard dirt pudding cups are more than just a dessert. They are a memory-maker. I hope you find as much joy in making them as I have. They are simple, delicious, and incredibly festive. Don’t be afraid to experiment with different candies or cookie types. Make it your own.
I’d love to see your creations! Share your photos on social media and tag me. Let me know how your spooky treats turned out. Did the kids love them? Did the adults sneak a few? I’m always curious to hear about your kitchen adventures.
Happy Halloween, and happy eating! Let’s make this season sweet and spooky.
Frequently Asked Questions
Can I make these cups ahead of time?
Yes, you can assemble them up to 24 hours in advance. Store them in the refrigerator in an airtight container. The flavors will meld, and the pudding will set nicely. However, the Oreo crumbs may lose some crunchiness over time.
What kind of cups work best?
Clear plastic or glass cups are best so the layers are visible. Mason jars are great for reuse, but small dessert cups are perfect for parties. Any cup that holds about 6 ounces of filling will work.
Can I use whipped topping instead of heavy cream?
You can, but the texture will be different. Whipped topping is lighter and less stable. The pudding might be runnier. For the best results, use heavy whipping cream to whip yourself.
How long do these last in the fridge?
They last for about 3 days in the refrigerator. After that, the texture may degrade, and the cookies may become too soggy.
Can I freeze these cups?
No, freezing is not recommended. The dairy-based pudding and whipped cream can separate and become grainy when thawed. It’s best to enjoy them fresh or chilled.
Pin This Recipe!
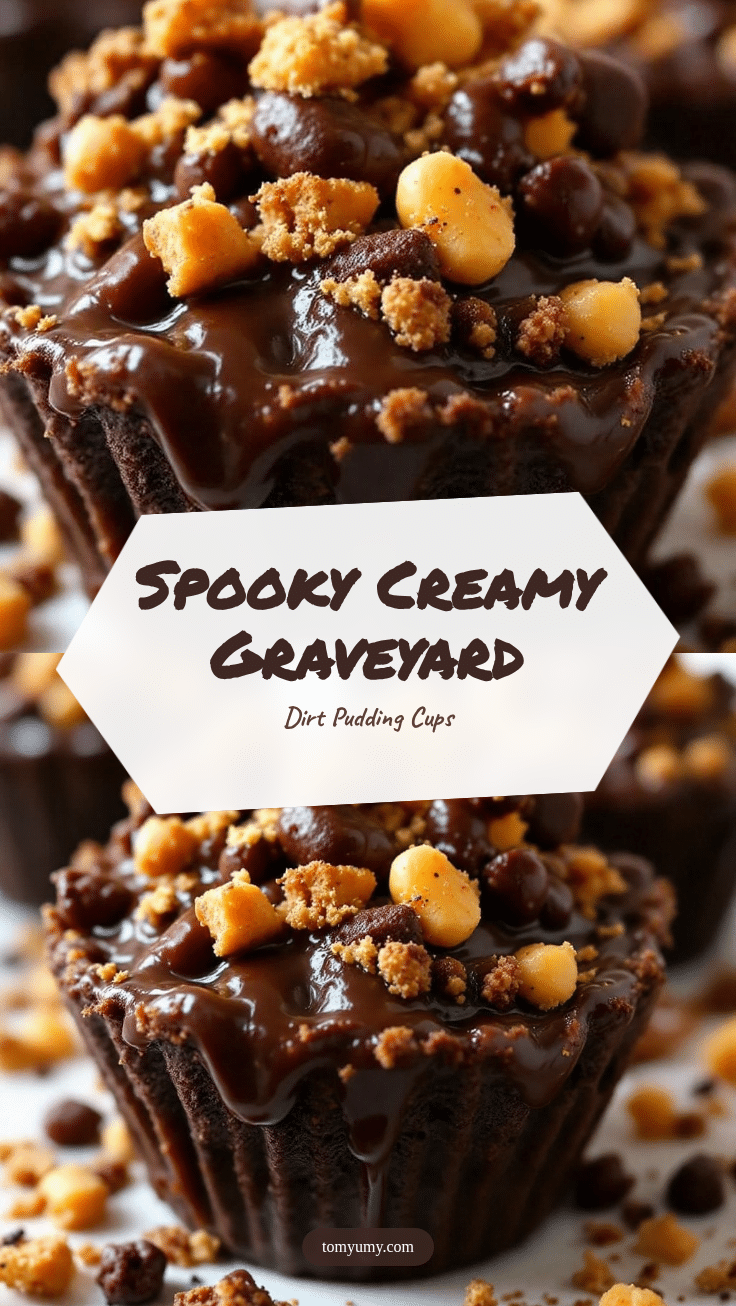
Creamy Graveyard Dirt Pudding Cups: Easy No-Bake Halloween Treat

These creamy graveyard dirt pudding cups are a stable, no-bake Halloween dessert featuring layers of rich chocolate pudding, whipped cream, and crushed Oreo ‘dirt’. Perfect for parties and easy to assemble.
- Prep Time: 20 minutes
- Cook Time: 0 minutes
- Total Time: 1 hour 20 minutes
- Yield: Approximately 20 cups 1x
- Category: Dessert
- Cuisine: American
Ingredients
- 2 boxes (3.4 oz each) Instant Chocolate Pudding Mix (Fast Set or standard)
- 2 cups Heavy Whipping Cream (cold, at least 36% fat)
- 1/2 cup Whole Milk (cold)
- 1 package (36 count) Oreo Cookies (original)
- 4 oz Cream Cheese (softened)
- 1 tsp Vanilla Extract
- Whipped Cream Topping (optional, for decoration)
- Mini Tombstones (for decoration)
- Gummy Worms (for decoration)
- Edible Glitter or Dust (optional)
Instructions
- Crush the Oreos into fine crumbs using a food processor or a Ziploc bag with a rolling pin. Reserve 1/4 cup for decoration.
- In a large bowl, whisk the instant chocolate pudding mix and softened cream cheese together until the cream cheese is broken down and incorporated.
- Add the cold milk and half of the cold heavy whipping cream to the pudding mixture. Whisk vigorously for about 2 minutes until thickened.
- In a separate chilled bowl, whip the remaining heavy cream until stiff peaks form.
- Gently fold the whipped cream into the pudding mixture in two additions using a spatula until uniform and no white streaks remain.
- Assemble the cups by adding a layer of Oreo crumbs to the bottom of each serving cup.
- Spoon or pipe the chocolate pudding mixture into the cups, filling them about 3/4 full.
- Sprinkle another layer of Oreo crumbs on top of the pudding and press lightly.
- Decorate with mini tombstones, gummy worms, and optional whipped cream dollops.
- Refrigerate for at least 1 hour before serving to allow the pudding to set.
Notes
Keep heavy cream cold until whipping. Crush Oreos finely for a dirt-like texture. Do not freeze as dairy-based pudding may separate. Best served chilled within 3 days.
Nutrition
- Serving Size: 1 cup (6 oz)
- Calories: 275
- Sugar: 22
- Sodium: 250
- Fat: 18
- Saturated Fat: 11
- Carbohydrates: 28
- Fiber: 1
- Protein: 4
Keywords: Halloween dessert, no-bake pudding, Oreo dirt cake, graveyard pudding cups, easy party treat, kid-friendly dessert