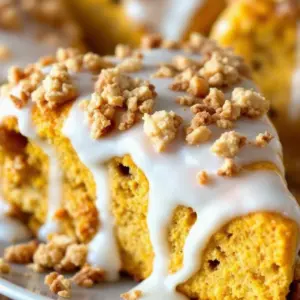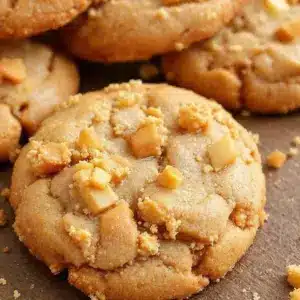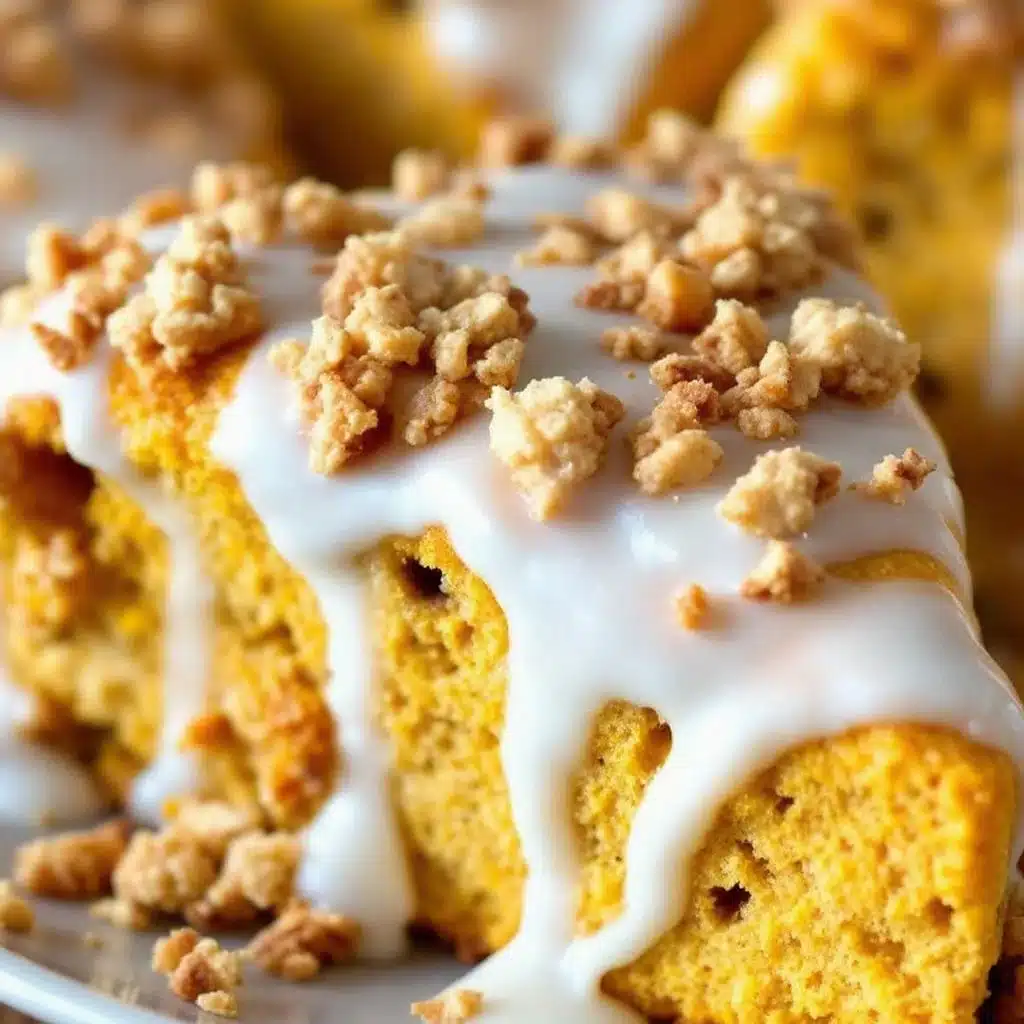
The jagged, flour-dusted edge of a freshly baked scone, and that’s the whole point.
It’s not just about the soft, spiced interior. It’s about that specific resistance you feel when you break one apart. The way the crust shatters slightly before giving way to the tender crumb inside. I’ve spent years chasing that exact texture. It’s the difference between a dry biscuit and a proper scone.
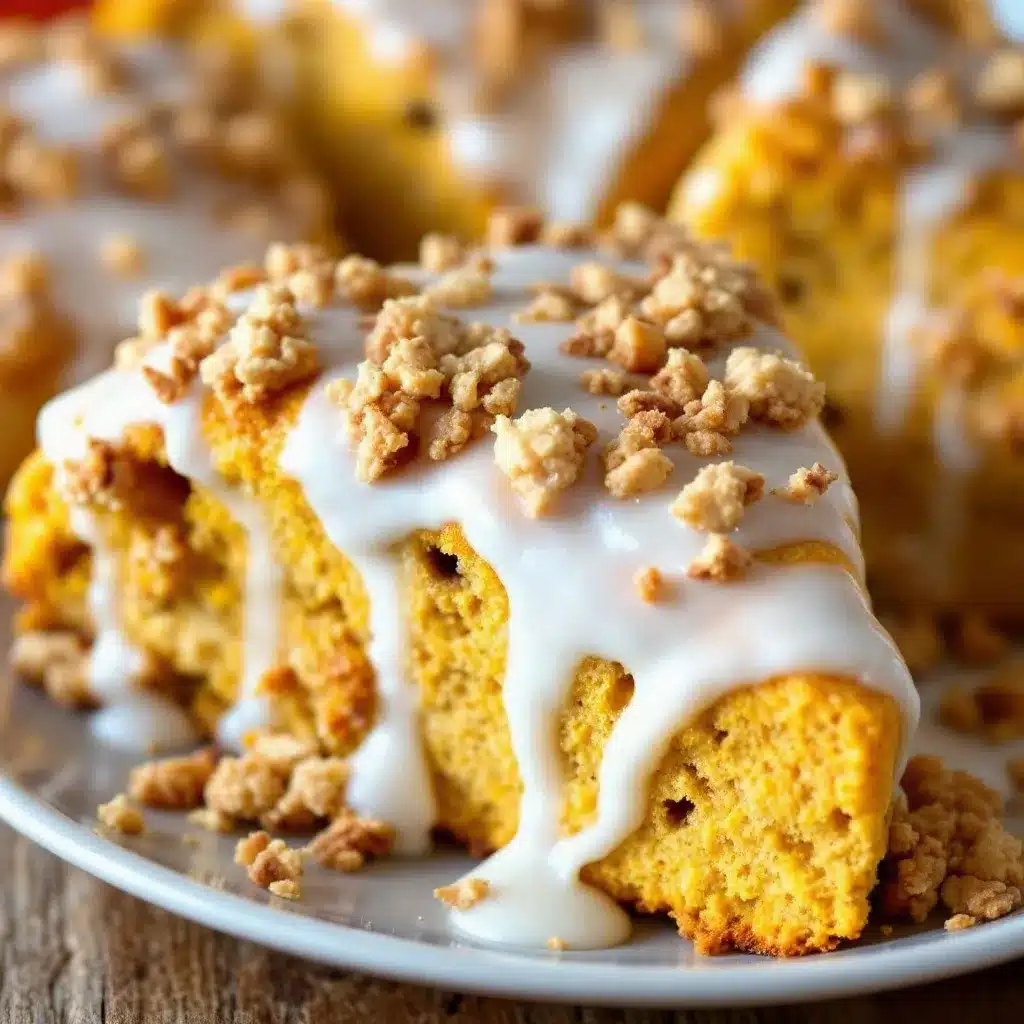
I remember the first time I got it right. It was a Tuesday morning, gray and cold outside. I pulled the tray out of the oven, and the kitchen smelled like cinnamon and warm earth. I picked one up, still too hot to hold for long. The glaze was tacky, dripping slightly onto my thumb.
I took a bite. The maple sweetness cut through the dense pumpkin spice perfectly. It wasn’t too sweet. It wasn’t too heavy. It was just right.
Since then, I’ve made these Cozy Pumpkin Scones with Maple Glaze dozens of times. Every batch is a little different. Some are more tender. Some have a thicker crust. But they all share that same satisfying break.
There’s a reason people stop by for coffee and stay for these. It’s the texture. It’s the comfort. It’s knowing exactly how it should feel in your hands before you even taste it.
Let’s face it, baking can be intimidating. But this recipe? It’s forgiving. It’s reliable. And once you try it, you’ll understand why I’m so obsessed with that crumbly edge.
Why You’ll Love This Recipe
Making these Cozy Pumpkin Scones with Maple Glaze isn’t just about following instructions. It’s about understanding the process. I’ve tested this recipe so many times that I know exactly where things can go wrong. And more importantly, I know how to fix them.
Here is why this recipe stands out from the rest:
- Quick & Easy: These come together in under 30 minutes. You don’t need to let dough rise for hours. Mix, shape, bake, and glaze. It’s perfect for busy weeknights or last-minute cravings when you need something sweet fast.
- Simple Ingredients: No fancy grocery trips needed. You likely already have everything in your kitchen. Flour, butter, pumpkin puree, maple syrup, and spices. Nothing obscure. Nothing hard to find.
- Perfect for Brunch: Great for holiday mornings, weekend brunches, or just a cozy afternoon tea. They hold up well on a plate and look impressive without much effort.
- Crowd-Pleaser: Always gets rave reviews from kids and adults alike. The pumpkin flavor is mild enough for picky eaters, but the maple glaze adds enough richness to satisfy serious dessert lovers.
- Unbelievably Delicious: The texture and flavor combo is next-level comfort food. It’s not just good—it’s the kind that makes you close your eyes after the first bite. It’s comfort food reimagined—healthier, faster, but with the same soul-soothing satisfaction.
What makes this recipe different is the technique. Most people overwork the dough. That leads to tough scones. I use a gentle hand and cold butter to keep them tender. I also add a bit of cream to the glaze, which helps it set without being too hard. It’s a small detail, but it changes everything.
This recipe isn’t just another version. It’s my best version. I’ve refined it over years of trial and error. It’s the one I come back to when I need something reliable. It’s the one I make when I want to impress guests without stress. Or when I just want to turn a simple meal into something memorable.
What Ingredients You Will Need
This recipe uses simple, wholesome ingredients to deliver bold flavor and satisfying texture without the fuss. The key is quality. You don’t need expensive items, but you do need fresh ones.
Here is what you need to gather:
- All-Purpose Flour: 2 ½ cups. This is the base. Don’t use cake flour, or they’ll be too delicate. Don’t use bread flour, or they’ll be too chewy. All-purpose is the sweet spot.
- Baking Powder: 1 tablespoon. Fresh baking powder is crucial. If yours is old, your scones won’t rise. Check the date on the can. If it’s been open for months, buy a new one.
- Baking Soda: ½ teaspoon. This helps with browning and neutralizes the acidity in the pumpkin.
- Salt: 1 teaspoon. It balances the sweetness. Don’t skip it.
- Cinnamon: 1 ½ teaspoons. Ground cinnamon is standard. If you have it, add a pinch of nutmeg and ginger for depth.
- Unsalted Butter: ½ cup (1 stick), very cold and cubed. This is non-negotiable. Cold butter creates steam in the oven, which lifts the scones. If the butter is warm, they will be dense. I recommend using a high-quality brand like Kerrygold or Plugrá for the best flavor.
- Pumpkin Puree: ½ cup. Make sure it’s pure pumpkin, not pumpkin pie filling. Pie filling has sugar and spices added, which will throw off the balance. Look for cans labeled “100% Pure Pumpkin.”
- Heavy Cream: ½ cup. This adds richness and tenderness. Whole milk can work in a pinch, but cream is better for texture.
- Egg Yolk: 1 large egg yolk. This acts as a binder and adds richness. The white is too watery for this application.
- Maple Syrup: ½ cup. Use real maple syrup, not pancake syrup. The label should say “100% Pure Maple Syrup.” The grade doesn’t matter much for baking, but darker syrup has a stronger flavor.
- Vanilla Extract: 1 teaspoon. Adds aroma and rounds out the maple flavor.
For the glaze, you might want to add a pinch of sea salt on top after drizzling. It makes the sweetness pop. It’s a small touch, but it feels fancy.
If you need substitutions, you can use almond flour for a gluten-free option, though the texture will be more crumbly. You can also swap the heavy cream for coconut cream if you’re dairy-free. The flavors will still work well together.
What is the best type of pumpkin puree to use?
Always use canned 100% pure pumpkin puree. Avoid pumpkin pie filling, which contains added sugars and spices. Fresh pumpkin can be used, but it must be roasted and pureed until completely smooth to avoid excess moisture.
Can I use frozen butter for the scones?
Yes, frozen butter works very well. In fact, it can be easier to grate frozen butter into the flour mixture. Just make sure to handle it quickly so it doesn’t thaw before it hits the oven.
Why is my scone dough too sticky?
Pumpkin puree varies in moisture content. If the dough is too sticky to handle, add an extra tablespoon of flour. Conversely, if it’s too dry, add a splash more cream. The dough should be shaggy and hold together when pressed.
How do I store leftover maple glaze?
Store any leftover glaze in an airtight container in the refrigerator for up to one week. Reheat it gently in the microwave or on the stove with a teaspoon of cream to thin it back out before drizzling.
Can I make these scones ahead of time?
You can prepare the dough balls and freeze them on a baking sheet. Once frozen solid, transfer them to a bag. Bake them directly from the freezer, adding a few minutes to the bake time. They will still be fresh and fluffy.
Equipment Needed
You don’t need a lot of fancy tools to make these Cozy Pumpkin Scones with Maple Glaze. In fact, keeping it simple helps you focus on the technique.
- Mixing Bowl: A large bowl is best. I prefer a glass or stainless steel bowl because it’s easy to scrape the sides. Plastic can sometimes hold onto grease.
- Pastry Blender or Fork: To cut the butter into the flour. A pastry blender is faster, but a fork works fine if you’re patient. Some people use their fingers, but that warms the butter too much.
- Rubber Spatula: Essential for folding in the wet ingredients gently. You want to mix just until combined. Overmixing develops gluten, which makes tough scones.
- Baking Sheet: A heavy-duty sheet pan is ideal. It distributes heat evenly. Line it with parchment paper for easy cleanup and to prevent sticking.
- Cooling Rack: You need this for the scones to cool properly. If you leave them on the hot pan, they will steam and get soggy on the bottom.
- Small Saucepan: For melting the butter and heating the maple syrup for the glaze. A small pan prevents burning.
- Whisk: For mixing the glaze ingredients until smooth.
If you don’t have a pastry blender, don’t worry. Use a fork or even two knives. The goal is small, pea-sized pieces of butter.
For the glaze, a small saucepan is helpful, but you can also use a microwave-safe bowl. Just be careful not to boil the syrup too hard, or it will become too thick.
I find that a digital kitchen scale is the most accurate way to measure flour. Scooping flour with a cup can pack it down, leading to dry scones. If you don’t have a scale, spoon the flour into the cup and level it off. Don’t scoop directly from the bag.
Budget-friendly options: You can reuse parchment paper if it’s not too greasy. A standard baking sheet works fine if you don’t have a heavy-duty one. Just keep an eye on the bottoms to ensure they don’t burn.
Preparation Method
Making these Cozy Pumpkin Scones with Maple Glaze is straightforward if you follow the steps carefully. Here is how to do it.
- Preheat the Oven: Start by preheating your oven to 400°F (200°C). Place a rack in the upper third of the oven. This helps the tops brown nicely without burning the bottoms. Take about 15 minutes to get the oven ready.
- Mix the Dry Ingredients: In a large mixing bowl, whisk together the flour, baking powder, baking soda, salt, cinnamon, nutmeg, and ginger. Make sure there are no lumps of baking powder. This ensures even rising. Set this aside.
- Cut in the Butter: Add the cold, cubed butter to the dry ingredients. Use a pastry blender, two forks, or your fingers to cut the butter into the flour. You want the mixture to look like coarse crumbs with some pea-sized pieces of butter remaining. This step takes about 2-3 minutes. Don’t overwork it.
- Combine Wet Ingredients: In a separate small bowl, whisk together the pumpkin puree, heavy cream, and egg yolk until smooth. It should be a uniform orange color. No streaks of cream should remain.
- Combine Wet and Dry: Pour the pumpkin mixture into the flour-butter mixture. Use a rubber spatula to fold everything together. Stop as soon as the dough comes together. It will look shaggy and messy. That’s okay. Do not knead it. Overmixing leads to tough scones. This step takes about 1-2 minutes.
- Shape the Dough: Turn the dough out onto a lightly floured surface. Gently press it into a circle about 1 inch thick. You can use your hands or a rolling pin. Be gentle. Pat, don’t roll. Roll too much, and the gluten develops. Press it into a 7-8 inch circle. This takes about 1 minute.
- Cut the Scones: Cut the circle into 8 equal wedges. Use a sharp knife or a pizza cutter. Slice all the way through. Place the wedges on the prepared baking sheet, leaving about 2 inches between them. This allows them to expand slightly. This step takes 2 minutes.
- Bake: Place the tray in the preheated oven. Bake for 18-22 minutes. The scones should be golden brown on top and firm to the touch. If they look like they are browning too fast, cover them loosely with foil. Check them at 18 minutes.
- Cool: Remove the tray from the oven. Let the scones cool on the baking sheet for 5 minutes. Then, transfer them to a wire rack to cool completely. This prevents sogginess. This step takes 10-15 minutes.
- Make the Glaze: While the scones cool, make the glaze. In a small saucepan, combine the maple syrup and heavy cream. Heat over medium heat until simmering. Remove from heat and whisk in the vanilla extract. Let it cool for 5 minutes. It will thicken slightly. This step takes 5-7 minutes.
- Glaze: Drizzle the maple glaze over the cooled scones. You can dip the tops or just drizzle. Let the glaze set for 10 minutes before serving. This step takes 5 minutes.
The total time from start to finish is about 45-50 minutes. Most of that is cooling. The active work time is only about 15 minutes.
Why is my scone dough too sticky?
Pumpkin puree varies in moisture content. If the dough is too sticky to handle, add an extra tablespoon of flour. Conversely, if it’s too dry, add a splash more cream. The dough should be shaggy and hold together when pressed.
Can I use frozen butter for the scones?
Yes, frozen butter works very well. In fact, it can be easier to grate frozen butter into the flour mixture. Just make sure to handle it quickly so it doesn’t thaw before it hits the oven.
Cooking Tips & Techniques
I’ve made these Cozy Pumpkin Scones with Maple Glaze so many times that I’ve learned a few tricks. They might seem small, but they make a big difference.
- Keep Everything Cold: The butter must be cold. If it melts before baking, you lose the flaky layers. Keep the cream and egg yolk in the fridge until the last minute. If your kitchen is warm, put the flour mixture in the fridge for 10 minutes before adding the butter.
- Don’t Overmix: This is the most common mistake. When you add the wet ingredients, mix gently. Stop as soon as the dough comes together. It should look shaggy. If you keep mixing, the gluten develops, and the scones become tough and dense.
- Use a Sharp Knife: When cutting the scones, use a sharp knife. Dragging a dull knife through the dough seals the edges, preventing them from rising. Cut straight down, without twisting.
- Check Your Oven: Ovens vary. If your scones are browning too fast on top but raw in the middle, lower the temperature by 25°F and bake for a few minutes longer. Use an oven thermometer to check the actual temperature.
- Test for Doneness: Insert a toothpick into the center of a scone. It should come out clean or with a few moist crumbs. If it has wet batter, bake for another 2-3 minutes.
I once made these scones with warm butter. They turned out like dense bricks. I was embarrassed. But I learned from it. Now, I keep my butter in the freezer for 15 minutes before using it. It’s a small step, but it ensures success.
Another tip is to brush the tops with a little extra cream before baking. It helps them brown evenly and gives them a nice sheen. It’s optional, but it looks professional.
Multitasking helps. While the scones bake, make the glaze. That way, everything is ready at the same time. You don’t want to glaze warm scones, or the glaze will melt into the crumb. Wait until they are completely cool.
Variations & Adaptations
These Cozy Pumpkin Scones with Maple Glaze are versatile. You can tweak them to suit your taste or dietary needs.
- Add-ins: Stir in ½ cup of chopped pecans or walnuts into the dough before shaping. They add crunch and pair perfectly with the maple glaze. Chocolate chips also work well if you want a sweeter treat.
- Gluten-Free: Substitute the all-purpose flour with a 1:1 gluten-free flour blend. Add ½ teaspoon of xanthan gum if your blend doesn’t include it. The texture will be slightly more crumbly, but still delicious.
- Dairy-Free: Use coconut oil instead of butter. Make sure it’s solid and cold. Substitute the heavy cream with full-fat coconut cream. The flavor will be slightly coconutty, which goes well with pumpkin.
- Spice Level: Add a pinch of cayenne pepper to the dough for a subtle kick. It balances the sweetness and adds warmth. It’s a secret ingredient I learned from a friend who loves bold flavors.
- Orange Twist: Add the zest of one orange to the dry ingredients. The citrus brightens the pumpkin flavor and adds a fresh note. It’s a great variation for spring or summer.
I’ve tried adding brown sugar to the dough for a caramel note. It works, but it makes the scones slightly denser. I prefer the classic version for its lightness.
If you want a thicker glaze, reduce the cream by half. If you want a thinner glaze, add more cream. Adjust to your preference. The glaze should coat the back of a spoon but still drip easily.
These variations allow you to keep the recipe fresh. You can rotate them through the seasons. Or just pick your favorite and make it again and again.
Serving & Storage Suggestions
Serving these Cozy Pumpkin Scones with Maple Glaze is easy. They are best enjoyed warm, but they are also good at room temperature.
- Serving Temperature: Serve them fresh out of the oven for the best texture. The glaze will be soft and the crumb tender. If you reheat them, the glaze might get sticky again.
- Complementary Dishes: Pair them with a cup of black coffee or tea. They also go well with a glass of cold milk. For a full breakfast, serve them with scrambled eggs or bacon. The savory balances the sweet.
- Storage: Store leftover scones in an airtight container at room temperature for up to 2 days. If your kitchen is humid, store them in the refrigerator. They will last for up to 5 days.
- Freezing: You can freeze the baked scones for up to 3 months. Wrap them tightly in plastic wrap and then in foil. Thaw them at room temperature or reheat in the oven at 350°F for 10 minutes.
- Reheating: To reheat, place the scones on a baking sheet and warm them in the oven at 350°F for 5-7 minutes. This restores the crispness of the crust. Avoid the microwave, or they will get chewy.
The flavors develop over time. The maple glaze seeps into the crumb slightly, making the scones more moist. Some people prefer them a day old. I like them fresh.
If you glaze them ahead of time, the glaze will harden. You can soften it by warming the scones gently. It’s a matter of preference.
I usually make a double batch. They freeze well, and having them on hand for a quick breakfast is a lifesaver. Just thaw and warm. It feels like a bakery treat without the effort.
Nutritional Information & Benefits
These Cozy Pumpkin Scones with Maple Glaze are a balanced treat. They provide energy and flavor without being overly heavy.
- Estimated Values: Each scone contains approximately 280 calories. This includes the glaze. The breakdown is roughly 12g fat, 40g carbohydrates, and 4g protein.
- Health Benefits: Pumpkin is rich in vitamin A, which is good for eye health. It also provides fiber, which aids digestion. Maple syrup contains antioxidants, though it is still a sugar.
- Dietary Considerations: This recipe is not gluten-free or dairy-free by default. See the variations section for substitutions. It is vegetarian. It is not suitable for vegans unless modified.
- Allergens: Contains wheat, dairy, and eggs. Be cautious if serving guests with allergies.
- Personal Perspective: I enjoy these as an occasional treat. They are not a health food, but they are made with real ingredients. Moderation is key. They bring joy, and that has its own value.
The pumpkin adds moisture, so you don’t need as much fat as in other scones. It’s a lighter option than a buttery croissant. But it’s still rich enough to feel indulgent.
I try to balance my baking with savory dishes. These scones are great for a weekend brunch where you have both sweet and savory options. It makes the meal feel complete.
Conclusion
These Cozy Pumpkin Scones with Maple Glaze are worth trying. They are simple, delicious, and comforting. The texture is perfect, and the flavor is balanced.
I love making them because they remind me of autumn. The smell of cinnamon and maple fills the house. It’s a cozy feeling.
I encourage you to customize them. Add nuts, change the spices, or try the dairy-free version. Make it your own.
If you make these, please share your results. I love hearing how they turn out. Try pairing them with my cinnamon pecan streusel muffins for a full brunch spread. Or check out my pumpkin spice molasses crinkle scones if you want a different texture.
Thanks for reading. Happy baking.
FAQs
Can I use pumpkin pie filling instead of pure pumpkin?
No, do not use pumpkin pie filling. It contains added sugars and spices that will throw off the recipe’s balance. Use 100% pure pumpkin puree for the correct texture and flavor.
How do I know when the scones are done baking?
The scones are done when they are golden brown on top and firm to the touch. A toothpick inserted into the center should come out clean or with a few moist crumbs.
Can I freeze the scones with the glaze on?
It is better to freeze the scones without the glaze. The glaze can become sticky or melt during freezing and thawing. Glaze them after thawing and reheating.
What is the best way to reheat leftover scones?
Reheat scones in the oven at 350°F for 5-7 minutes. This restores the crisp crust. Avoid the microwave, as it makes the texture chewy.
Can I make the dough ahead of time?
Yes, you can shape the dough balls and refrigerate them overnight. Bake them directly from the fridge, adding a few minutes to the bake time. This is great for morning convenience.
Pin This Recipe!
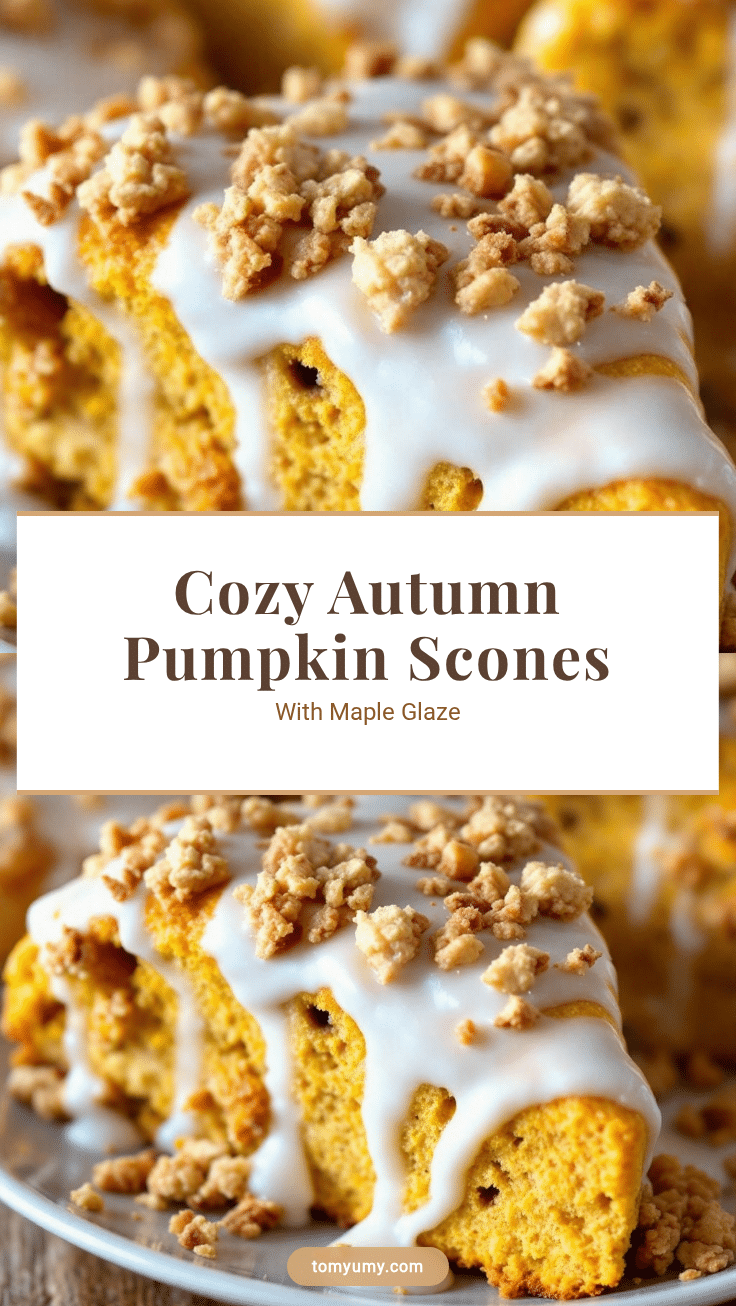
Cozy Pumpkin Scones with Maple Glaze
These easy pumpkin scones feature a shattering, flour-dusted crust and a tender, spiced interior, finished with a rich maple glaze for the perfect cozy treat.
- Prep Time: 15 minutes
- Cook Time: 22 minutes
- Total Time: 45 minutes
- Yield: 8 servings 1x
- Category: Breakfast
- Cuisine: American
Ingredients
- 2 ½ cups All-Purpose Flour
- 1 tablespoon Baking Powder
- ½ teaspoon Baking Soda
- 1 teaspoon Salt
- 1 ½ teaspoons Ground Cinnamon
- Pinch of Nutmeg (optional)
- Pinch of Ginger (optional)
- ½ cup Unsalted Butter, very cold and cubed
- ½ cup Pumpkin Puree (100% pure)
- ½ cup Heavy Cream
- 1 large Egg Yolk
- ½ cup Maple Syrup (for glaze)
- 1 teaspoon Vanilla Extract (for glaze)
- Pinch of Sea Salt (optional, for topping)
Instructions
- Preheat oven to 400°F (200°C) and place a rack in the upper third of the oven.
- In a large mixing bowl, whisk together the flour, baking powder, baking soda, salt, cinnamon, nutmeg, and ginger.
- Add the cold, cubed butter to the dry ingredients and cut it in using a pastry blender or fork until the mixture resembles coarse crumbs with pea-sized pieces of butter.
- In a separate small bowl, whisk together the pumpkin puree, heavy cream, and egg yolk until smooth.
- Pour the wet mixture into the dry ingredients and fold gently with a rubber spatula until the dough just comes together; do not overmix.
- Turn the dough onto a lightly floured surface and gently press it into a 7-8 inch circle about 1 inch thick.
- Cut the circle into 8 equal wedges and place them on a parchment-lined baking sheet, leaving 2 inches between each.
- Bake for 18-22 minutes until golden brown and firm to the touch.
- Cool scones on the baking sheet for 5 minutes, then transfer to a wire rack to cool completely.
- While scones cool, make the glaze by heating maple syrup and heavy cream in a small saucepan until simmering, then remove from heat and whisk in vanilla extract.
- Drizzle the glaze over the cooled scones and let it set for 10 minutes before serving.
Notes
Keep all ingredients cold to ensure flaky scones. Do not overmix the dough. If the dough is too sticky, add an extra tablespoon of flour. For gluten-free, use a 1:1 gluten-free flour blend. For dairy-free, substitute butter with cold coconut oil and cream with coconut cream.
Nutrition
- Serving Size: 1 scone
- Calories: 280
- Sugar: 22
- Sodium: 350
- Fat: 12
- Saturated Fat: 7
- Carbohydrates: 40
- Fiber: 2
- Protein: 4
Keywords: pumpkin scones, maple glaze, fall baking, easy brunch, pumpkin spice, homemade scones