Third time in a week and the caramel was still too thin. Honestly, I was staring at that saucepan like it had personally offended me. The kitchen smelled like burnt sugar and regret, which is not a vibe you want when you’re trying to make dessert. I had already scraped two batches into the trash because they froze into icy, crunchy shards instead of smooth, dreamy clouds. Let’s face it, no-churn ice cream can be tricky if you don’t respect the chemistry of fat and air.
I kept going back to the stove, adjusting the heat, whispering apologies to the heavy cream. It wasn’t about the recipe itself, which was actually simple, but my impatience. I was rushing the caramel reduction, thinking I could skip the wait for the amber stage. Spoiler alert: you can’t. The obsession wasn’t with the flavor, though the salted caramel is incredible, but with the texture. I needed that specific mouthfeel that coats your tongue without feeling heavy or icy.
By the third attempt, I finally stopped watching the clock and started watching the color. It turned a deep, mahogany brown, and the aroma shifted from scorched to nutty and rich. I pulled it off the heat just seconds before it would have ruined everything. Mixing that hot caramel into the whipped cream was a moment of pure trust. You have to fold it gently, or you lose all that precious air you worked so hard to whip in.
I froze it overnight, dreading the first scoop. But when the spoon broke through that solid surface, it slid through like soft-serve. It was perfect. Creamy, salty, sweet, and absolutely addictive. I don’t think I’ll ever make it this many times in one week again, but I’m not sorry. This creamy no-churn salted caramel ice cream is worth every minute of the anxiety. It’s the kind of dessert that makes you quiet down and just eat it.
Why You’ll Love This Recipe
There is a specific kind of magic in making ice cream without an ice cream maker. It feels like cheating, but it’s actually just smart cooking. I’ve tested this creamy no-churn salted caramel ice cream recipe more times than I care to admit, and it consistently delivers that professional gelato texture right in your freezer. Here is why this version stands out from the rest:
- Quick & Easy: You don’t need an expensive machine or churning for hours. This comes together in about 30 minutes of active prep, then you just let the freezer do the heavy lifting. Perfect for those last-minute cravings when you want something fancy but have zero energy.
- Simple Ingredients: You likely have everything in your kitchen already. Heavy cream, sweetened condensed milk, salt, vanilla, and a few ingredients for the caramel. No fancy grocery trips needed. It’s pantry-friendly cooking at its finest.
- Perfect for Summer Gatherings: Whether it’s a backyard BBQ, a pool party, or just a hot Tuesday night, this dessert is a lifesaver. It holds its shape well but melts beautifully on the tongue.
- Crowd-Pleaser: Kids love the sweetness, and adults appreciate the complexity of the homemade caramel. It’s always a hit, even with people who claim they “don’t like ice cream.”
- Unbelievably Delicious: The texture is next-level. Because you aren’t churning it, the ice crystals stay large and creamy rather than small and icy. The salted caramel swirl adds bursts of flavor that keep every bite interesting.
What makes this recipe different is the balance. Many no-churn recipes rely too heavily on the sweetness of condensed milk. Here, the homemade caramel cuts through that sugar with a deep, bitter-sweet edge. I also add a pinch of extra salt to the cream itself, which amplifies the caramel flavor. It’s not just another version; it’s the one that finally clicked for me. It’s comfort food reimagined—faster than buying a pint, but with that same soul-soothing satisfaction. It’s perfect for impressing guests without the stress of a kitchen full of equipment.
What Ingredients You Will Need
This recipe uses simple, wholesome ingredients to deliver bold flavor and satisfying texture without the fuss. The magic here lies in the ratio of fat to sugar, so quality matters. You don’t need expensive vanilla beans, but good heavy cream is non-negotiable. Here is what you need to get started:
For the Salted Caramel Swirl
- Granulated Sugar: 1 cup. This is the base. Look for white, refined sugar for the cleanest color.
- Heavy Cream: 1/2 cup. Make sure this is room temperature. Adding cold cream to hot caramel will cause it to seize up violently (don’t ask me how I know).
- Unsalted Butter: 2 tablespoons. Cut into small cubes. This adds richness and helps stabilize the sauce.
- Fleur de Sel or Sea Salt: 1 teaspoon. Use a flaky salt for the best flavor distribution.
For the Ice Cream Base

- Heavy Whipping Cream: 2 cups. Must be very cold. This is what creates the airy structure. I recommend a brand with a high fat content, like organic heavy cream, for the best whip.
- Sweetened Condensed Milk: 1 can (14 oz). Do not use evaporated milk. They are not the same. This provides the sweetness and the creamy texture.
- Vanilla Extract: 1 teaspoon. Pure vanilla is best here, as it will be a primary flavor note.
- Salt: 1/2 teaspoon. To balance the sweetness.
Substitution Note: If you need a dairy-free option, you can use full-fat coconut cream instead of heavy cream, but the texture will be denser and more coconut-forward. For the caramel, ensure your butter substitute is dairy-free if needed.
Equipment Needed
You don’t need a lot of fancy gear for this, but having the right tools makes a huge difference. Here is what you’ll need:
- Saucepan: A medium-sized, heavy-bottomed saucepan is ideal for making the caramel. It distributes heat evenly and prevents hot spots that burn the sugar. I’ve ruined sugar in thin pans before, so don’t skip this.
- Whisk: A sturdy wire whisk for mixing the caramel and folding the cream. Silicone spatulas work too, but a whisk helps incorporate air into the cream initially.
- Mixer: An electric hand mixer or a stand mixer with a whisk attachment. Hand-whipping this cream takes serious arm strength and about 20 minutes. Just use the machine.
- Loaf Pan: A standard 9×5 inch loaf pan lined with parchment paper. This gives you nice, scoopable blocks of ice cream. You can use a freezer-safe container, but loaf pans are easier to handle.
- Spatula: A flexible rubber spatula for folding. This is crucial. You want to keep the air in the mixture, so gentle folding is key.
Budget-friendly tip: If you don’t have a stand mixer, a hand mixer works perfectly fine. Just make sure the beaters are clean and dry for best whipping results.
Preparation Method
Making this creamy no-churn salted caramel ice cream is a process of patience. Follow these steps closely for the best results.
- Make the Caramel (15 minutes): In your saucepan, add the sugar and 2 tablespoons of water. Stir just to moisten the sugar, then stop stirring. Let it boil over medium-high heat. Watch it closely. It will turn from clear to amber. This takes about 5-7 minutes. Do not walk away.
- Add Butter and Cream (2 minutes): Once the sugar is a deep amber color, remove the pan from the heat. Carefully add the butter cubes, followed by the room temperature heavy cream. It will bubble up aggressively. Whisk gently until the mixture is smooth and combined. Stir in the salt. Let the caramel cool to room temperature. If you skip this, it will melt your ice cream base.
- Whip the Cream (5 minutes): In a large mixing bowl, pour the cold heavy cream. Whip it on medium-high speed until you see soft peaks. This means when you lift the beater, the cream droops slightly. Do not over-whip into stiff peaks, or the texture will be grainy.
- Mix the Base (2 minutes): In a separate bowl, combine the sweetened condensed milk, vanilla extract, and salt. Whisk them together briefly to combine. Then, gently fold this mixture into the whipped cream. Use a spatula and fold from the bottom up. Stop when you see no white streaks.
- Combine and Swirl (5 minutes): Pour about half of the ice cream base into a separate bowl. Stir in the cooled caramel sauce to create a caramel swirl mixture. Pour the caramel-swirled base back into the main bowl. Do not overmix. Just do 3-4 gentle folds to create marbled streaks. You want distinct ribbons of caramel, not a uniform brown color.
- Freeze (6 hours): Pour the mixture into your lined loaf pan. Smooth the top with a spatula. Cover tightly with plastic wrap or a lid. Freeze for at least 6 hours, or overnight. The longer it freezes, the firmer it gets.
Troubleshooting Tip: If your caramel is too thick after cooling, you can gently warm it in the microwave for 10-second intervals to thin it out before folding. If the ice cream base is too stiff to fold, let it sit at room temperature for 5 minutes to soften slightly.
Cooking Tips & Techniques
I’ve learned a few hard lessons while perfecting this creamy no-churn salted caramel ice cream. Here is how to avoid common mistakes.
Temperature Control is Key: The biggest mistake people make is adding hot caramel to cold cream. Always let the caramel cool completely. If it’s warm, it will deflate your whipped cream. I usually make the caramel the night before to be safe.
Don’t Over-Whip: When whipping the heavy cream, stop as soon as you see soft peaks. If you whip it until it’s stiff, the ice cream will have a crumbly texture after freezing. Soft peaks create a smoother, creamier mouthfeel.
Folding Technique: When folding the condensed milk into the cream, use a gentle hand. Imagine you are trying to keep the air bubbles intact. Over-mixing will result in dense, heavy ice cream. It should feel light and airy in the bowl.
Salt Choice: Use a good quality salt. Kosher salt or sea salt works well. Avoid table salt, which can be too sharp and metallic. The salt in the caramel is what makes the sweet flavor pop, so don’t be shy with it.
Multitasking: Make the caramel while your cream is whipping. This way, you can use the cooling time for the caramel to do other prep work. It keeps you efficient in the kitchen.
Variations & Adaptations
Once you master the base, you can play around with flavors. Here are some variations I’ve tried:
- Chocolate Chip: Add 1/2 cup of chocolate chips to the base before freezing. It’s like a cookie dough ice cream.
- Cookie Butter: Swirl in 1/4 cup of Biscoff spread instead of caramel. It adds a spicy gingerbread note.
- Pumpkin Spice: Add 1 teaspoon of pumpkin pie spice to the cream base. Perfect for fall.
- Mint Chocolate: Add 1/2 teaspoon of peppermint extract to the base and swirl in dark chocolate.
If you want to make this gluten-free, ensure your vanilla extract and salt are certified gluten-free. The base recipe is naturally gluten-free, so you can add gluten-free mix-ins like brownies or cookies. For a lower-sugar option, use a sugar-free condensed milk alternative, though the texture will be different.
Serving & Storage Suggestions
This creamy no-churn salted caramel ice cream is best served scooped directly from the freezer. If it’s been frozen for more than 12 hours, let it sit on the counter for 5-10 minutes before scooping. It softens up nicely.
Pair it with crispy brown butter salted caramel chocolate chip cookies for a double caramel hit. Or serve it alongside salted caramel pecan pie crescent rolls for a decadent brunch dessert.
Storage: Keep it in an airtight container in the freezer for up to 2 weeks. It may get a bit hard after the first day, but it thaws quickly.
Reheating: You don’t need to reheat it. Just let it sit out. If it gets icy, you can blend it briefly in a food processor to restore creaminess, though this changes the texture slightly.
The flavors develop over time. The salt and caramel meld together after 24 hours, making the second day even better than the first.
Nutritional Information & Benefits
While this is a dessert, it’s made with real ingredients. Heavy cream provides fat, which helps you feel satisfied. Sweetened condensed milk adds calcium and protein. The caramel adds a touch of richness without needing excessive toppings.
Estimated Nutrition per Serving (1/8 of loaf):
- Calories: 350
- Fat: 22g
- Carbs: 35g
- Protein: 4g
- Sugar: 32g
This recipe is naturally gluten-free. It is not suitable for vegans due to the dairy and honey (if used in caramel variations). It is high in sugar, so enjoy in moderation. I find that because it’s so rich and creamy, a small scoop is very satisfying.
Conclusion
Making this creamy no-churn salted caramel ice cream is a labor of love, but the payoff is huge. It’s better than store-bought, easier than an ice cream maker, and tastes like pure indulgence. I hope you try it and enjoy it as much as I do. Feel free to adjust the salt level to your taste or add your favorite mix-ins. If you make it, let me know how it turns out in the comments below. Share your photos with me on social media, too. I love seeing your creations. Happy scooping!
Frequently Asked Questions
Can I use light cream instead of heavy cream?
No, you need heavy cream with at least 35% fat content to whip properly. Light cream won’t hold air, and your ice cream will be icy.
Why is my ice cream icy?
This usually happens if the cream was over-whipped or if the caramel was too warm when added. Make sure your cream is cold and your caramel is cool.
Can I freeze this in a container other than a loaf pan?
Yes, any freezer-safe container works. Just make sure it’s covered tightly to prevent freezer burn.
How long does the caramel last?
The caramel sauce can be made ahead and stored in the fridge for up to a week. Reheat gently before using.
Is this recipe suitable for people with nut allergies?
Yes, the base recipe is nut-free. Just ensure your add-ins are nut-free as well.
Pin This Recipe!
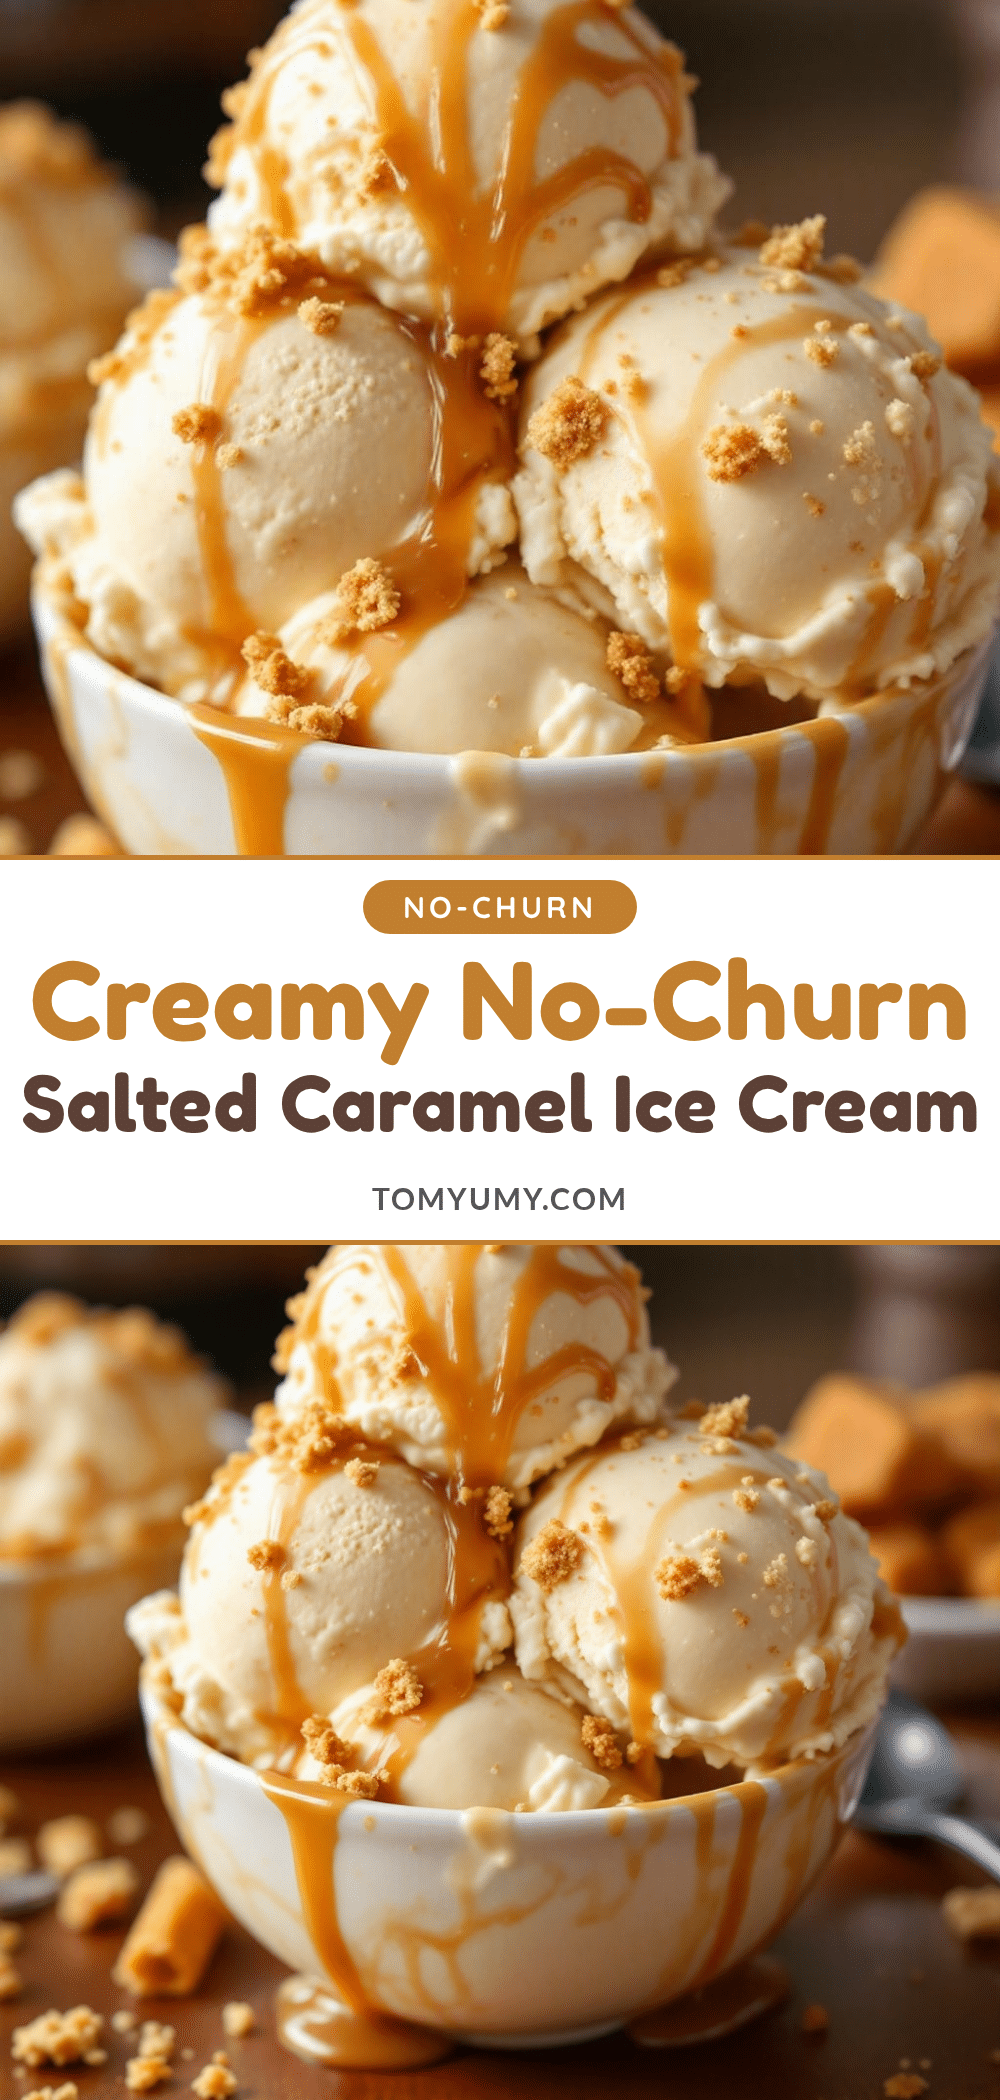
Creamy No-Churn Salted Caramel Ice Cream

A rich, creamy no-churn ice cream featuring a homemade salted caramel swirl. This recipe requires no ice cream maker and delivers a professional gelato-like texture using simple pantry ingredients.
- Prep Time: 30 minutes
- Cook Time: 17 minutes
- Total Time: 6 hours 47 minutes
- Yield: 8 servings 1x
- Category: Dessert
- Cuisine: American
Ingredients
- 1 cup granulated sugar
- 2 tablespoons water (for caramel)
- 1/2 cup heavy cream (room temperature, for caramel)
- 2 tablespoons unsalted butter (cubed, for caramel)
- 1 teaspoon fleur de sel or sea salt (for caramel)
- 2 cups heavy whipping cream (very cold, for base)
- 1 can (14 oz) sweetened condensed milk
- 1 teaspoon vanilla extract
- 1/2 teaspoon salt (for base)
Instructions
- In a medium heavy-bottomed saucepan, combine sugar and 2 tablespoons of water. Stir to moisten, then stop stirring. Boil over medium-high heat until the mixture turns a deep amber color (about 5-7 minutes).
- Remove the pan from heat. Carefully add the butter cubes and room temperature heavy cream. The mixture will bubble aggressively. Whisk gently until smooth and combined. Stir in the salt. Let the caramel cool completely to room temperature.
- In a large mixing bowl, whip the cold heavy cream on medium-high speed until soft peaks form. Do not over-whip.
- In a separate bowl, whisk together the sweetened condensed milk, vanilla extract, and salt.
- Gently fold the condensed milk mixture into the whipped cream using a spatula until no white streaks remain.
- Pour about half of the ice cream base into a separate bowl and stir in the cooled caramel sauce. Pour this caramel-swirled mixture back into the main bowl and fold gently 3-4 times to create marbled streaks.
- Pour the mixture into a 9×5 inch loaf pan lined with parchment paper. Smooth the top and cover tightly. Freeze for at least 6 hours or overnight.
Notes
Ensure the caramel is completely cooled before adding it to the whipped cream to prevent deflating the air. Use heavy cream with at least 35% fat content for proper whipping. For a dairy-free option, substitute heavy cream with full-fat coconut cream, though the texture will be denser.
Nutrition
- Serving Size: 1/8 of loaf
- Calories: 350
- Sugar: 32
- Sodium: 250
- Fat: 22
- Saturated Fat: 14
- Carbohydrates: 35
- Protein: 4
Keywords: no-churn ice cream, salted caramel, homemade ice cream, dessert, summer treats, gluten-free dessert, easy ice cream recipe