I did not trust crescent rolls in hot dogs. To be honest, I thought wrapping a processed sausage in canned dough sounded like a mistake waiting to happen. It felt like one of those lazy party hacks that looks cute in pictures but tastes like cardboard and grease in real life. I had my fair share of disappointment with “easy” appetizers over the years. Remember that time I tried to make those fancy stuffed mushrooms for the office potluck? They collapsed into a sad, watery mess within twenty minutes. I wasn’t about to let that happen again with these mummy dogs.
My husband, however, was convinced. He came home from work with a bag of hot dogs and a tube of dough, claiming this was the secret to winning the neighborhood kids over. I rolled my eyes so hard it hurt. I imagined sticky fingers, raw dough pockets, and a general sense of culinary failure. I told him we could just buy those pre-made piggy blankets from the store. He didn’t budge. He said, “Just try it. If it’s bad, I’ll eat them all myself.” So, I let him prep them while I finished up dinner.
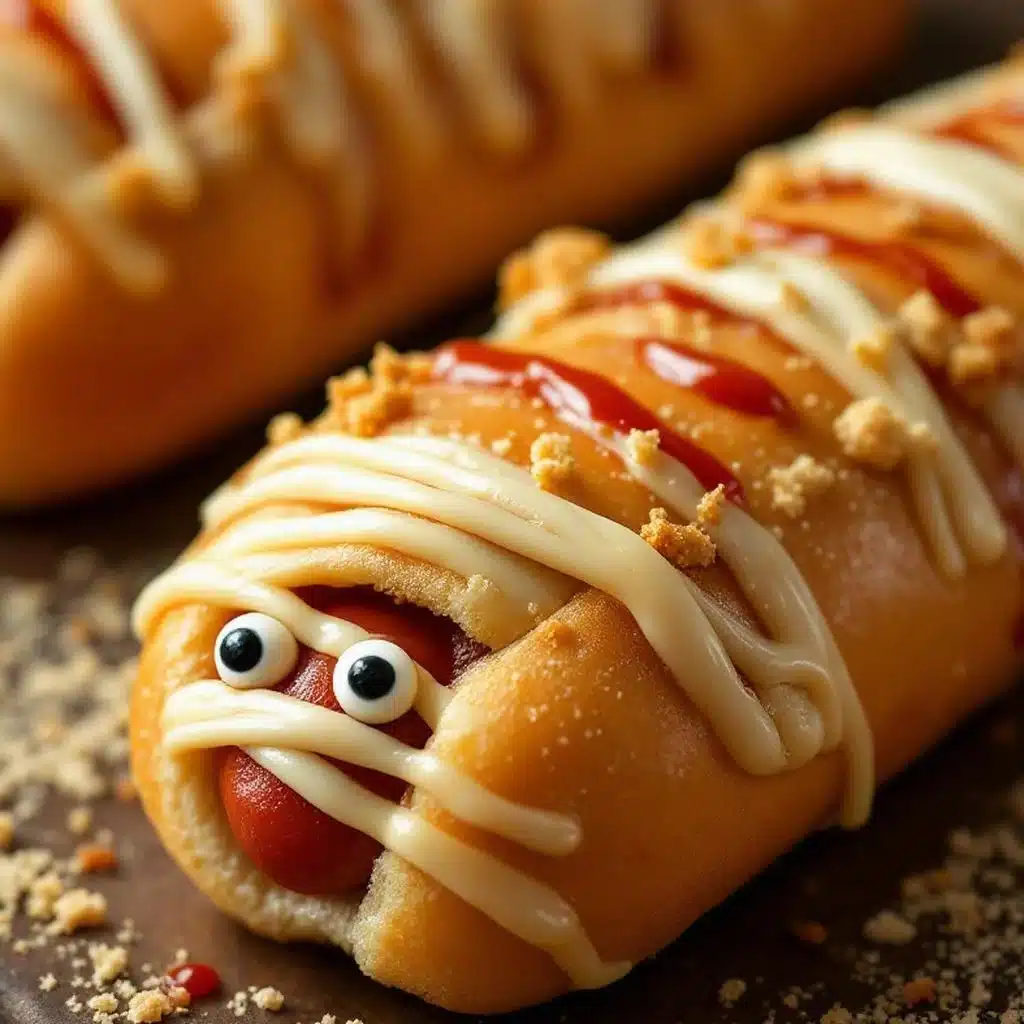
The smell hit me first. It wasn’t the heavy, oily scent I expected from fried dough. It was warm, buttery, and slightly savory, with just a hint of yeast from the dough. I walked into the kitchen to find them sitting on the counter, golden brown and staring back at me with their little olive eyes. They looked ridiculous, sure, but they also looked… good. Actually delicious.
I picked one up. It was hot, so I had to blow on it for a second. The dough was flaky, not soggy. The hot dog inside was juicy and salty, balancing the mild sweetness of the pastry perfectly. I took a bite. And just like that, my skepticism vanished. It wasn’t just “okay” for a quick snack. It was genuinely great. These Easy Halloween Mummy Hot Dogs became a staple in our house, not just for October, but for any time we needed a win in the kitchen.
Why You’ll Love This Recipe
This recipe is the kind of comfort food that makes you close your eyes after the first bite. It’s not just about the convenience, though let’s be real, who doesn’t love a ten-minute prep time? It’s about the texture contrast. You get that crisp, buttery exterior from the crescent roll dough, which holds up well even if you’re serving them a bit late. Then you have the snap of the hot dog, which adds a satisfying savory punch.
Here is why this recipe stands out from the crowd of party snacks:
* **Quick & Easy**: Comes together in under ten minutes. You really just unwrap, wrap, and bake. It is perfect for busy weeknights or last-minute Halloween gatherings when you realize you forgot to buy chips.
* **Simple Ingredients**: No fancy grocery trips needed. You likely already have hot dogs, canned dough, and olives in your kitchen. It’s pantry-friendly comfort food.
* **Perfect for Parties**: Great for Halloween parties, school events, or cozy autumn dinners. They are handheld, easy to eat while standing around, and kid-approved.
* **Crowd-Pleaser**: Always gets rave reviews from kids and adults alike. The “mummy” theme is fun, but the flavor is what keeps people coming back for seconds.
* **Unbelievably Delicious**: The texture and flavor combo is next-level comfort food. The dough becomes golden and flaky, unlike the dense, bread-like texture of some other hot dog wraps.
What makes this version different is the attention to detail in the wrapping. I’ve tried recipes where the dough falls apart or the hot dog dries out. This method ensures the dough stays intact and the hot dog steams slightly in its own juices, keeping it moist. It’s the kind of recipe that feels like a chef’s secret but requires zero culinary skills. It’s comforting, familiar, and surprisingly sophisticated for how simple it is.
What Ingredients You Will Need
This recipe uses simple, wholesome ingredients to deliver bold flavor and satisfying texture without the fuss. The beauty of this dish lies in its accessibility. You don’t need specialty items or hard-to-find spices. Everything here is standard fare, but the combination creates something special.
* **Crescent Roll Dough**: I recommend using a standard 8-oz tube of refrigerated crescent rolls. Brands like Pillsbury work well because the dough is thin and bakes up nicely. Look for dough that is cold and firm; if it’s warm, it will tear when you try to wrap it.
* **Hot Dogs**: Use standard beef or chicken franks. I prefer all-beef hot dogs for a better snap and flavor, but chicken works if you need a lighter option. Avoid the “gourmet” sausages for this, as they can be too thick and won’t cook through properly in the short bake time.
* **Olive Slices**: These are crucial for the “mummy” eyes. Use standard pitted black olive slices. If you can’t find slices, you can cut rounds from a whole olive, but slices are easier for kids to handle.
* **Dijon Mustard or Yellow Mustard**: For the eyes, a tiny dot of mustard adds a nice tang. Dijon is my personal preference because it’s less sweet, but yellow mustard works if that’s what you have.
* **Egg Wash (Optional)**: For a deeper golden color, you can brush the dough with a beaten egg before baking. I usually skip this for a more matte, rustic look, but it helps if you want them to shine under party lights.
* **Ketchup or BBQ Sauce**: For dipping. This is optional, but the tangy sweetness cuts through the richness of the dough and meat perfectly.
You can swap the hot dogs for vegetarian sausages if needed. For a gluten-free option, you would need to make your own dough, which defeats the purpose of this easy recipe, so I’d stick to the canned dough for best results. The key is keeping the ingredients cold until they hit the oven. This ensures the dough stays flaky rather than greasy.
Equipment Needed
You don’t need a lot of fancy tools to make this recipe. In fact, keeping it simple is part of the appeal. Here is what you will need:
* **Baking Sheet**: A standard half-sheet pan is perfect. I prefer one with a rim to catch any potential drips, though these dogs don’t usually leak much.
* **Parchment Paper**: Line your baking sheet with parchment paper. This makes cleanup a breeze. You won’t have to scrub burnt cheese or dough off your pan later.
* **Small Knife or Paring Knife**: You only need this to cut the olive slices if they are too big. Usually, pre-sliced olives work fine, but having a knife handy helps if you need to trim them.
* **Toothpicks**: These are essential for holding the dough in place while baking. Without them, the dough might unravel in the oven.
* **Pastry Brush**: If you decide to use an egg wash, a small pastry brush makes it easy to apply without tearing the dough.
I used to use silicone mats, but they can sometimes make the bottom of the dough too soft. Parchment paper gives a better crisp. If you don’t have parchment, you can grease the pan lightly with butter or oil, but cleanup will be harder. Budget-friendly tip: You don’t need a fancy oven thermometer. These cook at a standard 350°F, so your oven’s built-in gauge is fine. Just make sure it’s preheated properly.
Preparation Method
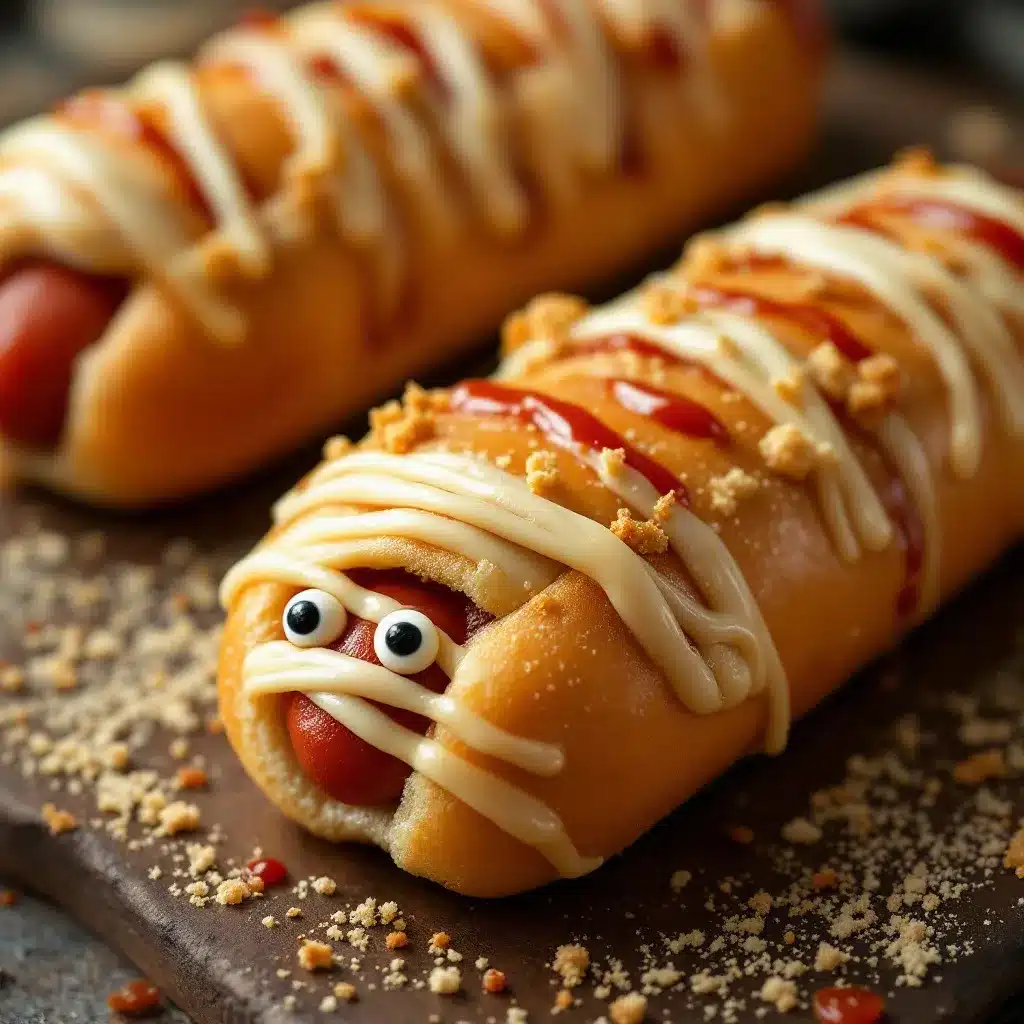
Making these mummy dogs is straightforward, but there are a few tricks to keep them looking like mummies and not just wrapped sausages. Follow these steps closely for the best results.
1. **Preheat the Oven**: Start by preheating your oven to 350°F (175°C). This is important because the dough needs a steady, moderate heat to cook through without burning. While the oven heats up, line your baking sheet with parchment paper. This takes about 10 minutes.
2. **Prepare the Dough**: Take the tube of crescent rolls out of the fridge. Unroll the dough onto a clean surface. You should have two large rectangles. Cut each rectangle in half lengthwise. You will end up with four long, thin strips of dough. This is the key to getting the “bandage” look. If the dough is sticky, lightly flour your hands, but try to avoid adding too much extra flour, as it can make the dough tough.
3. **Wrap the Hot Dogs**: Take one hot dog and place it at one end of a dough strip. Gently stretch the dough and wrap it around the hot dog, leaving a small gap at the top for the “face.” Wrap it tightly enough to stay in place, but not so tight that the dough tears. Secure the end of the dough with a toothpick. Repeat with the remaining hot dogs and dough strips. You want the dough to cover most of the hot dog, leaving just the top exposed for the eyes.
4. **Add the Eyes**: Take a slice of black olive and place it on the exposed part of the hot dog for each eye. If the olives are too big, cut them in half. For a little extra character, you can add a tiny dot of Dijon mustard on each olive to create pupils. This step is optional but adds a nice touch.
5. **Bake**: Place the wrapped hot dogs on the prepared baking sheet, leaving a little space between them for air circulation. Bake for 12-15 minutes, or until the dough is golden brown and puffed up. Keep an eye on them after 10 minutes, as oven temperatures can vary. You want the dough to be cooked through but not dark brown.
6. **Cool and Serve**: Remove the baking sheet from the oven and let the mummy dogs cool for 2-3 minutes. This helps the dough set and makes them easier to handle. Carefully remove the toothpicks before serving. Serve warm with ketchup, mustard, or BBQ sauce for dipping.
Cooking Tips & Techniques
I learned the hard way that rushing this recipe leads to messy results. Here are some professional tips to ensure your mummy dogs turn out perfectly every time.
* **Keep the Dough Cold**: The most common mistake is letting the dough warm up too much before wrapping. If the dough is warm, it becomes sticky and hard to handle. Work quickly, or keep the unused dough in the fridge until you are ready to use it. Cold dough is easier to stretch and less likely to tear.
* **Don’t Overfill**: Make sure you are using standard-sized hot dogs. If you use jumbo sausages, the dough might not cover them properly, and they won’t cook evenly. The ratio of dough to meat is important for that perfect bite.
* **Toothpick Placement**: When securing the dough with toothpicks, make sure they are inserted securely but not so deep that they poke through the other side. You want them to hold the dough in place without ruining the eating experience.
* **Watch the Oven**: Ovens can vary widely in temperature. If your oven runs hot, check the dogs at 10 minutes. If they are browning too fast, you can tent them loosely with foil. Conversely, if your oven runs cool, you might need an extra 2-3 minutes. The dough should be golden, not pale.
* **Avoid Soggy Bottoms**: Make sure your baking sheet is not overcrowded. Air needs to circulate around each mummy dog to ensure the bottom crisps up. If you have a small oven, bake in batches. It’s better to have two batches of perfect dogs than one batch of soggy ones.
I once tried to wrap the dough too loosely, and it unraveled in the oven. Lesson learned: wrap them snugly! Also, don’t skip the parchment paper. It saves you from scrubbing your pan later, and it helps with even baking.
Variations & Adaptations
While the classic mummy dog is a hit, there are plenty of ways to twist this recipe to suit different tastes or dietary needs.
* **Cheesy Mummy Dogs**: Before wrapping the hot dog, sprinkle a little shredded cheddar cheese on the dough. The cheese will melt into the dough, adding a rich, savory flavor. This is a great option for kids who love cheese. Just be careful not to add too much, or it might make the dough soggy.
* **Spicy Jalapeño Mummy Dogs**: Swap the plain hot dogs for jalapeño-infused sausages. You can also add a thin slice of jalapeño pepper under the dough for an extra kick. This is perfect for adults who like a bit of heat in their party food.
* **Veggie Mummy Dogs**: Use high-quality vegetarian or vegan sausages for a meat-free option. Many brands now make sausages that snap and taste just like meat. This is a great way to include vegetarian guests in the fun.
* **Mini Mummy Dogs**: Use cocktail wieners or cocktail sausages for bite-sized appetizers. These are perfect for one-bite parties and are easier for small children to eat. Just adjust the baking time to 8-10 minutes, as they will cook faster.
* **Gluten-Free Option**: While I recommend sticking to the canned dough for ease, you can use gluten-free crescent roll dough if you have a gluten intolerance. The texture might be slightly different, but it will still work.
I tried the cheesy version once, and it was a huge hit. The cheese adds a nice gooey texture that contrasts with the flaky dough. It’s a simple change that makes a big difference.
Serving & Storage Suggestions
These mummy dogs are best served warm, right out of the oven. The dough is crisp and flaky when hot, and it starts to soften as it cools. If you are serving them at a party, consider keeping them warm in a low oven (200°F) while you finish preparing other dishes.
* **Presentation**: Arrange them on a platter with a spooky Halloween theme. You can use a black platter to make the golden dough pop. Add some fake spiderwebs or candy corn around the edges for a festive touch.
* **Dipping Sauces**: Serve with a variety of dipping sauces. Ketchup is classic, but BBQ sauce, mustard, and even ranch dressing work well. You can also make a simple garlic aioli for a more gourmet touch.
* **Storage**: If you have leftovers, store them in an airtight container in the refrigerator for up to 3 days. The dough will soften in the fridge, so reheating is necessary to restore the texture.
* **Reheating**: Reheat in the oven or toaster oven at 350°F for 5-7 minutes. This will crisp up the dough again. Avoid microwaving, as it will make the dough chewy and tough.
* **Freezing**: You can freeze the unbaked mummy dogs on a baking sheet, then transfer them to a freezer bag. Bake from frozen, adding 2-3 minutes to the baking time. This is great for meal prep or having ready-to-bake snacks on hand.
The flavors develop nicely over time, especially if you add cheese. The cheese melds into the dough, creating a richer taste. But honestly, they are best fresh.
Nutritional Information & Benefits
While these are definitely a treat, they are not entirely devoid of nutritional value. Here is a rough estimate of what you are getting:
* **Calories**: Each mummy dog is approximately 250-300 calories, depending on the size of the hot dog and dough.
* **Protein**: The hot dog provides a good amount of protein, which helps keep you full.
* **Fat**: The dough and hot dog contribute to the fat content, so enjoy in moderation.
* **Carbohydrates**: The crescent roll dough is the main source of carbs.
For those watching their intake, you can opt for turkey hot dogs to reduce the fat and sodium. You can also use a lighter dough if available. These are best enjoyed as an occasional treat rather than a daily meal. They are fun, festive, and satisfying, which is what matters most for party food.
Conclusion
These Easy Halloween Mummy Hot Dogs are a simple, fun, and delicious way to celebrate the season. They are easy to make, require minimal ingredients, and are always a hit with kids and adults alike. I love this recipe because it turns a basic pantry staple into something special and festive. It’s proof that you don’t need to spend hours in the kitchen to create memorable food.
I encourage you to try this recipe and customize it to your liking. Add cheese, spices, or different dips to make it your own. Share your creations with friends and family, and let me know how they turn out in the comments below. I love hearing about your cooking adventures!
Happy Halloween, and happy eating!
FAQs
Can I use gluten-free hot dogs?
Yes, you can use gluten-free hot dogs if you need to avoid gluten. Just make sure to check the label, as some sausages may contain fillers. Pair them with gluten-free crescent roll dough for a fully gluten-free option.
How do I keep the dough from sticking to the toothpicks?
Lightly oil the toothpicks before inserting them into the dough. This helps prevent the dough from sticking to the wood, making it easier to remove after baking.
Can I make these ahead of time?
Yes, you can assemble the mummy dogs and store them in the refrigerator for up to 24 hours before baking. Cover them loosely with plastic wrap to prevent the dough from drying out. Bake them straight from the fridge, adding a minute or two to the baking time.
What can I use instead of olives for the eyes?
You can use small pieces of black pepper, capers, or even chocolate chips for the eyes. Just make sure they are small enough to fit on the hot dog and won’t burn in the oven.
Why did my dough turn out soggy?
Soggy dough usually happens if the oven is not preheated properly or if the baking sheet is overcrowded. Make sure your oven is at 350°F before putting the dogs in, and leave space between each one for air circulation.
Pin This Recipe!
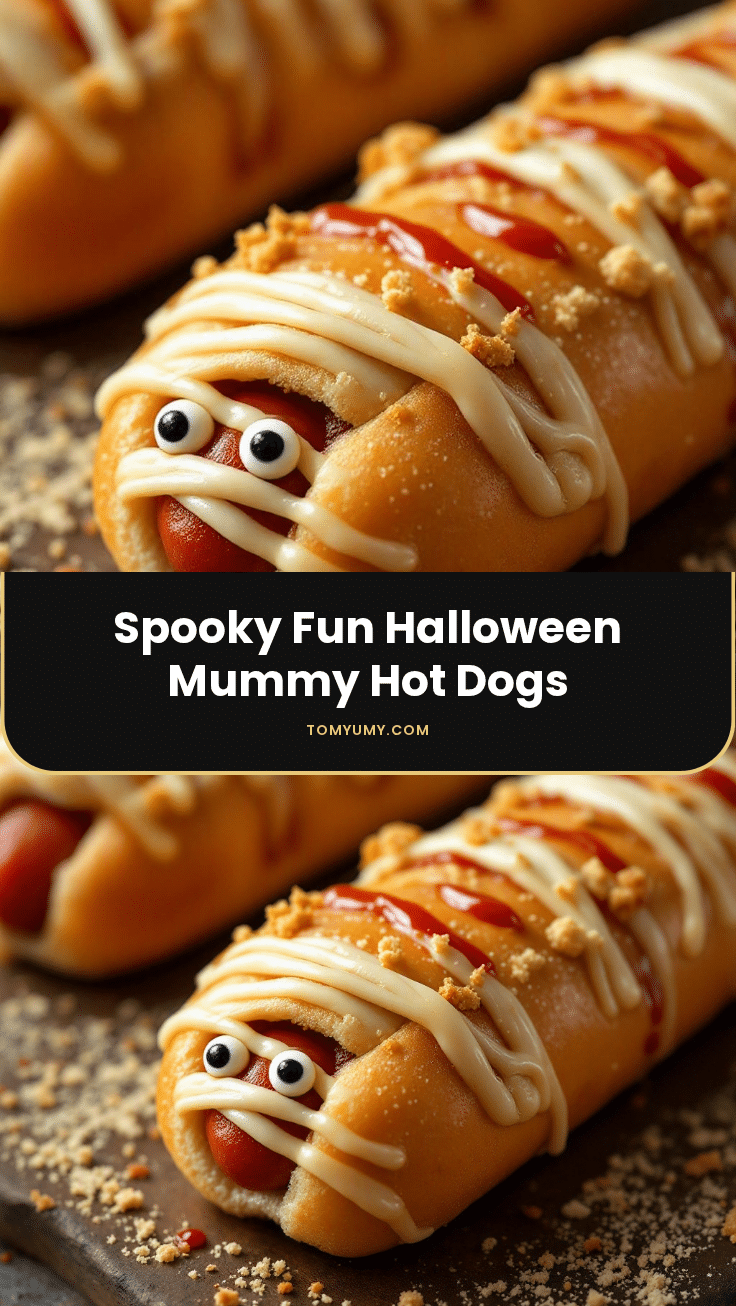
Easy Halloween Mummy Hot Dogs: 10-Minute Party Food

A fun and delicious Halloween appetizer featuring hot dogs wrapped in flaky crescent roll dough with olive eyes. These mummy dogs are quick to prepare, kid-approved, and perfect for parties.
- Prep Time: 10 minutes
- Cook Time: 12-15 minutes
- Total Time: 22-25 minutes
- Yield: 4 servings 1x
- Category: Appetizer
- Cuisine: American
Ingredients
- 1 tube (8 oz) refrigerated crescent roll dough
- 4 standard beef or chicken hot dogs
- 8 slices black olives (for eyes)
- Dijon or yellow mustard (optional, for pupils)
- 1 egg, beaten (optional, for egg wash)
- Toothpicks (for securing dough)
- Ketchup, BBQ sauce, or mustard (for dipping)
Instructions
- Preheat oven to 350°F (175°C) and line a baking sheet with parchment paper.
- Unroll the crescent roll dough and cut each rectangle in half lengthwise to create four long, thin strips.
- Place a hot dog at one end of a dough strip and wrap the dough around it, leaving a small gap at the top for the face. Secure the end with a toothpick.
- Repeat with remaining hot dogs and dough strips.
- Place olive slices on the exposed part of the hot dogs for eyes. Add a tiny dot of mustard for pupils if desired.
- Optional: Brush the dough with beaten egg for a golden finish.
- Bake for 12-15 minutes until the dough is golden brown and puffed up.
- Cool for 2-3 minutes, remove toothpicks, and serve warm with dipping sauces.
Notes
Keep the dough cold to prevent tearing. Ensure hot dogs are standard size, not jumbo. Do not overcrowd the baking sheet to ensure crisp bottoms. Reheat in oven or toaster oven to restore crispness; avoid microwaving.
Nutrition
- Serving Size: 1 mummy dog
- Calories: 275
- Sugar: 3
- Sodium: 600
- Fat: 15
- Saturated Fat: 4
- Carbohydrates: 20
- Fiber: 1
- Protein: 8
Keywords: Halloween, mummy dogs, crescent roll hot dogs, party food, easy appetizer, kid-friendly, quick recipes