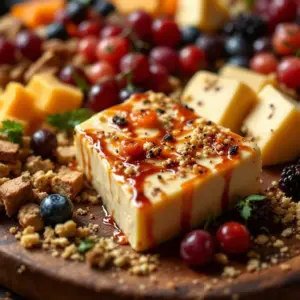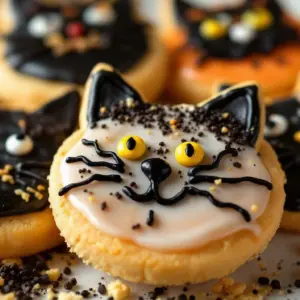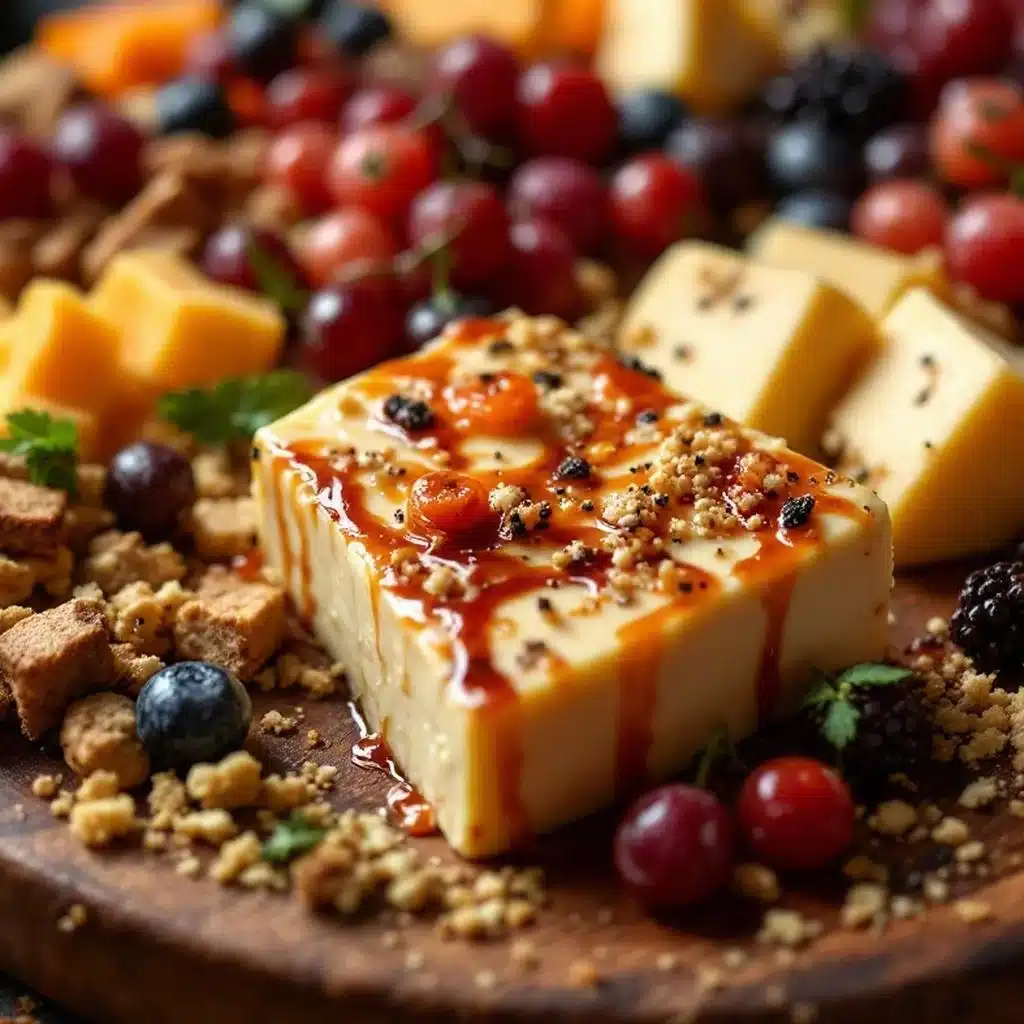
I want cheese and candy right now and have nothing but a giant wooden board and a creeping sense of dread about how to make it look festive without looking like a toddler’s birthday party. Honestly, the trick to the perfect Halloween charcuterie board with candy and cheese isn’t magic, it’s just knowing which ugly-cute candies actually pair with sharp cheddar. You know that feeling when you walk into a store and see those little pumpkin-shaped crackers? You grab them, then immediately forget they exist until the party is already over. I learned this the hard way last October when my board looked less like a spooky feast and more like a grocery store receipt exploded on my counter. This year, I’m fixing that. I’m mixing savory, salty, and sweet in a way that actually works. It’s not about being perfect. It’s about making something that looks fun but tastes like you actually tried. The goal here is simple: create a spread that keeps guests grabbing at it all night, whether they are there for the cheese or just the chocolate.
There is something deeply satisfying about arranging food into shapes. It’s creative, it’s edible, and it doesn’t require an oven. I’ve always loved the idea of a board that tells a story, and for Halloween, that story is usually “spooky but safe.” You want the kids to feel included, but you also want the adults to appreciate a good gouda. This recipe balances both. It’s not just a pile of snacks. It’s a curated experience. And the best part? You can throw it together in twenty minutes while the rest of the house is being decorated. Let’s face it, nobody wants to spend their entire evening standing over a stove when they could be hanging fake cobwebs. This board is the solution. It’s visual, it’s delicious, and it’s surprisingly easy to pull off.
I realized I needed a better approach when I tried to make a traditional savory board and my husband kept sneaking off to eat the candy bowl instead. He wasn’t wrong. The candy was better. So, I started treating the cheese like the dessert and the candy like the savory element. It sounds weird, but it works. The saltiness of the cheese cuts through the sugar, and the sweetness balances the bold flavors of aged cheeses. It’s a flavor loop that keeps you coming back for more. That’s the secret I’m sharing today. No fancy techniques, just good food and a little bit of creative plating.
This isn’t about being a professional chef. It’s about feeding people well and making them smile. And honestly, seeing someone’s face light up when they find a hidden chocolate spider in the greens? That’s the win. So, let’s get this board together. It’s going to be fun, it’s going to be messy, and it’s going to taste amazing.
Why You’ll Love This Recipe
- Quick & Easy: This board comes together in under 20 minutes. No cooking required means no oven heat and no stress. It is perfect for busy weeknights or those last-minute trick-or-treat prep moments.
- Simple Ingredients: You likely already have most of these items in your kitchen. Cheese, crackers, and candy are pantry staples. You don’t need to go on a fancy grocery hunt for obscure items.
- Perfect for Parties: Great for Halloween gatherings, classroom parties, or cozy movie nights. It serves as both an appetizer and a dessert, saving you from making two separate dishes.
- Crowd-Pleaser: Always gets rave reviews from kids and adults alike. The mix of savory and sweet appeals to everyone, even the picky eaters.
- Unbelievably Delicious: The texture and flavor combo is next-level comfort food. The crunch of the crackers, the creaminess of the cheese, and the snap of the candy create a sensory experience.
What makes this recipe different from the rest is the intentional pairing of flavors. Most people just throw things on a plate. I focus on balance. For example, pairing a sharp white cheddar with sweet gummy worms creates a contrast that is addictive. It’s not just another version of a snack plate—it’s your best version. I’ve tested dozens of combinations, and this one consistently wins. It’s the kind of board that makes you close your eyes after the first bite. It’s comfort food reimagined—festive, fun, but with the same soul-soothing satisfaction as a hot meal. It’s perfect for impressing guests without stress, or turning a simple evening in into something memorable.
What Ingredients You Will Need
This recipe uses simple, wholesome ingredients to deliver bold flavor and satisfying texture without the fuss. The key is variety in color and texture. You want orange, black, white, and green to hit those Halloween notes. Most of these are easy to find, and some can be substituted based on what’s on sale or what you prefer.
- For the Cheese Base:
- Sharp White Cheddar: Cut into cubes or slices. The sharpness cuts through the sweetness of the candy. (I recommend Cabot for best texture and flavor profile).
- Smoked Gouda: Sliced thinly. The smoky flavor adds depth and pairs beautifully with sweet fruits. Room temperature is best for flavor release.
- Cream Cheese: Block form, sliced into stars or bats. This adds a creamy, mild element to balance the sharp cheeses.
- Brie or Camembert: A small wheel, sliced. Adds a luxurious, soft texture that feels fancy but is easy to prep.
- For the Crunchy Elements:
- Pretzel Sticks: Black or orange pretzels for color. Provides a salty crunch that contrasts with soft cheese.
- Saltine Crackers: Plain or seeded. A neutral base that lets the cheese shine. Use if you want a classic look.
- Orange Pumpkin Crackers: Shaped crackers. Essential for the Halloween theme. They add visual interest and a subtle spice flavor.
- Popcorn: Plain or lightly buttered. Great for filling gaps and adding volume. Use air-popped for a healthier option.
- For the Sweet & Candy Elements:
- Gummy Worms: Red or orange. The classic spooky element. Adds a chewy texture that is fun to eat.
- Candy Corn: Traditional tri-color. A staple for Halloween. Adds a burst of sweetness and color.
- Pumpkin Seed Candies: Orange coated. Looks like little pumpkins. A nice alternative to standard chocolate.
- Chocolate Covered Pretzels: Orange or black. Combines salt and sweet in one bite. Very popular with kids.
- For Fresh & Savory Accents:
- Grapes: Red or green, halved. Adds juiciness and a fresh contrast to the salty snacks.
- Apple Slices: Honeycrisp or Fuji, tossed in lemon juice. Adds a crisp, fresh element. Keep them firm so they don’t brown.
- Black Olives: Sliced. Can be used to create “spider” shapes or just scattered for a dark color pop.
- Celery Sticks: Cut into small pieces. Adds a savory crunch and green color. Good for dipping in cream cheese.
For seasonal ingredients, note that in late October, you can swap apples for pears or add some persimmons if they are in season. If you need a gluten-free option, use rice crackers or gluten-free pretzels. For dairy-free needs, there are many excellent vegan cheese options now available that slice well. Just ensure they are firm enough to hold their shape on the board. I always check the expiration date on soft cheeses like brie to ensure they are at their peak creaminess.
Equipment Needed
You don’t need much to pull this off. A large serving board is the main event. I prefer a large wooden board because it adds warmth and rustic charm. If you don’t have one, a large platter or even a clean slate tile works well. A cheese knife is helpful, especially for the brie or cheddar. If you don’t have one, a sharp kitchen knife will do. Small bowls or ramekins are useful for holding loose items like popcorn or olives. This keeps the board from looking too cluttered. A paring knife is good for slicing apples or cutting cheese shapes. I also recommend having paper towels handy for quick spills. If you are using a wooden board, remember to condition it regularly with mineral oil to keep it looking nice. Budget-friendly options include using a large cutting board from the dollar store or repurposing a nice tray from your kitchen. The key is having enough surface area so the food doesn’t feel cramped.
Preparation Method
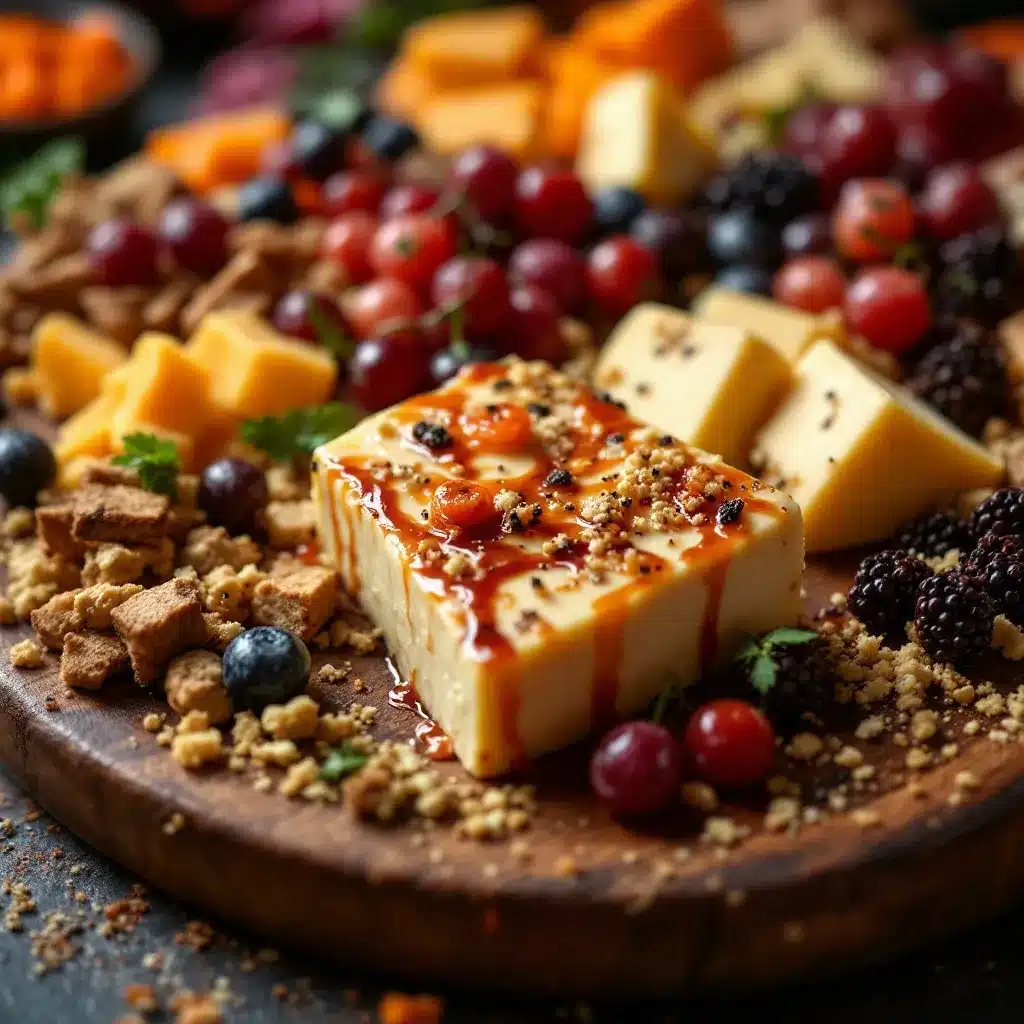
Preparing the board is about strategy. You want to build it in layers to ensure stability and visual appeal. Here is how to do it step-by-step.
- Prep the Cheese (5 minutes): Take your cheeses out of the fridge. Cold cheese doesn’t taste as good. Let them sit for 15-20 minutes while you prep the rest. Cut the cheddar into cubes or triangles. Slice the gouda thinly. Slice the brie into wedges. Cut the cream cheese into stars or bats using cookie cutters if you have them. This takes a few minutes but makes a huge difference in presentation.
- Place the Bowls (2 minutes): Start by placing your small bowls or ramekins on the board. Put these at the edges or in the center to create anchors. Fill them with popcorn, olives, or candies. This creates “islands” of texture and prevents the board from looking flat.
- Arrange the Crackers and Pretzels (5 minutes): Fan out your crackers and pretzels around the bowls. Don’t lay them flat; stand them up or fan them out for height. This adds dimension. Group similar items together but leave space for the next steps. This step takes about five minutes and sets the foundation.
- Add the Cheese (5 minutes): Place your cheese slices and cubes in the empty spaces. Try to vary the shapes and sizes. Scatter the cheese stars and bats around for a playful touch. Make sure each type of cheese is distinct so guests can identify them.
- Fill with Fresh Fruit (5 minutes): Add the apple slices and grapes. Tuck them in between the cheese and crackers. The red and green colors will pop against the orange and black themes. This adds freshness and balances the salty snacks.
- Scatter the Candy (3 minutes): Finally, add the candy. Sprinkle candy corn, gummy worms, and pumpkin seeds in the gaps. Use the gummy worms to create little “spider webs” by draping them over cheese cubes. This is the fun part. Take your time here to make it look abundant.
- Final Touches (2 minutes): Step back and look at the board. Add more items where it looks sparse. Maybe add a few extra crackers or a few more grapes. Ensure there are no large empty spots. The goal is a full, abundant look. This final adjustment takes just a couple of minutes.
Common issues include the cheese becoming too soft if left out too long. If it’s very hot, keep the board in the shade or bring it out just before serving. Another issue is the apples browning. Always toss them in lemon juice immediately after slicing to prevent oxidation. If you are prepping ahead, keep the cut fruit and cheese separate until the last minute. This ensures everything stays fresh and crisp. Trust me, nobody wants soggy crackers or brown apples.
Cooking Tips & Techniques
Professional technique here is about balance. You want a mix of salty, sweet, savory, and fresh. Don’t just pile everything on. Use negative space to let the eye rest. I’ve made the mistake of overfilling boards before, and it looks chaotic. Leave some gaps. Also, consider the height. Use bowls or stack crackers to create vertical interest. This makes the board more visually appealing from a distance. Timing is key. Prep the hard cheeses and crackers early, but add the fresh fruit and candy last. This keeps everything looking fresh. Multitasking is your friend here. While you are slicing cheese, you can be arranging crackers. Just keep an eye on the flow. Consistency is about repetition. Repeat colors and shapes to create a cohesive look. If you use orange crackers, use orange candy. If you use black olives, use black pretzels. This creates a rhythm. I learned this by trial and error. My first board was a mess. Now, I plan it out in my head before I start. It saves time and reduces stress. Remember, the goal is to make it look easy, even if you’re slightly panicked inside.
Variations & Adaptations
There are many ways to adapt this board to suit different tastes or dietary needs. For a vegetarian option, ensure your cheese is made with vegetarian rennet. For a vegan board, use plant-based cheeses and vegan candies. You can swap out the fruit for roasted vegetables like sweet potato wedges or brussels sprouts for a savory twist. If you want a more dessert-focused board, add more chocolate, marshmallows, and cookies. For a kid-friendly version, include more gummy candies and cheese sticks. I’ve tried adding spicy elements like jalapeño slices, which pairs surprisingly well with the sweet candy. It adds a kick that adults appreciate. You can also swap the cheese for cured meats like salami or prosciutto for a more savory board. Just ensure you have enough sweet elements to balance it out. These variations allow you to customize the board for any occasion or preference.
Serving & Storage Suggestions
Serve the board at room temperature for the best flavor. Cheese tastes bland when it’s cold. Present it on a table where guests can easily access it. Pair it with a glass of wine or a cold beer for adults, and juice or soda for kids. Store leftovers in the refrigerator. Wrap the cheese tightly in plastic wrap to prevent it from drying out. Keep the crackers in an airtight container to maintain crunch. The fruit should be stored separately to prevent browning. Reheating is not recommended for cheese boards, but you can warm the crackers slightly in the oven if you want them crisp. Flavors develop over time, especially if the cheese absorbs nearby scents. So, store items separately if possible. This ensures everything tastes fresh when served.
Nutritional Information & Benefits
This board offers a balance of macronutrients. The cheese provides protein and calcium, which are essential for bone health. The crackers and pretzels offer carbohydrates for energy. The fruit adds fiber and vitamins. While it is a snack-heavy plate, the variety helps balance the meal. It is not a low-calorie option, but it is a satisfying one. For those with dietary restrictions, many components can be adapted. Gluten-free crackers and dairy-free cheese are widely available. It is important to be mindful of sugar content in the candy, but as a treat, it fits into a balanced diet. I enjoy this board because it feels indulgent but also allows for some healthy options like fruit and nuts. It’s a way to enjoy comfort food without feeling guilty. Moderation is key, of course. But as a special treat, it’s hard to beat.
Conclusion
This perfect Halloween charcuterie board with candy and cheese is worth trying because it combines fun, flavor, and ease. It’s a great way to entertain without spending hours in the kitchen. Customize it based on your preferences and the preferences of your guests. I love this recipe because it brings people together. There is something special about sharing food, especially when it’s themed and creative. It sparks conversation and laughter. So, give it a try. You might be surprised by how easy it is. Don’t be afraid to experiment with different combinations. Find what works for you. And please, share your creations. I’d love to see how you style your board. Drop a comment below with your favorite candy or cheese pairing. Let’s inspire each other. Happy Halloween, and enjoy the feast!
Frequently Asked Questions
Can I make this board ahead of time?
Yes, you can prep most components ahead of time. Cut the cheese and crackers the day before and store them separately. Add fresh fruit and candy just before serving to keep everything looking fresh and crisp. This saves you time on the day of the party.
What type of cheese is best for a Halloween board?
Sharp cheddar, smoked gouda, and brie are excellent choices. They offer a mix of flavors and textures. Sharp cheddar provides a bold taste, gouda adds smokiness, and brie offers creaminess. You can also include cream cheese for spreadable options.
How do I prevent the apples from browning?
Toss the apple slices in lemon juice immediately after slicing. The acid in the lemon juice prevents oxidation. You can also use pineapple juice, which adds a subtle sweetness. This keeps the apples looking fresh and appetizing.
Can I include meat on the board?
Absolutely. Salami, prosciutto, or pepperoni are great additions. They add a savory element that balances the sweet candy. Just ensure you have enough vegetarian options for all guests.
What are some good non-candy options for kids?
Consider using pumpkin-shaped cheese sticks, pretzel rods, or fruit skewers. These are fun and healthy alternatives to candy. You can also include popcorn or rice cakes for a crunchy snack.
Pin This Recipe!
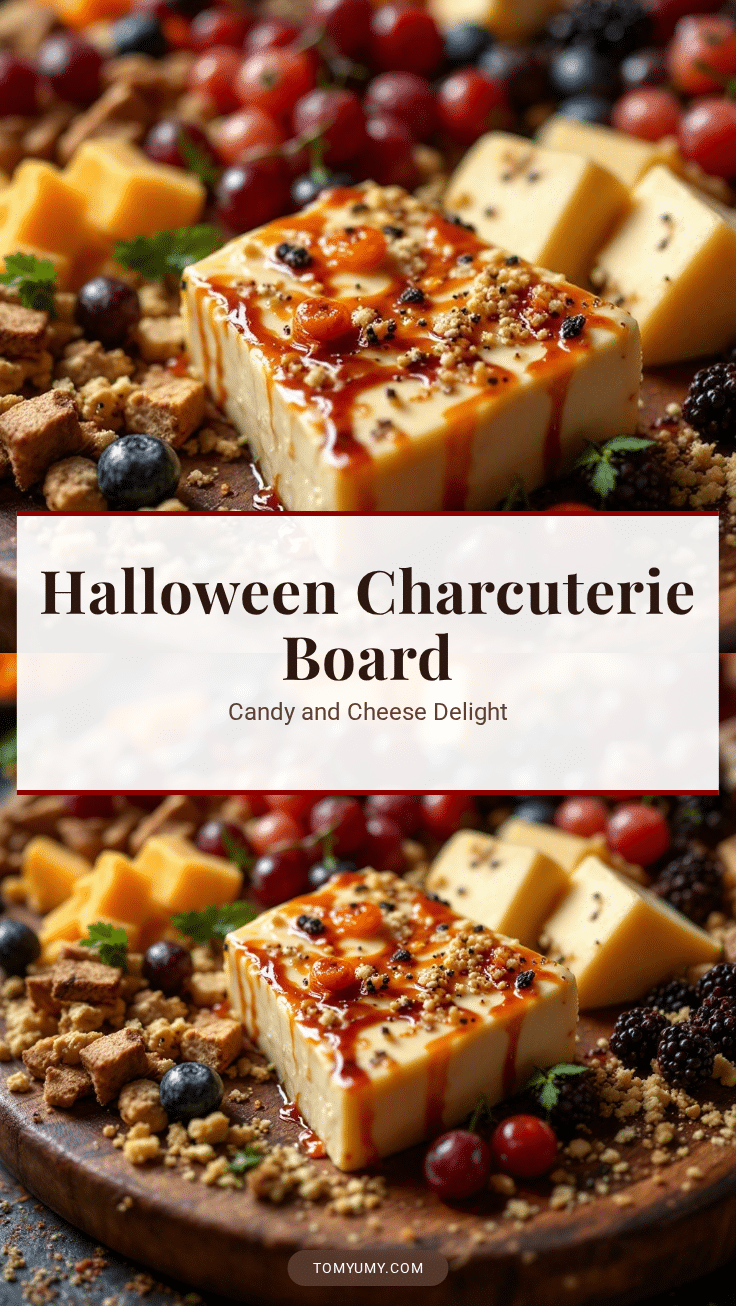
Perfect Halloween Charcuterie Board: Easy Candy & Cheese Board
A festive, no-cook Halloween charcuterie board that balances savory cheeses and salty crackers with sweet Halloween candies. This easy-to-assemble spread is perfect for parties, takes under 20 minutes to prepare, and appeals to both kids and adults.
- Prep Time: 20 minutes
- Cook Time: 0 minutes
- Total Time: 20 minutes
- Yield: 8-10 servings
- Category: Appetizer
- Cuisine: American
Ingredients
- Sharp White Cheddar (cut into cubes or slices)
- Smoked Gouda (sliced thinly)
- Cream Cheese (block form, sliced into shapes)
- Brie or Camembert (small wheel, sliced)
- Pretzel Sticks (black or orange)
- Saltine Crackers (plain or seeded)
- Orange Pumpkin Crackers
- Popcorn (plain or lightly buttered)
- Gummy Worms (red or orange)
- Candy Corn
- Pumpkin Seed Candies (orange coated)
- Chocolate Covered Pretzels (orange or black)
- Grapes (red or green, halved)
- Apple Slices (Honeycrisp or Fuji, tossed in lemon juice)
- Black Olives (sliced)
- Celery Sticks (cut into small pieces)
Instructions
- Take cheeses out of the fridge and let them sit at room temperature for 15-20 minutes to enhance flavor.
- Cut the cheddar into cubes or triangles, slice the gouda thinly, and cut the brie into wedges.
- Use cookie cutters to cut the cream cheese into stars or bats, if desired.
- Place small bowls or ramekins on the board at the edges or center to serve as anchors.
- Fill the bowls with loose items like popcorn, olives, or candies.
- Fan out crackers and pretzels around the bowls, standing them up or fanning them for height and dimension.
- Place cheese slices and cubes in the empty spaces, varying shapes and sizes for visual interest.
- Add apple slices and grapes, tucking them between cheese and crackers to add color and freshness.
- Scatter candy corn, gummy worms, and pumpkin seeds in the gaps. Drape gummy worms over cheese cubes to create spider webs.
- Step back and assess the board, adding more items to fill any sparse spots for an abundant look.
Notes
Serve at room temperature for best flavor. Toss apple slices in lemon juice immediately after slicing to prevent browning. If prepping ahead, store cut fruit and cheese separately until serving. For gluten-free options, use rice crackers or gluten-free pretzels. For dairy-free, use firm vegan cheese options.
Nutrition
- Serving Size: Varied bites from th
- Calories: 350
- Sugar: 22
- Sodium: 450
- Fat: 18
- Saturated Fat: 9
- Carbohydrates: 35
- Fiber: 2
- Protein: 12
Keywords: Halloween charcuterie board, candy and cheese board, easy party snacks, no bake dessert, Halloween appetizer, kid friendly snacks, cheese board ideas