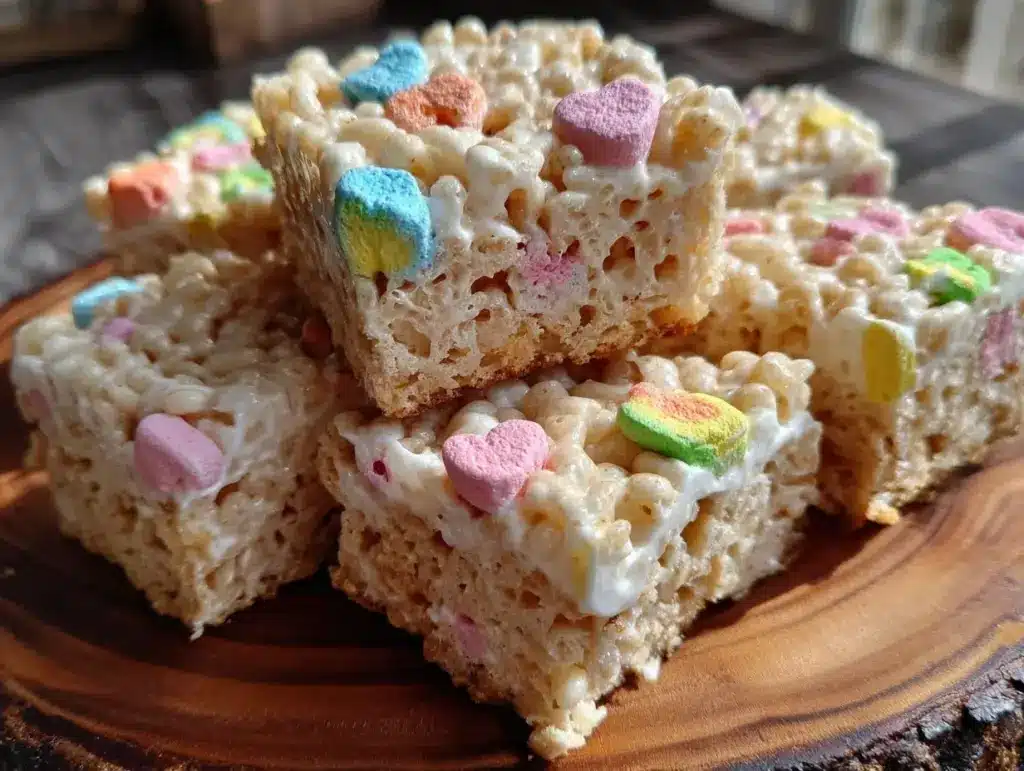
Let me tell you, the moment those sweet, fruity marshmallows from Lucky Charms started to melt into gooey marshmallow goodness, my kitchen was instantly filled with the kind of smell that just screams comfort and childhood fun. The first time I whipped up these Crispy Lucky Charms Rice Krispie Treats, it was on a rainy Saturday afternoon when I was knee-high to a grasshopper, trying to recreate a snack that felt like a warm hug wrapped in colorful magic. Honestly, the kind of moment where you pause, take a deep breath, and just smile because you know you’re onto something truly special.
Years ago, these treats were my secret weapon to brighten up family gatherings and birthday parties. My family couldn’t stop sneaking them off the cooling rack (and I can’t really blame them). You know what? These treats are dangerously easy to make, with pure, nostalgic comfort packed into every bite. Perfect for potlucks, a sweet treat for your kids, or just to brighten up your Pinterest cookie board, these Crispy Lucky Charms Rice Krispie Treats have become a staple in my recipe box. I’ve tested this recipe multiple times — in the name of research, of course — and it always delivers that magical, crispy, chewy texture we’re all craving.
Why You’ll Love This Recipe
Honestly, these Crispy Lucky Charms Rice Krispie Treats aren’t just your run-of-the-mill marshmallow snack. As someone who’s baked and tasted countless variations, I can say these treats hit all the right notes. Here’s why this recipe stands out:
- Quick & Easy: Comes together in under 20 minutes, perfect for busy weeknights or last-minute cravings.
- Simple Ingredients: No fancy grocery trips needed; you likely already have everything in your kitchen.
- Perfect for Any Occasion: Great for birthday parties, potlucks, or just a magical afternoon snack.
- Crowd-Pleaser: Always gets rave reviews from kids and adults alike — honestly, it’s hard to resist.
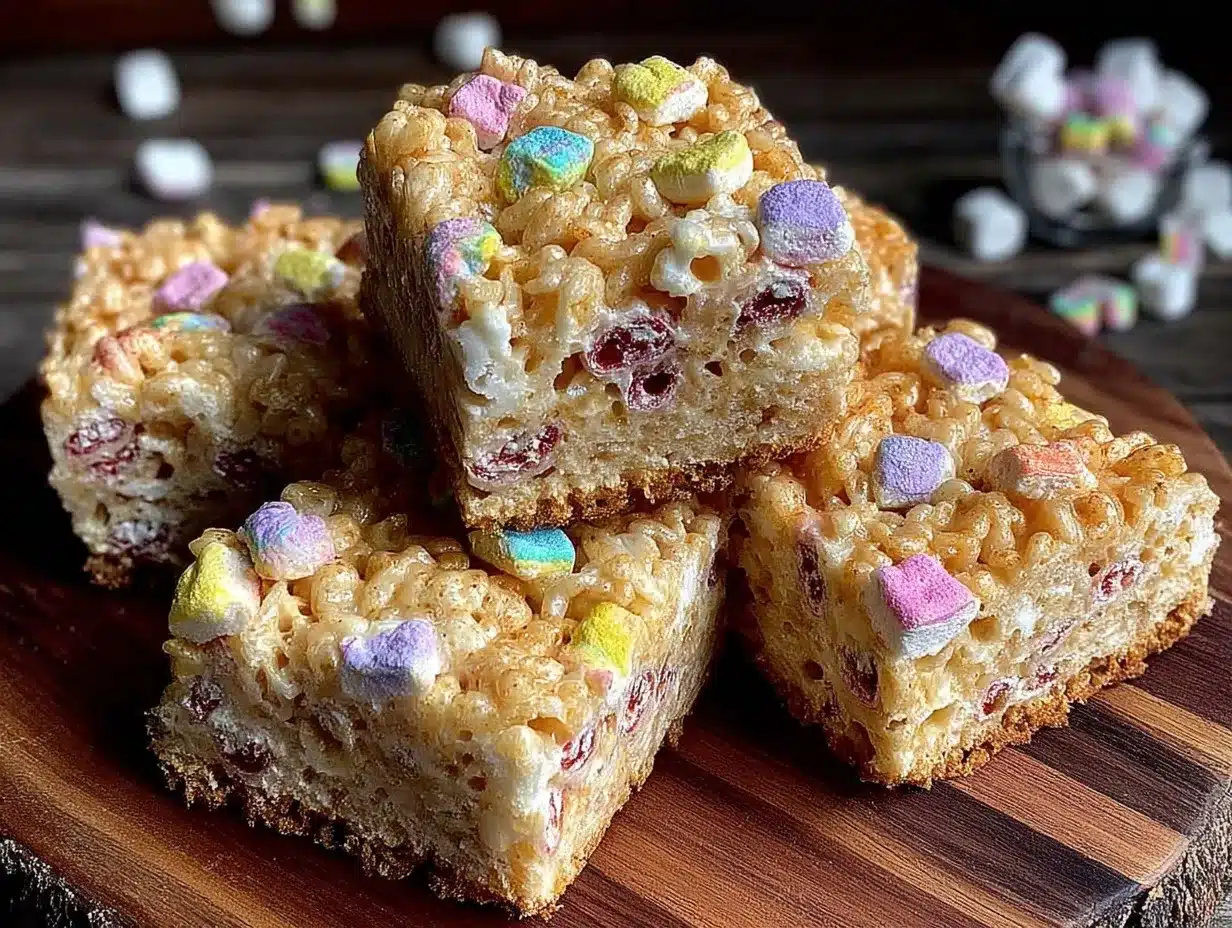
- Unbelievably Delicious: The perfect balance of crispy cereal and gooey marshmallow with bursts of fruity marshmallows.
What makes these Crispy Lucky Charms Rice Krispie Treats different? It’s all about how the Lucky Charms cereal adds that iconic rainbow marshmallow pop, giving it a fun twist on a classic. The marshmallow melting technique I use ensures they’re perfectly sticky without being too dense. You close your eyes after the first bite because it’s like comfort food reimagined — simple, nostalgic, but with a little extra sparkle. It’s the kind of recipe that impresses guests without any stress and turns a simple snack into something truly memorable.
What Ingredients You Will Need
This recipe uses simple, wholesome ingredients to deliver that bold flavor and satisfying texture without fuss. Most of these are pantry staples, with the star being the iconic Lucky Charms cereal that brings the magic.
- Unsalted Butter, 3 tablespoons (adds richness and helps melt marshmallows smoothly)
- Marshmallows, 10 ounces (about 4 cups mini marshmallows or one standard bag) — I recommend Jet-Puffed for best meltability
- Lucky Charms Cereal, 6 cups (the crunchy base with those colorful marshmallows really makes this recipe pop)
- Vanilla Extract, 1 teaspoon (optional, but adds a lovely warm flavor)
- Non-stick cooking spray or extra butter (for greasing the pan)
Quick tip: If you want to switch it up, you can swap in a gluten-free cereal version or use dairy-free butter and marshmallows to make this treat allergy-friendly. In summer, fresh berries on the side make a fun, fruity pairing!
Equipment Needed
- Large saucepan — for melting butter and marshmallows together. A heavy-bottom pan works best to avoid burning.
- Wooden spoon or heat-proof spatula — for stirring the marshmallow mixture gently.
- 9×13-inch baking pan — the classic size for Rice Krispie treats; you can also use a glass or metal pan.
- Measuring cups and spoons — to get those ingredient amounts just right.
- Non-stick spray or extra butter — for greasing the pan to make removal easier.
If you don’t have a 9×13, a slightly smaller pan works too, but be ready for thicker treats. Personally, I love using a silicone spatula for folding in the cereal — feels less messy and gets the job done faster. And hey, if you’re on a budget, a sturdy saucepan and wooden spoon are all you really need!
Preparation Method
- Prepare your pan: Lightly grease your 9×13-inch baking pan with non-stick spray or butter. This step is key so your treats don’t stick when it’s time to slice. (2 minutes)
- Melt the butter: In a large saucepan, melt 3 tablespoons of unsalted butter over low heat. Keep an eye on it so it doesn’t brown or burn. (3 minutes)
- Add marshmallows: Once the butter is melted, add 10 ounces of marshmallows. Stir constantly with a wooden spoon until completely melted and smooth. The mixture should be glossy and thick but pourable. If you see any chunks, just melt a little longer, but don’t overheat or it might seize. (5-7 minutes)
- Stir in vanilla: Remove from heat and stir in 1 teaspoon of vanilla extract if using. This adds a subtle warmth that balances the sweetness. (30 seconds)
- Mix in Lucky Charms: Immediately fold in 6 cups of Lucky Charms cereal. Use a spatula or wooden spoon to gently but thoroughly coat every bit of cereal with the marshmallow mixture. The marshmallow will be hot and sticky, so work quickly but carefully. (2-3 minutes)
- Transfer to pan: Pour the mixture into your prepared pan. Use a buttered spatula or wax paper to press it evenly into the pan without squishing the cereal too much — you want to keep those crispy bits intact! (2 minutes)
- Cool and set: Let the treats cool completely at room temperature for about 1 hour. Resist the urge to cut too soon or they’ll crumble. Once firm, slice into squares or fun shapes if you like. (1 hour)
Pro tip: If your marshmallows start to get sticky on the spoon during stirring, a quick buttering of the spatula helps keep things smooth. You’ll know your treats are ready to slice when they hold their shape but still have a little chew.
Cooking Tips & Techniques
Making Crispy Lucky Charms Rice Krispie Treats is pretty foolproof, but a few tricks make all the difference. First off, low and slow is your friend when melting butter and marshmallows. You want a smooth, velvety texture without any burnt bits — trust me, nobody wants a scorched marshmallow flavor.
Also, folding in the cereal gently prevents smashing those delicate marshmallows inside the Lucky Charms, keeping them bright and colorful. I learned the hard way that rushing this step can make the treats dense and less crisp.
Don’t skip greasing your pan well. I’ve had treats stick before, and it’s a real pain to salvage the edges! Using wax paper or a buttered spatula when pressing the mixture into the pan helps keep those crispy edges intact without crushing the cereal.
Timing matters too — letting the treats cool completely before slicing makes for clean cuts and less crumble. If you’re in a hurry, a quick chill in the fridge for 20 minutes can firm them up faster, but don’t freeze them or they can get brittle.
Lastly, multitasking helps. While the marshmallows melt, you can start greasing the pan or measuring out your cereal. It keeps the process smooth and stress-free.
Variations & Adaptations
These Crispy Lucky Charms Rice Krispie Treats are a blank canvas for fun twists! Here are a few ways I’ve played around with this recipe:
- Chocolate Lover’s Version: Stir in 1 cup mini chocolate chips right after mixing in the cereal for a melty chocolate surprise.
- Gluten-Free Option: Use gluten-free crispy rice cereal and gluten-free marshmallows to keep the magic without gluten.
- Peanut Butter Twist: Melt 1/2 cup peanut butter with the butter before adding marshmallows for a nutty flavor that pairs perfectly with the marshmallows.
- Colorful Marshmallow Boost: Add extra Lucky Charms marshmallows on top just before pressing into the pan for a festive look.
- Dairy-Free Swap: Use vegan butter and dairy-free marshmallows for a plant-based version that still tastes amazing.
Personally, I tried adding a pinch of cinnamon once, and it gave the treats a cozy warmth that was surprisingly good. Feel free to experiment—you’ll find your own magical twist in no time.
Serving & Storage Suggestions
These Crispy Lucky Charms Rice Krispie Treats are best served at room temperature, where the chewy marshmallow and crispy cereal textures shine brightest. I like to cut them into fun shapes with cookie cutters when serving to kids — it adds a playful touch that’s always a hit.
They pair wonderfully with a cold glass of milk or a warm cup of cocoa for an extra cozy snack. For parties, arrange them on a colorful platter alongside fresh fruit or popcorn for a magical snack spread.
To store, keep the treats in an airtight container at room temperature for up to 3 days. They’ll stay soft and chewy but start to lose their crispness after that. If you want to keep them longer, wrap individually in plastic wrap and freeze for up to 1 month. When ready to eat, thaw at room temperature for 30 minutes.
Fun fact: the flavors mellow and blend a bit after a day, making them taste even better the next day — like little pockets of nostalgia you can enjoy again.
Nutritional Information & Benefits
Each serving of these Crispy Lucky Charms Rice Krispie Treats (about 1 square) has roughly 150-180 calories, depending on exact portion size. They’re mostly a fun treat (let’s be real), but here’s a quick look at the key components:
- Lucky Charms: Though sugary, they provide a bit of whole grain from the rice cereal base.
- Marshmallows: Mostly sugar, but melt down to give that satisfying chewy texture without heaviness.
- Butter: Adds richness and helps bind everything, providing a little fat for flavor balance.
For those mindful of allergens, note that this recipe contains dairy and gluten unless you swap ingredients. Using gluten-free cereal and dairy-free butter/marshmallows can make it suitable for more diets. I find this treat a nice occasional sweet that brings big smiles, which is a kind of wellness in itself, right?
Conclusion
In the end, these Crispy Lucky Charms Rice Krispie Treats are a magical snack that’s as fun to make as they are to eat. They’re perfect for anyone who wants a quick, easy, and colorful treat that brings back childhood joy with every bite. You can customize them to your heart’s content and serve them up for any occasion — guaranteed to bring smiles.
I love this recipe because it’s simple, fast, and absolutely delicious every single time. I hope you’ll try it soon and make it your own. If you do, please drop a comment below sharing your twist or how it turned out — I’m always eager to hear your kitchen stories!
Go ahead and bookmark this one. You’re going to want to pull it out for your next magical snack craving!
FAQs About Crispy Lucky Charms Rice Krispie Treats
Can I use regular Rice Krispies cereal instead of Lucky Charms?
Absolutely! Using regular Rice Krispies will give you the classic treat texture, but you’ll miss out on those colorful marshmallow charms that make these special.
How do I keep my treats from sticking to the pan?
Grease your pan well with butter or non-stick spray before pressing in the mixture. Using wax paper or a buttered spatula to press helps too.
Can I make these treats ahead of time?
Yes! They store well in an airtight container at room temp for 3 days or can be frozen wrapped tightly for up to a month.
What’s the best way to cut the treats without them crumbling?
Let them cool completely before slicing. Using a sharp knife and pressing firmly in one motion also helps keep clean edges.
Are there any good allergy-friendly substitutions?
Definitely. Swap dairy butter for a plant-based alternative and choose gluten-free cereal and marshmallows to make these treats allergy-friendly.
Pin This Recipe!
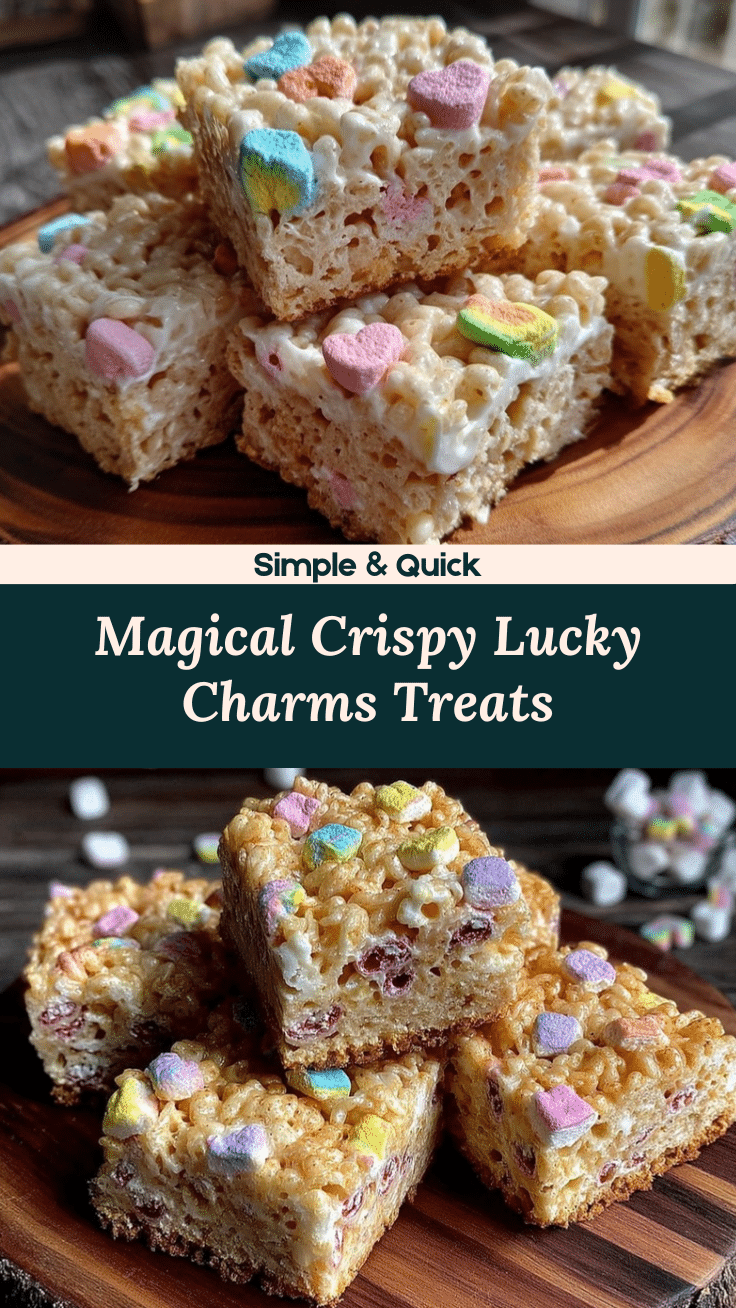
Crispy Lucky Charms Rice Krispie Treats Easy Magical Snack Recipe
A quick and easy recipe for crispy, chewy Rice Krispie treats made with Lucky Charms cereal, perfect for nostalgic, colorful snacks that delight kids and adults alike.
- Prep Time: 5 minutes
- Cook Time: 10 minutes
- Total Time: 1 hour 15 minutes
- Yield: 12 servings 1x
- Category: Snack
- Cuisine: American
Ingredients
- 3 tablespoons unsalted butter
- 10 ounces marshmallows (about 4 cups mini marshmallows or one standard bag), Jet-Puffed recommended
- 6 cups Lucky Charms cereal
- 1 teaspoon vanilla extract (optional)
- Non-stick cooking spray or extra butter for greasing the pan
Instructions
- Lightly grease a 9×13-inch baking pan with non-stick spray or butter.
- In a large saucepan, melt 3 tablespoons of unsalted butter over low heat, being careful not to brown or burn it.
- Add 10 ounces of marshmallows to the melted butter and stir constantly with a wooden spoon until completely melted and smooth, about 5-7 minutes.
- Remove from heat and stir in 1 teaspoon of vanilla extract if using.
- Immediately fold in 6 cups of Lucky Charms cereal, coating every bit with the marshmallow mixture quickly but gently.
- Pour the mixture into the prepared pan and press evenly with a buttered spatula or wax paper without squishing the cereal too much.
- Let the treats cool completely at room temperature for about 1 hour before slicing into squares or shapes.
Notes
Use low heat to melt butter and marshmallows slowly to avoid burning. Grease the pan well to prevent sticking. Let treats cool completely before slicing for clean cuts. For allergy-friendly versions, use gluten-free cereal and dairy-free butter and marshmallows. Press mixture gently to keep cereal crispy.
Nutrition
- Serving Size: 1 square treat
- Calories: 165
- Sugar: 18
- Sodium: 90
- Fat: 5
- Saturated Fat: 3
- Carbohydrates: 29
- Fiber: 0.5
- Protein: 1
Keywords: Lucky Charms, Rice Krispie Treats, marshmallow snack, easy dessert, kids snack, colorful treats, quick recipe


