Introduction
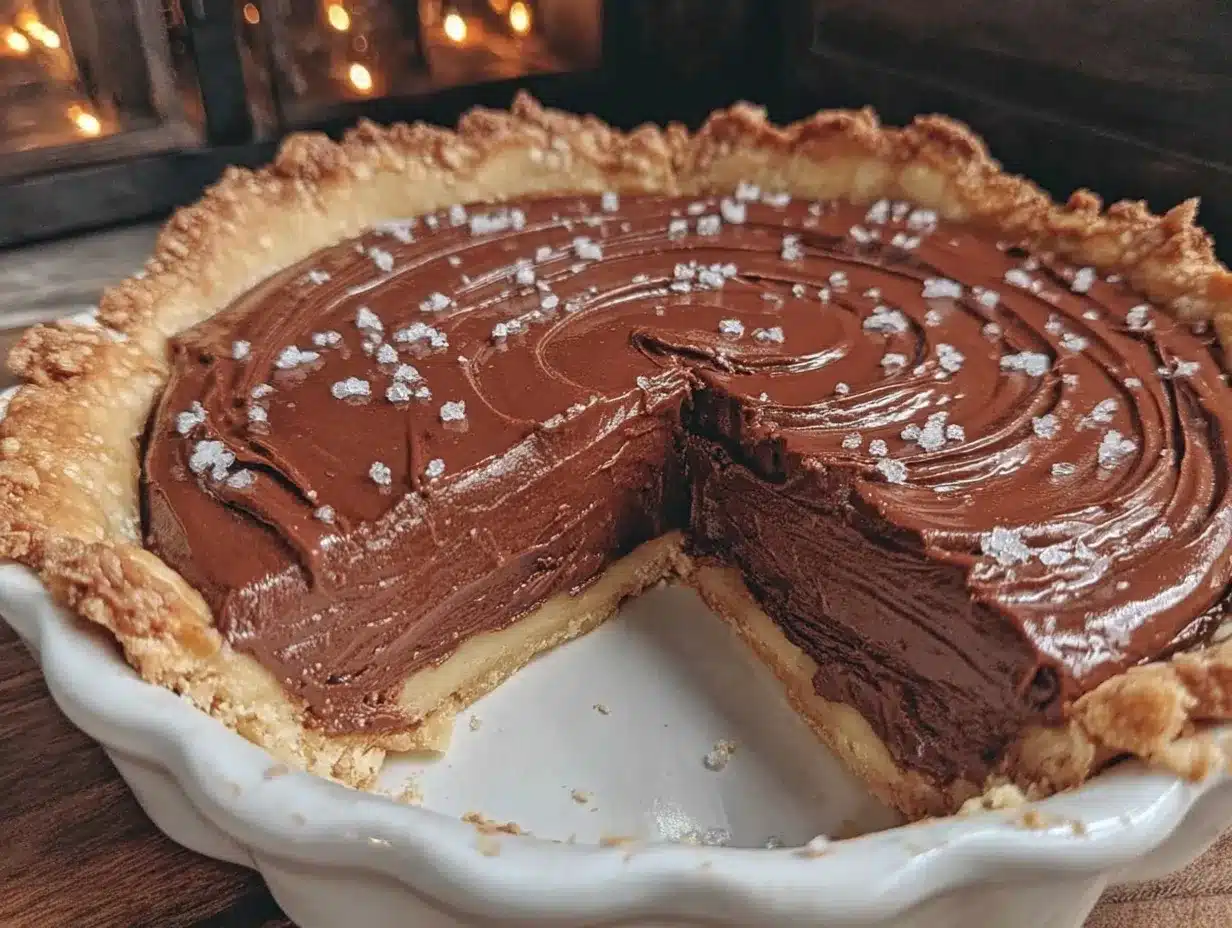
The first time I made this creamy chocolate pie from scratch, I knew I had stumbled upon something magical. Picture this: a velvety smooth chocolate filling nestled inside a buttery homemade crust, topped with a fluffy cloud of whipped cream. The aroma of decadent cocoa and fresh-baked pastry filled my kitchen, and honestly, I couldn’t wait for it to cool before sneaking a bite. It’s the kind of dessert that makes you pause, savor the moment, and smile because you know you’ve created something truly special.
Growing up, chocolate desserts were always a family favorite—especially anything involving pies. My grandma had a knack for whipping up the most indulgent treats, and this recipe is inspired by her. The recipe has been perfected over time, tested during family gatherings, and even survived my overly enthusiastic kids sneaking spoonfuls of filling before it was ready. It’s become my go-to dessert for celebrations, cozy weekends, and even the occasional midnight craving.
Whether you’re a seasoned baker or someone who’s just stepping into the world of homemade pies, this recipe is approachable, forgiving, and downright delicious. Trust me, you’ll want to bookmark this one because it feels like a warm hug in dessert form. Let’s dive into the details so you can experience the joy of crafting your very own creamy chocolate pie.
Why You’ll Love This Recipe
- Easy to Make: You don’t need fancy skills or equipment—this pie comes together seamlessly.
- Rich and Creamy: The chocolate filling is silky smooth and melts in your mouth with every bite.
- Made from Scratch: No shortcuts here, just wholesome ingredients for an authentic homemade taste.
- Perfect for Any Occasion: Whether it’s a holiday dinner, birthday party, or casual dessert, this pie is always a hit.
- Customizable: Add a sprinkle of sea salt, crushed nuts, or fresh berries for a personal twist.
- Proven Crowd-Pleaser: Family, friends, and even picky eaters rave about this pie—it’s a guaranteed winner.
What sets this recipe apart is the balance between the rich chocolate filling and the buttery crust. It’s indulgent without being overly sweet, and the homemade touch makes it taste so much better than anything store-bought. Plus, there’s something so satisfying about slicing into a pie you made completely from scratch. It’s perfect for impressing guests or treating yourself to a well-deserved dessert that’s worth every bite.
What Ingredients You Will Need
This creamy chocolate pie recipe uses simple, straightforward ingredients that you may already have in your pantry. Here’s what you’ll need:
- For the crust:
- 1 ½ cups all-purpose flour
- ½ cup unsalted butter, cold and cut into cubes
- 2-3 tablespoons ice water
- 1 tablespoon sugar (optional, for a hint of sweetness)
- Pinch of salt
- For the chocolate filling:
- 1 cup granulated sugar
- ⅓ cup unsweetened cocoa powder
- ¼ cup cornstarch
- ¼ teaspoon salt
- 3 cups whole milk
- 4 large egg yolks
- 4 ounces bittersweet chocolate, chopped
- 2 tablespoons unsalted butter
- 1 teaspoon pure vanilla extract
- For the topping:
- 1 cup heavy whipping cream
- 2 tablespoons powdered sugar
- ½ teaspoon vanilla extract
- Optional: chocolate shavings or cocoa powder for garnish
If you’re missing an ingredient, don’t worry—there are substitutions for almost everything. For example, you can use almond milk for a dairy-free option or swap the all-purpose flour with gluten-free flour for dietary needs. The key is to use high-quality chocolate for the best flavor.
Equipment Needed
Here’s what you’ll need to create this heavenly chocolate pie:
- Mixing bowls
- Measuring cups and spoons
- Rolling pin
- Pie dish (9-inch)
- Whisk
- Saucepan
- Baking weights or dried beans (for blind baking the crust)
- Plastic wrap
- Hand mixer or stand mixer (for whipped cream)
If you don’t have a rolling pin, a wine bottle works in a pinch! And instead of baking weights, you can use dried rice or beans to keep the crust from puffing up as it bakes.
Preparation Method
- Make the crust: In a large bowl, whisk together the flour, sugar, and salt. Add the cold butter cubes and work them into the flour using your fingers or a pastry cutter until the mixture resembles coarse crumbs. Add ice water, one tablespoon at a time, until the dough comes together. Wrap the dough in plastic wrap and refrigerate for 30 minutes.
- Blind bake the crust: Preheat your oven to 375°F (190°C). Roll out the chilled dough on a floured surface and transfer it to a 9-inch pie dish. Trim any excess dough, then press the edges to form a decorative border. Line the crust with parchment paper and fill it with baking weights or dried beans. Bake for 15 minutes, then remove the weights and bake for another 5 minutes until lightly golden. Let the crust cool completely.
- Prepare the filling: In a medium saucepan, whisk together the sugar, cocoa powder, cornstarch, and salt. Gradually add the milk while whisking to avoid lumps. Cook over medium heat, stirring constantly, until the mixture thickens and begins to boil. Reduce heat and cook for 1-2 minutes longer.
- Temper the egg yolks: In a small bowl, whisk the egg yolks. Slowly add a few tablespoons of the hot chocolate mixture to the yolks, whisking to combine. Pour the tempered egg mixture back into the saucepan and cook for another minute. Remove from heat and stir in the chopped chocolate, butter, and vanilla until smooth.
- Assemble the pie: Pour the chocolate filling into the cooled crust and smooth the top with a spatula. Cover with plastic wrap to prevent a skin from forming and chill in the refrigerator for at least 4 hours, or until set.
- Make the whipped cream: In a mixing bowl, beat the heavy cream, powdered sugar, and vanilla until soft peaks form. Spread or pipe the whipped cream over the chilled pie.
- Garnish: Add chocolate shavings or a dusting of cocoa powder on top of the whipped cream for a beautiful presentation.
Cooking Tips & Techniques
Here are some tried-and-true tips to make sure your creamy chocolate pie turns out perfectly:
- Keep the butter cold: Cold butter is key to a flaky crust. If it starts to soften, pop the dough back in the fridge before rolling it out.
- Don’t skip the blind baking: This step ensures your crust is fully cooked and doesn’t end up soggy when you add the filling.
- Whisk constantly: While cooking the filling, keep whisking to prevent lumps or scorching at the bottom of the pan.
- Temper the eggs: Adding hot liquid to the yolks slowly prevents them from curdling and ensures a smooth filling.
- Chill thoroughly: The pie needs time to set in the fridge, so don’t rush this step. Overnight chilling works best if you’re planning ahead.
Variations & Adaptations
This creamy chocolate pie is incredibly versatile! Here are a few ways to make it your own:
- Gluten-Free Option: Use a gluten-free flour blend for the crust, or opt for a store-bought gluten-free pie shell.
- Dairy-Free Adaptation: Substitute coconut milk for the whole milk and use vegan butter and dairy-free chocolate for the filling.
- Flavor Boosters: Add a splash of coffee or espresso to the filling for a mocha twist, or a pinch of cayenne for a subtle spicy kick.
- Seasonal Additions: Top the pie with fresh berries in summer or crushed peppermint candies during the holidays.
- Nutty Option: Sprinkle toasted nuts like almonds or pecans over the whipped cream for added crunch.
One of my favorite variations is adding a layer of salted caramel under the chocolate filling—it’s a game-changer!
Serving & Storage Suggestions
This creamy chocolate pie is best served cold straight from the refrigerator. Slice it into generous pieces and pair it with a hot cup of coffee or tea for a perfect dessert experience. If you’re feeling fancy, drizzle a little caramel or chocolate sauce on the plate before serving.
Leftovers can be stored in the refrigerator, covered with plastic wrap, for up to 3 days. To freeze, wrap the pie tightly in plastic wrap and aluminum foil, and store for up to 1 month. Thaw in the refrigerator overnight before serving. Keep in mind that the whipped cream topping is best when freshly made, so if freezing, wait to add the whipped cream until ready to serve.
Nutritional Information & Benefits
Here’s an approximate nutritional breakdown for one slice (based on 8 servings):
- Calories: 350
- Protein: 6g
- Fat: 20g
- Carbohydrates: 38g
- Sugar: 25g
Key ingredients like cocoa powder are rich in antioxidants, which can support heart health. Eggs provide protein and essential vitamins, while homemade pie ensures there are no unnecessary additives or preservatives.
If you’re watching your sugar intake, you can use a sugar substitute in the filling and topping.
Conclusion
This creamy chocolate pie recipe is more than just a dessert—it’s a celebration of indulgence and comfort. From the flaky crust to the luscious chocolate filling and light-as-air whipped cream, every bite feels like a little moment of joy. Whether you make it for a special occasion or just because, it’s sure to become a favorite in your household.
<pi a="" and="" below!="" brings="" chocolate="" comments="" creations="" customize,="" don’t="" easy="" effort.="" everyone’s="" faces="" forget="" give="" honestly,="" how="" in="" is="" it="" know="" let="" love="" love.
Let’s get baking—you’re going to love this one!
FAQs
Can I use a store-bought crust instead of homemade?
Absolutely! While homemade crust adds a special touch, a store-bought crust works perfectly if you’re short on time.
Can I make this pie ahead of time?
Yes, you can prepare the pie a day ahead and refrigerate it overnight. Add the whipped cream topping right before serving for best results.
What type of chocolate is best for this recipe?
Bittersweet chocolate is ideal for a rich flavor, but semi-sweet chocolate can work if you prefer a sweeter filling.
Can I freeze the pie?
Yes, you can freeze the pie without the whipped cream topping for up to one month. Thaw in the refrigerator before serving.
How do I prevent the crust from shrinking while baking?
Make sure to chill the dough before baking and use baking weights or dried beans during blind baking to keep the crust in place.
Pin This Recipe!
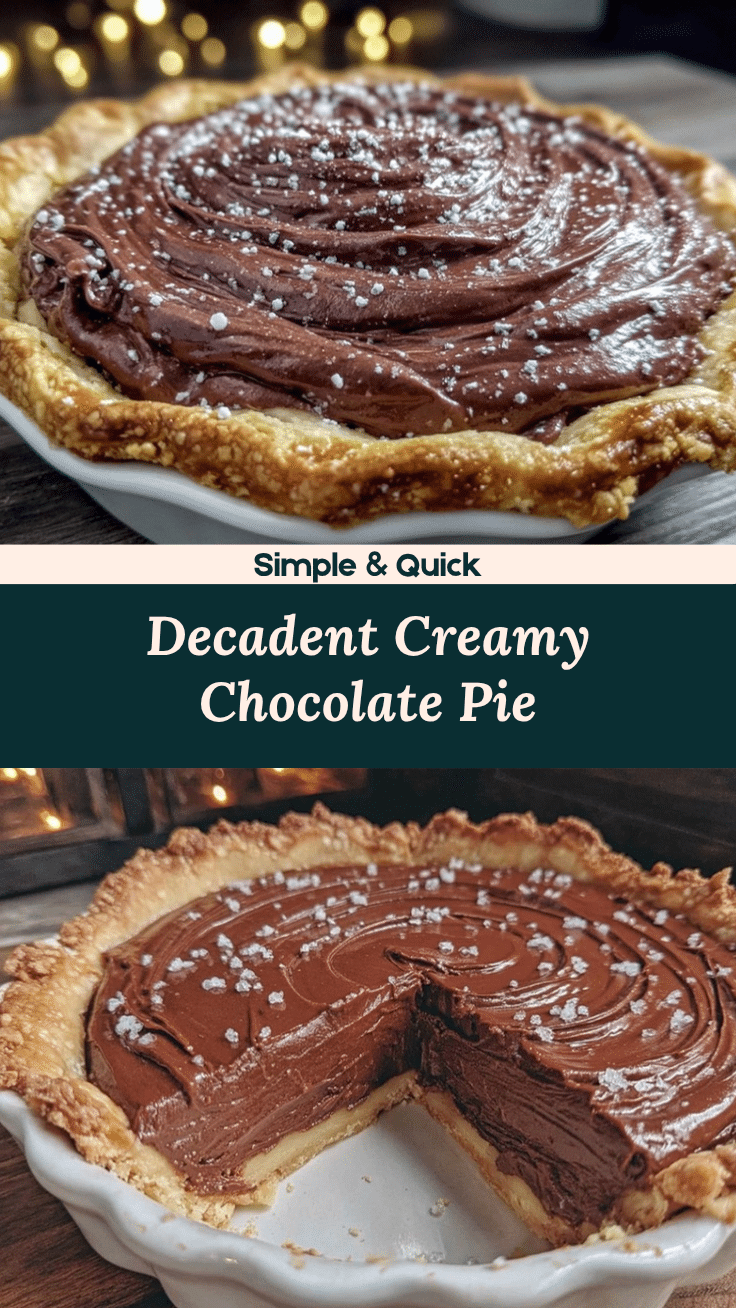
Creamy Chocolate Pie Recipe Easy Steps to Make at Home

A velvety smooth chocolate filling nestled inside a buttery homemade crust, topped with fluffy whipped cream. Perfect for celebrations or cozy weekends.
- Prep Time: 30 minutes
- Cook Time: 20 minutes
- Total Time: 4 hours 50 minutes
- Yield: 8 servings 1x
- Category: Dessert
- Cuisine: American
Ingredients
- 1 ½ cups all-purpose flour
- ½ cup unsalted butter, cold and cut into cubes
- 2–3 tablespoons ice water
- 1 tablespoon sugar
- Pinch of salt
- 1 cup granulated sugar
- ⅓ cup unsweetened cocoa powder
- ¼ cup cornstarch
- ¼ teaspoon salt
- 3 cups whole milk
- 4 large egg yolks
- 4 ounces bittersweet chocolate, chopped
- 2 tablespoons unsalted butter
- 1 teaspoon pure vanilla extract
- 1 cup heavy whipping cream
- 2 tablespoons powdered sugar
- ½ teaspoon vanilla extract
- Optional: chocolate shavings or cocoa powder for garnish
Instructions
- In a large bowl, whisk together the flour, sugar, and salt. Add the cold butter cubes and work them into the flour using your fingers or a pastry cutter until the mixture resembles coarse crumbs. Add ice water, one tablespoon at a time, until the dough comes together. Wrap the dough in plastic wrap and refrigerate for 30 minutes.
- Preheat your oven to 375°F (190°C). Roll out the chilled dough on a floured surface and transfer it to a 9-inch pie dish. Trim any excess dough, then press the edges to form a decorative border. Line the crust with parchment paper and fill it with baking weights or dried beans. Bake for 15 minutes, then remove the weights and bake for another 5 minutes until lightly golden. Let the crust cool completely.
- In a medium saucepan, whisk together the sugar, cocoa powder, cornstarch, and salt. Gradually add the milk while whisking to avoid lumps. Cook over medium heat, stirring constantly, until the mixture thickens and begins to boil. Reduce heat and cook for 1-2 minutes longer.
- In a small bowl, whisk the egg yolks. Slowly add a few tablespoons of the hot chocolate mixture to the yolks, whisking to combine. Pour the tempered egg mixture back into the saucepan and cook for another minute. Remove from heat and stir in the chopped chocolate, butter, and vanilla until smooth.
- Pour the chocolate filling into the cooled crust and smooth the top with a spatula. Cover with plastic wrap to prevent a skin from forming and chill in the refrigerator for at least 4 hours, or until set.
- In a mixing bowl, beat the heavy cream, powdered sugar, and vanilla until soft peaks form. Spread or pipe the whipped cream over the chilled pie.
- Add chocolate shavings or a dusting of cocoa powder on top of the whipped cream for a beautiful presentation.
Notes
[‘Keep the butter cold for a flaky crust.’, ‘Don’t skip the blind baking step to avoid a soggy crust.’, ‘Whisk constantly while cooking the filling to prevent lumps or scorching.’, ‘Temper the eggs slowly to prevent curdling.’, ‘Chill the pie thoroughly for at least 4 hours or overnight for best results.’]
Nutrition
- Serving Size: 1 slice
- Calories: 350
- Sugar: 25
- Fat: 20
- Carbohydrates: 38
- Protein: 6
Keywords: chocolate pie, creamy dessert, homemade pie, chocolate dessert, easy pie recipe