“You know that moment when you’re rummaging through your cookie cutters, hoping to find something festive, and all you see is the usual hearts and stars? Well, that was me last March, just days before St. Patrick’s Day. I’d promised to bring something special to my friend Maeve’s annual gathering, but my usual go-to recipes felt too plain. Then, tucked away in the back of my baking drawer, I spotted this shamrock-shaped cutter I’d forgotten about. Honestly, it felt like a little sign from the universe.
I wasn’t exactly sure how to make a shortbread cookie that looked as good as it tasted, especially with that perfect glossy green icing I’d seen on those fancy bakery shelves but never dared to try at home. My kitchen quickly turned into a bit of a mess—a cracked mixing bowl here, flour dust everywhere, and a mid-mix interruption from my curious cat. But after a couple of tweaks and quite a few taste tests (mostly quality control, I swear), I nailed a recipe that’s become my St. Paddy’s Day favorite.
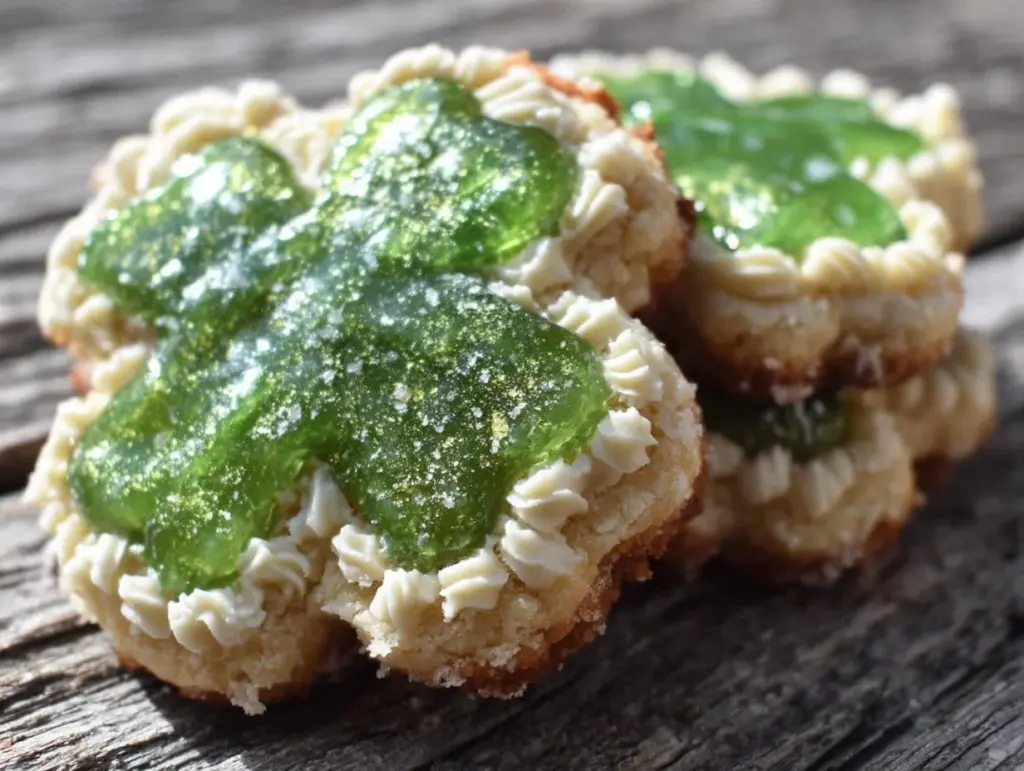
Maybe you’ve been there, too—wanting something festive but simple, with that nostalgic crunch of a buttery shortbread cookie, and a pop of cheerful green that just screams celebration. These shamrock-shaped shortbread cookies with glossy green icing bring all that and more. They’re not just a treat; they’re a little piece of luck you can bake and share.
Why You’ll Love This Recipe
From my experiments in the kitchen to countless happy bites shared with friends, here’s why this recipe stands out:
- Quick & Easy: Ready in under an hour, perfect when you need festive treats without fuss.
- Simple Ingredients: Pantry staples come together to create a buttery, melt-in-your-mouth cookie.
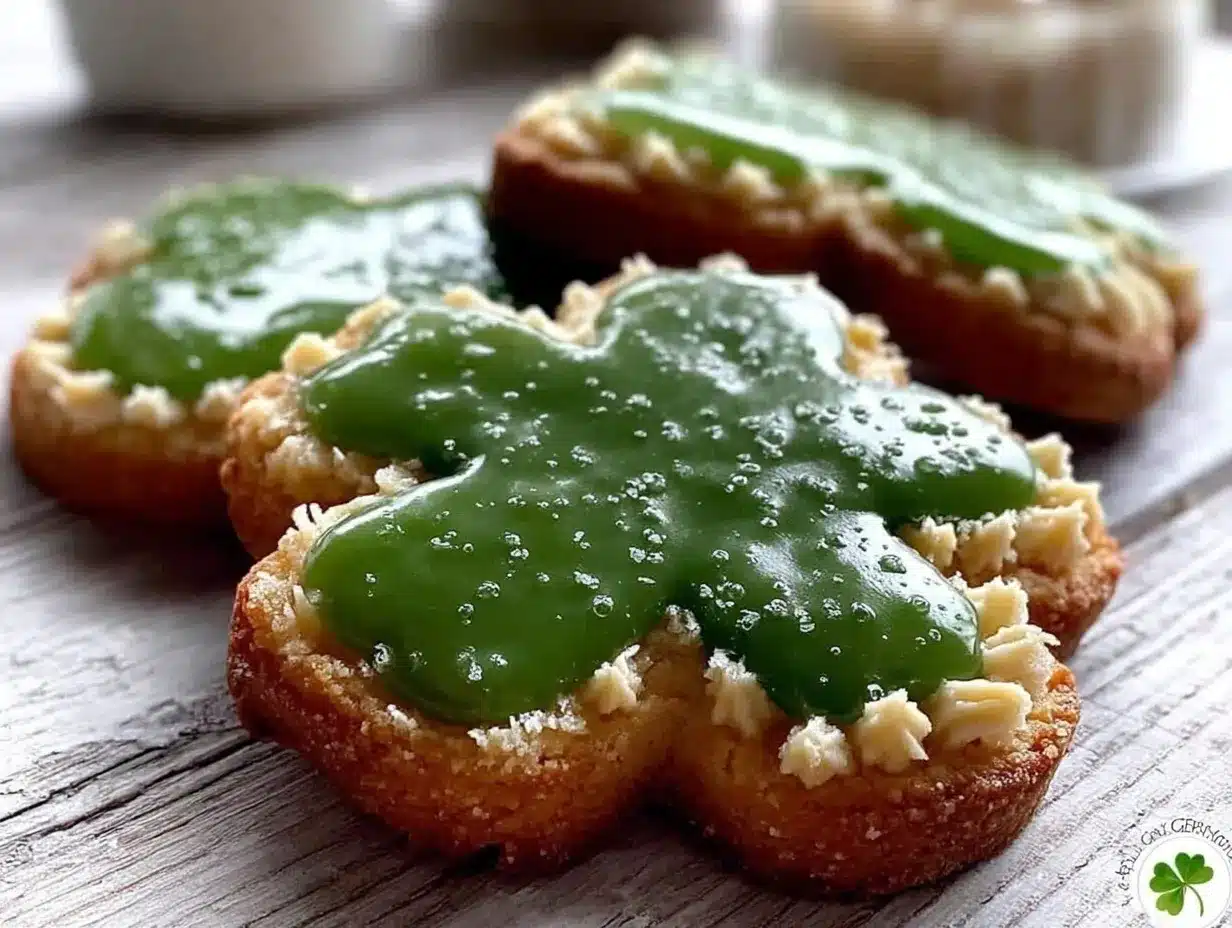
- Perfect for St. Patrick’s Day: These shamrock shapes with their glossy green icing bring festive fun to any gathering.
- Crowd-Pleaser: Kids love the sweet, smooth icing, and adults appreciate the classic shortbread texture.
- Unbelievably Delicious: The rich cookie paired with the shiny, slightly tangy icing hits just the right spot.
This recipe isn’t just another shortbread cookie. The trick is in the icing—a glossy, smooth finish that’s as eye-catching as it is tasty. I use a little lemon juice in the icing for brightness that balances the buttery cookie perfectly. Plus, the shamrock shape adds that extra charm that makes these cookies feel special and homemade, not store-bought. Honestly, once you try this version, it’ll become your go-to for every spring celebration.
What Ingredients You Will Need
This recipe calls for simple, wholesome ingredients that deliver bold flavor and satisfying texture without any complicated steps. Most of these are probably already in your kitchen, which is a win!
- For the Shortbread Cookies:
- 1 cup (227g) unsalted butter, softened (I like Land O’Lakes for consistent creaminess)
- ¾ cup (150g) granulated sugar
- 2 cups (250g) all-purpose flour (King Arthur Flour yields a nice crumb)
- ¼ teaspoon salt
- 1 teaspoon pure vanilla extract
- For the Glossy Green Icing:
- 1 cup (120g) powdered sugar, sifted
- 2–3 tablespoons milk (whole milk for creaminess; dairy-free options like almond milk work too)
- 1 teaspoon lemon juice (adds a subtle brightness)
- ½ teaspoon vanilla extract
- Green food coloring (gel-based for more vibrant color without thinning the icing)
Tip: For an extra smooth cookie texture, make sure your butter is softened but not melted. And when picking your food coloring, gel types give you that vivid green you want without making the icing runny. If you prefer a natural approach, spinach powder or matcha can work as gentle colorants, but the shade won’t be as glossy or bright.
Equipment Needed
- Mixing bowls – I use a medium glass bowl and a large ceramic mixing bowl for easy cleanup.
- Electric hand mixer or stand mixer – a must for creaming butter and sugar properly.
- Measuring cups and spoons – accuracy helps keep cookies consistent.
- Rolling pin – a smooth wooden one works best for even dough thickness.
- Shamrock-shaped cookie cutter – you can find these at craft stores or online; if unavailable, a heart cutter can be used to make a clover shape by grouping three hearts.
- Baking sheets lined with parchment paper – prevents sticking and helps with even baking.
- Cooling rack – for letting the cookies cool before icing.
- Small mixing bowl and spoon or piping bag – for mixing and applying the icing.
If you don’t have a rolling pin, a clean wine bottle or smooth glass can work in a pinch. For icing application, I sometimes use a small zip-top bag with a tiny cut in the corner instead of a piping bag—less cleanup, honestly!
Preparation Method
- Cream the butter and sugar: In a large bowl, beat 1 cup softened unsalted butter and ¾ cup granulated sugar with an electric mixer on medium speed for about 3 minutes, until the mixture is pale and fluffy. This step helps create that tender crumb you want in your shortbread.
Tip: Don’t rush this! Proper creaming traps air that makes the cookies lighter. - Add vanilla: Mix in 1 teaspoon pure vanilla extract until combined.
- Combine dry ingredients: In a separate bowl, whisk together 2 cups all-purpose flour and ¼ teaspoon salt.
- Mix dry into wet: Gradually add the flour mixture to the butter mixture on low speed. Mix just until the dough starts to come together and looks crumbly but holds when pressed.
Warning: Avoid overmixing here; it can make the cookies tough. - Form the dough and chill: Turn the dough out onto a lightly floured surface and press it into a flat disk about 1-inch thick. Wrap tightly with plastic wrap and refrigerate for at least 30 minutes (up to 2 hours). Chilling helps the dough firm up, making it easier to cut shapes without the cookies spreading too much in the oven.
- Preheat the oven: Set your oven to 325°F (163°C) and line baking sheets with parchment paper.
- Roll out the dough: On a lightly floured surface, roll the dough out to about ¼ inch (6 mm) thickness. Keep the thickness consistent for even baking.
Tip: If the dough feels sticky, dust your rolling pin and surface lightly with flour. - Cut out shamrock shapes: Use your shamrock cookie cutter to stamp out shapes. Gather scraps, re-roll, and cut again until all dough is used. Place cookies about 1 inch apart on the baking sheets.
- Bake: Bake for 15–18 minutes, or until the edges are just beginning to turn golden. Keep an eye near the end to prevent over-browning.
Sensory cue: You’ll smell that buttery, slightly sweet aroma when they’re nearly done. - Cool completely: Transfer cookies to a wire rack and let cool fully before icing. Any warmth will melt the icing and ruin the glossy finish.
- Make the glossy green icing: In a small bowl, whisk together 1 cup powdered sugar, 2 tablespoons milk, 1 teaspoon lemon juice, and ½ teaspoon vanilla extract. Add green gel food coloring a drop at a time until you reach a vibrant shade. The icing should be smooth and thick but still spreadable.
Tip: If too thick, add milk a few drops at a time; if too thin, add powdered sugar gradually. - Ice the cookies: Using a spoon, small spatula, or piping bag, spread or pipe the green icing onto each cooled cookie. For a glossy finish, work quickly and avoid over-handling the icing.
Note: Let the icing set at room temperature for about 30 minutes before stacking or storing.
Cooking Tips & Techniques
Shortbread cookies are deceptively simple, but a few tricks make all the difference:
- Softened butter is key: If your butter’s too cold, the dough won’t cream properly; too warm, and your cookies will spread too much. Room temperature is around 65°F (18°C).
- Chill the dough: I can’t stress this enough. Chilling firms up the butter again, helping cookies keep their shape.
- Don’t overwork the dough: Mix just until combined. Overmixing develops gluten, which leads to tough cookies.
- Flour your rolling surface lightly: Too much flour can dry the dough; too little and it sticks. A light dusting is perfect.
- Bake at a moderate temperature: 325°F (163°C) allows even baking without browning too fast.
- For glossy icing: Use gel food coloring to avoid thinning, and add a bit of lemon juice to balance sweetness and brighten flavor.
- Let cookies cool fully: Warm cookies will melt the icing, resulting in a dull, uneven finish.
- Practice piping control: If you’re new to icing, try using a small zip-top bag with a tiny cut corner before moving to piping bags.
Variations & Adaptations
Want to switch things up? Here are a few ideas I’ve tried or considered:
- Gluten-free version: Substitute all-purpose flour with a 1-to-1 gluten-free baking blend. The texture is slightly different but still delicious.
- Mint-flavored icing: Add a drop of peppermint extract to the green icing for a refreshing twist that screams St. Patrick’s Day.
- Chocolate-dipped shamrocks: After icing, dip half the cookie in melted dark chocolate and let it set. Adds a rich contrast to the buttery shortbread.
- Natural green coloring: Use matcha powder mixed into the icing for a subtle, earthy flavor and a soft green hue.
- Alternative shapes: If you don’t have a shamrock cutter, try three heart shapes arranged in a clover or use a simple circle for a festive look.
Serving & Storage Suggestions
These cookies shine best served at room temperature, where the shortbread is tender and the icing is set but not hard. I love arranging them on a festive platter with fresh spring flowers or alongside a cup of Irish breakfast tea.
Store the cookies in an airtight container at room temperature for up to 5 days. If you want to keep them longer, they freeze well—just separate layers with parchment paper to prevent sticking. Thaw overnight on the counter before serving.
Reheating isn’t necessary, but if you like your shortbread slightly warm, pop a few in a 300°F (150°C) oven for about 5 minutes. Just avoid heating iced cookies to prevent melting the icing.
Over time, the flavors meld beautifully—the buttery richness deepens, and the icing softens just enough to be creamy without sticky mess.
Nutritional Information & Benefits
Each cookie (assuming 12 cookies per batch) contains approximately:
| Calories | 180 |
|---|---|
| Fat | 9g (5g saturated) |
| Carbohydrates | 23g |
| Sugar | 12g |
| Protein | 2g |
Butter provides rich flavor and fat-soluble vitamins, while the lemon juice in the icing adds a touch of vitamin C. This recipe is naturally gluten-containing; gluten-free adaptations are easy for those with sensitivities. The icing contains dairy and sugar, so this is definitely a treat best enjoyed in moderation.
From a wellness perspective, I love how this recipe offers a balance of indulgence and simplicity—no preservatives or artificial flavors, just good old-fashioned ingredients that bring joy and tradition to the table.
Conclusion
These perfect shamrock-shaped shortbread cookies with glossy green icing aren’t just cookies—they’re a celebration you can hold in your hand. Whether you’re baking for a St. Patrick’s Day party, a cozy afternoon treat, or just because you’re craving something buttery and sweet, this recipe delivers every time.
Feel free to play with the icing colors or add your favorite flavors to make them truly your own. I love how this recipe brings a little luck and a lot of smiles to my kitchen every year, and I hope it finds a special place in yours, too.
If you try these cookies, drop a comment below or share your own variations—I’d love to hear what you come up with. Happy baking, and may your cookie jar always be full!
Frequently Asked Questions
Can I make the dough ahead of time?
Absolutely! You can prepare the dough, wrap it tightly, and refrigerate for up to 2 days before rolling and cutting.
How do I prevent the shortbread from spreading too much?
Chilling the dough before baking and ensuring your butter isn’t too soft helps keep the cookie shapes crisp and defined.
Can I use powdered sugar in the cookie dough instead of granulated sugar?
Powdered sugar can make the cookies more tender, but it may change the texture slightly. I recommend sticking to granulated for this recipe.
What if I don’t have a shamrock cookie cutter?
No worries! You can use heart-shaped cutters arranged in clusters or simple round cutters for a festive feel.
How long does the icing take to set?
At room temperature, the icing usually sets within 30 minutes to an hour. Avoid stacking cookies until the icing is fully dry.
Pin This Recipe!
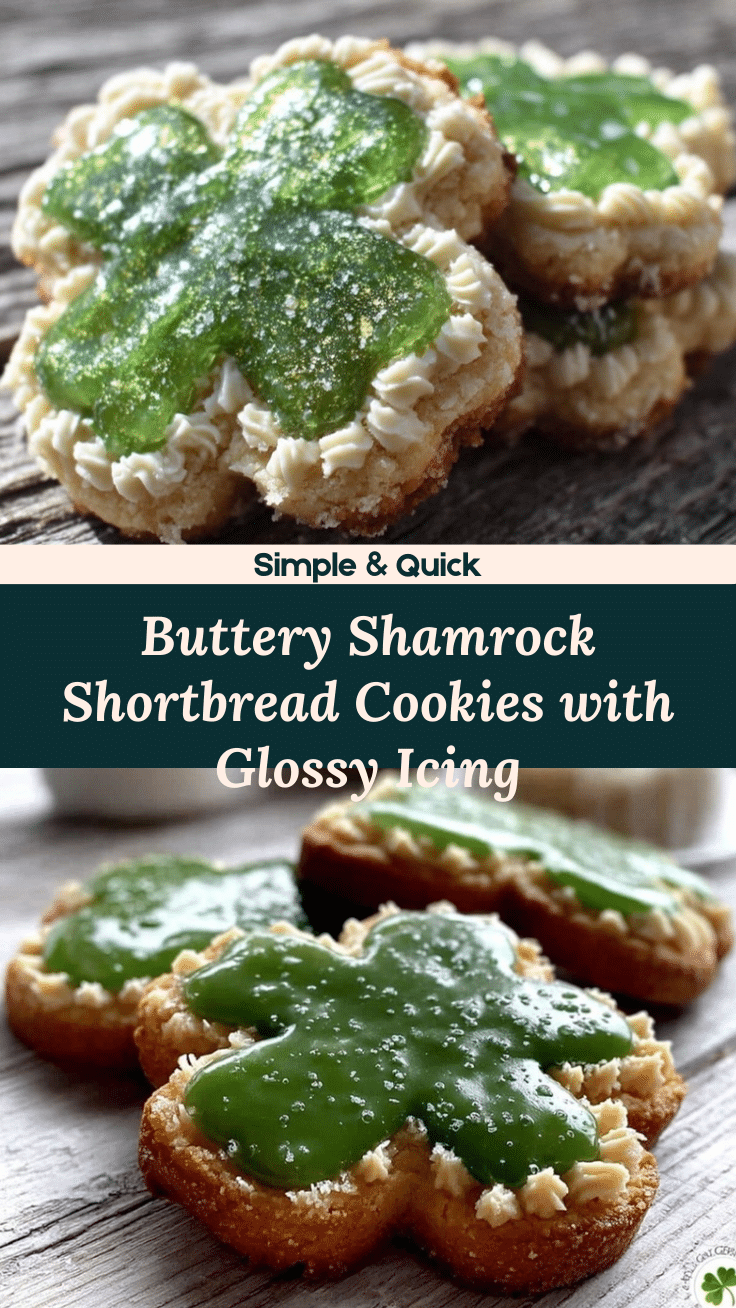
Perfect Shamrock-Shaped Shortbread Cookies Easy Homemade Recipe with Glossy Green Icing
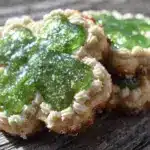
These shamrock-shaped shortbread cookies feature a buttery, melt-in-your-mouth texture paired with a glossy green icing perfect for St. Patrick’s Day celebrations.
- Prep Time: 15 minutes
- Cook Time: 15-18 minutes
- Total Time: 50-55 minutes
- Yield: 12 cookies 1x
- Category: Dessert
- Cuisine: American
Ingredients
- 1 cup (227g) unsalted butter, softened
- ¾ cup (150g) granulated sugar
- 2 cups (250g) all-purpose flour
- ¼ teaspoon salt
- 1 teaspoon pure vanilla extract
- 1 cup (120g) powdered sugar, sifted
- 2–3 tablespoons milk (whole milk or dairy-free alternatives like almond milk)
- 1 teaspoon lemon juice
- ½ teaspoon vanilla extract
- Green gel food coloring
Instructions
- Cream the butter and sugar: In a large bowl, beat 1 cup softened unsalted butter and ¾ cup granulated sugar with an electric mixer on medium speed for about 3 minutes, until pale and fluffy.
- Add 1 teaspoon pure vanilla extract and mix until combined.
- In a separate bowl, whisk together 2 cups all-purpose flour and ¼ teaspoon salt.
- Gradually add the flour mixture to the butter mixture on low speed. Mix just until the dough starts to come together and looks crumbly but holds when pressed. Avoid overmixing.
- Turn the dough out onto a lightly floured surface and press into a flat disk about 1-inch thick. Wrap tightly with plastic wrap and refrigerate for at least 30 minutes (up to 2 hours).
- Preheat oven to 325°F (163°C) and line baking sheets with parchment paper.
- Roll the dough out on a lightly floured surface to about ¼ inch (6 mm) thickness. Dust rolling pin and surface lightly with flour if dough feels sticky.
- Cut out shamrock shapes using a shamrock cookie cutter. Gather scraps, re-roll, and cut again until all dough is used. Place cookies about 1 inch apart on baking sheets.
- Bake for 15–18 minutes, or until edges just begin to turn golden. Watch closely near the end to prevent over-browning.
- Transfer cookies to a wire rack and cool completely before icing.
- Make the glossy green icing: In a small bowl, whisk together 1 cup powdered sugar, 2 tablespoons milk, 1 teaspoon lemon juice, and ½ teaspoon vanilla extract. Add green gel food coloring drop by drop until vibrant. Adjust thickness with milk or powdered sugar as needed.
- Ice the cooled cookies using a spoon, small spatula, or piping bag. Work quickly for a glossy finish.
- Let icing set at room temperature for about 30 minutes before stacking or storing.
Notes
Use softened butter at room temperature (around 65°F/18°C) for best creaming results. Chill dough to prevent spreading. Use gel food coloring for vibrant, glossy icing. Let cookies cool completely before icing to avoid melting. For icing application, a small zip-top bag with a tiny cut corner can substitute a piping bag.
Nutrition
- Serving Size: 1 cookie
- Calories: 180
- Sugar: 12
- Fat: 9
- Saturated Fat: 5
- Carbohydrates: 23
- Protein: 2
Keywords: shortbread cookies, shamrock cookies, St. Patrick's Day, green icing, homemade cookies, festive treats, buttery cookies