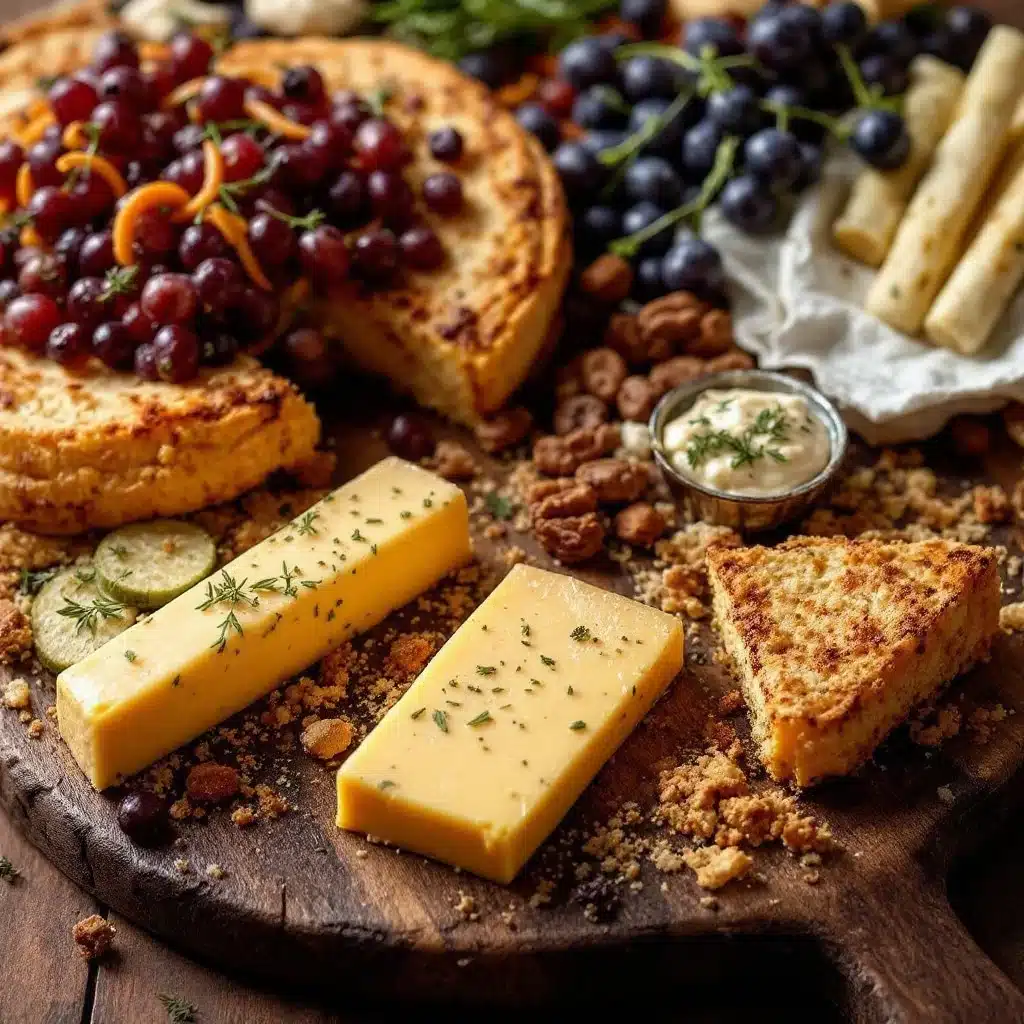
My son stared at the cheese board for a solid ten seconds before shoving a whole witch finger into his mouth. He didn’t even chew at first. He just looked at me with his eyes wide, covered in phyllo crumbs, and asked if we could make them again next week. I was sitting there holding a glass of wine, expecting him to complain about the crust being too hard or the cheese being too sharp. Instead, he went back for a second one immediately.
It wasn’t the spooky shape that won him over, honestly. It was the crunch. You know how much he loves things that snap when you bite them? This recipe hits that spot perfectly. The phyllo dough gets shatteringly crisp, and the cream cheese filling is cool and tangy enough to balance it out. I didn’t even need to explain the “witch” part. He just saw the almond fingernail and the olive eye and got it.
I’ve made spooky snacks before, like our creamy pumpkin spice ghost Oreo truffles, but those are sweet and messy. This was different. It was savory, easy, and didn’t involve any sticky hands that required a bath before bedtime. That’s a win in my book.
The best part? It only took me about fifteen minutes to throw together while the oven preheated. I usually stress out over Halloween appetizers, worrying about whether they’ll look good or taste good. With this crispy witch finger cheese board, I didn’t have to worry about either. It just worked. And seeing my kid eat two of them without asking for ketchup? That’s the kind of Halloween win I can get behind.
Why You’ll Love This Recipe
This crispy witch finger cheese board isn’t just a cute prop for your Halloween party table. It’s actually a really solid snack that people will keep coming back to, even after the sugar crash hits. I’ve tested a lot of cheese appetizers over the years, and most of them fall flat because they’re too complicated or require ingredients you have to drive to three different stores for. This one is different. It’s built on simplicity and texture, two things that matter more than fancy presentation.
Here is why this recipe stands out from the crowd:
* **Quick & Easy**: You can have these in the oven in under 20 minutes. It’s perfect for those last-minute Halloween gatherings where you realized you forgot to buy snacks.
* **Simple Ingredients**: You likely already have phyllo dough, cream cheese, and almonds in your kitchen. No fancy grocery trips needed.
* **Perfect for Halloween**: The visual impact is huge. They look spooky, but they taste like comfort food. Great for trick-or-treaters or office parties.
* **Crowd-Pleaser**: Kids love the shape, and adults love the flavor. It bridges the gap between sweet Halloween treats and savory snacks.
* **Unbelievably Delicious**: The contrast between the flaky, buttery crust and the creamy, tangy center is next-level comfort food.
What makes this recipe different from other cheese appetizers? It’s the technique. Most people just roll cheese in dough and hope for the best. Here, we layer the phyllo to ensure maximum crunch. We also use a specific ratio of cream cheese to butter that keeps the filling firm enough to hold its shape but soft enough to spread easily. It’s not just another version of a cheese roll—it’s your best version.
It’s the kind of snack that makes you close your eyes after the first bite. It’s savory, salty, and slightly spicy if you add that jalapeño kick. It’s comfort food reimagined for a spooky season. Perfect for impressing guests without stress, or turning a simple meal into something memorable.
What Ingredients You Will Need
This recipe uses simple, wholesome ingredients to deliver bold flavor and satisfying texture without the fuss. The magic here is in the layering. Phyllo dough is thin and delicate, but when brushed with butter and baked, it turns into a golden, shattering shell. The filling is straightforward, relying on high-quality dairy for richness. You don’t need exotic spices or hard-to-find items. Everything is pantry-staple friendly.
Here is what you will need to make the crispy witch finger cheese board:
* **Phyllo Dough**: One package, thawed according to package directions. This is the main structure. I prefer keeping it thawed in the fridge overnight so it’s pliable but not sticky.
* **Unsalted Butter**: Melted. This is crucial for brushing between the layers to ensure crispiness. Don’t skip this, or they’ll be dry and tough.
* **Cream Cheese**: 8 ounces, softened. This forms the base of the filling. Make sure it’s at room temperature so it spreads easily without tearing the dough.
* **Mayonnaise**: 2 tablespoons. Yes, mayo in a cheese filling. It adds moisture and a subtle tang that cream cheese alone can’t achieve. It keeps the filling from becoming dense.
* **Shredded Cheddar Cheese**: 1 cup, sharp cheddar. This adds flavor depth and helps the filling hold together slightly better.
* **Garlic Powder**: 1 teaspoon. Just a hint of garlic goes a long way. It adds a savory note that balances the richness of the cheese.
* **Onion Powder**: 1/2 teaspoon. Adds a subtle sweetness and complexity.
* **Salt**: 1/2 teaspoon. To bring out all the flavors.
* **Black Pepper**: 1/4 teaspoon, freshly cracked. For a little bit of heat and bite.
* **Almonds**: Whole, blanched almonds, slivered or whole. These are the fingernails. Slivered almonds look more realistic, but whole almonds are easier for kids to handle.
* **Olives**: Mini black olives, pitted and sliced. These are the eyes. The olive pit needs to be removed, or you’ll have a very unhappy guest.
* **Optional Jalapeño**: 1 teaspoon, finely minced. If you want a spicy kick, add this to the filling. It pairs well with the cheddar.
I recommend using a good quality phyllo dough, like Pepperidge Farm, because it tends to be less brittle when thawed. For the cream cheese, full-fat is non-negotiable here. Low-fat versions can make the filling watery and cause the dough to get soggy. If you need a dairy-free option, you can swap the cream cheese for a vegan alternative, but the texture might be slightly different. The cheddar can be swapped for pepper jack if you want more heat.
Equipment Needed
You don’t need any special gadgets for this recipe. Basic kitchen tools will do the job perfectly. Having the right equipment makes the process smoother and helps you avoid common mistakes like tearing the delicate phyllo dough.
* **Baking Sheet**: A standard 13×18 inch baking sheet is ideal. You want enough space to lay out the witch fingers without them touching, so they crisp up evenly.
* **Pastry Brush**: Essential for brushing the melted butter onto the phyllo layers. A silicone brush is easier to clean, but a natural bristle brush works well too.
* **Mixing Bowl**: A medium-sized bowl for mixing the cream cheese filling. A rubber spatula is helpful for scraping the sides.
* **Knife**: A sharp chef’s knife for slicing the olives. Be careful when slicing mini olives; they can roll around. A paring knife might be easier for precision.
* **Cooling Rack**: Optional, but recommended. Transferring the baked witch fingers to a cooling rack prevents the bottoms from getting soggy from residual heat.
If you don’t have a baking sheet, you can use a large roasting pan, but just make sure it fits in your oven. For the brush, any flat utensil will work in a pinch, but a brush gives you more control over the butter distribution. I’ve tried making these without a cooling rack before, and the bottoms were always a bit soft. It’s a small step that makes a big difference in texture. Budget-friendly option: Use a reusable silicone baking mat instead of parchment paper. It saves money in the long run and provides even heat distribution.
Preparation Method
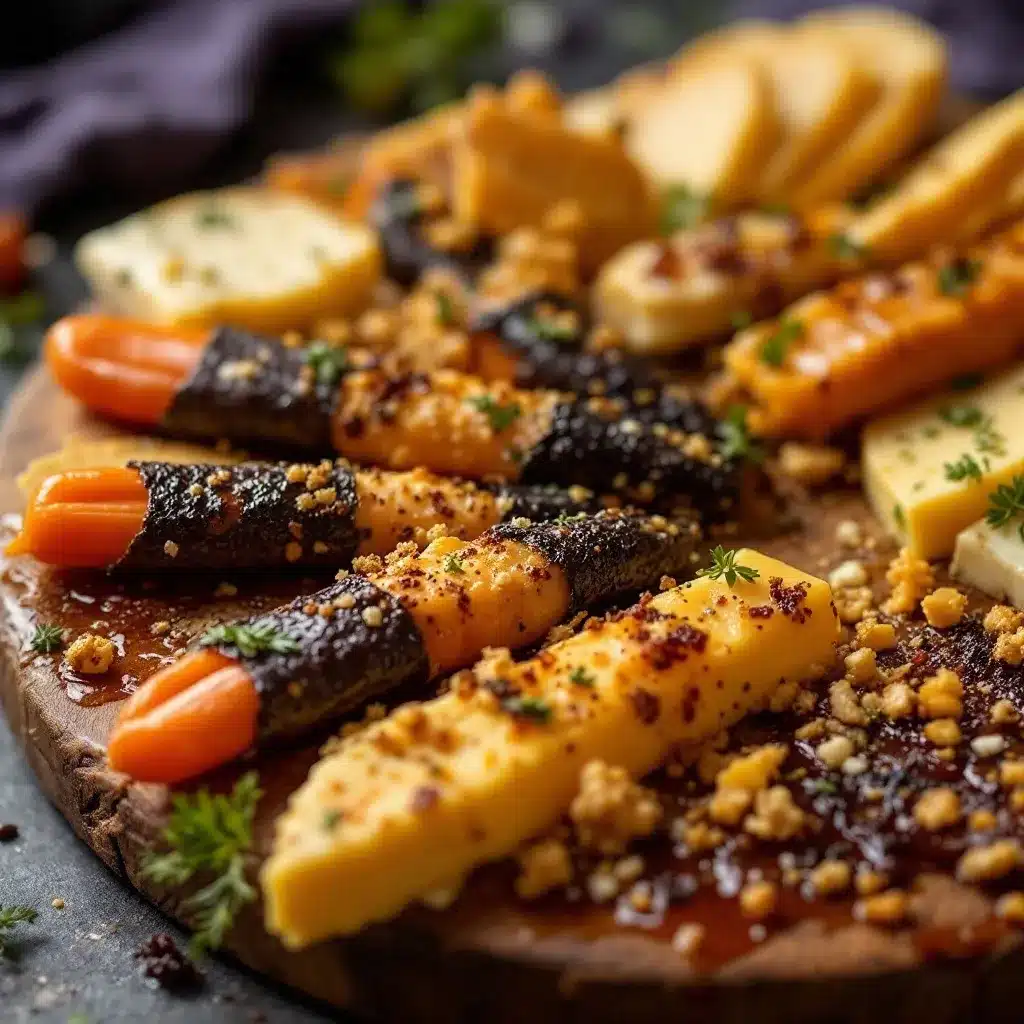
Making these witch fingers is easier than it looks. The key is to work quickly with the phyllo dough so it doesn’t dry out. Here is how to put it all together step by step.
1. **Preheat and Prep**: Preheat your oven to 375°F (190°C). Line a baking sheet with parchment paper. This prevents sticking and makes cleanup a breeze.
2. **Thaw the Dough**: If your phyllo dough is frozen, let it thaw in the fridge overnight. When you’re ready to cook, take it out and let it sit at room temperature for 30 minutes. Keep it covered with a damp towel to prevent drying.
3. **Melt the Butter**: Melt the unsalted butter in a small microwave-safe bowl or saucepan. Let it cool slightly so it’s warm but not hot.
4. **Prepare the Filling**: In a mixing bowl, combine the softened cream cheese, mayonnaise, shredded cheddar, garlic powder, onion powder, salt, and pepper. Mix until smooth and creamy. If you like spice, add the minced jalapeño now.
5. **Layer the Dough**: Unroll the phyllo dough. You’ll have long sheets. Place one sheet on your counter. Brush it lightly with melted butter. Place a second sheet on top and brush again. Repeat until you have a stack of 3-4 sheets. This layering creates the flaky texture.
6. **Add Filling**: Spread about 1 tablespoon of the cream cheese mixture down the center of the dough stack, leaving a 1-inch border on all sides.
7. **Roll It Up**: Starting from the long edge, tightly roll the dough around the filling. Pinch the seam to seal it. You should have a long log.
8. **Shape the Finger**: Gently bend the log into a slight curve to mimic a finger. Tuck one end under slightly to create the knuckle shape.
9. **Add Features**: Press a slivered almond into one end for the fingernail. Slice a mini olive in half and press a piece into the side for the eye. Gently press down to secure.
10. **Bake**: Place the witch fingers on the prepared baking sheet. Brush the tops lightly with more melted butter. Bake for 12-15 minutes, or until golden brown and crispy.
11. **Cool**: Let them cool on the baking sheet for 5 minutes before moving them to a cooling rack. This allows the filling to set slightly.
Troubleshooting tip: If the dough tears, just patch it with a small piece of extra dough. It won’t be visible once baked. If the filling leaks out, it’s usually because the dough wasn’t sealed well. Pinch the edges tighter next time.
Cooking Tips & Techniques
Working with phyllo dough can be intimidating if you’ve never done it before. But once you know the tricks, it’s actually quite forgiving. I’ve made enough of these to know what goes wrong and how to fix it.
* **Keep it Covered**: Phyllo dough dries out fast. Keep the unused sheets covered with a damp towel while you work. This keeps them pliable and prevents cracking.
* **Don’t Overwork the Dough**: Handle the dough gently. If you stretch it too much, it will tear. Lay it flat and let it rest if it shrinks back.
* **Butter is Key**: Don’t skimp on the butter. Each layer needs to be brushed to ensure crispiness. If the dough looks dry, add more butter.
* **Filling Consistency**: The filling should be thick enough to hold its shape but soft enough to spread. If it’s too runny, add a little more cream cheese. If it’s too stiff, add a teaspoon of milk.
* **Baking Time**: Keep an eye on them in the last few minutes. Ovens vary, and you want them golden brown, not dark brown. If they’re browning too fast, cover them loosely with foil.
* **Cooling**: Let them cool before serving. The filling is hot right out of the oven and can burn your mouth. Cooling also helps the structure set.
I once tried to rush this process and ended up with soggy bottoms because I didn’t let them cool on a rack. It was a lesson learned the hard way. Now, I always use a cooling rack. It’s a small step that makes a huge difference in the final texture. Also, make sure your butter is warm, not hot, when brushing. Hot butter can cook the dough slightly and make it greasy.
Variations & Adaptations
While the classic witch finger is delicious, there are plenty of ways to tweak this recipe to suit different tastes or dietary needs. Here are a few variations I’ve tried:
* **Spicy Version**: Add 1 teaspoon of cayenne pepper or extra minced jalapeño to the filling. This pairs well with the sharp cheddar and adds a kick for adults.
* **Herb Infused**: Mix 1 teaspoon of dried parsley or chives into the cream cheese filling. This adds a fresh, herbal note that balances the richness.
* **Gluten-Free**: Use gluten-free phyllo dough if available. Note that GF phyllo can be more brittle, so handle with care. Alternatively, use wonton wrappers, which are naturally gluten-free and easier to work with.
* **Vegan Option**: Swap the cream cheese and cheddar for vegan alternatives. Use vegan butter for brushing. The texture might be slightly different, but the flavor will still be good.
* **Cheese Swap**: Try using goat cheese for a tangier flavor, or brie for a creamier, milder taste. Brie might make the filling softer, so adjust the mayo accordingly.
* **Sweet Version**: For a dessert version, swap the savory spices for cinnamon and nutmeg. Use chocolate chips or peanut butter in the filling instead of cheese.
I tried the goat cheese version once, and it was surprisingly good. The tanginess complemented the crispy dough well. It’s a great option if you want something a bit more sophisticated for a dinner party. The wonton wrapper idea is also a lifesaver if you’re short on time or don’t want to deal with thawing phyllo.
Serving & Storage Suggestions
These witch fingers are best served warm, right out of the oven. The contrast between the hot, crispy dough and the cool, creamy filling is what makes them special. Arrange them on a platter with some Halloween-themed garnishes, like black licorice or candy corn, for extra flair.
* **Serving Temperature**: Serve immediately after cooling for 5 minutes. They are best when warm.
* **Complementary Dishes**: Pair with a spicy mustard dip or a cool ranch dip. They also go well with a light salad or roasted vegetables.
* **Storage**: Store leftovers in an airtight container in the refrigerator for up to 3 days.
* **Reheating**: Reheat in the oven at 350°F (175°C) for 5-7 minutes to restore crispiness. Avoid the microwave, as it will make the dough soggy.
* **Freezing**: You can freeze unbaked witch fingers on a baking sheet, then transfer to a freezer bag. Bake from frozen, adding 2-3 minutes to the baking time.
The flavors develop nicely over time, but the texture is best fresh. If you make them ahead, store the dough and filling separately and assemble right before baking. This ensures maximum crispiness. I’ve found that they hold up well in the fridge, but the dough can get a bit soft if stored too long. So, eat them within 3 days for the best experience.
Nutritional Information & Benefits
This recipe is relatively balanced for a snack, offering a good mix of protein, fat, and carbs. The cream cheese and cheddar provide calcium and protein, while the phyllo dough offers carbohydrates for energy.
* **Calories**: Approximately 150-180 calories per witch finger, depending on size.
* **Protein**: 5-7 grams per serving, from the cheese.
* **Fat**: 10-12 grams per serving, primarily from the cheese and butter.
* **Carbs**: 10-12 grams per serving, from the phyllo dough.
* **Allergens**: Contains gluten, dairy, and eggs (in the phyllo dough). Almonds are a tree nut allergen.
For a healthier option, you can use low-fat cream cheese and reduce the amount of butter brushed on the dough. However, this might affect the texture and flavor. The recipe is not gluten-free unless you use GF phyllo or wonton wrappers. It’s also not suitable for vegans or those with dairy allergies without substitutions.
Personally, I appreciate that this recipe allows for moderation. It’s a fun treat that doesn’t feel overly indulgent. The savory profile helps balance the meal, and the protein from the cheese keeps you full longer than a simple carb snack.
Conclusion
This crispy witch finger cheese board is a Halloween staple that’s easy to make, delicious to eat, and fun to look at. It’s perfect for parties, trick-or-treaters, or just a spooky snack at home. The combination of flaky dough and creamy cheese is unbeatable, and the customization options make it versatile for any taste.
I love this recipe because it’s simple yet impressive. You don’t need to be a professional chef to make it, but the results look like you went to a lot of effort. It’s a great way to get kids involved in the kitchen, too. Let them help shape the fingers and add the almond nails.
Give it a try this Halloween and see how your family reacts. I’m sure they’ll love it as much as mine did. Don’t forget to leave a comment below with your own variations or tips. Share your photos on social media and tag me—I’d love to see your spooky creations. Happy Halloween, and happy cooking!
FAQs
Can I make the witch fingers ahead of time?
Yes, you can assemble them ahead of time and store them in the refrigerator for up to 24 hours before baking. Cover them loosely with plastic wrap to prevent drying out. Bake them directly from the fridge, adding 2-3 minutes to the baking time.
What kind of cheese works best?
Sharp cheddar is recommended for its flavor, but you can use any meltable cheese like mozzarella, gouda, or pepper jack. Goat cheese adds a nice tang, while brie offers a creamier texture.
Can I use wonton wrappers instead of phyllo dough?
Yes, wonton wrappers are a great alternative. They are naturally gluten-free (check the label) and easier to work with. Use 2-3 wrappers per witch finger, brushing each with butter, just like you would with phyllo.
How do I store leftovers?
Store leftovers in an airtight container in the refrigerator for up to 3 days. Reheat in the oven at 350°F (175°C) for 5-7 minutes to restore crispiness. Avoid the microwave.
Can I freeze the witch fingers?
Yes, you can freeze unbaked witch fingers. Place them on a baking sheet and freeze until solid, then transfer to a freezer bag. Bake from frozen, adding 2-3 minutes to the baking time. Do not freeze baked witch fingers, as the dough will lose its crispiness.
Pin This Recipe!
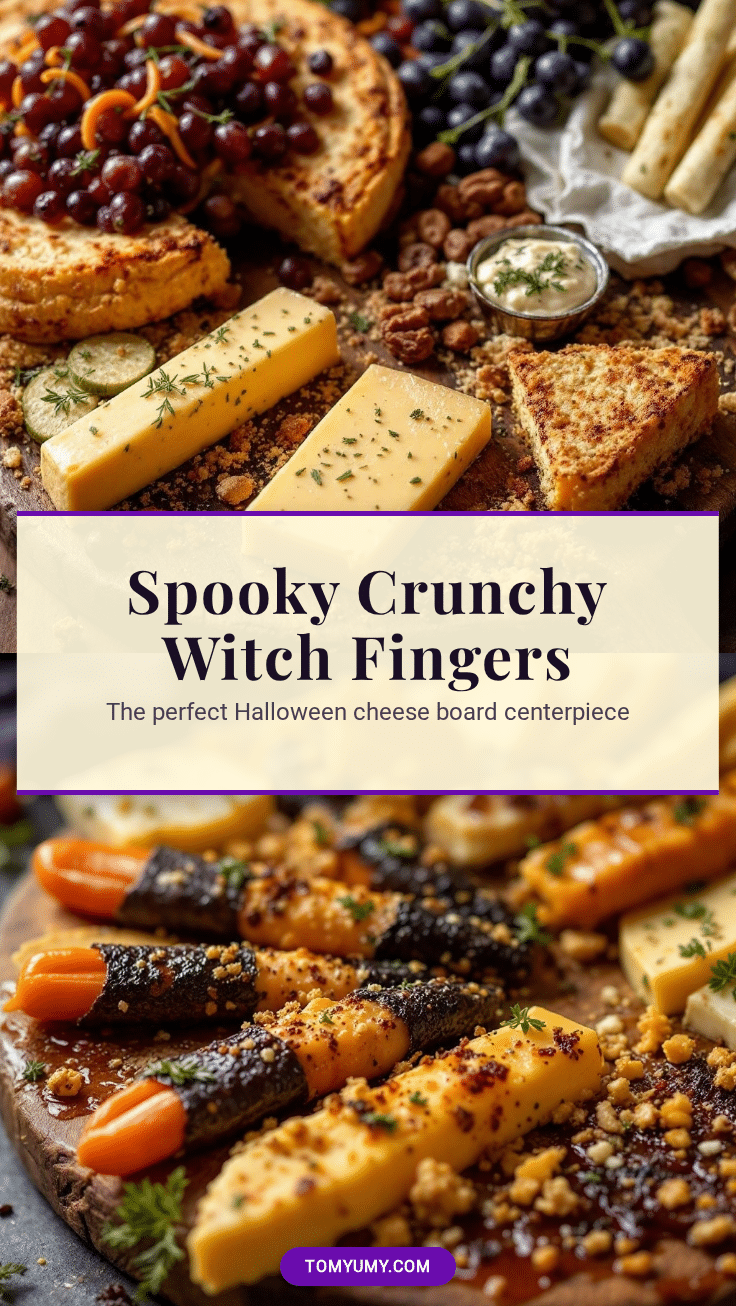
Crispy Witch Finger Cheese Board: Best 3-Ingredient Halloween Snack

A spooky yet delicious savory snack featuring flaky, buttery phyllo dough filled with a tangy cream cheese and cheddar mixture, shaped like witch fingers with almond nails and olive eyes.
- Prep Time: 15 minutes
- Cook Time: 15 minutes
- Total Time: 30 minutes
- Yield: Makes approximately 12-15 witch fingers 1x
- Category: Appetizer
- Cuisine: American
Ingredients
- 1 package phyllo dough, thawed
- 1/2 cup unsalted butter, melted
- 8 ounces cream cheese, softened
- 2 tablespoons mayonnaise
- 1 cup shredded sharp cheddar cheese
- 1 teaspoon garlic powder
- 1/2 teaspoon onion powder
- 1/2 teaspoon salt
- 1/4 teaspoon black pepper, freshly cracked
- Whole or slivered blanched almonds (for fingernails)
- Mini black olives, pitted and sliced (for eyes)
- 1 teaspoon finely minced jalapeño (optional, for spice)
Instructions
- Preheat oven to 375°F (190°C) and line a baking sheet with parchment paper.
- Thaw phyllo dough in the fridge overnight, then let sit at room temperature for 30 minutes. Keep covered with a damp towel to prevent drying.
- Melt the unsalted butter and let it cool slightly.
- In a mixing bowl, combine softened cream cheese, mayonnaise, shredded cheddar, garlic powder, onion powder, salt, pepper, and optional jalapeño. Mix until smooth.
- Unroll phyllo dough. Place one sheet on counter, brush with melted butter, and stack a second sheet on top. Repeat to create a stack of 3-4 sheets, brushing each layer with butter.
- Spread about 1 tablespoon of the cream cheese mixture down the center of the dough stack, leaving a 1-inch border.
- Tightly roll the dough around the filling starting from the long edge, pinching the seam to seal.
- Gently bend the log into a slight curve to mimic a finger and tuck one end under to create a knuckle shape.
- Press a slivered almond into one end for the fingernail and a slice of mini olive into the side for the eye.
- Place witch fingers on the prepared baking sheet and brush tops lightly with melted butter.
- Bake for 12-15 minutes until golden brown and crispy.
- Let cool on the baking sheet for 5 minutes before transferring to a cooling rack.
Notes
Keep phyllo dough covered with a damp towel while working to prevent cracking. Ensure cream cheese is at room temperature for easy spreading. For a gluten-free option, use wonton wrappers or gluten-free phyllo. Store leftovers in an airtight container in the refrigerator for up to 3 days. Reheat in the oven at 350°F to restore crispiness.
Nutrition
- Serving Size: 1 witch finger
- Calories: 165
- Sugar: 1
- Sodium: 180
- Fat: 11
- Saturated Fat: 6
- Carbohydrates: 11
- Fiber: 0.5
- Protein: 6
Keywords: Halloween snack, witch fingers, phyllo dough, cream cheese appetizer, easy Halloween party food, savory Halloween treats, kid-friendly snacks