For a while, I just accepted that chicken thighs cooked in an air fryer weren’t going to taste like proper restaurant-quality comfort food. They’d come out dry, or worse, rubbery with a coating that felt more like cardboard than crispy crust. You know how it is. You want that rich, savory crunch without the heavy oil bath or the complicated prep that usually comes with deep frying. Honestly, I spent months trying different marinades and dredges, only to end up with a sad, pale piece of poultry that didn’t inspire much excitement at the dinner table.
It wasn’t until I stopped chasing perfection and started focusing on texture that things clicked. The gap in my kitchen routine was a reliable, hands-off method that delivered consistent results every single time. I needed something that could handle the high heat without burning the garlic before the chicken was done. I needed a coating that would stick, crisp up, and hold its own against a juicy, flavorful meat. That was the missing piece of the puzzle for my weeknight rotation.
The solution arrived quietly, almost by accident. It wasn’t a complex technique or an expensive gadget. It was simply getting the ratio of parmesan to breadcrumbs right and letting the air circulate properly. Now, when I pull those golden, fragrant thighs out of the basket, there’s a specific satisfaction that comes from knowing it’s healthy enough for a Tuesday but indulgent enough for a Friday night. It’s not flashy. It’s just really, really good chicken.
I keep coming back to this method because it respects my time and my appetite in equal measure. The smell of garlic and toasted cheese filling the kitchen is enough to make anyone forget about takeout menus. It’s a simple promise of a good meal, kept without the fuss.
Why You’ll Love This Recipe
Let’s be real for a second. We all have those nights where cooking feels like a chore. You’re tired, you’re hungry, and the last thing you want to do is stand over a hot stove. This recipe changes the game because it removes the guesswork. I’ve tested this version dozens of times, tweaking the spice blend and checking the internal temperatures, to ensure that what you get is consistently delicious. It’s not just another chicken recipe; it’s the one that actually works.
- Quick & Easy: This comes together in under 20 minutes of prep time, with the air fryer doing the heavy lifting. Perfect for busy weeknights or when you just want dinner on the table fast.
- Simple Ingredients: No fancy grocery trips needed. You likely already have parmesan, panko, and garlic powder in your pantry. It’s pantry-friendly comfort food.
- Perfect for Meal Prep: These thighs hold up surprisingly well in the fridge. Reheat them in the air fryer for a few minutes, and they’re still crisp. Great for lunchboxes or quick dinners later in the week.
- Crowd-Pleaser: Always gets rave reviews from kids and adults alike. The garlic parmesan flavor is universally liked, and the texture keeps everyone coming back for seconds.
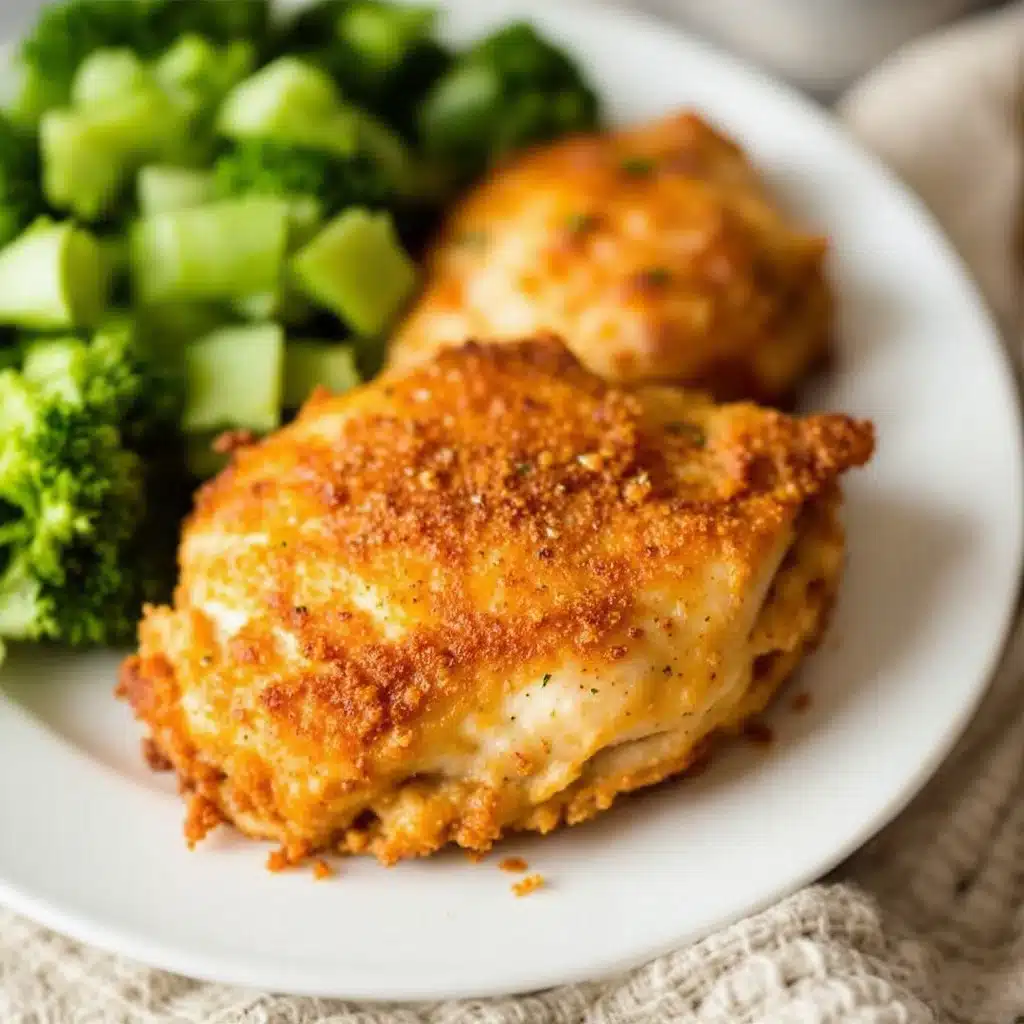
- Unbelievably Delicious: The texture and flavor combo is next-level comfort food. The contrast between the crunchy exterior and the juicy, tender meat inside is what makes this special.
What makes this recipe different from the rest is the specific use of panko breadcrumbs mixed with finely grated parmesan. Regular breadcrumbs can get soggy or dense, but panko stays airy and crisp, creating that shatteringly thin crust. Plus, the air fryer circulates hot air around the chicken, mimicking deep frying without the mess. It’s the kind of recipe that makes you close your eyes after the first bite. It’s comfort food reimagined—healthier, faster, but with the same soul-soothing satisfaction.
What Ingredients You Will Need
This recipe uses simple, wholesome ingredients to deliver bold flavor and satisfying texture without the fuss. The magic happens in the coating, where savory cheese meets crunchy crumbs and aromatic spices. You don’t need anything exotic here, just quality basics that you can trust.
- Chicken Thighs (Boneless, Skinless): Use about 2 pounds of chicken thighs. Thighs are better than breasts here because they stay juicy at high heat. Look for uniform pieces so they cook evenly.
- Panko Breadcrumbs: One cup of Japanese-style panko is essential. They absorb less oil and create a lighter, crispier crust than standard breadcrumbs. I recommend using a brand like Panco or a store brand that looks fluffy, not dense.
- Parmesan Cheese: Half a cup of finely grated parmesan. Use the real stuff from the block, not the green shaker can. Pre-grated cheese has anti-caking agents that prevent it from melting and sticking properly to the chicken.
- Garlic Powder: One tablespoon. This provides a strong, even garlic flavor throughout the crust without burning like fresh minced garlic might.
- Onion Powder: One teaspoon. Adds a subtle sweetness and depth that balances the sharpness of the parmesan.
- Dried Oregano: One teaspoon. A classic Italian herb that complements the garlic and cheese perfectly.
- Egg Whites: Two large egg whites. Using just the whites keeps the coating lighter and less eggy, helping the dry ingredients stick better without creating a thick batter layer.
- Buttermilk: Half a cup. The acidity in buttermilk tenderizes the chicken and helps the egg wash adhere. If you’re out, mix milk with a tablespoon of lemon juice and let it sit.
- Neutral Oil Spray: You need a light mist of avocado or canola oil spray. This helps the breadcrumbs brown evenly in the air fryer.
- Salt and Black Pepper: Season the chicken generously before coating. Don’t skip this step; the coating needs a base layer of flavor.
Substitution Tips
If you need a gluten-free option, swap the panko for gluten-free panko or crushed pork rinds for an extra-crunchy, low-carb crust. For a dairy-free version, you can use nutritional yeast mixed with gluten-free breadcrumbs, though the flavor will be less cheesy. If you can’t find buttermilk, regular milk works in a pinch, but the texture won’t be quite as tender.
Equipment Needed
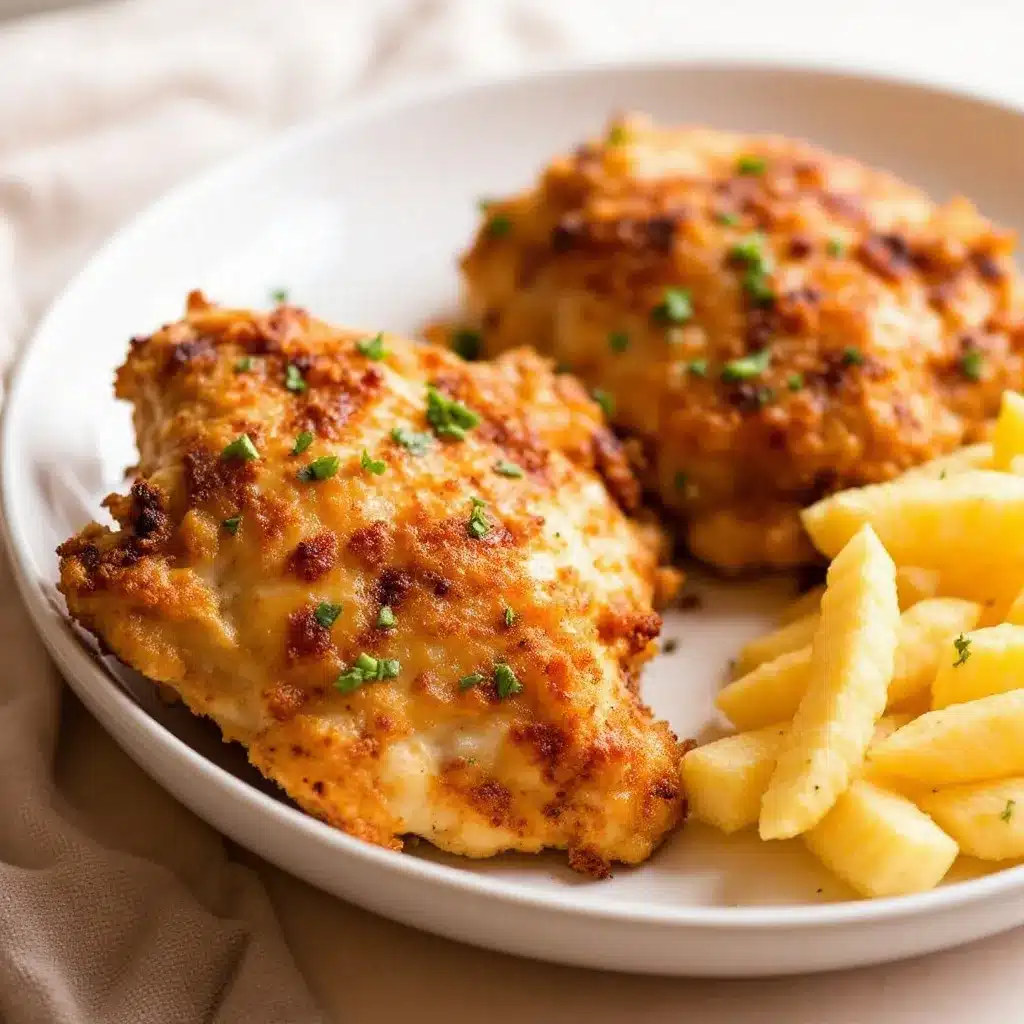
You don’t need a fancy kitchen to make this work. The star of the show is obviously the air fryer. Any standard basket-style air fryer works well. If you have an oven-safe rack that fits inside your air fryer basket, that’s even better because it allows air to circulate underneath the chicken, preventing a soggy bottom. I’ve tried using the basket alone, and while it works, the underside can sometimes steam instead of crisp up.
You’ll also need a couple of shallow bowls or pie plates for the dredging station. One for the buttermilk/egg wash, one for the dry panko mixture, and maybe a third for the plain chicken if you prefer a two-step process. A wire whisk is handy for beating the egg whites and buttermilk together smoothly. Finally, kitchen shears or a sharp knife is useful if you need to trim excess fat or adjust the size of the thighs so they fit in a single layer in the basket.
Preparation Method
- Prepare the Chicken: Start by patting the chicken thighs completely dry with paper towels. This is crucial. If the chicken is wet, the coating will slide off. Trim off any large pieces of fat or silver skin. Season the thighs lightly with salt and pepper. (Time: 5 minutes)
- Make the Wet Mixture: In a shallow bowl, whisk together the egg whites and buttermilk until fully combined. It should look like a thin, milky liquid. (Time: 2 minutes)
- Make the Dry Mixture: In a separate shallow bowl or pie plate, combine the panko breadcrumbs, grated parmesan, garlic powder, onion powder, dried oregano, and a generous pinch of salt. Mix well with a fork to distribute the spices evenly. (Time: 3 minutes)
- Dredge the Chicken: Take a chicken thigh and dip it into the buttermilk mixture, ensuring it’s fully coated. Let any excess drip off for a second. Then, press the chicken into the panko mixture. Use your hands to press the crumbs firmly onto the chicken, turning it over to coat all sides. You want a thick, even layer. Place the coated chicken on a clean plate or wire rack. (Time: 10 minutes for all pieces)
- Preheat the Air Fryer: Preheat your air fryer to 400°F (200°C) for about 3-5 minutes. This ensures the chicken starts cooking immediately upon contact, helping the crust set. (Time: 5 minutes)
- Arrange in Basket: Lightly spray the bottom of the air fryer basket with oil. Place the coated chicken thighs in the basket in a single layer. Do not overcrowd the basket; cook in batches if necessary. Overcrowding leads to steaming, not crisping. Lightly spray the tops of the chicken with oil. (Time: 2 minutes)
- Cook: Air fry at 400°F (200°C) for 12-15 minutes. Halfway through, at the 6-minute mark, flip the chicken pieces over and spray the other side with oil. This ensures even browning. (Time: 12-15 minutes)
- Check Temperature: The chicken is done when the internal temperature reaches 165°F (74°C) and the crust is golden brown and crisp. If the crust is browning too fast but the chicken isn’t done, lower the temperature to 375°F (190°C) for the remaining time. (Time: 2 minutes)
- Rest and Serve: Transfer the chicken to a clean plate and let it rest for 3-5 minutes. This allows the juices to redistribute. Serve immediately while the crust is still crunchy. (Time: 5 minutes)
Cooking Tips & Techniques
One common mistake I see is skipping the preheat. It might seem like a small step, but putting cold chicken into a cold basket leads to uneven cooking. The air needs to be hot from the start to sear the crust. Another tip is to not touch the chicken too much while it’s cooking. Let the air fryer do its job. If you keep opening the basket to check, you lose heat and humidity, which can affect the crispiness.
Personal lesson learned: I once tried to double the batch size and ended up with soggy chicken. The air fryer needs space. Each piece needs room for air to circulate. If you can’t fit them in a single layer without touching, cook in batches. It’s worth the extra few minutes. Also, make sure your parmesan is finely grated. Large shreds won’t stick properly and might fall off during the flip. A microplane grater works wonders for this.
Timing can vary based on the size of your thighs. Small thighs might cook in 12 minutes, while larger ones might need 15 or even 16. Always use a meat thermometer. Visual cues are helpful, but temperature is the only true test of doneness. If the chicken looks done but the temp is low, give it another 2-3 minutes.
Variations & Adaptations
This recipe is a great base for customization. For a spicy kick, add a teaspoon of cayenne pepper or red pepper flakes to the panko mixture. It adds a nice heat that cuts through the richness of the cheese. If you want an Italian twist, swap the oregano for Italian seasoning blend, which often includes basil and thyme.
For a lighter version, you can skip the oil spray, though the crust might be slightly paler. If you’re using chicken breasts instead of thighs, reduce the cooking time by 2-3 minutes to prevent drying them out. You can also add dried basil or thyme to the coating for a different herbal profile. I’ve tried adding a little bit of smoked paprika to the mix, and it gives a subtle smokiness that pairs well with the garlic. Feel free to experiment with your favorite herbs and spices. The base recipe is forgiving and adaptable to your taste preferences.
Serving & Storage Suggestions
These chicken thighs are best served immediately while the crust is hot and crunchy. They pair wonderfully with roasted vegetables, a simple green salad, or garlic mashed potatoes. For a complete meal, serve them with a side of steamed broccoli or asparagus. A drizzle of honey mustard or marinara sauce on the side adds a nice tangy contrast to the savory parmesan crust.
Leftovers can be stored in an airtight container in the refrigerator for up to 3 days. To reheat, do not use the microwave, as it will make the crust soggy. Instead, pop them back in the air fryer at 375°F (190°C) for 3-4 minutes. This restores the crispiness perfectly. You can also freeze the cooked chicken for up to 2 months. Thaw in the fridge overnight and reheat in the air fryer. The flavors actually meld nicely over time, making them great for meal prep lunches.
Nutritional Information & Benefits
Chicken thighs are a great source of protein, providing about 25-30 grams per serving, which helps with muscle repair and satiety. Using an air fryer significantly reduces the fat content compared to deep frying, as you’re using minimal oil. The parmesan adds calcium and flavor without needing heavy sauces. This recipe is naturally low in carbs if you watch the breadcrumb amount, and it can be made gluten-free easily. It’s a balanced, satisfying meal that doesn’t leave you feeling heavy or sluggish. Just remember that nutritional values can vary based on specific brands and portion sizes, so use this as a general guide.
Conclusion
Crispy Garlic Parmesan Chicken Thighs are a game-changer for weeknight dinners. They’re easy, flavorful, and deliver that restaurant-quality crunch right in your own kitchen. I love this recipe because it’s reliable. No matter how busy my day is, I know I can pull this together and have a delicious, healthy meal on the table in under 30 minutes. It’s the kind of dish that reminds me why I enjoy cooking, even on tough days.
I encourage you to try this recipe and make it your own. Add your favorite herbs, adjust the spice level, or serve it with your preferred sides. Once you try it, you’ll see why it’s become a staple in my kitchen. If you make this, let me know how it turned out in the comments below! I’d love to hear about your variations and see your photos. Happy cooking, and enjoy every crunchy bite!
FAQs
Can I use frozen chicken thighs?
It’s best to use thawed chicken thighs for even cooking. If you must use frozen, thaw them completely in the fridge first. Cooking frozen chicken in the air fryer can lead to uneven cooking and a soggy coating.
Why is my coating falling off?
This usually happens if the chicken isn’t dry enough before dredging, or if the coating isn’t pressed firmly enough. Make sure to pat the chicken dry and press the panko mixture onto the meat to ensure it sticks.
Can I bake this in the oven instead?
Yes, you can bake the chicken at 400°F (200°C) on a wire rack set over a baking sheet for 20-25 minutes. Flip halfway through. The crust won’t be as crispy as the air fryer version, but it will still be delicious.
What kind of parmesan should I use?
Use freshly grated parmesan from the block. Pre-grated parmesan contains anti-caking agents that prevent it from melting and adhering properly to the chicken, which can result in a patchy crust.
How do I know when the chicken is done?
The chicken is done when the internal temperature reaches 165°F (74°C) and the crust is golden brown. Use a meat thermometer to check the thickest part of the thigh for accuracy.
Pin This Recipe!
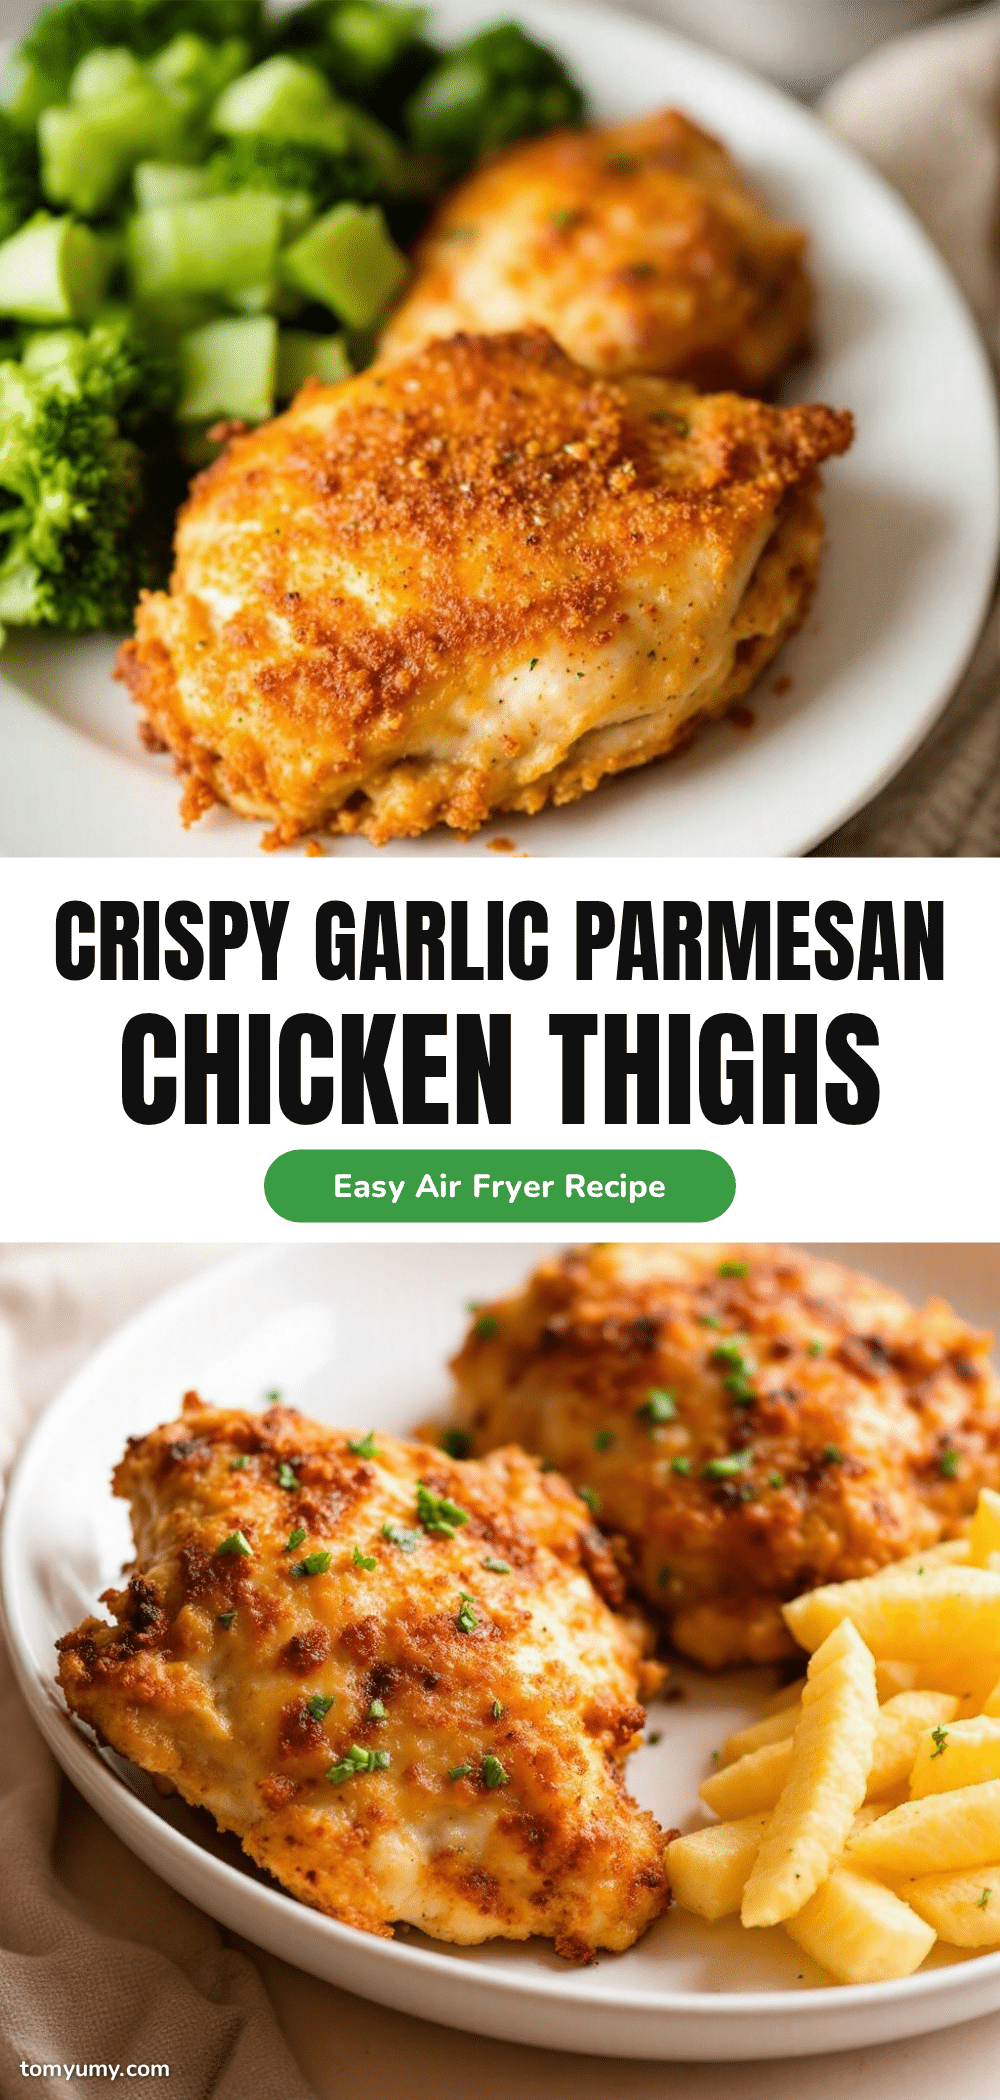
Crispy Garlic Parmesan Chicken Thighs: Best Air Fryer Recipe

Achieve restaurant-quality crispy garlic parmesan chicken thighs in the air fryer with minimal oil. This recipe uses panko and real parmesan for a shatteringly crisp crust while keeping the meat juicy and tender.
- Prep Time: 20 minutes
- Cook Time: 15 minutes
- Total Time: 35 minutes
- Yield: 4 servings 1x
- Category: Main Course
- Cuisine: American
Ingredients
- 2 pounds boneless, skinless chicken thighs
- 1 cup panko breadcrumbs
- 1/2 cup finely grated parmesan cheese
- 1 tablespoon garlic powder
- 1 teaspoon onion powder
- 1 teaspoon dried oregano
- 2 large egg whites
- 1/2 cup buttermilk
- Neutral oil spray (avocado or canola)
- Salt and black pepper
Instructions
- Pat chicken thighs completely dry with paper towels and trim excess fat. Season lightly with salt and pepper.
- In a shallow bowl, whisk together egg whites and buttermilk until combined.
- In a separate shallow bowl, combine panko, parmesan, garlic powder, onion powder, oregano, and a pinch of salt.
- Dip chicken thighs into the buttermilk mixture, let excess drip off, then press firmly into the panko mixture to coat all sides.
- Preheat air fryer to 400°F (200°C) for 3-5 minutes.
- Lightly spray the air fryer basket with oil. Place chicken in a single layer without overcrowding. Spray tops lightly with oil.
- Air fry at 400°F (200°C) for 12-15 minutes, flipping halfway through and spraying the other side with oil.
- Check that internal temperature reaches 165°F (74°C) and crust is golden brown.
- Let chicken rest for 3-5 minutes before serving.
Notes
Ensure chicken is boneless and skinless for even cooking. Use freshly grated parmesan, not pre-grated, to ensure the coating sticks properly. Do not overcrowd the air fryer basket; cook in batches if necessary to maintain crispiness. If the crust browns too quickly, lower temperature to 375°F (190°C).
Nutrition
- Serving Size: 1 chicken thigh per
- Calories: 350
- Sugar: 2
- Sodium: 450
- Fat: 18
- Saturated Fat: 6
- Carbohydrates: 15
- Fiber: 1
- Protein: 28
Keywords: air fryer chicken, crispy chicken thighs, garlic parmesan chicken, healthy dinner, weeknight meals, panko chicken, air fryer recipes