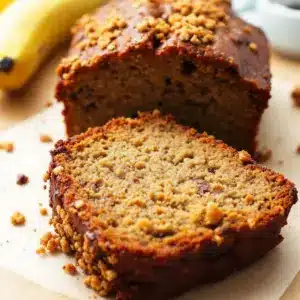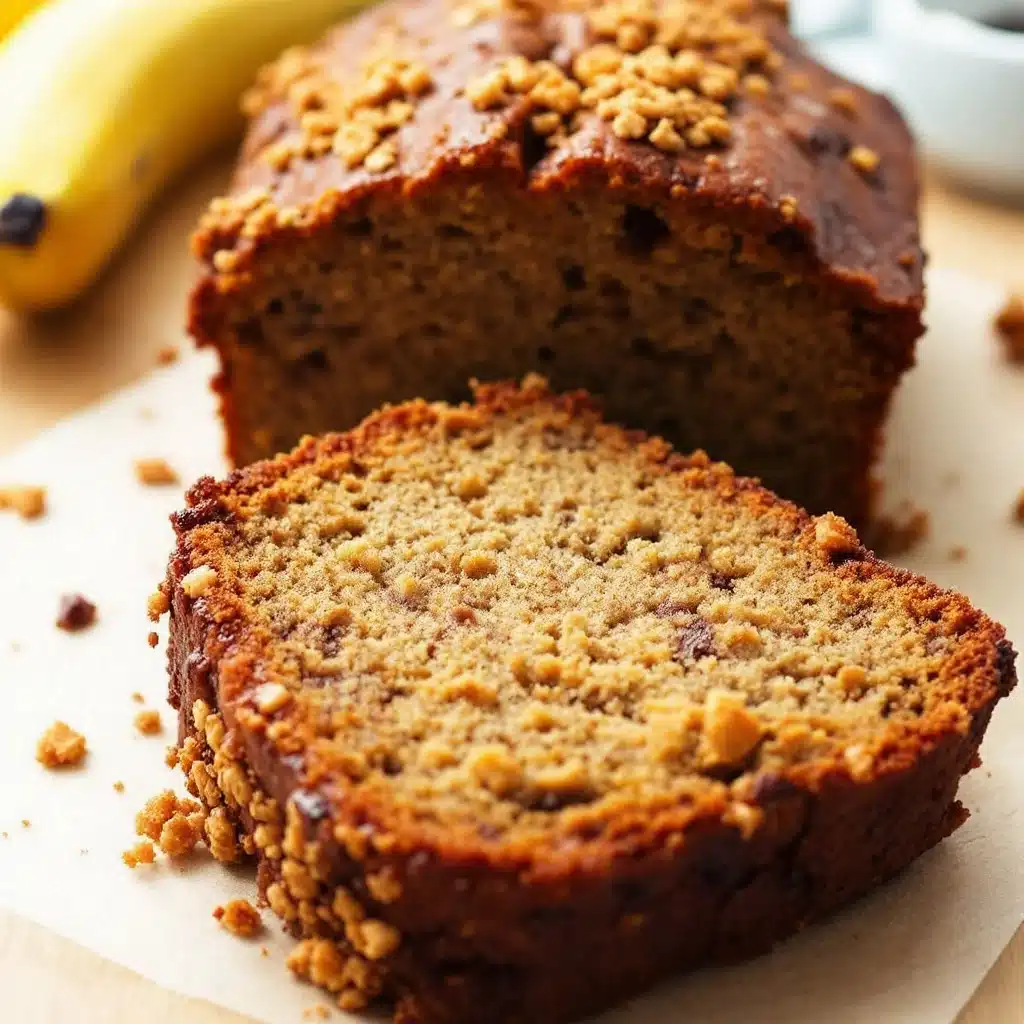
That deep, crackly, almost burnt-looking sugar crust on top of the loaf. That is the whole point. You know how most banana breads come out looking pale, almost shy? Like they’re apologizing for taking up space in the oven? This one doesn’t apologize. It announces itself. I’m talking about that dark mahogany sheen that forms when the natural sugars in the bananas caramelize against the hot pan, creating a thin, brittle shell that shatters when you press your thumb into it.
I used to worry about over-baking. I’d peek through the oven window at the thirtieth minute, panic at the rising dome, and pull it out too soon. Result? A pale, doughy top that never got that satisfying crunch. It took me years to stop fighting the browning process. Honestly, you have to let it get dark. Like, darker than you think it should be. The visual cue isn’t golden brown; it’s closer to the color of an old leather chair or dark coffee grounds.
When I first started making this easy one-bowl moist banana bread, I was just trying to use up the sad, brown bananas sitting on my counter. The ones that were turning into mush. I didn’t care about presentation. I just wanted something that didn’t crumble when I sliced it. But somewhere around batch number five, I noticed the difference. The bread that stayed moist for days wasn’t just about the bananas. It was about that crust. That seal keeps the steam in, keeping the crumb soft while the outside gets that chewy, caramelized bite.
Now, when I pull the loaf out of the oven, I don’t wait for it to cool completely before cutting a slice. I want that contrast. The warm, dense interior against the slightly crisp, sweet exterior. It’s a texture thing. I taste with my fingertips first, really. If the top isn’t giving me that resistance, I’m not happy. It’s not about being fancy. It’s about that specific, sticky-sweet snap that tells you the bread is done. Everything else—the flavor, the aroma—is just secondary to that physical reality.
Why You’ll Love This Recipe
This isn’t just another banana bread recipe floating around the internet. This is the one I keep coming back to when I need comfort, when I need speed, or when I need to use up fruit before it goes bad. I’ve tested this version dozens of times, tweaking the flour ratios and fat content, and I’m confident this is the best version I’ve found. It’s foolproof, but it doesn’t feel cheap. Here’s why it works so well for people like us who want great results without the hassle.
- Quick & Easy: You literally mix everything in one bowl. No separate bowls for wet and dry. No electric mixer required. If you can whisk, you can make this. It comes together in under 15 minutes before baking, which is perfect for those busy weeknights or sudden afternoon cravings.
- Simple Ingredients: You likely already have everything in your pantry. Flour, sugar, eggs, butter (or oil), and bananas. No fancy grocery trips needed for obscure ingredients. It’s wholesome, simple baking at its core.
- Perfect for Any Occasion: Whether it’s a cozy breakfast with coffee, an afternoon snack with tea, or a dessert after dinner, this loaf fits everywhere. It’s great for potlucks because it travels well and doesn’t get messy.
- Crowd-Pleaser: Kids love the sweetness, and adults appreciate the dense texture. It always gets rave reviews. I’ve brought this to office parties and family gatherings, and the loaf is usually gone before the leftovers even cool down.
- Unbelievably Delicious: The texture is next-level. It’s not dry and cake-like; it’s moist and almost fudgy in the center. The flavor combo of caramelized banana and butter is pure comfort food. It’s the kind of thing that makes you close your eyes after the first bite.
What makes this different from the rest? It’s the technique. Most recipes tell you to cream butter and sugar, then add eggs, then fold in flour. That’s fine for cookies, but for banana bread, it can lead to toughness. This method is simpler. By mashing the bananas thoroughly and mixing the wet and dry ingredients gently but thoroughly in one go, you avoid over-developing the gluten. The result is a tender crumb that stays soft for days. It’s not just good—it’s the kind of recipe that feels like a secret you’ve finally figured out.
What Ingredients You Will Need
This recipe relies on simple, wholesome ingredients to deliver bold flavor and satisfying texture without the fuss. The magic here isn’t in adding complex spices or exotic flours; it’s in using high-quality basics and letting the bananas shine. You want ingredients that are accessible but fresh. The ripeness of your bananas is the single most important factor here, so don’t skip that step. Look for bananas that are heavily spotted with brown or even black skins. Those spots mean the starches have converted to sugar, which gives the bread its natural sweetness and moisture.
For the fats, you have a choice. Butter adds a rich, nutty flavor that I personally prefer, especially if you brown it slightly. But neutral oil, like vegetable or canola oil, will give you a moister crumb that stays soft longer. I often use a mix of both to get the best of both worlds. If you need to keep it dairy-free, coconut oil works well, though it will impart a slight coconut flavor.
- Ripe Bananas: 3 to 4 large bananas, peeled and mashed. They should be very soft. (Adds natural sweetness and moisture)
- Unsalted Butter: 1/2 cup (1 stick), melted. I recommend using high-quality butter like Land O’Lakes or Kerrygold for better flavor. (Adds richness)
- Granulated Sugar: 3/4 cup. Don’t reduce this too much, or you’ll lose that caramelized crust. (Provides sweetness and structure)
- Brown Sugar: 1/4 cup, packed. This helps with the moistness and the dark crust color. (Adds depth of flavor)
- Egg: 1 large egg, room temperature. (Binds the ingredients together)
- Vanilla Extract: 1 teaspoon. Use a real vanilla bean paste if you have it, but standard extract works fine. (Enhances flavor)
- All-Purpose Flour: 1 1/2 cups. Sifted if it’s been sitting out, to ensure a light texture. (Provides structure)
- Baking Soda: 1 teaspoon. This is what helps the bread rise. Make sure it’s fresh. (Leavening agent)
- Salt: 1/2 teaspoon. Crucial for balancing the sweetness. (Flavor enhancer)
- Optional Add-ins: 1/2 cup chocolate chips or walnuts. (Adds texture and flavor contrast)
If you’re looking to substitute, you can use almond flour for a gluten-free option, but you’ll need to adjust the liquid slightly as almond flour absorbs more moisture. Swap Greek yogurt with dairy-free coconut yogurt if you’re avoiding dairy, though the texture might be slightly denser. For the sugar, you can use coconut sugar, but note that it will make the bread darker and add a caramel note. Just keep in mind that natural sweeteners vary in moisture content, so your baking time might need a few extra minutes.
Equipment Needed
You don’t need a fancy kitchen to make this bread. The main tool you need is a standard 9×5 inch loaf pan. I prefer metal pans because they conduct heat evenly, leading to that nice crust. Dark non-stick pans might cause the bottom to burn faster, so if you use one, lower the oven temperature by 25 degrees. A large mixing bowl is essential, though any bowl that’s big enough to accommodate all the ingredients without spilling will do. A potato masher or a sturdy fork for mashing the bananas is better than a blender because you want some texture, not a smooth puree. A wire cooling rack is important too; letting the bread cool in the pan can make the bottom soggy. If you don’t have a cooling rack, you can rest the pan on a heat-proof surface like a wooden cutting board, but a rack is best for air circulation.
Preparation Method
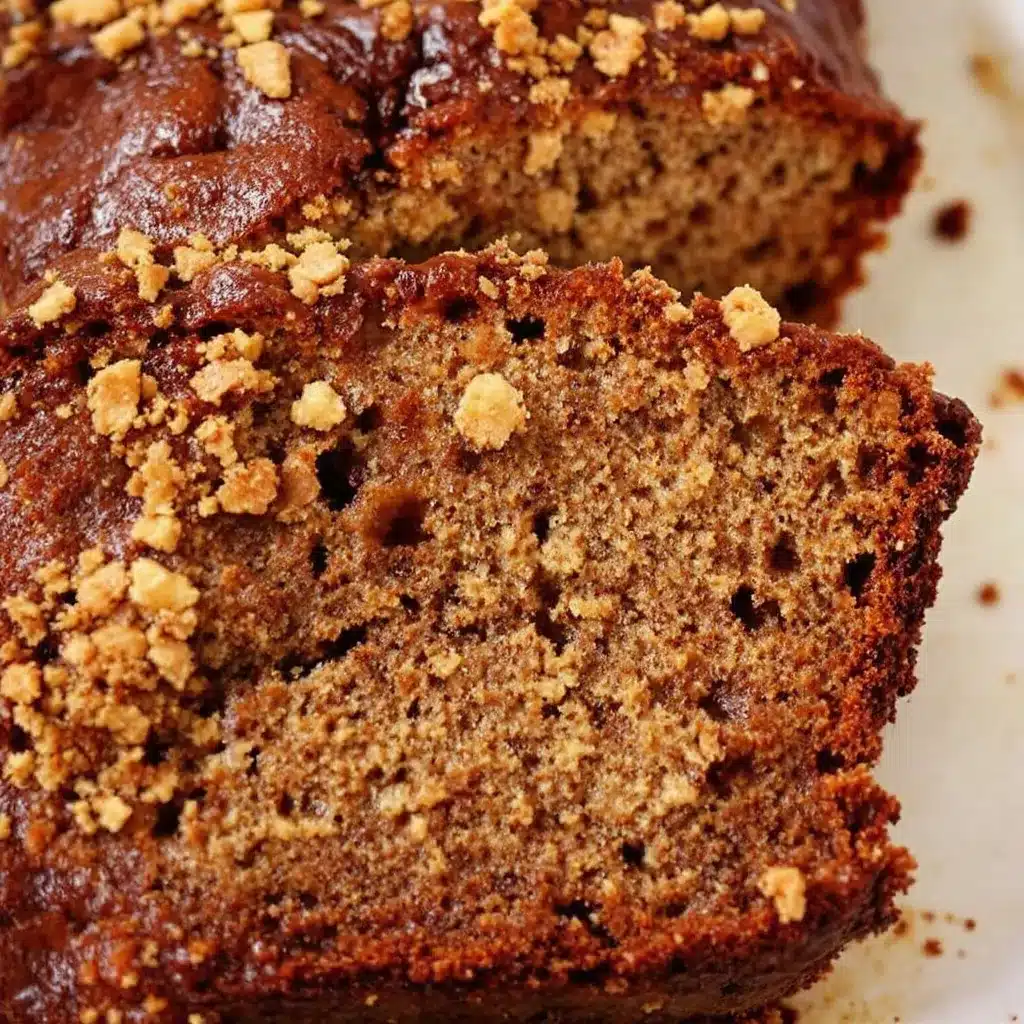
Getting this easy one-bowl moist banana bread right is all about timing and gentle handling. Follow these steps closely, and you’ll have a perfect loaf every time. The whole process from start to finish, including baking, takes about an hour and fifteen minutes, but the active prep time is minimal.
- Preheat and Prep: Start by preheating your oven to 350°F (175°C). This is crucial. If the oven isn’t hot enough, the bread won’t rise properly. While it heats, grease your 9×5 inch loaf pan with butter or non-stick spray. For extra insurance against sticking, you can line the bottom with parchment paper, leaving a little overhang on the sides to help with removal later. This takes about 5 minutes.
- Mash the Bananas: In your large mixing bowl, peel the ripe bananas. Use a potato masher or a fork to mash them until they are mostly smooth but still have a few small chunks. You want about 1 1/2 cups of mashed banana. Don’t over-mash it into a liquid; you want some body. This takes about 2 minutes.
- Mix Wet Ingredients: To the mashed bananas, add the melted butter, granulated sugar, brown sugar, egg, and vanilla extract. Whisk these together vigorously. You want the sugar to start dissolving into the wet mixture. The batter might look a bit curdled at first, but that’s normal. Keep whisking until it’s somewhat combined. This step takes about 3 minutes.
- Add Dry Ingredients: Sprinkle the flour, baking soda, and salt over the wet mixture. Do not whisk yet. Just let them sit on top for a moment. Then, using a spatula or a wooden spoon, gently fold the dry ingredients into the wet. Start from the bottom and fold over the top. Stop as soon as you no longer see streaks of flour. Over-mixing is the enemy here; it makes the bread tough. The batter will be thick and sticky. This takes about 2 minutes.
- Add Mix-ins: If you’re using chocolate chips or nuts, fold them in now. Be gentle so you don’t break the chocolate chips or crush the nuts. If you’re not using mix-ins, just proceed to the next step.
- Bake: Pour the batter into your prepared loaf pan. Smooth the top with your spatula. Place the pan in the center of the oven. Bake for 55 to 65 minutes. Do not open the oven door for the first 45 minutes. After 55 minutes, check the bread. Insert a toothpick or a knife into the center. It should come out clean or with just a few moist crumbs attached. If it’s wet, bake for another 5-10 minutes. The top should be dark and crackly. This takes 55-65 minutes.
- Cool: Once baked, remove the pan from the oven and let it cool in the pan for 10 minutes. Then, lift the bread out using the parchment paper overhang (if you used it) and place it on a wire rack to cool completely. This takes about 30-45 minutes. Cutting it while it’s hot will make it gummy.
Cooking Tips & Techniques
I’ve made my fair share of banana bread disasters, and here are the lessons I learned the hard way. First, don’t rush the cooling process. I know it’s tempting to slice into that warm, gooey loaf, but the structure is still setting. If you cut it too early, it might fall apart. Second, the toothpick test is your best friend, but don’t trust it blindly. If the toothpick comes out with wet batter, it needs more time. If it comes out clean, it might be done, but check the color of the crust too. A pale crust means it’s under-baked, even if the toothpick is clean.
Another common mistake is using bananas that aren’t ripe enough. Green bananas have almost no flavor and very little sugar. You’ll end up with a bland, dense loaf. Wait until the skins are black. Also, don’t over-mix the batter. Once you add the flour, mix just until combined. Any more than that, and you’re developing gluten, which leads to a rubbery texture. Finally, if your kitchen is very cold, your butter might solidify in the batter. To fix this, let the batter sit for 5 minutes before pouring it into the pan. This helps the butter re-melt slightly and ensures a smoother bake.
Variations & Adaptations
While the classic version is my go-to, this recipe is a great base for experimentation. Here are a few variations I’ve tried that work well. For a chocolate lover’s version, add 1/2 cup of dark chocolate chips and reduce the sugar by 2 tablespoons. The bitterness of the chocolate balances the sweetness perfectly. If you want a spiced version, add 1 teaspoon of cinnamon, 1/4 teaspoon of nutmeg, and a pinch of cloves. This gives it a warm, cozy flavor that’s great for fall. For a nutty twist, fold in 1/2 cup of toasted walnuts or pecans. Toasting the nuts in a dry pan for a few minutes before adding them enhances their flavor significantly.
If you’re looking for a healthier option, you can substitute half the flour with whole wheat flour. Just note that the bread will be denser and have a slightly nuttier taste. For a vegan version, replace the egg with a “flax egg” (1 tablespoon ground flaxseed mixed with 3 tablespoons water, let sit for 5 minutes) and use coconut oil instead of butter. The texture will be slightly different but still delicious. I also like to add a streusel topping made with flour, brown sugar, and cold butter for a crunchy, crumbly top. It adds a nice textural contrast to the soft bread.
Serving & Storage Suggestions
This easy one-bowl moist banana bread is best served at room temperature, though I admit I love it slightly warm from the oven. Pair it with a hot cup of coffee or tea to balance the sweetness. It’s also great sliced thin and toasted with a little butter for breakfast. For storage, wrap the cooled loaf tightly in plastic wrap and then in aluminum foil. It can be kept at room temperature for up to 3 days. For longer storage, freeze it. Wrap it well and freeze for up to 3 months. To reheat, thaw it at room temperature and then warm it in the oven at 300°F for 10 minutes. The flavors actually develop over the first day, making it even better on day two.
Nutritional Information & Benefits
While this is a treat, bananas are a great source of potassium and vitamin B6. The whole wheat flour option adds fiber, which aids in digestion. However, due to the sugar and butter content, this bread is calorie-dense. One slice contains approximately 250-300 calories, depending on the size and mix-ins. It’s not a light snack, but it’s satisfying enough that you won’t feel the need to eat more. For those with gluten sensitivities, the almond flour version is a viable alternative, though cross-contamination should be checked if you have celiac disease. Moderation is key, but the natural sweetness from the bananas means you often need less added sugar than other baked goods.
Conclusion
Making this easy one-bowl moist banana bread is a simple pleasure that yields incredible results. It’s forgiving, delicious, and incredibly versatile. I love it because it turns simple, often discarded ingredients into something special. It’s a reminder that you don’t need fancy techniques to bake well. Just patience, good ingredients, and a willingness to let the bread get a little dark. I hope you try this recipe and find your own favorite variations. Don’t forget to share your results or ask questions in the comments below. Happy baking!
FAQs
Can I use frozen bananas for this recipe?
Yes, frozen bananas work great! Just thaw them completely and drain any excess liquid before mashing. They actually make the bread even moister.
Why is my banana bread dry?
This usually happens if you use unripe bananas or over-bake it. Make sure your bananas are very ripe and check the bread a few minutes before the timer goes off.
Can I make mini banana loaves?
Absolutely. Use mini loaf pans and reduce the baking time to about 25-30 minutes. Keep an eye on them so they don’t burn.
How do I know when the banana bread is done?
Look for a dark, crackly crust and a toothpick that comes out clean. The internal temperature should be around 200-205°F if you have a thermometer.
Can I add other fruits to this recipe?
You can, but it might affect the moisture content. Blueberries or raspberries work well, but add them gently to avoid staining the batter too much.
Pin This Recipe!
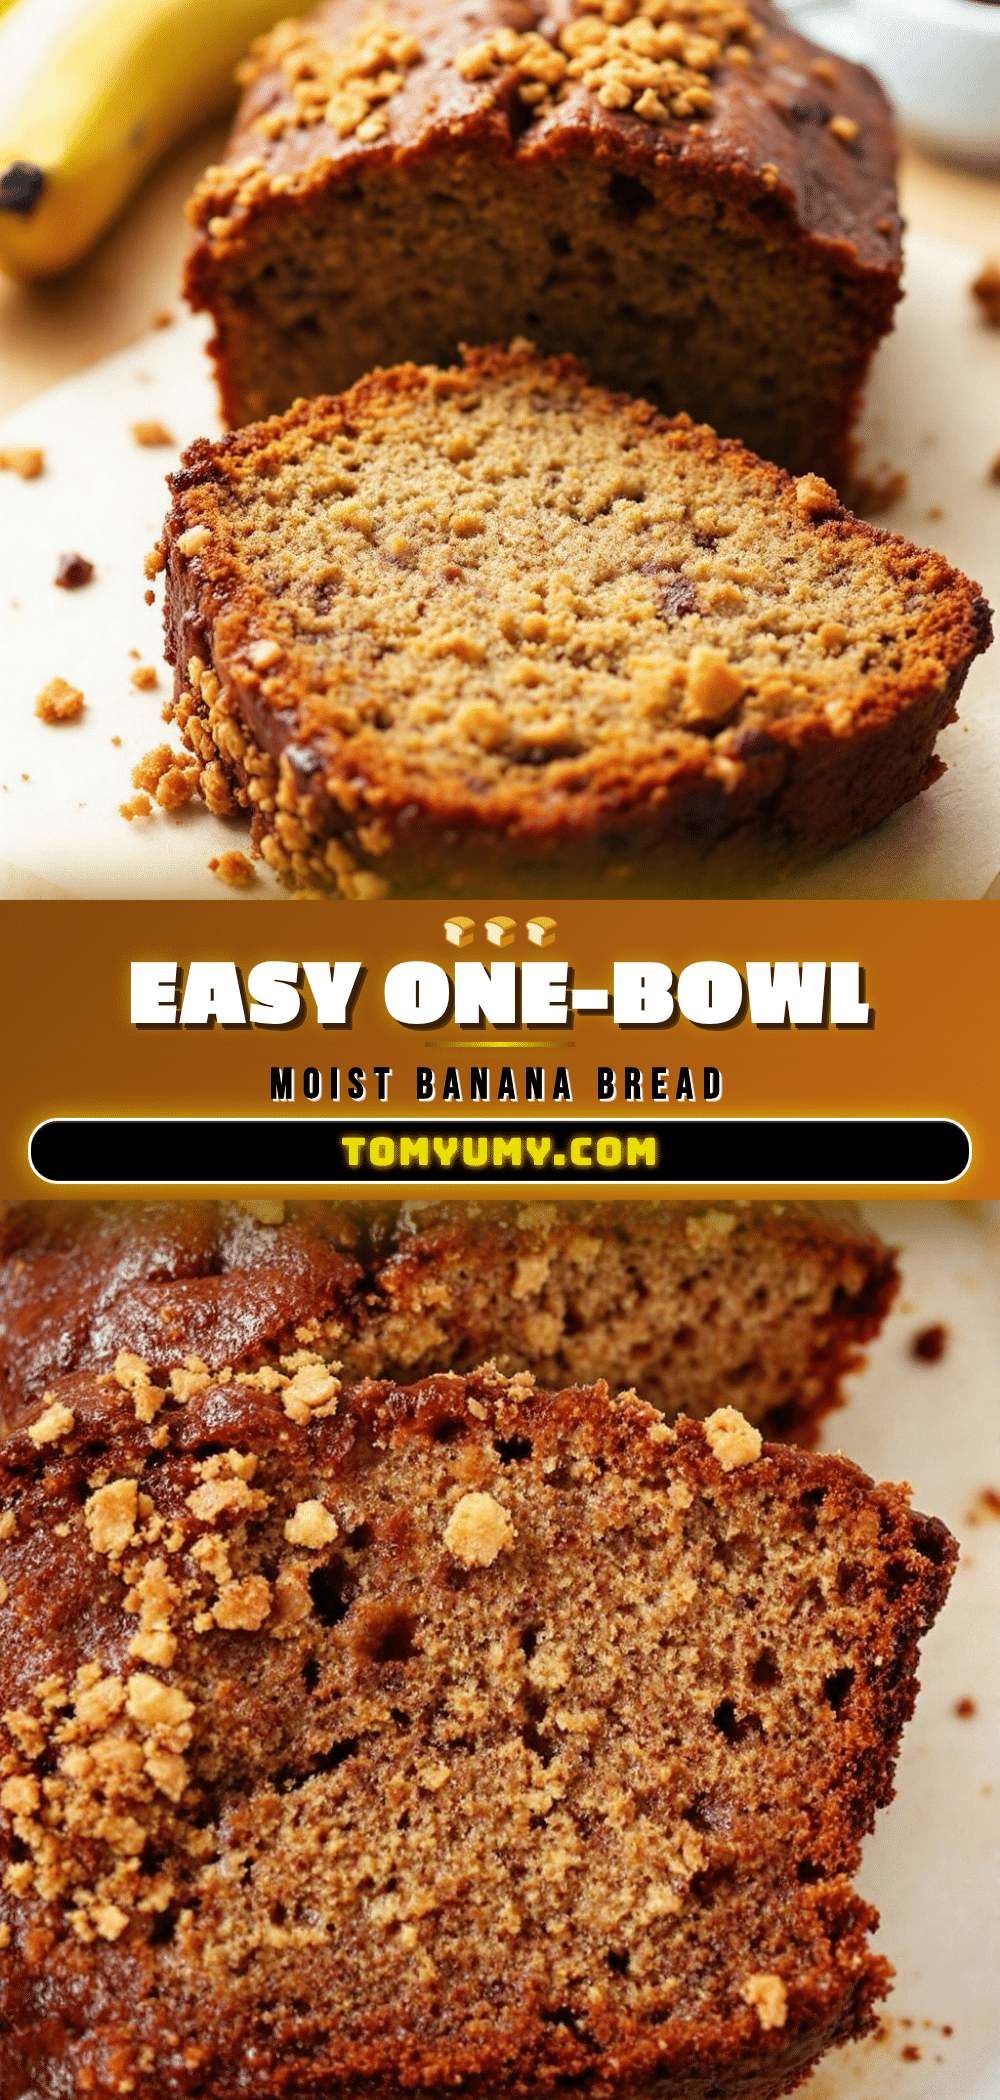
Easy One-Bowl Moist Banana Bread
A foolproof, moist banana bread recipe that requires only one bowl and simple ingredients. It features a dark, caramelized sugar crust and a tender, fudgy interior that stays fresh for days.
- Prep Time: 15 minutes
- Cook Time: 65 minutes
- Total Time: 80 minutes
- Yield: 8 servings 1x
- Category: Dessert
- Cuisine: American
Ingredients
- 3 to 4 large ripe bananas, peeled and mashed (approx. 1 1/2 cups)
- 1/2 cup (1 stick) unsalted butter, melted
- 3/4 cup granulated sugar
- 1/4 cup packed brown sugar
- 1 large egg, room temperature
- 1 teaspoon vanilla extract
- 1 1/2 cups all-purpose flour
- 1 teaspoon baking soda
- 1/2 teaspoon salt
- 1/2 cup chocolate chips or walnuts (optional)
Instructions
- Preheat oven to 350°F (175°C). Grease a 9×5 inch loaf pan with butter or non-stick spray, optionally lining the bottom with parchment paper.
- In a large mixing bowl, mash the ripe bananas with a potato masher or fork until mostly smooth with a few small chunks remain.
- Add the melted butter, granulated sugar, brown sugar, egg, and vanilla extract to the bananas. Whisk vigorously until the sugar begins to dissolve and the mixture is combined.
- Sprinkle the flour, baking soda, and salt over the wet mixture. Gently fold the dry ingredients into the wet using a spatula or wooden spoon until just combined and no flour streaks remain. Do not over-mix.
- Fold in chocolate chips or walnuts if using.
- Pour the batter into the prepared loaf pan and smooth the top. Bake for 55 to 65 minutes. Do not open the oven for the first 45 minutes. The bread is done when a toothpick inserted in the center comes out clean or with moist crumbs, and the top is dark and crackly.
- Remove from oven and let cool in the pan for 10 minutes. Transfer to a wire rack to cool completely before slicing.
Notes
Ensure bananas are very ripe (black spots) for maximum sweetness and moisture. Do not over-mix the batter once flour is added to avoid a tough texture. The crust should be dark mahogany, not golden brown. For best results, let the bread cool completely to prevent a gummy texture.
Nutrition
- Serving Size: 1 slice
- Calories: 275
- Sugar: 26
- Sodium: 250
- Fat: 12
- Saturated Fat: 7
- Carbohydrates: 40
- Fiber: 2
- Protein: 3
Keywords: banana bread, moist banana bread, one bowl recipe, easy baking, quick bread, caramelized crust, gluten-free option