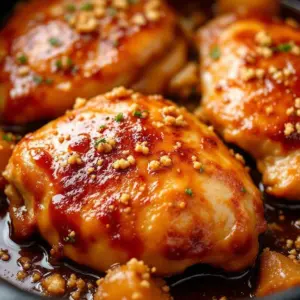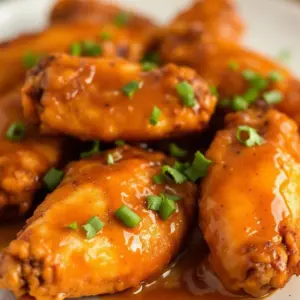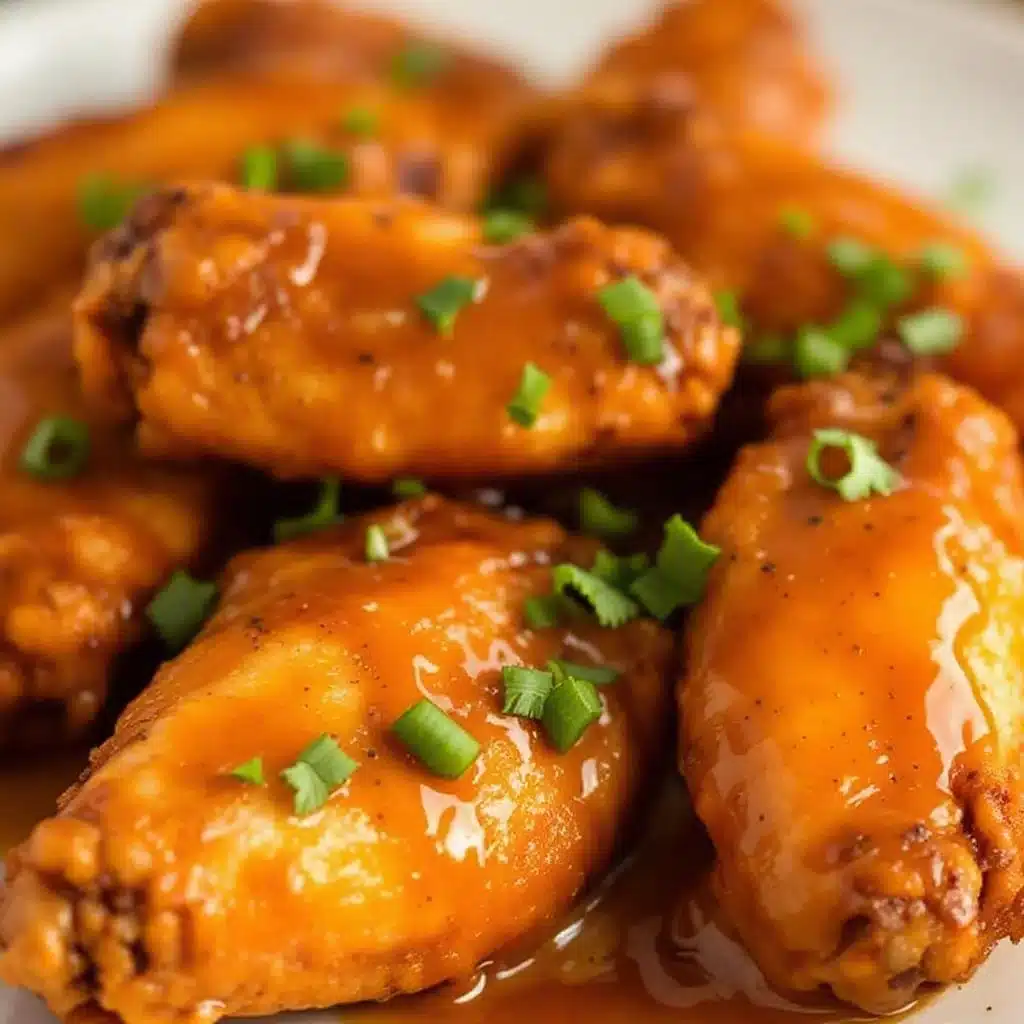
I figured air frying chicken wings would result in dry, rubbery disks that tasted like burnt plastic. It took about twenty minutes for that assumption to fall apart completely. I stood there, spoon in hand, staring into the basket of Crispy Air Fryer Honey Garlic Chicken Wings like I had just discovered gold. The skin wasn’t just cooked; it was shattering under my fork. Honestly, I almost didn’t want to eat them because I was too busy taking pictures.
The smell hit me before the first bite. It was that heavy, sweet-savory punch of garlic and honey that makes your stomach growl from three rooms away. I had tried the oven method before, and it always left me with a greasy paper towel situation and a counter that looked like a war zone. This method? Clean. Fast. And surprisingly effective.
I wasn’t trying to reinvent the wheel. I just wanted wings that didn’t require standing over a splattering pot of oil. The contrast between the crisp exterior and the juicy meat inside was something I didn’t know I was missing until now. It’s a texture thing, really. You know how you hate when food is soggy? This isn’t that.
There is a specific kind of magic in watching the heat circulate around those drumettes. It feels almost unfair how good they turn out. I’ve made this batch at least five times this month alone. My neighbors started knocking on the door asking what I was cooking. Let’s face it, the aroma is too good to keep secret for long.
This recipe stuck with me because it solved the biggest problem with homemade wings: the cleanup. I used to dread making them because of the mess. Now, I just dump the basket, wipe the tray, and call it a night. It’s practical, it’s tasty, and it doesn’t require a degree in culinary arts to pull off.
Why You’ll Love This Recipe
Quick & Easy
You know how some recipes promise to be quick but take two hours? This one actually delivers. It comes together in under thirty minutes from start to finish. That makes it perfect for those busy weeknights when you’re starving but don’t have the energy to cook a full meal. You can have dinner on the table before the pizza guy even shows up.
Simple Ingredients
No fancy grocery trips needed here. You likely already have everything in your kitchen right now. Honey, garlic, soy sauce, vinegar—these are pantry staples. I love that I don’t have to drive to the store for a obscure ingredient that I’ll only use once. It saves money and time, which is a double win in my book.
Perfect for Game Day
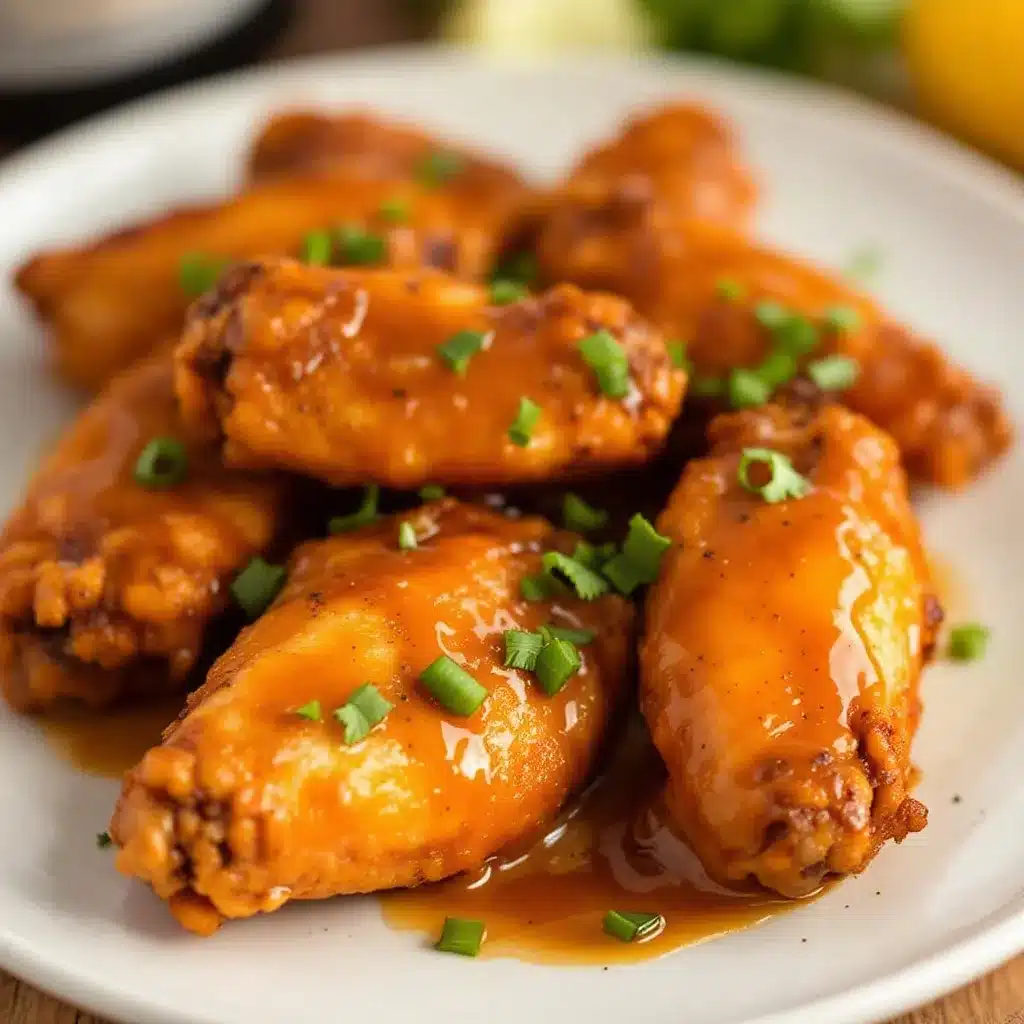
Whether it’s the big game, a casual Friday night, or just a Tuesday craving, these wings fit the bill. They are great for potlucks too, since they travel well and stay warm in the air fryer basket for a while. I’ve brought them to office parties and watched them disappear in minutes.
Crowd-Pleaser
Always gets rave reviews from kids and adults alike. Even the picky eaters who usually turn their noses up at “weird” sauces will gobble these down. The balance of sweet and salty is hard to mess up. It’s a flavor profile that just works for everyone.
Unbelievably Delicious
The texture and flavor combo is next-level comfort food. The honey creates a glossy, sticky glaze that clings to every nook and cranny. The garlic adds that punchy bite that keeps you coming back for more. It’s not just good—it is the kind that makes you close your eyes after the first bite. It’s comfort food reimagined—healthier, faster, but with the same soul-soothing satisfaction.
What Makes It Different
I’ve tested dozens of wing recipes. Most rely on baking powder for crispiness, which works, but this method uses the air fryer’s rapid circulation to get that crunch without the heavy coating. It’s not just another version—it’s your best version. I connected with this recipe because it respects your time while still delivering restaurant-quality results.
What Ingredients You Will Need
This recipe uses simple, wholesome ingredients to deliver bold flavor and satisfying texture without the fuss. The beauty of this glaze is that it relies on basic condiments you probably already have. You don’t need to hunt down rare spices. Here is what you need to make this happen.
For the Wings
- Chicken Wings: 2 pounds of whole wings, separated into drumettes and flats. Look for fresh wings if you can, but frozen works too if you thaw them completely first. Fresh wings generally have better skin texture for crisping.
- Vegetable Oil: 1 tablespoon. Just a light coat to help the skin brown evenly. Olive oil can smoke at high temps, so stick to neutral oils.
- Garlic Powder: 1 teaspoon. Adds a foundational savory note without the burning risk of fresh garlic in the initial cook.
- Salt: 1/2 teaspoon. Essential for bringing out the natural flavor of the chicken.
For the Honey Garlic Glaze
- Honey: 1/3 cup. Use a good quality honey if you can. I prefer clover or wildflower honey for its floral notes, but plain grocery store brands work fine. It adds viscosity and sweetness.
- Soy Sauce: 3 tablespoons. Provides the salty, umami backbone. I recommend using low-sodium soy sauce to control the saltiness, as the glaze reduces and concentrates.
- Rice Vinegar: 1 tablespoon. This cuts through the sweetness of the honey. It adds a necessary tang that balances the flavor profile. Do not skip this, or it will taste too cloying.
- Fresh Garlic: 3 cloves, minced. The star of the show. Fresh garlic provides a sharp, aromatic punch that powder cannot match. Mince it finely so it distributes evenly in the sauce.
- Ginger: 1 teaspoon, grated. Adds a warm, spicy undertone. Fresh ginger is best, but pre-grated jarred ginger works in a pinch.
- Red Pepper Flakes: 1/2 teaspoon. Optional, but recommended if you like a little heat. It adds complexity and a subtle kick.
- Sesame Oil: 1 teaspoon. A drizzle at the end adds a nutty aroma. It’s potent, so a little goes a long way.
For Garnish
- Sesame Seeds: 1 tablespoon, toasted. Sprinkle on top for texture and visual appeal. Toasting them in a dry pan for two minutes makes a huge difference in flavor.
- Green Onions: 2 stalks, sliced thinly. Adds a fresh, crisp contrast to the rich, sticky wings.
Equipment Needed
You don’t need a fancy kitchen to make this work. The main hero here is obviously the air fryer. I use a basket-style air fryer because it allows for better air circulation than the oven-style ones. If you have a smaller model, you might need to cook in batches. Overcrowding is the enemy of crispiness.
A medium-sized saucepan is needed for making the glaze. You don’t need anything fancy here. A simple non-stick pan works perfectly. It makes cleanup easier if the sauce doesn’t stick to the bottom.
A whisk is useful for combining the glaze ingredients smoothly. You want to emulsify the honey and soy sauce so it coats the wings evenly. A silicone spatula is also handy for scraping the sauce out of the pan and tossing the wings.
If you don’t have an air fryer, you can use a conventional oven with a wire rack. Preheat to 400°F (200°C) and bake for 25-30 minutes, flipping halfway. It takes a bit longer, but the result is similar. However, the air fryer is faster and uses less energy.
I also recommend using tongs for handling the wings. They get hot and sticky, so fingers are not your friend here. A pair of kitchen shears can help if you need to trim any excess skin or nail tips off the wings before cooking.
Preparation Method
Step 1: Prep the Wings
Start by separating your wings. If you bought whole wings, use kitchen shears to cut them at the joint. You’ll end up with drumettes and flats. Discard the tips, or save them for making homemade chicken stock later. Pat the wings completely dry with paper towels. This is crucial. Moisture is the enemy of crisp skin. If they are wet, they will steam instead of fry.
Step 2: Season and Coat
Place the dried wings in a large bowl. Drizzle with the vegetable oil and sprinkle with garlic powder and salt. Toss them until every piece is lightly coated. You want a thin, even layer. Do not overdo the oil; you just want to lubricate the skin.
Step 3: Air Fry the Wings
Preheat your air fryer to 380°F (190°C). This step is important for getting that initial crunch. Arrange the wings in a single layer in the basket. Do not stack them. Cook for 12 minutes. Then, flip the wings and cook for another 8-10 minutes. They should be golden brown and crispy. If your air fryer is smaller, cook in batches. Total time is about 20-22 minutes.
Step 4: Make the Glaze
While the wings cook, make the sauce. In a small saucepan over medium heat, combine the honey, soy sauce, rice vinegar, minced garlic, grated ginger, and red pepper flakes. Whisk everything together. Let it simmer for 3-4 minutes until it thickens slightly. It should coat the back of a spoon. Remove from heat and stir in the sesame oil.
Step 5: Toss and Serve
Once the wings are done, transfer them to a large mixing bowl. Pour the warm glaze over the hot wings. Toss quickly and vigorously until every wing is coated in the sticky sauce. The heat from the wings helps the glaze adhere. Serve immediately while they are still crispy. Top with toasted sesame seeds and sliced green onions.
Cooking Tips & Techniques
One common mistake people make is overcrowding the air fryer basket. If you pile the wings on top of each other, the air can’t circulate properly. The result is soggy skin. Cook in batches if you have to. It takes an extra ten minutes, but the difference in texture is worth it.
Another tip is to ensure the wings are bone-dry before cooking. I know it sounds tedious, but using paper towels to pat them down makes a huge difference. I learned this the hard way after one batch came out looking pale and soft. After drying them thoroughly, the next batch was perfectly crisp.
When making the glaze, don’t let it boil too vigorously. Honey burns easily. Keep the heat at medium and stir frequently. You want it to reduce and thicken, not turn into a dark, bitter caramel. If it gets too dark, it will taste burnt.
Also, toss the wings in the sauce immediately after they come out of the air fryer. The residual heat helps the sauce stick and penetrate the skin slightly. If you let them cool first, the sauce will just slide off.
Finally, taste the glaze before tossing. If it’s too sweet, add a splash more vinegar. If it’s too salty, add a little more honey. Adjusting to your preference ensures everyone enjoys the meal.
Variations & Adaptations
Spicy Honey Garlic
If you like heat, increase the red pepper flakes to 1 teaspoon. Or, add a tablespoon of sriracha or gochujang paste to the glaze. This adds a Korean-inspired twist that pairs beautifully with the garlic.
Low-Sodium Option
Use low-sodium soy sauce or coconut aminos for a lighter salt profile. You can also reduce the amount of soy sauce by half and replace it with more chicken broth to maintain volume without the sodium spike.
Vegan Version
Swap the chicken wings for seitan wings or thick-cut tofu cubes. Press the tofu firmly to remove moisture, then follow the same cooking and glazing steps. The glaze is naturally vegan, so no changes needed there.
Gluten-Free
Use tamari instead of soy sauce. Most other ingredients are naturally gluten-free, so this is an easy swap for those with sensitivities.
Baked Alternative
If you don’t have an air fryer, bake the wings on a wire rack at 400°F (200°C) for 40-45 minutes, flipping halfway. They won’t be as crispy as air-fried, but they will still be delicious.
Serving & Storage Suggestions
Serve these wings hot, straight from the bowl. They look great on a platter with extra green onions and sesame seeds sprinkled on top. Pair them with a cold beer or a crisp white wine like Sauvignon Blanc to cut through the richness.
Leftovers can be stored in an airtight container in the refrigerator for up to 3 days. The glaze may thicken as it cools, which is normal. To reheat, place the wings in the air fryer at 350°F (175°C) for 3-4 minutes. This restores the crispiness. Avoid the microwave, as it will make the skin soggy.
You can also freeze the cooked wings without the glaze for up to 2 months. Thaw in the fridge overnight, then reheat and toss with fresh glaze. The texture of the wings holds up well to freezing if handled properly.
Nutritional Information & Benefits
Each serving (approximately 6 wings) contains about 350 calories. The chicken provides a good source of protein, which helps with muscle repair and satiety. The honey offers quick energy, though it is high in sugar, so moderation is key.
The garlic and ginger have anti-inflammatory properties, adding a health boost to the dish. Using an air fryer reduces the need for deep-frying oil, lowering the overall fat content compared to traditional fried wings.
For those watching sodium, using low-sodium soy sauce helps keep the salt content in check. The recipe is naturally gluten-free if you use tamari. It’s a balanced treat that satisfies cravings without being overly heavy.
Conclusion
These Crispy Air Fryer Honey Garlic Chicken Wings are a game-changer for weeknight dinners. They are crispy, sticky, and packed with flavor. I love how easy they are to make and how quickly they come together. You don’t need to be a chef to pull this off.
I encourage you to try this recipe and adjust the glaze to your liking. Add more heat if you like it spicy, or more honey if you have a sweet tooth. It’s a versatile dish that fits many tastes.
I hope you enjoy making these as much as I do. They’ve become a staple in my kitchen for good reason. If you make this, please leave a comment below and let me know how it turned out. Share your photos or variations with the community.
Thanks for reading, and happy cooking!
FAQs
Can I use frozen wings?
Yes, but you must thaw them completely and pat them very dry before cooking. Cooking frozen wings directly will result in uneven cooking and soggy skin.
Why are my wings not crispy?
The most likely reason is overcrowding the basket or not drying the wings thoroughly. Ensure there is space between each wing and use paper towels to remove all surface moisture.
Can I make the glaze ahead of time?
Yes, you can prepare the glaze up to 3 days in advance. Store it in an airtight container in the refrigerator. Warm it slightly before tossing with the wings.
What type of honey works best?
Any clear honey works well. Clover or wildflower honey adds a nice floral note, but standard grocery store honey is perfectly fine. Avoid dark, robust honeys as they may overpower the garlic.
How do I store leftovers?
Store leftovers in an airtight container in the refrigerator for up to 3 days. Reheat in the air fryer to restore crispiness. Avoid the microwave.
Pin This Recipe!
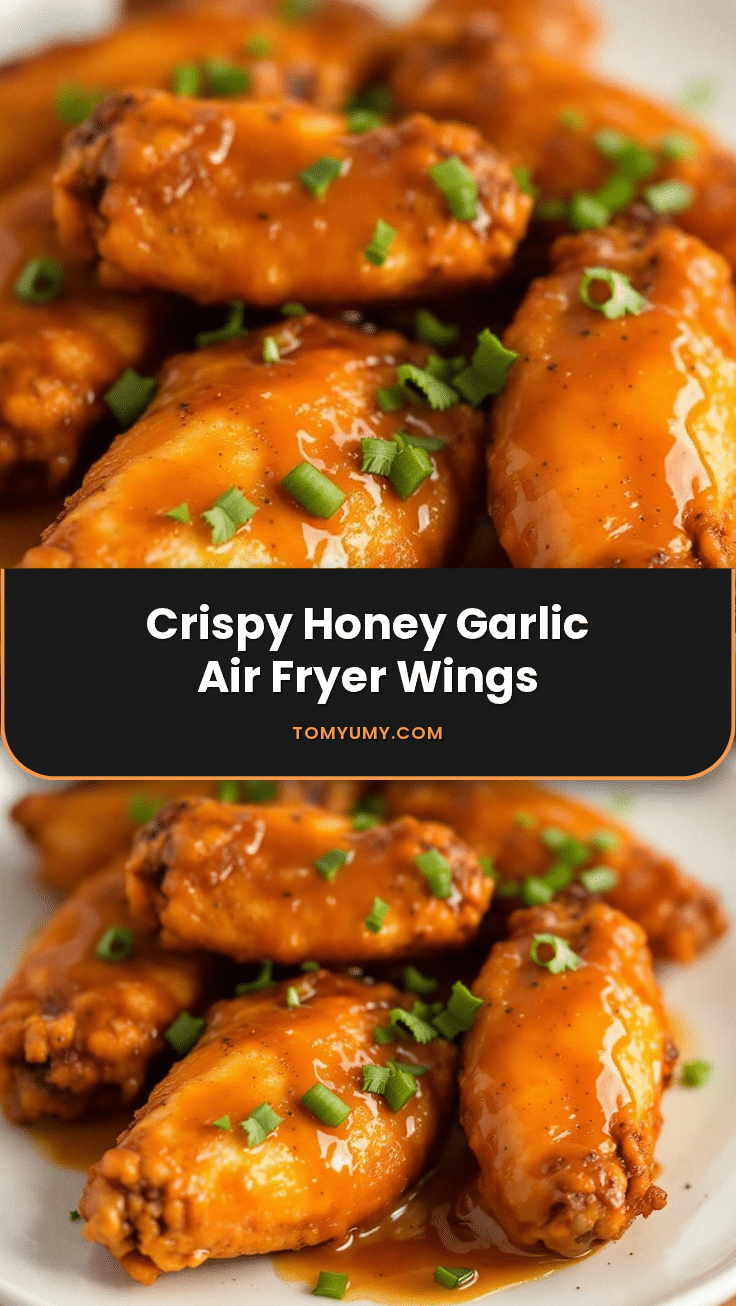
Crispy Air Fryer Honey Garlic Chicken Wings

These air-fried chicken wings feature a shattering crisp exterior and juicy interior, coated in a sticky, sweet-savory honey garlic glaze. Ready in under 30 minutes with minimal cleanup.
- Prep Time: 10 minutes
- Cook Time: 20 minutes
- Total Time: 30 minutes
- Yield: 4 servings 1x
- Category: Appetizer
- Cuisine: Asian Fusion
Ingredients
- 2 pounds chicken wings (separated into drumettes and flats)
- 1 tablespoon vegetable oil
- 1 teaspoon garlic powder
- 1/2 teaspoon salt
- 1/3 cup honey
- 3 tablespoons soy sauce (or low-sodium soy sauce)
- 1 tablespoon rice vinegar
- 3 cloves fresh garlic, minced
- 1 teaspoon fresh ginger, grated
- 1/2 teaspoon red pepper flakes (optional)
- 1 teaspoon sesame oil
- 1 tablespoon sesame seeds, toasted
- 2 stalks green onions, sliced thinly
Instructions
- Preheat air fryer to 380°F (190°C).
- Pat chicken wings completely dry with paper towels to ensure crispiness.
- In a large bowl, toss dried wings with vegetable oil, garlic powder, and salt until evenly coated.
- Arrange wings in a single layer in the air fryer basket (cook in batches if necessary to avoid overcrowding).
- Air fry for 12 minutes, then flip wings and cook for another 8-10 minutes until golden brown and crispy.
- While wings cook, combine honey, soy sauce, rice vinegar, minced garlic, grated ginger, and red pepper flakes in a small saucepan over medium heat.
- Simmer the glaze for 3-4 minutes until it thickens slightly, then remove from heat and stir in sesame oil.
- Transfer cooked wings to a large mixing bowl and pour the warm glaze over them.
- Toss vigorously to coat wings evenly in the sauce.
- Serve immediately, topped with toasted sesame seeds and sliced green onions.
Notes
[‘Ensure wings are bone-dry before cooking to prevent steaming and ensure crispiness.’, ‘Do not overcrowd the air fryer basket; cook in batches if needed for best results.’, ‘Toss wings in the sauce immediately after cooking while they are hot to help the glaze adhere.’, ‘To reheat leftovers, use the air fryer at 350°F for 3-4 minutes to restore crispiness. Avoid the microwave.’, ‘For a gluten-free version, substitute soy sauce with tamari.’]
Nutrition
- Serving Size: Approximately 6 wing
- Calories: 350
- Sugar: 20
- Sodium: 650
- Fat: 18
- Saturated Fat: 4
- Carbohydrates: 22
- Protein: 20
Keywords: air fryer wings, honey garlic chicken, crispy chicken wings, easy appetizer, game day food, quick dinner, gluten-free option