I figured reducing apple cider in a heavy-bottomed pot would be a simple, quiet task while I prepped the rest of the kitchen. It took about forty-five minutes for that assumption to fall apart completely.
The kitchen started smelling like a cozy autumn morning, which was nice, until the liquid hit that thick, syrupy stage and began to smoke. I had to pull it off the heat just as the aroma shifted from fresh orchard to slightly burnt sugar. Honestly, I nearly threw the whole batch out, but then I tasted it. That concentrated, caramelized apple flavor was intense—maybe too intense on its own, but perfect for baking.
This experience taught me that patience is the real secret ingredient here. You can’t rush the reduction, and you definitely can’t ignore the smell. Once I got the ratio right, mixing that dark amber syrup into the batter changed everything. The cake isn’t just sweet; it has this deep, complex flavor that feels expensive and sophisticated, even though it’s just apples and butter.
I’ve made this Moist Brown Butter Apple Cider Cake with Maple Glaze at least a dozen times since that smoky incident. Every time, the texture stays incredibly tender, and the glaze ties it all together with a salty-sweet finish. It’s become my go-to for when I want a dessert that feels like a hug in autumn weather. You don’t need to be a pro baker to pull this off, but you do need to watch that pot closely.
Why You’ll Love This Recipe
There is a specific kind of magic that happens when brown butter meets reduced cider. It’s not just another apple cake; it’s a flavor bomb that hits you from the moment you take the lid off the pan. I’ve tested dozens of variations over the years, trying to balance the tartness of the apples with the richness of the butter, and this version is the one that finally clicked.
- Quick & Easy: While the cider reduction takes time, it’s mostly passive. Once that syrup is ready, the cake comes together in under twenty minutes of active prep, making it perfect for busy weeknights when you still want something special.
- Simple Ingredients: You likely already have most of these items in your pantry. Flour, sugar, butter, eggs, and apples are staples. The only thing you need to hunt for is good-quality apple cider, preferably fresh from a local press.
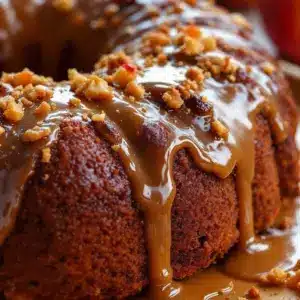
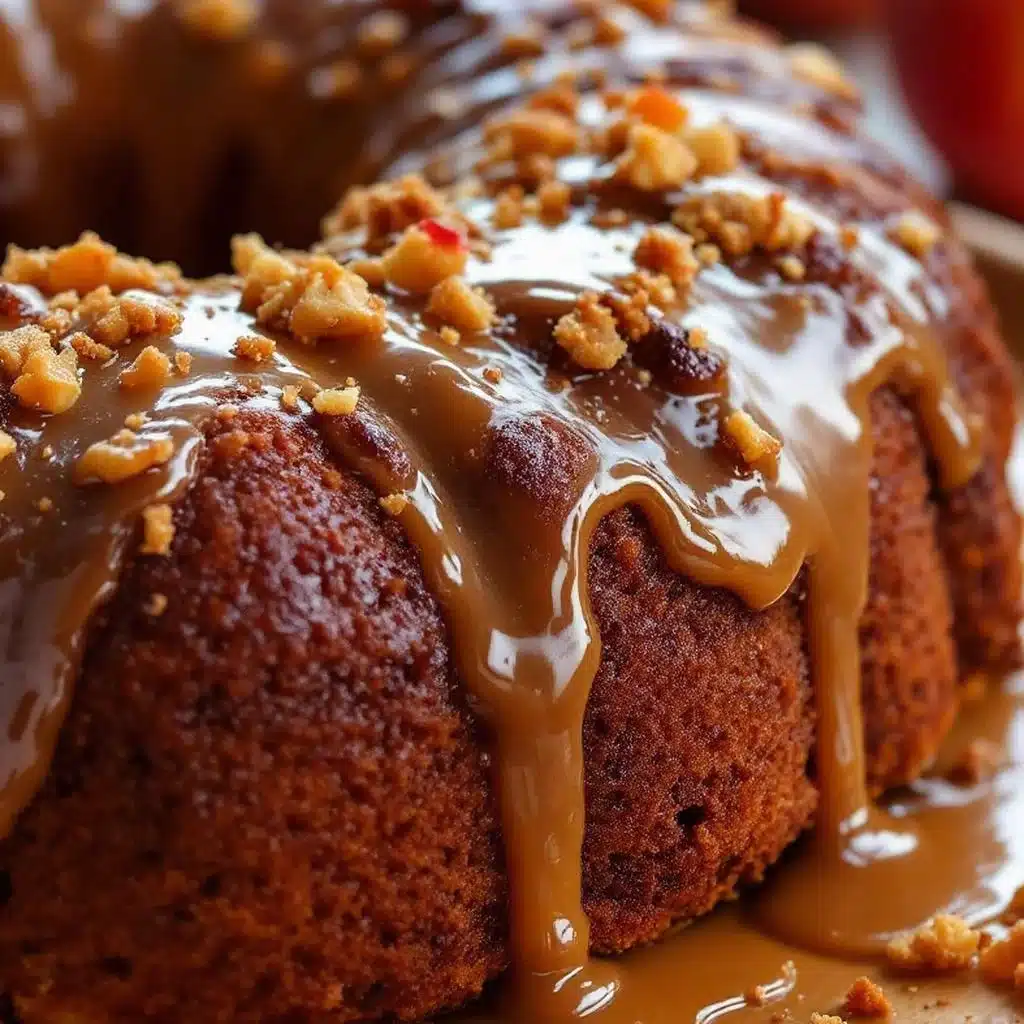
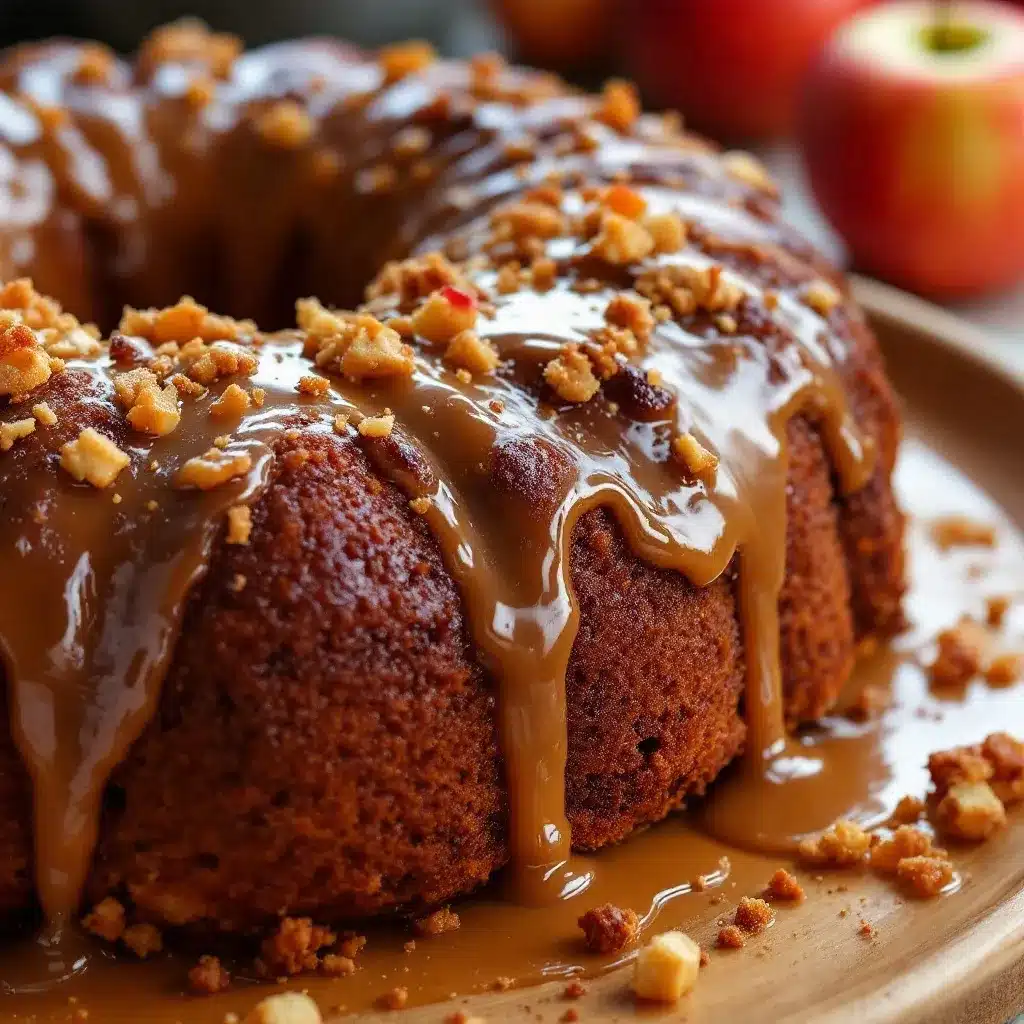
- Perfect for Fall Gatherings: This cake is a showstopper for potlucks, Thanksgiving dinners, or just a cozy Tuesday evening. It looks impressive with its golden crust and shiny glaze, but it’s humble enough to feel like home.
- Crowd-Pleaser: Kids who usually shy away from “fancy” desserts love this because it tastes like apple pie without the crust hassle. Adults appreciate the complexity of the brown butter and the hint of maple.
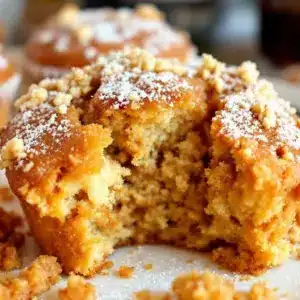
- Unbelievably Delicious: The texture is moist and dense, almost like a pound cake, but lighter thanks to the buttermilk. The maple glaze adds a salty-sweet crunch that contrasts beautifully with the soft crumb.
What makes this recipe different from the rest is the depth of flavor you get from the brown butter. Most people just melt their butter, but browning it adds a nutty, toasty note that pairs perfectly with the caramelized apple syrup. It’s comfort food reimagined—richer and more complex, but with the same soul-soothing satisfaction. It’s the kind of recipe that makes you close your eyes after the first bite and just smile.
What Ingredients You Will Need
This recipe uses simple, wholesome ingredients to deliver bold flavor and satisfying texture without the fuss. The key here is quality over quantity. Since there are so few ingredients, each one needs to shine. I recommend using unsalted butter so you can control the saltiness, especially when adding the flaky sea salt to the glaze.
For the Cake
- Unsalted butter: 1 cup (2 sticks), browned until nutty and golden. (I prefer Kerrygold for its rich yellow color and flavor.)
- Reduced apple cider: 1 cup of syrup, made from 4 cups of fresh cider. (Look for cloudy, unfiltered cider for the best apple flavor.)
- All-purpose flour: 2 ½ cups, spooned and leveled for accuracy.
- Baking powder: 1 tablespoon, to give the cake its lift.
- Baking soda: ½ teaspoon, to react with the acidity in the buttermilk.
- Salt: 1 teaspoon, to balance the sweetness.
- Granulated sugar: 1 ½ cups, for sweetness and moisture.
- Light brown sugar: ½ cup, packed, for a deeper molasses note.
- Eggs: 3 large eggs, room temperature, to bind the batter.
- Vanilla extract: 2 teaspoons, pure vanilla is best here.
- Buttermilk: 1 cup, room temperature, for tenderness. (Use dairy-free yogurt if needed.)
- Granny Smith apples: 2 medium apples, peeled and finely diced. (Granny Smiths hold their shape best and add a nice tartness.)
For the Maple Glaze
- Powdered sugar: 1 ½ cups, sifted to remove lumps.
- Maple syrup: 3 tablespoons, real maple syrup only. (Check the label to ensure it’s 100% pure.)
- Heavy cream: 1-2 tablespoons, to adjust consistency.
- Flaky sea salt: A pinch, for garnish.
One trick I’ve learned is to dice the apples as finely as possible. If they are too chunky, they can sink to the bottom or create uneven pockets in the cake. Finely diced apples distribute evenly, ensuring every bite has that juicy apple flavor. Also, don’t skip the room temperature eggs and buttermilk; cold ingredients can cause the brown butter to seize up slightly when mixed, leading to a lumpy batter.
Equipment Needed
You don’t need a fancy kitchen to make this cake, but having the right tools makes the process smoother. A medium saucepan is essential for reducing the apple cider. I use a heavy-bottomed stainless steel pot because it distributes heat evenly and prevents the cider from scorching too quickly. If you don’t have one, a non-stick pot works, but you’ll need to watch it more closely.
For mixing, a large bowl and a whisk are all you need. I prefer a balloon whisk because it incorporates air into the butter and sugars effectively. A handheld mixer is optional; I usually mix by hand to avoid overworking the flour, which can make the cake tough.
You’ll need a 9×13 inch baking dish or two 9-inch round pans. I recommend the 9×13 for a thinner, sheet-cake style that’s easier to slice and serve. If you use round pans, the baking time will be shorter, so start checking at 25 minutes. A cooling rack is necessary to let the cake cool completely before glazing, otherwise, the glaze will melt into the crumbs.
A silicone spatula is your best friend for scraping down the sides of the bowl and folding in the apples. It ensures no batter is wasted and helps keep the mixture airy. Finally, a fine-mesh sieve is helpful for sifting the powdered sugar for the glaze, ensuring a smooth, lump-free finish.
Preparation Method
- Reduce the Apple Cider (30-40 minutes): Pour 4 cups of fresh apple cider into a medium saucepan. Bring it to a boil over medium-high heat, then reduce the heat to medium-low. Let it simmer gently until it reduces to exactly 1 cup of syrup. This should take about 30-40 minutes. Stir occasionally to prevent sticking. The syrup should be thick enough to coat the back of a spoon. Remove from heat and let it cool completely. (Note: Do not skip this step; liquid cider will make the cake soggy.)
- Brown the Butter (5 minutes): In the same saucepan (or a clean one if you prefer), melt 1 cup of unsalted butter over medium heat. Swirl the pan constantly. The butter will foam, then crackle, and finally turn a golden amber color with a nutty aroma. This takes about 5-7 minutes. Watch it closely! Once it reaches the color of peanut butter, immediately remove it from the heat and pour it into a heat-proof bowl to stop the cooking. Let it cool for 10 minutes.
- Mix Dry Ingredients: In a large bowl, whisk together 2 ½ cups of all-purpose flour, 1 tablespoon of baking powder, ½ teaspoon of baking soda, and 1 teaspoon of salt. Set aside.
- Cream Sugars and Fats: In another large bowl, combine 1 ½ cups of granulated sugar and ½ cup of packed light brown sugar with the cooled brown butter. Whisk vigorously for about 2 minutes until the mixture is smooth and glossy. This helps dissolve the sugar slightly.
- Add Eggs and Vanilla: Crack 3 large eggs into the sugar-butter mixture. Add 2 teaspoons of vanilla extract. Whisk well until combined and slightly pale. Scrape down the sides of the bowl.
- Combine Wet and Dry: Add the cooled apple cider syrup and 1 cup of buttermilk to the batter. Mix until just combined. Then, gradually add the dry ingredients, mixing on low speed or by hand until no large streaks of flour remain. Do not overmix.
- Fold in Apples: Gently fold in the 2 finely diced Granny Smith apples using a silicone spatula. Be careful not to crush the apple pieces.
- Bake: Preheat your oven to 350°F (175°C). Grease and flour a 9×13 inch baking dish. Pour the batter into the prepared dish and spread it evenly. Bake for 35-40 minutes, or until a toothpick inserted into the center comes out clean or with just a few moist crumbs.
- Cool: Let the cake cool in the pan for 15 minutes, then transfer to a wire rack to cool completely. This is crucial for the glaze to set.
- Make the Glaze: Whisk together 1 ½ cups of powdered sugar, 3 tablespoons of maple syrup, and 1-2 tablespoons of heavy cream until smooth. The consistency should be thick but pourable. Drizzle over the completely cooled cake.
- Finish: Sprinkle with flaky sea salt while the glaze is still wet. Slice and serve.
Cooking Tips & Techniques
Browning butter can be intimidating if you’ve never done it before, but it’s easier than it looks. The key is to not leave the stove for a second once the butter starts foaming. It goes from perfect to burnt in seconds. If you see dark brown bits at the bottom of the pan, that’s good—it’s where the flavor is. But if the foam turns dark brown or smells acrid, you’ve gone too far. In that case, start over; burnt butter cannot be fixed.
Another common mistake is using too much apple cider syrup. Remember, you are starting with 4 cups of liquid to get 1 cup of syrup. If you use less cider, your cake will lack that concentrated apple flavor. Use a measuring cup to ensure you have exactly 1 cup of syrup before mixing it into the batter.
When folding in the apples, use a gentle hand. Overmixing the batter after adding the flour can develop gluten, resulting in a tough cake instead of a tender one. Mix until the flour is just incorporated, and then stop. The batter should look slightly lumpy, which is fine.
For consistent results, make sure all your ingredients are at room temperature. Cold eggs and buttermilk can cause the batter to separate, leading to a curdled look. If you forgot to take them out, you can warm the eggs by placing them in a bowl of warm water for 5 minutes, and microwave the buttermilk for 10-15 seconds.
Finally, don’t rush the cooling process. If you try to glaze a warm cake, the glaze will melt and soak into the crumb, leaving you with a sticky mess and no shiny topping. Patience here pays off with a beautiful, professional-looking finish.
Variations & Adaptations
While the classic version is my favorite, this cake is versatile enough to adapt to different tastes and dietary needs. Here are a few variations I’ve tried with success.
Spiced Variation: Add 1 teaspoon of cinnamon, ½ teaspoon of nutmeg, and ¼ teaspoon of allspice to the dry ingredients. This enhances the apple flavor and adds a warm, cozy aroma that’s perfect for holidays.
Walnut or Pecan Add-in: Fold in ½ cup of toasted walnuts or pecans along with the apples. The nuts add a nice crunch and complement the maple glaze beautifully. Just be sure to chop them finely so they distribute evenly.
Gluten-Free Option: You can substitute the all-purpose flour with a 1:1 gluten-free baking flour blend. Look for a blend that contains xanthan gum to help with structure. The texture may be slightly denser, but it will still be moist and delicious.
Dairy-Free: Swap the butter for a high-quality dairy-free butter alternative, and use almond milk or oat milk mixed with a teaspoon of lemon juice to create a buttermilk substitute. The flavor will be slightly different, but the cake will still be tender.
Mini Cupcakes: For individual servings, pour the batter into a greased muffin tin and bake for 18-22 minutes. These are great for parties and make for easy portion control. Reduce the glaze slightly so it’s easier to drizzle.
Serving & Storage Suggestions
This cake is best served at room temperature, which allows the flavors to fully develop and the texture to soften slightly. It pairs wonderfully with a cup of hot tea or coffee. For a more indulgent treat, serve a slice warm with a dollop of vanilla ice cream or a smear of whipped cream. The contrast between the warm cake and cold cream is heavenly.
For storage, cover the cake tightly with plastic wrap or aluminum foil. It can be kept at room temperature for up to 2 days. If your kitchen is very warm or humid, store it in the refrigerator. The cake will last in the fridge for up to 5 days. Bring it to room temperature before serving for the best texture.
Leftover cake can also be frozen. Wrap individual slices tightly in plastic wrap and then in aluminum foil. They will keep in the freezer for up to 3 months. Thaw overnight in the refrigerator or at room temperature for an hour before eating.
The flavors actually improve after a day or two as the apple cider syrup continues to infuse the cake. If you’re making this ahead for a gathering, baking it a day in advance is a smart move. Just add the glaze right before serving to keep it shiny and fresh.
Nutritional Information & Benefits
This cake is a richer dessert, but it does offer some nutritional benefits. Apples are a good source of fiber and vitamin C, and the brown butter adds a depth of flavor that can help satisfy sweet cravings with smaller portions. The maple syrup contains trace minerals like zinc and manganese, though it’s still a form of sugar.
A typical slice contains approximately 350-400 calories, depending on the size of the slice and the amount of glaze used. It is not gluten-free unless modified, and it contains dairy and eggs. For those with allergies, the variations section provides alternatives.
From a wellness perspective, I enjoy this cake as a special treat rather than an everyday snack. The combination of complex carbs, fats, and natural sugars provides a sustained energy boost without the crash associated with highly processed sweets. It’s a way to enjoy seasonal ingredients in a mindful, delicious way.
Conclusion
Making a Moist Brown Butter Apple Cider Cake with Maple Glaze is a rewarding experience that transforms simple ingredients into something extraordinary. The process of reducing cider and browning butter teaches you to slow down and appreciate the aromas of cooking. The result is a cake that is moist, flavorful, and deeply satisfying.
I encourage you to experiment with the variations, adding spices or nuts to suit your taste. Baking is a personal journey, and this recipe is a great canvas for your creativity. Whether you serve it to family or enjoy it alone with a book, it’s sure to bring a little bit of autumn joy into your day.
If you try this recipe, I’d love to hear how it turns out. Please leave a comment below with your thoughts, or share a photo on social media. Tag me so I can see your beautiful creations! Don’t forget to save this recipe to your Pinterest board for later.
Happy baking, and may your kitchen always smell like something wonderful.
Frequently Asked Questions
Can I use store-bought apple juice instead of cider?
It’s not recommended. Apple juice is usually filtered and pasteurized, meaning it lacks the pulp and concentrated flavor of fresh cider. You need the robust apple taste to balance the brown butter. If you must use juice, reduce it longer to concentrate the flavor, but fresh cider is best.
How do I know when the butter is properly browned?
Look for a golden amber color and listen for the crackling sound to stop. The smell should be nutty, like toasted hazelnuts. If it smells burnt, it’s overdone. The milk solids at the bottom of the pan will be dark brown, which is normal.
Can I make this cake ahead of time?
Yes, this cake actually tastes better the next day. You can bake and glaze it up to 2 days in advance. Store it covered at room temperature. If storing longer, freeze the unglazed cake and add the glaze after thawing.
What type of apples work best?
Granny Smith apples are ideal because they hold their shape and provide a tart contrast to the sweet cake. You can also use a mix of Granny Smith and Honeycrisp for a balance of tartness and sweetness.
Why did my cake sink in the middle?
This usually happens if the oven temperature was too high or if the cake was opened too early. Make sure your oven is properly calibrated and resist the urge to open the door during the first 25 minutes of baking. Also, ensure you aren’t overmixing the batter, which can create too much air.
Pin This Recipe!
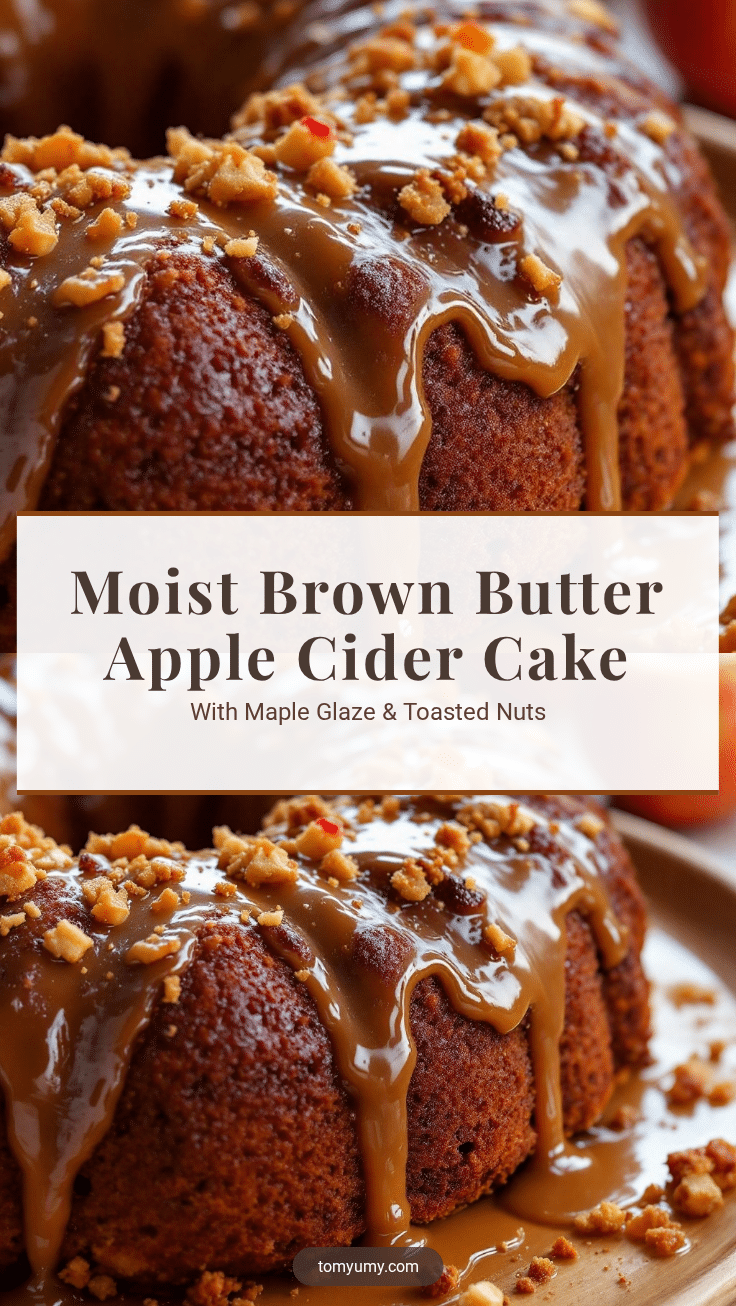
Moist Brown Butter Apple Cider Cake with Maple Glaze
A sophisticated autumn dessert featuring reduced apple cider syrup and nutty brown butter, topped with a salty-sweet maple glaze. This cake is moist, tender, and perfect for fall gatherings.
- Prep Time: 20 minutes
- Cook Time: 45 minutes
- Total Time: 65 minutes
- Yield: 12 servings 1x
- Category: Dessert
- Cuisine: American
Ingredients
- 1 cup (2 sticks) unsalted butter, browned until nutty and golden
- 4 cups fresh apple cider (to make 1 cup syrup)
- 2 ½ cups all-purpose flour, spooned and leveled
- 1 tablespoon baking powder
- ½ teaspoon baking soda
- 1 teaspoon salt
- 1 ½ cups granulated sugar
- ½ cup packed light brown sugar
- 3 large eggs, room temperature
- 2 teaspoons pure vanilla extract
- 1 cup buttermilk, room temperature
- 2 medium Granny Smith apples, peeled and finely diced
- 1 ½ cups powdered sugar, sifted
- 3 tablespoons pure maple syrup
- 1–2 tablespoons heavy cream
- Flaky sea salt, for garnish
Instructions
- Reduce the Apple Cider: Pour 4 cups of fresh apple cider into a medium saucepan. Bring to a boil over medium-high heat, then reduce to medium-low. Simmer gently until it reduces to exactly 1 cup of syrup (about 30-40 minutes). Stir occasionally. Remove from heat and let cool completely.
- Brown the Butter: Melt 1 cup of unsalted butter in a saucepan over medium heat. Swirl constantly until it foams, crackles, and turns golden amber with a nutty aroma (5-7 minutes). Immediately remove from heat and pour into a heat-proof bowl to stop cooking. Let cool for 10 minutes.
- Mix Dry Ingredients: In a large bowl, whisk together 2 ½ cups flour, 1 tablespoon baking powder, ½ teaspoon baking soda, and 1 teaspoon salt. Set aside.
- Cream Sugars and Fats: In another large bowl, combine 1 ½ cups granulated sugar and ½ cup packed light brown sugar with the cooled brown butter. Whisk vigorously for 2 minutes until smooth and glossy.
- Add Eggs and Vanilla: Crack 3 large eggs into the sugar-butter mixture. Add 2 teaspoons vanilla extract. Whisk well until combined and slightly pale. Scrape down the sides of the bowl.
- Combine Wet and Dry: Add the cooled apple cider syrup and 1 cup buttermilk to the batter. Mix until just combined. Gradually add the dry ingredients, mixing on low speed or by hand until no large streaks of flour remain. Do not overmix.
- Fold in Apples: Gently fold in the 2 finely diced Granny Smith apples using a silicone spatula.
- Bake: Preheat oven to 350°F (175°C). Grease and flour a 9×13 inch baking dish. Pour in batter and spread evenly. Bake for 35-40 minutes, or until a toothpick inserted into the center comes out clean.
- Cool: Let the cake cool in the pan for 15 minutes, then transfer to a wire rack to cool completely.
- Make the Glaze: Whisk together 1 ½ cups powdered sugar, 3 tablespoons maple syrup, and 1-2 tablespoons heavy cream until smooth and pourable.
- Finish: Drizzle the glaze over the completely cooled cake. Sprinkle with flaky sea salt while the glaze is still wet. Slice and serve.
Notes
Ensure all ingredients are at room temperature to prevent the batter from separating. Do not skip the cider reduction step, as liquid cider will make the cake soggy. Brown butter goes from perfect to burnt quickly, so watch it closely. The cake tastes better the next day as flavors infuse. Store covered at room temperature for up to 2 days or freeze for up to 3 months.
Nutrition
- Serving Size: 1 slice
- Calories: 375
- Sugar: 42
- Sodium: 350
- Fat: 14
- Saturated Fat: 8
- Carbohydrates: 58
- Fiber: 1
- Protein: 4
Keywords: apple cider cake, brown butter cake, maple glaze, fall dessert, autumn baking, moist cake, Granny Smith apples, gluten-free option