Half a stick of butter sizzling in the pan and the house smelling like a French bakery when the smoke alarm decided to test its batteries. I was standing in the kitchen at 8:45 PM on a Tuesday, wearing pajama pants that had seen better days, staring at a pot of butter that was rapidly turning from golden yellow to a suspicious shade of amber. The kids were upstairs, presumably asleep, or at least quiet enough to ignore the fact that their mother was attempting culinary magic with zero supervision. I had promised them something special for their morning breakfast tomorrow, something that felt like a hug in food form. But I had also promised them I wouldn’t burn the house down.
You know that moment when you’re trying to make brown butter and you get distracted by a noise downstairs? That was me. I heard a creak, turned around, and came back to find my butter was basically smoking. Panic set in. I threw it in an ice bath, which saved it, but I was left with a batch of nutty, toasty butter that needed a home. I didn’t have time to make cookies because the dough would need to chill, and I didn’t have time for a cake because I needed to be asleep by 9:30. So, I reached for the blondie bars.
These Best Brown Butter Blondie Bars weren’t planned. They were born out of necessity, a little bit of panic, and a whole lot of sugar. I threw in some vanilla, some flour, and a mountain of white chocolate chips because that’s what I had. The result was chewy, gooey, and smelled like caramelized nuts. The next morning, the kids tore into them before I even poured my coffee. It became a weekly ritual, not because I planned it, but because it was the easiest way to steal a moment of peace while they ate. Honestly, there is something deeply satisfying about making a dessert that tastes like you spent hours on it, when really, you just improvised under pressure.
Why You’ll Love This Recipe
Let’s be real for a second. Baking can be intimidating. You open a cookbook, and suddenly you need a scale that measures in grams, a stand mixer that costs more than my car payment, and ingredients you can’t pronounce. But this recipe? It’s the kind of thing that makes you feel like a pro chef, even if your kitchen looks like a flour bomb went off. I’ve tested this brown butter blondie recipe probably a dozen times. I’ve burned the butter. I’ve undermixed the dough. I’ve even tried using margarine once (don’t do that). Each failure taught me something, and the final version is the one that actually works every single time.
Here is why these bars deserve a spot in your regular rotation:
* **Quick & Easy**: The whole process, from browning the butter to cooling the bars, takes about an hour. That is perfect for those busy weeknights when you want to treat the family but don’t want to spend all evening in the kitchen.
* **Simple Ingredients**: You likely have everything you need right now. Flour, sugar, eggs, butter, vanilla, and white chocolate. No fancy grocery trips needed. It’s pantry-friendly baking at its finest.
* **Perfect for Meal Prep**: Unlike cookies that get stale in two days, these bars actually improve after a day or two. They stay moist and chewy, making them ideal for packing in lunchboxes or grabbing as a quick snack.
* **Crowd-Pleaser**: I’ve served these to picky eaters and pastry chefs alike. The nutty flavor from the brown butter adds a sophistication that kids love, even if they can’t explain why.
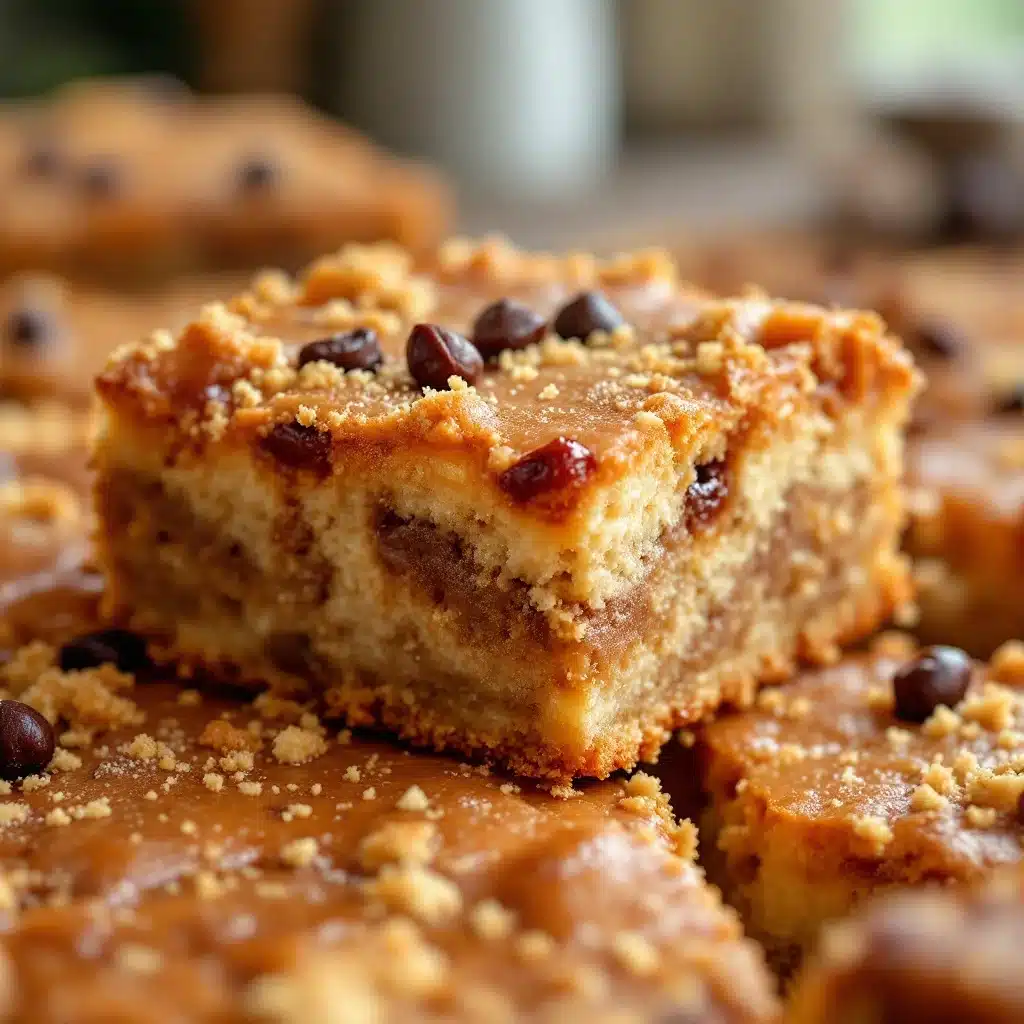
* **Unbelievably Delicious**: The texture is the star here. It’s that perfect balance of crisp edges and a soft, chewy center. It’s comfort food reimagined—richer than a standard blondie but lighter than a bar cookie.
What makes this recipe different from the rest is the brown butter. Most people just melt butter for blondies. But browning it adds a deep, nutty, almost toffee-like flavor that transforms the entire dessert. It’s a small step that makes a huge difference. It’s the kind of recipe that makes you close your eyes after the first bite and just smile. It’s not just a dessert; it’s a mood.
What Ingredients You Will Need
This recipe uses simple, wholesome ingredients to deliver bold flavor and satisfying texture without the fuss. The magic really happens with the butter, but the rest is straightforward. You want high-quality ingredients because they shine through in a simple recipe like this.
* **Unsalted Butter**: You’ll need about one cup (two sticks). This is the base of your flavor. I recommend using a good quality European-style butter if you can find it, as it has a higher fat content which helps with the browning process.
* **All-Purpose Flour**: About two cups. Don’t go overboard with the flour, or your bars will be dry. Spoon and level it for accuracy.
* **Baking Powder**: One teaspoon. This gives them just a little lift so they aren’t too dense.
* **Salt**: One teaspoon of kosher salt. Since we are using unsalted butter, this is crucial for balancing the sweetness.
* **Granulated Sugar**: One cup. This helps create those crispy edges.
* **Brown Sugar**: One and a half cups, packed. This is what makes them chewy. Dark brown sugar will give a deeper molasses flavor, while light brown sugar keeps it milder.
* **Eggs**: Two large eggs, room temperature. This helps bind everything together and adds richness.
* **Vanilla Extract**: Two teaspoons. Use real vanilla, not the imitation stuff. It makes a noticeable difference in aroma.
* **White Chocolate Chips**: Two cups. I prefer using high-quality baking chips or chopping up bars for better texture. Avoid the cheap pre-shredded kind, as they have anti-caking agents that prevent proper melting.
* **Sea Salt Flakes**: For sprinkling on top. This is optional but highly recommended for that fancy bakery look and flavor contrast.
Equipment Needed
You don’t need a fancy kitchen to make these. A medium saucepan is essential for browning the butter. I like using a stainless steel pan because it lets you see the color change clearly. If you use a dark pan, you might burn the butter before you see it happen. A whisk is your best friend here for mixing the batter smoothly. A 9×13 inch baking pan is the standard size for these bars. Line it with parchment paper, leaving an overhang on the sides. This is the secret to easy removal. If you don’t have parchment paper, grease the pan well, but parchment is much easier for cleanup. A cooling rack is also important. Letting the bars cool completely in the pan can make them gummy, so transfer them to a rack once they are set.
Preparation Method
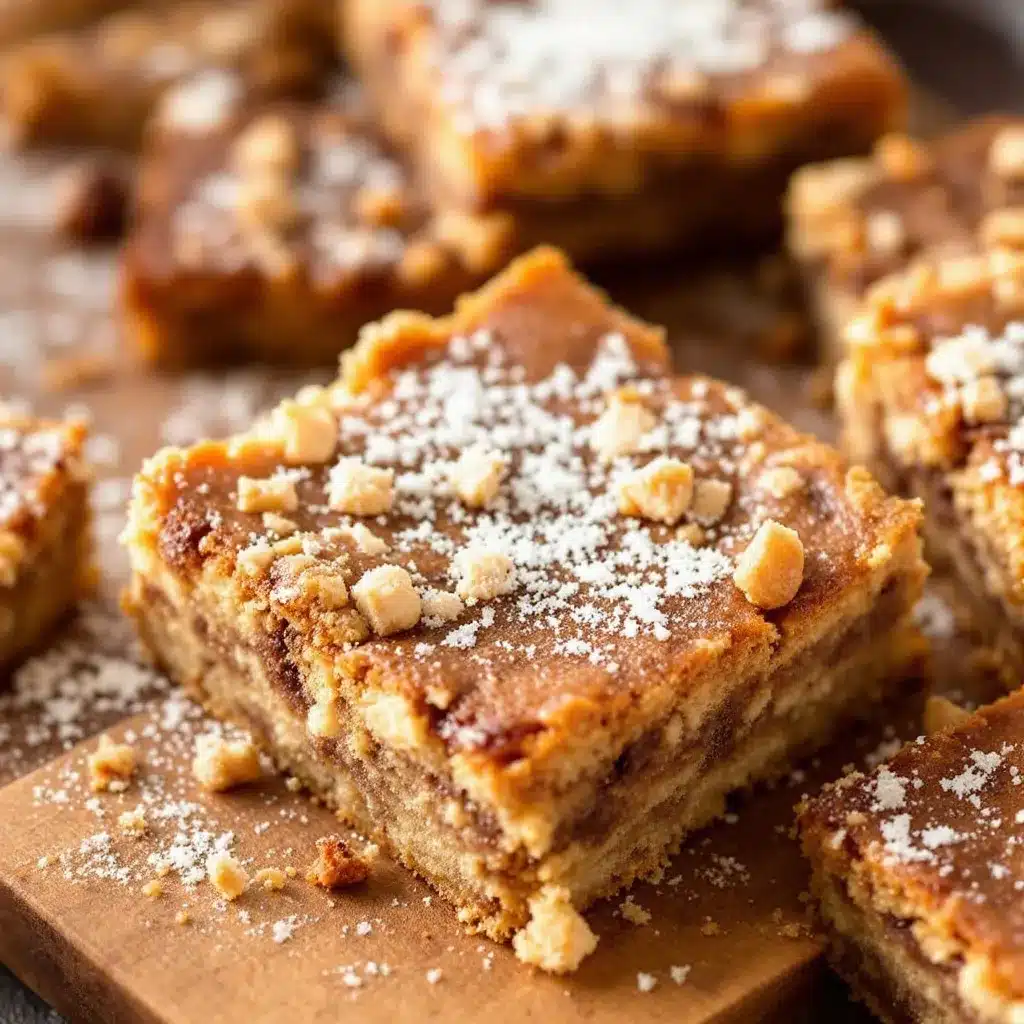
Start by preheating your oven to 350°F (175°C). Line your 9×13 inch baking pan with parchment paper. This step is non-negotiable if you want clean cuts.
In a medium saucepan, melt the butter over medium heat. This takes about 5-7 minutes. Watch it closely. It will foam up, then settle down. You will see brown bits form at the bottom. Swirl the pan constantly. Once the butter turns a deep amber color and smells nutty, remove it from the heat immediately. Pour it into a heat-proof bowl to stop the cooking process. Let it cool for about 10 minutes. This prevents the eggs from scrambling when you add them.
In a large mixing bowl, whisk together the flour, baking powder, and salt. Set this aside. In another bowl, or using the same mixer bowl if you’ve washed it, combine the melted brown butter with the granulated and brown sugars. Whisk vigorously for about two minutes. You want the mixture to look glossy and slightly thickened. This step incorporates air and helps with the chewy texture.
Add the eggs one at a time, whisking well after each addition. Stir in the vanilla extract. Now, gradually add the dry ingredients to the wet ingredients. Mix just until combined. Do not overmix, or the bars will be tough. Fold in the white chocolate chips gently.
Pour the batter into the prepared pan. Spread it out evenly with a spatula. Bake for 25-30 minutes. The edges should be golden brown, and the center should still look slightly underbaked. It will firm up as it cools. If you insert a toothpick, it should come out with a few moist crumbs, not wet batter.
Remove from the oven and sprinkle with sea salt flakes immediately. Let the bars cool in the pan for at least 30 minutes. Then, lift them out using the parchment paper overhang. Slice into squares and enjoy.
Cooking Tips & Techniques
Browning butter is an art form, but it’s also a science. The key is heat control. If your flame is too high, the milk solids in the butter will burn before they caramelize. Keep the heat at medium. If you smell acrid smoke, you’ve gone too far. Trust your nose, though. The smell should be like toasted hazelnuts or hazelnut praline. If it smells like burnt toast, start over.
Another common mistake is overbaking. Blondies continue to cook in the pan after they come out of the oven. It’s better to take them out when they look just a little too soft. They will set as they cool. If you wait until they look perfectly done in the oven, they will be dry by the time you eat them.
Also, make sure your eggs are at room temperature. Cold eggs can cause the melted butter to seize up, creating a curdled-looking batter. It’s not the end of the world, but it affects the texture.
Variations & Adaptations
While the classic white chocolate version is my favorite, there are plenty of ways to twist this recipe. You can add chopped pecans or walnuts for extra crunch. I often add a handful of toasted coconut for a tropical vibe. If you want a chocolate version, swap half the white chocolate chips for semi-sweet chocolate chips. For a gluten-free option, use a 1:1 gluten-free flour blend. Just be sure to check that it contains xanthan gum, or add a teaspoon yourself for better binding. You can also add a swirl of caramel sauce on top before baking for an extra decadent treat.
Serving & Storage Suggestions
These bars are best served at room temperature. They taste amazing with a cold glass of milk or a hot cup of coffee. Store them in an airtight container at room temperature for up to five days. If you live in a hot climate, keep them in the fridge. They can also be frozen for up to three months. Just wrap them tightly in plastic wrap and then foil. To reheat, microwave a square for 10-15 seconds to bring back that gooey texture. The flavors actually meld and deepen after a day, making them even better on the second day.
Nutritional Information & Benefits
These bars are rich in calories and sugar, so enjoy them in moderation. Each square contains approximately 350 calories. The brown butter adds healthy fats, and the eggs provide protein. However, they are still a dessert, so treat them as such. For a lighter option, you can reduce the sugar by a quarter cup, though the texture may be slightly less chewy.
Conclusion
Making Best Brown Butter Blondie Bars is less about the recipe and more about the experience. It’s about embracing the mess, the smells, and the joy of baking something simple yet impressive. I hope these bars bring the same comfort to your kitchen that they did to mine. Feel free to add your own twists, whether it’s nuts, spices, or different chocolates. I’d love to hear how they turn out for you. Leave a comment below with your favorite variation. Happy baking!
Frequently Asked Questions
Can I use salted butter instead of unsalted?
Yes, but reduce the added salt in the recipe to half a teaspoon. Salted butter varies in salt content, so taste the batter if you can (don’t eat raw eggs) to adjust.
Why are my blondies dry?
You likely overmixed the batter or overbaked them. Remember, blondies should look slightly underdone when you take them out of the oven. Also, check your flour measurement. Scooping directly from the bag packs in too much flour.
Can I freeze the batter?
It’s best to bake them fresh. However, you can freeze the baked and cooled bars. Thaw them in the fridge overnight before serving.
What is the best white chocolate for baking?
Look for brands with real cocoa butter in the ingredients. Ghirardelli or Guittard are popular choices that melt smoothly and have a rich flavor.
Can I make these in a square pan?
Yes, a 9×9 inch pan works well. Just increase the baking time by 5-10 minutes and keep an eye on the edges to prevent burning.
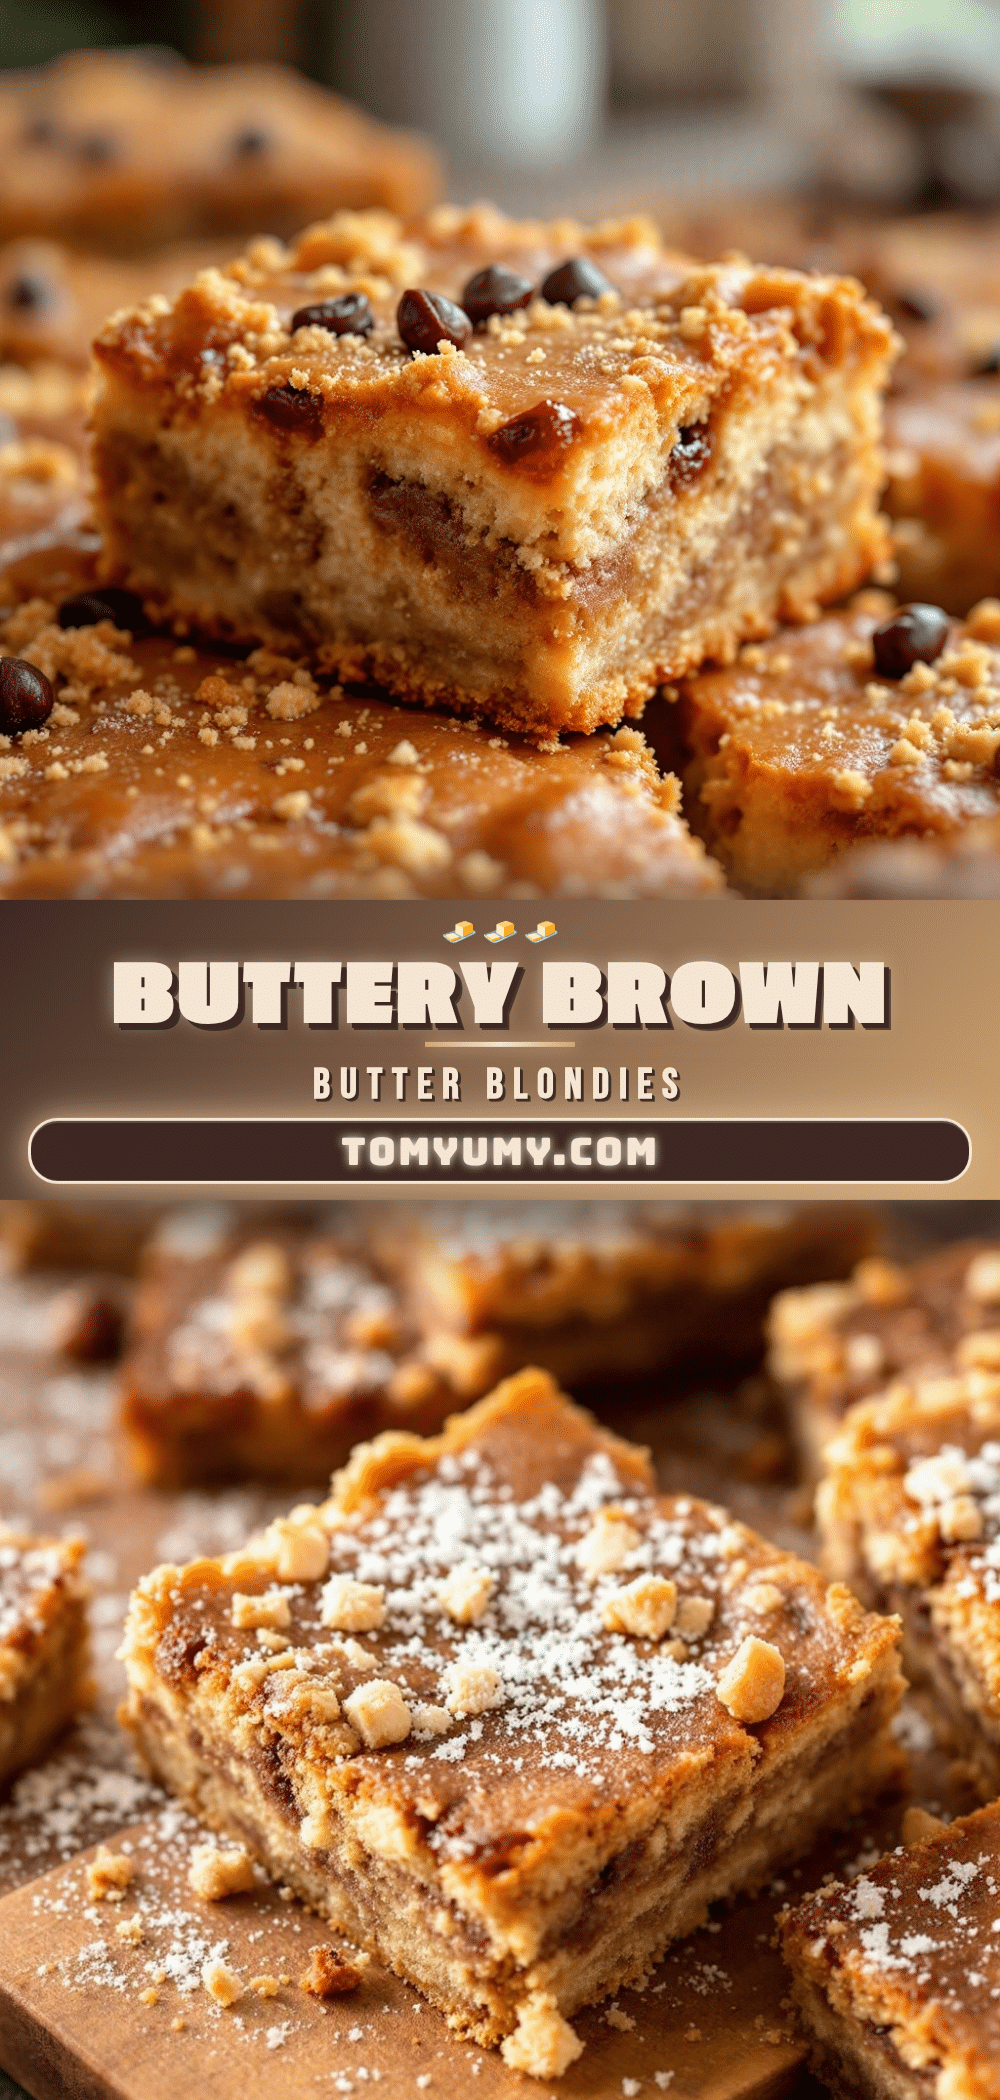
Pin This Recipe!
Best Brown Butter Blondie Bars
Chewy, gooey blondie bars made with nutty brown butter and white chocolate chips. This easy, pantry-friendly recipe delivers bakery-quality results with simple ingredients and minimal effort.
- Prep Time: 15 minutes
- Cook Time: 30 minutes
- Total Time: 45 minutes
- Yield: 12 servings 1x
- Category: Dessert
- Cuisine: American
Ingredients
- 1 cup (2 sticks) unsalted butter
- 2 cups all-purpose flour
- 1 teaspoon baking powder
- 1 teaspoon kosher salt
- 1 cup granulated sugar
- 1.5 cups packed brown sugar
- 2 large eggs, room temperature
- 2 teaspoons vanilla extract
- 2 cups white chocolate chips
- Sea salt flakes, for sprinkling (optional)
Instructions
- Preheat oven to 350°F (175°C). Line a 9×13 inch baking pan with parchment paper, leaving an overhang on the sides.
- Melt butter in a medium saucepan over medium heat. Watch closely as it foams and settles. Swirl constantly until it turns deep amber and smells nutty (about 5-7 minutes).
- Immediately remove from heat and pour into a heat-proof bowl to stop cooking. Let cool for 10 minutes.
- In a large bowl, whisk together flour, baking powder, and salt. Set aside.
- In another bowl, whisk the cooled brown butter with granulated and brown sugars vigorously for 2 minutes until glossy and thickened.
- Add eggs one at a time, whisking well after each addition. Stir in vanilla extract.
- Gradually add dry ingredients to wet ingredients. Mix just until combined; do not overmix.
- Gently fold in white chocolate chips.
- Pour batter into prepared pan and spread evenly.
- Bake for 25-30 minutes until edges are golden brown and center looks slightly underbaked.
- Remove from oven and immediately sprinkle with sea salt flakes.
- Cool in pan for at least 30 minutes before lifting out using parchment overhang and slicing into squares.
Notes
Browning butter is key for flavor; watch closely to avoid burning. Do not overmix the batter to ensure chewy texture. Blondies continue to cook in the pan after removal, so remove when slightly underdone. Store in an airtight container at room temperature for up to 5 days or freeze for up to 3 months.
Nutrition
- Serving Size: 1 square
- Calories: 350
- Sugar: 32
- Sodium: 250
- Fat: 18
- Saturated Fat: 11
- Carbohydrates: 45
- Fiber: 1
- Protein: 4
Keywords: brown butter, blondies, white chocolate, easy dessert, bar cookies, homemade treats, nutty flavor, chewy bars