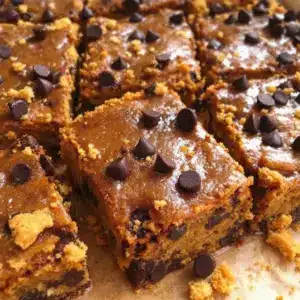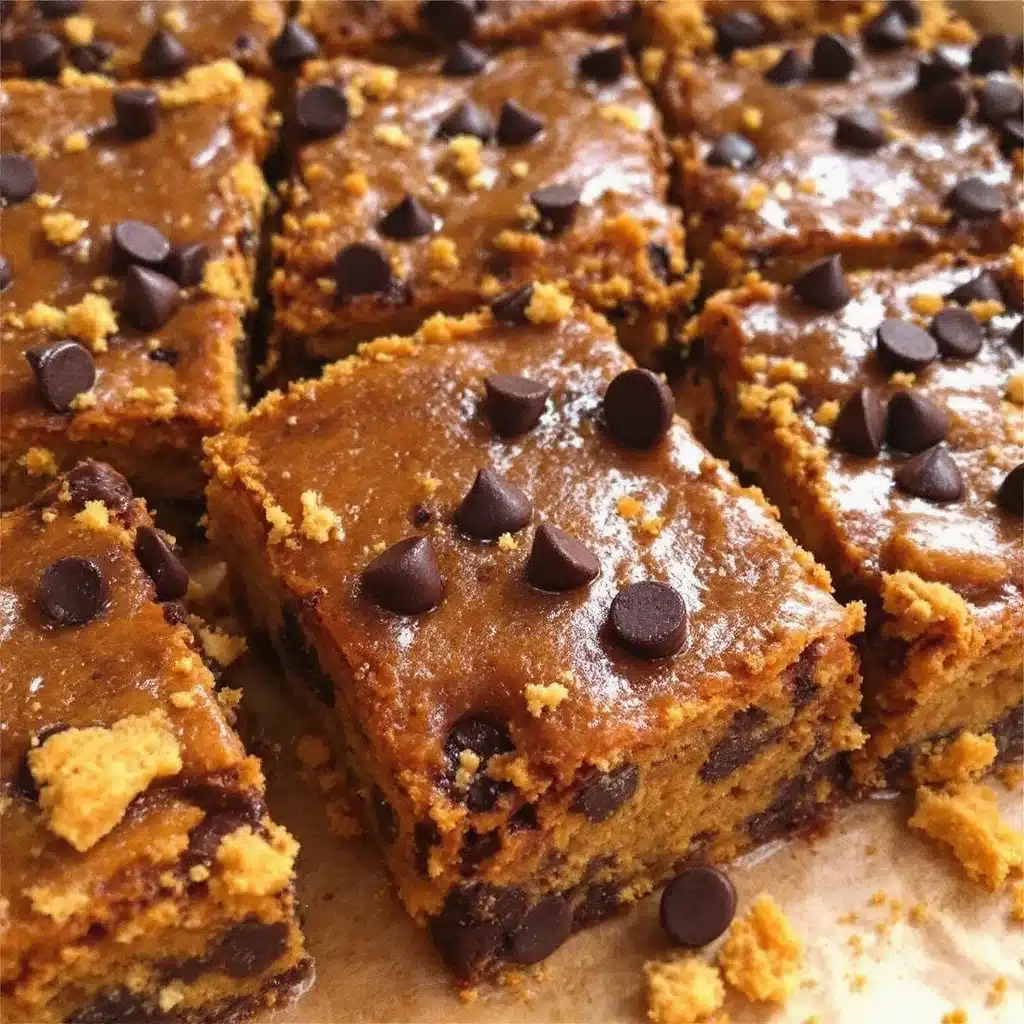
My teenage son, who usually claims he’s “not really hungry” until dinner is served, stood in the kitchen doorway holding a napkin stained with orange dust. He asked for another one of these bars, not because he was being polite, but because he had already finished the third one before I even sat down. I watched him wipe his hands on his jeans and sigh with that specific, heavy satisfaction only a dense, sweet treat can bring. It wasn’t a dramatic scene of weeping or shouting, just a quiet, sticky acknowledgment that I had finally nailed the balance between pumpkin spice and chocolate.
I have spent years trying to perfect pumpkin recipes that aren’t just cake masquerading as dessert. You know the type—dry, overly spiced, or so soggy they collapse into a puddle on your plate. This small-batch version is different. It’s dense, moist, and packed with chocolate chips that melt into the batter. I made this for a Tuesday evening when the rain was hitting the windows and the house felt too big and too quiet. The smell alone changed the mood.
It’s funny how a simple baking sheet of bars can turn a regular weeknight into something cozy. My son didn’t say “thank you” with words, but he did ask if I could make them again next weekend. That is the highest praise I can get. The recipe is small enough for one person or a couple, but big enough to satisfy a craving without leaving you with a half-empty pan and regrets.
The beauty of this Cozy Small-Batch Pumpkin Chocolate Chip Bars recipe is its simplicity. You don’t need a mixer. You don’t need a dozen exotic ingredients. You just need a few staples and a little patience. I learned this the hard way after burning three batches of pumpkin bread in my quest for the perfect crumb. This recipe fixes all those mistakes. It’s reliable, forgiving, and tastes like autumn in a bite.
I started making these because I wanted something that felt like a hug. Not a fancy, restaurant-style hug, but the kind you get from an old, soft sweater. My son’s reaction confirmed that I had hit the right note. The texture is chewy at the bottom and tender on top. The spice is warm but not overwhelming. It’s the kind of treat that makes you want to sit on the couch and do nothing for the rest of the day.
If you are looking for a dessert that is easy to make but impressive enough to share, this is it. It’s not about showing off your skills. It’s about feeding people well and making them feel good. My son’s second request was all the validation I needed.
Why You’ll Love This Recipe
Let’s be honest for a second. Most pumpkin desserts are a gamble. You open the oven, and either you have a dry brick or a soupy mess. This recipe is different because it has been tested, re-tested, and tweaked until it was foolproof. I’ve spent years in the kitchen, failing more times than I care to admit, to bring you a recipe that actually works every single time. This isn’t just another pumpkin bar; it’s the result of trial, error, and a lot of chocolate chip consumption.
Here is why this recipe stands out from the crowd:
* **Quick & Easy**: This comes together in under 30 minutes of active prep time. The baking process handles itself while you relax. It is perfect for busy weeknights or when you need a last-minute treat for a neighbor or a friend. No standing over a mixer for twenty minutes.
* **Simple Ingredients**: You likely already have everything in your kitchen. Pumpkin puree, flour, sugar, spices, and chocolate chips. No fancy grocery trips needed. If you can read a pantry, you can make this.
* **Perfect for Autumn Evenings**: There is something about the smell of cinnamon and nutmeg filling the house that just feels right. Great for cozy dinners, rainy afternoons, or when you just need a little pick-me-up.
* **Crowd-Pleaser**: Kids love the chocolate chips, and adults appreciate the subtle spice. It always gets rave reviews from everyone, regardless of their pumpkin tolerance.
* **Unbelievably Delicious**: The texture is next-level comfort food. It’s moist without being wet, sweet without being cloying. The chocolate chips add pockets of richness that keep every bite interesting.
What makes this recipe different is the balance. Many recipes use too much spice, which masks the pumpkin flavor. This one lets the pumpkin shine through while the spices provide warmth. The small-batch size means you don’t have to deal with a huge pan of leftovers that go stale in the fridge. You make just enough for the moment, and it’s gone when it’s gone.
It’s the kind of recipe that makes you close your eyes after the first bite. It’s comfort food reimagined—simpler, faster, but with the same soul-soothing satisfaction. Perfect for impressing guests without stress, or turning a simple Tuesday into a special occasion. I use this same method for my pumpkin spice molasses crinkle scones, but the bar format is even easier for a quick grab-and-go snack.
What Ingredients You Will Need
This recipe uses simple, wholesome ingredients to deliver bold flavor and satisfying texture without the fuss. The beauty of small-batch baking is that you don’t need to open a giant can of pumpkin that will sit in your fridge for months. You use just enough for this batch, reducing waste and ensuring freshness.
Here is what you need to gather:
* **All-Purpose Flour**: 1 ½ cups (190g). This is the base. Don’t try to substitute with almond flour here unless you want a very different texture. All-purpose gives that classic bar crumb.
* **Baking Powder**: 1 teaspoon. This helps the bars rise slightly so they aren’t too dense.
* **Baking Soda**: ½ teaspoon. This reacts with the pumpkin to help browning and lift.
* **Salt**: ½ teaspoon. Essential for balancing the sweetness.
* **Cinnamon**: 1 ½ teaspoons. The star of the show. Use ground cinnamon, not the stick kind.
* **Ginger**: ½ teaspoon. Ground ginger adds that warm, spicy kick.
* **Nutmeg**: ¼ teaspoon. Just a pinch. Too much makes it taste like medicine.
* **Unsalted Butter**: ¼ cup (56g), softened. This adds richness and moisture.
* **Granulated Sugar**: ¾ cup (150g). White sugar keeps the bars tender.
* **Brown Sugar**: ½ cup (100g), packed. This adds depth and chewiness.
* **Pumpkin Puree**: ½ cup (120g). Make sure it is pure pumpkin, not pumpkin pie filling. Pie filling has sugar and spices already, which will throw off the balance.
* **Large Egg**: 1 large egg, room temperature. This binds everything together.
* **Vanilla Extract**: 1 teaspoon. Pure vanilla is best. Artificial tastes chemical.
* **Chocolate Chips**: ½ cup (85g). Semi-sweet or milk chocolate both work. I prefer semi-sweet for a better balance.
I recommend using Libby’s or Libby’s Real pumpkin puree for the best texture and flavor consistency. It’s the gold standard for a reason. If you can’t find canned pumpkin, you can use fresh roasted pumpkin, but it needs to be blended until completely smooth to avoid grit.
For the chocolate chips, I like to use a mix of semi-sweet and dark chocolate chunks. It adds variety in texture. If you are allergic to dairy, you can use vegan butter and dairy-free chocolate chips, but the flavor will be slightly different.
You can also swap the all-purpose flour for a gluten-free 1-to-1 baking blend if needed. The results are surprisingly close to the original.
Equipment Needed
You don’t need much to make these bars. A little goes a long way when you are making a small batch.
* **8×8 Inch Baking Pan**: This is the standard size for small-batch bars. You can use a square pan or a round 9-inch pan, but the baking time will vary. Square is best for even edges.
* **Parchment Paper**: Essential for easy removal. Line the pan with parchment, leaving an overhang on two sides. This acts as a sling to lift the bars out once they cool.
* **Mixing Bowls**: Two medium bowls. One for dry ingredients, one for wet.
* **Whisk**: A simple wire whisk is all you need to combine the dry ingredients.
* **Hand Mixer or Fork**: Since the butter is softened, you can mix the sugars and butter with a fork or a wooden spoon. No electric mixer needed.
* **Cooling Rack**: Let the bars cool completely before cutting. This sets the structure.
If you don’t have an 8×8 pan, a small loaf pan works too, but the bars will be taller and may take longer to bake. Keep an eye on them.
I always recommend keeping a roll of parchment paper in your kitchen. It saves so much cleanup time. You don’t even have to wash the pan if you use it properly.
Preparation Method
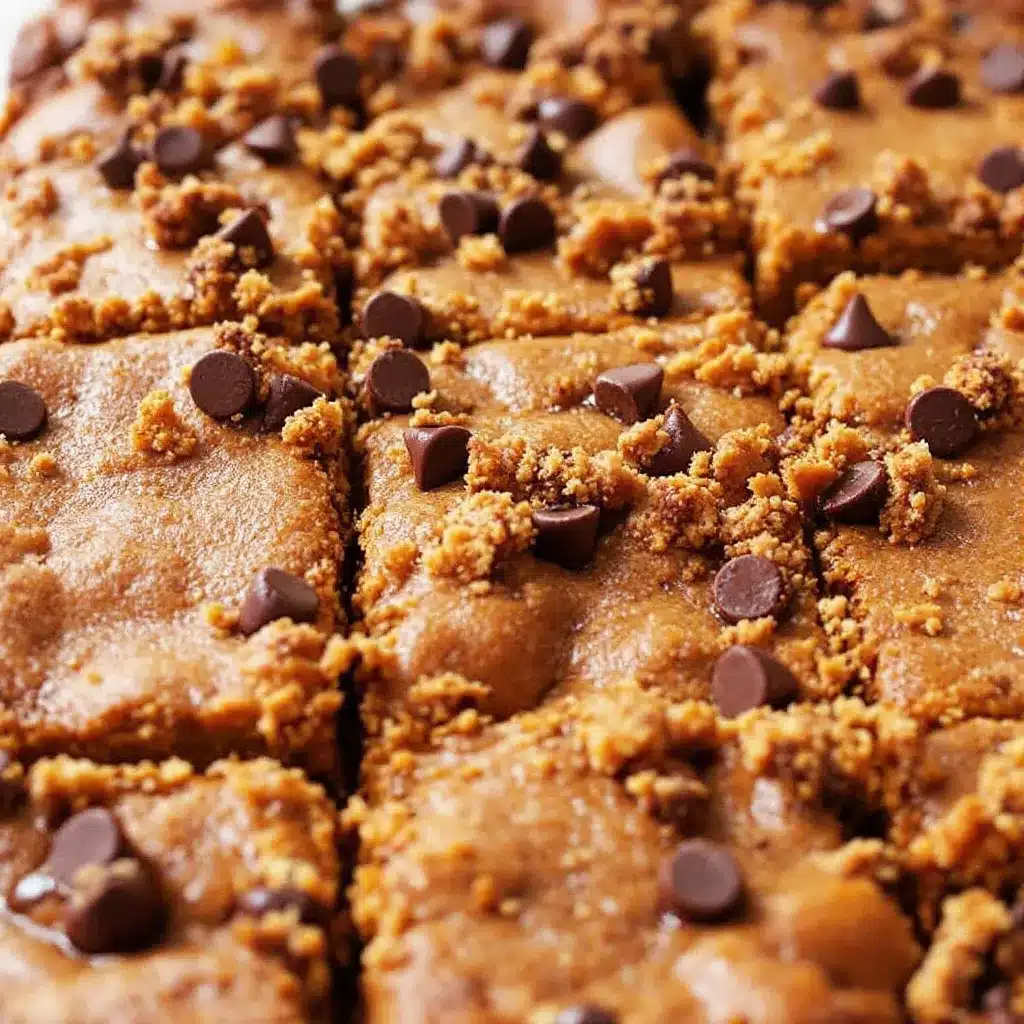
Follow these steps carefully to ensure the perfect texture.
1. **Preheat the Oven**: Set your oven to 350°F (175°C). This is crucial. If the oven is too cold, the bars will spread too much. If it’s too hot, they will burn on top.
2. **Prepare the Pan**: Line the 8×8 inch baking pan with parchment paper. Leave an overhang on the long sides. This is your handle. Grease the parchment lightly with butter or cooking spray to prevent sticking.
3. **Mix Dry Ingredients**: In a medium bowl, whisk together the flour, baking powder, baking soda, salt, cinnamon, ginger, and nutmeg. Whisking ensures the spices are evenly distributed. This step takes about 30 seconds.
4. **Cream Butter and Sugars**: In a larger bowl, combine the softened butter, granulated sugar, and brown sugar. Mix with a hand mixer on medium speed or a fork until light and fluffy. This takes about 2-3 minutes. If the butter is too cold, it won’t mix well. If it’s too melted, the bars will be greasy.
5. **Add Wet Ingredients**: Beat in the egg, pumpkin puree, and vanilla extract. Mix until just combined. The mixture will look a bit curdled at first. That’s okay. It will come together when you add the flour.
6. **Combine Wet and Dry**: Gradually add the dry ingredients to the wet ingredients. Mix on low speed or stir with a spatula until no streaks of flour remain. Do not overmix. Overmixing develops gluten, which makes the bars tough.
7. **Add Chocolate Chips**: Fold in the chocolate chips gently. Use a spatula to distribute them evenly. You want chips in every bite, but don’t crush them.
8. **Spread Batter**: Pour the batter into the prepared pan. Use a spatula to spread it evenly. Smooth the top. It doesn’t need to be perfect, but try to get it flat.
9. **Bake**: Place in the preheated oven and bake for 25-30 minutes. The bars are done when the top is golden brown and a toothpick inserted into the center comes out with a few moist crumbs (not wet batter).
10. **Cool**: Let the bars cool in the pan for at least 15 minutes. Then, use the parchment sling to lift them out. Transfer to a cooling rack. Let them cool completely before cutting. This step is hard, but necessary.
Cooking Tips & Techniques
Baking is a science, but it also requires intuition. Here are some tips to ensure success.
* **Don’t Overbake**: Pumpkin bars continue to cook in the pan after you take them out. If you wait until the toothpick is completely clean, they will be dry. A few moist crumbs are perfect.
* **Room Temperature Ingredients**: Make sure your egg and butter are at room temperature. This helps them emulsify properly, creating a smooth batter. Cold ingredients can lead to a lumpy mix.
* **Measure Flour Correctly**: Don’t scoop the flour directly from the bag. This packs it down and leads to dry bars. Spoon the flour into the measuring cup and level it off with a knife.
* **Check Your Oven**: Ovens vary. If your bars are browning too fast, cover them with foil for the last 10 minutes. If they are too pale, check your oven temperature with a thermometer.
* **Patience with Cooling**: I know it’s tempting to cut into them while they are warm. But warm bars are fragile. Letting them cool sets the structure and makes clean cuts possible.
I once rushed this step and ended up with a crumbled mess. Lesson learned. Patience pays off.
Variations & Adaptations
This recipe is versatile. You can tweak it to suit your tastes.
* **Add Nuts**: Fold in ½ cup of chopped pecans or walnuts. They add crunch and pair beautifully with pumpkin.
* **White Chocolate Chips**: Swap semi-sweet for white chocolate chips. This makes the bars sweeter and more like a pumpkin white chocolate bar.
* **Gluten-Free**: Use a 1-to-1 gluten-free flour blend. The texture will be slightly more delicate, but still delicious.
* **Vegan**: Use vegan butter and dairy-free chocolate chips. The flavor is slightly different, but the structure holds up well.
* **Spice Level**: Add an extra ¼ teaspoon of cinnamon or a pinch of cardamom for a more aromatic bar.
I tried adding orange zest to the batter once. It added a bright, citrusy note that cut through the richness. It was a nice surprise.
Serving & Storage Suggestions
* **Serving**: Cut into 12 squares. Serve at room temperature. They are best with a cup of coffee or tea.
* **Storage**: Store in an airtight container at room temperature for up to 3 days. In the fridge, they last up to 5 days.
* **Freezing**: You can freeze the bars for up to 3 months. Wrap them tightly in plastic wrap and then in foil. Thaw at room temperature.
* **Reheating**: Warm in the microwave for 10 seconds for a soft, fresh-baked feel.
The flavors develop over time. They taste even better on day two as the spices meld with the pumpkin.
Nutritional Information & Benefits
These bars are a treat, so enjoy them in moderation.
* **Calories**: Approx. 250 per bar.
* **Fat**: 10g.
* **Carbs**: 38g.
* **Sugar**: 22g.
* **Protein**: 3g.
Pumpkin is rich in Vitamin A and fiber. The chocolate chips provide antioxidants. It’s a balance of comfort and nutrition.
Conclusion
These Cozy Small-Batch Pumpkin Chocolate Chip Bars are the perfect autumn treat. They are easy to make, delicious, and satisfy any sweet tooth. I hope you enjoy making them as much as my son did eating them.
Feel free to customize them with nuts or different chocolate chips. Share your results with me in the comments. I love hearing how your baking goes.
Happy baking!
FAQs
Can I use fresh pumpkin instead of canned?
Yes, but you must roast and blend it until completely smooth. Canned puree is more consistent, but fresh works if prepared correctly.
Why did my bars turn out dry?
You likely overbaked them or measured the flour incorrectly. Use the spoon-and-level method and check the bars a few minutes before the timer goes off.
Can I freeze the batter?
No. The baking soda will lose its potency. It’s best to bake fresh and freeze the finished bars.
Can I use oil instead of butter?
Yes, you can use an equal amount of neutral oil. The bars will be slightly denser but still moist.
How do I get clean cuts?
Let the bars cool completely. Use a sharp knife and wipe it clean between cuts. A serrated knife works well for soft bars.
Pin This Recipe!
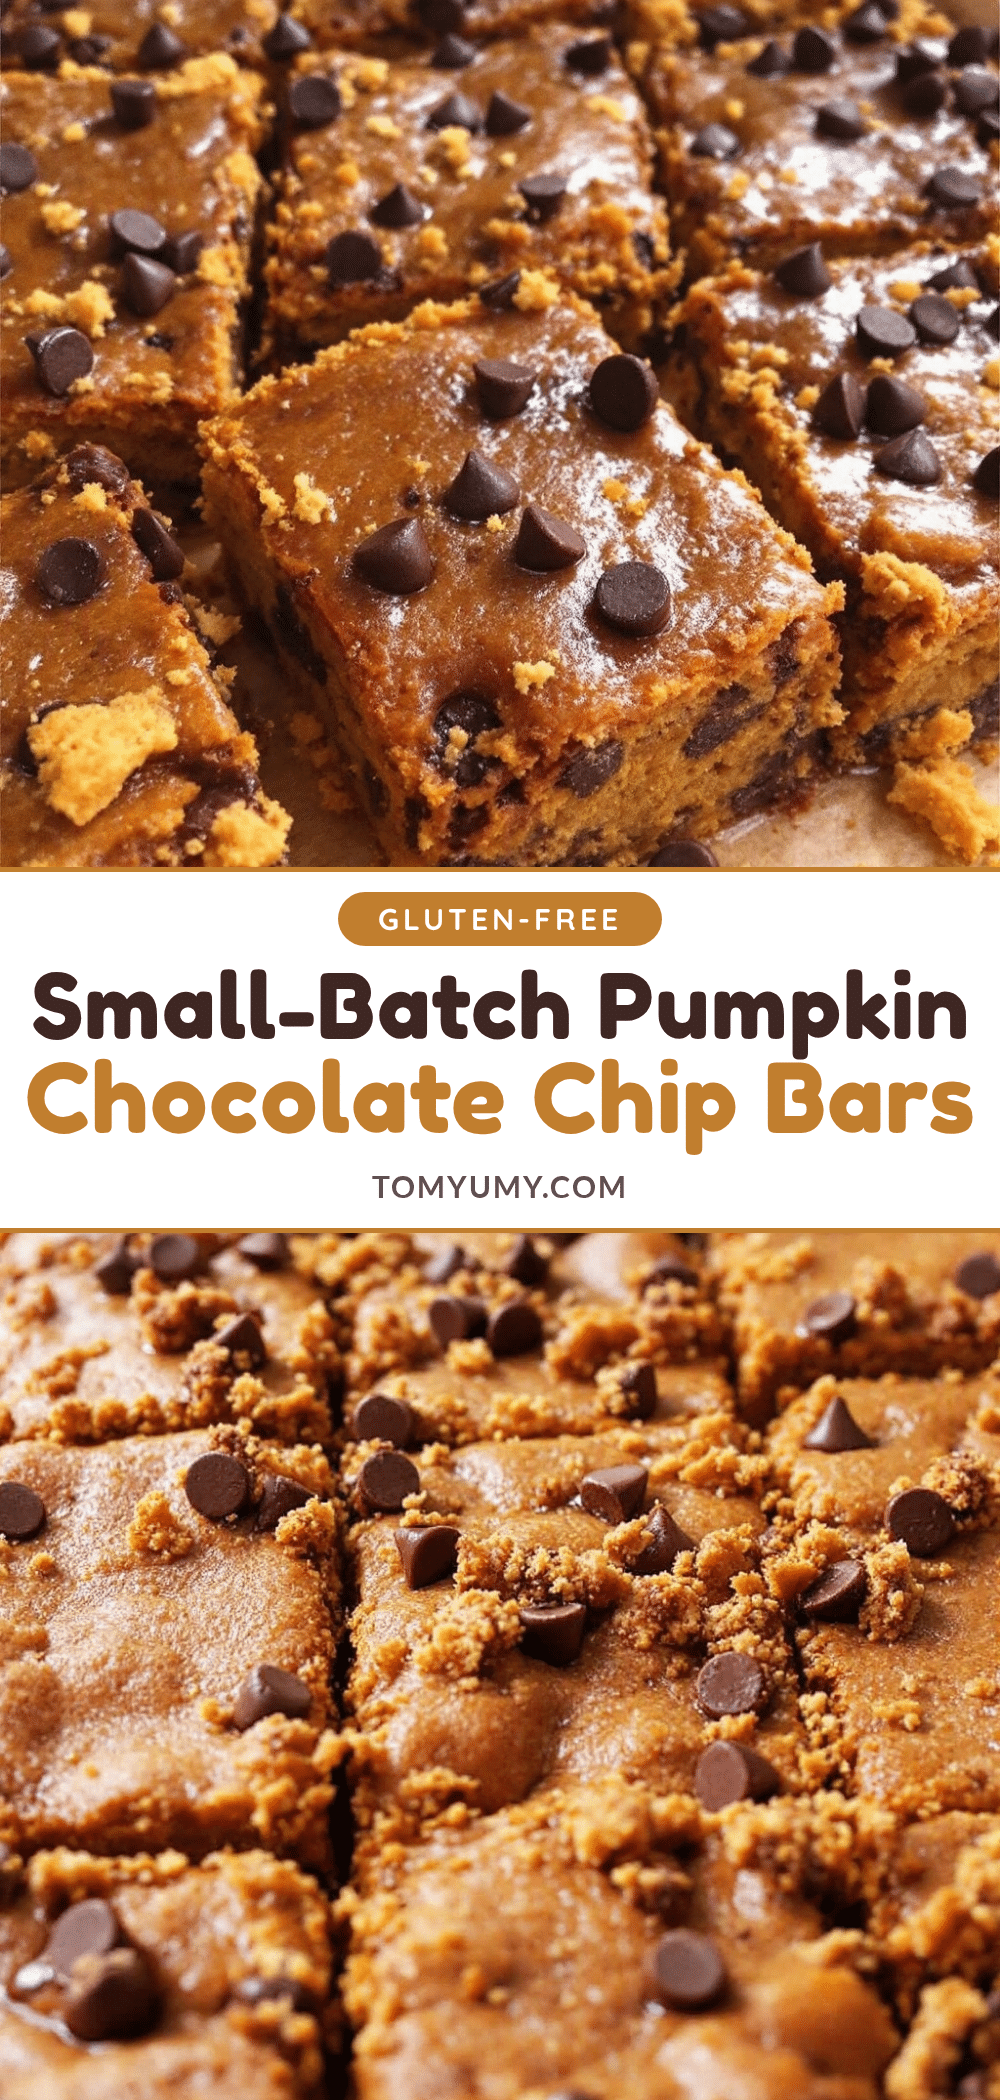
Cozy Small-Batch Pumpkin Chocolate Chip Bars
A dense, moist, and chewy small-batch dessert bar that balances pumpkin spice with semi-sweet chocolate chips. Easy to make with simple pantry ingredients, these bars are perfect for autumn evenings.
- Prep Time: 15 minutes
- Cook Time: 30 minutes
- Total Time: 45 minutes
- Yield: 12 servings 1x
- Category: Dessert
- Cuisine: American
Ingredients
- 1 ½ cups (190g) All-Purpose Flour
- 1 teaspoon Baking Powder
- ½ teaspoon Baking Soda
- ½ teaspoon Salt
- 1 ½ teaspoons Ground Cinnamon
- ½ teaspoon Ground Ginger
- ¼ teaspoon Ground Nutmeg
- ¼ cup (56g) Unsalted Butter, softened
- ¾ cup (150g) Granulated Sugar
- ½ cup (100g) Brown Sugar, packed
- ½ cup (120g) Pumpkin Puree
- 1 Large Egg, room temperature
- 1 teaspoon Vanilla Extract
- ½ cup (85g) Chocolate Chips (semi-sweet or milk)
Instructions
- Preheat oven to 350°F (175°C).
- Line an 8×8 inch baking pan with parchment paper, leaving an overhang on two sides. Grease the parchment lightly.
- In a medium bowl, whisk together flour, baking powder, baking soda, salt, cinnamon, ginger, and nutmeg.
- In a larger bowl, combine softened butter, granulated sugar, and brown sugar. Mix with a hand mixer or fork until light and fluffy (2-3 minutes).
- Beat in the egg, pumpkin puree, and vanilla extract until just combined.
- Gradually add the dry ingredients to the wet ingredients. Mix on low speed or stir with a spatula until no streaks of flour remain. Do not overmix.
- Fold in the chocolate chips gently.
- Pour batter into the prepared pan and spread evenly.
- Bake for 25-30 minutes, or until the top is golden brown and a toothpick inserted into the center comes out with a few moist crumbs.
- Let bars cool in the pan for at least 15 minutes, then lift out using the parchment sling and transfer to a cooling rack to cool completely before cutting.
Notes
Ensure pumpkin puree is pure pumpkin, not pie filling. For best results, use Libby’s or Libby’s Real pumpkin puree. Measure flour using the spoon-and-level method to avoid dry bars. Bars continue to cook in the pan after removal, so do not overbake. Cool completely for clean cuts.
Nutrition
- Serving Size: 1 bar
- Calories: 250
- Sugar: 22
- Sodium: 150
- Fat: 10
- Saturated Fat: 5
- Carbohydrates: 38
- Fiber: 1
- Protein: 3
Keywords: pumpkin bars, chocolate chip bars, small batch baking, autumn dessert, easy pumpkin recipe, fall treats, cozy baking