My sixteen-year-old son stood in the doorway of the kitchen, holding a single, slightly crumbled cookie, and asked if I could make the brown butter pumpkin snickerdoodles again. He didn’t even ask nicely. He just stated it as a fact, like the sky is blue or Wi-Fi is slow. I was surprised, honestly, because he usually turns his nose up at anything with “pumpkin” in the name unless it’s a candy bar. But this time, he looked at me with that specific kind of hunger that only comes from a really good snack.
I watched him take another bite, crumbs falling onto his hoodie, and I realized something important. These aren’t just good cookies. They are the kind of thing that makes you forget to scroll through your phone for ten minutes. The smell of toasted butter and cinnamon fills the house, and suddenly, everyone wants in. It’s not even about the pumpkin spice trend anymore. It’s about that deep, nutty flavor that comes from browning the butter properly.
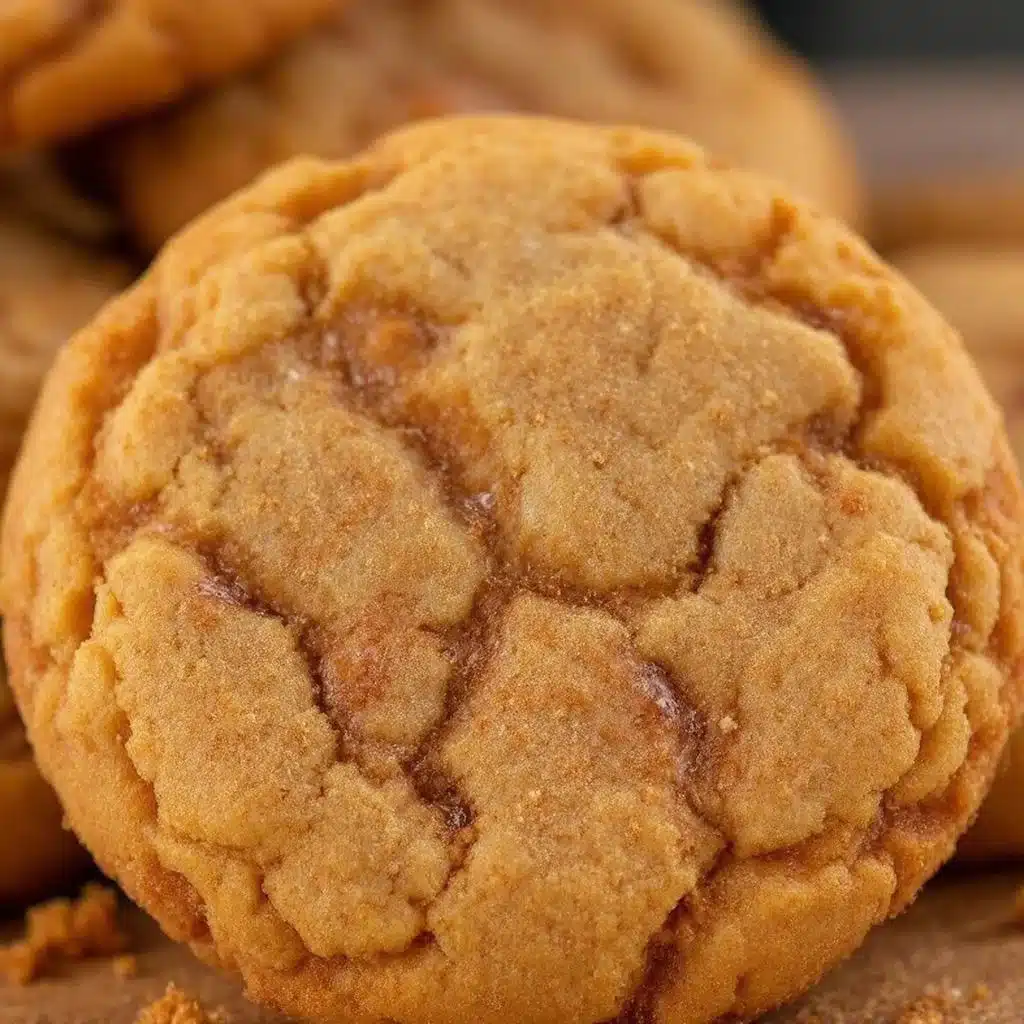
I’ve made a lot of cookie recipes over the years. Some are disasters. Some are good. But this one sticks around. It started when I was trying to use up a can of pumpkin puree that was sitting in the back of my fridge, gathering dust. I wanted something different than the usual soft-baked pumpkin cookies. I wanted crunch. I wanted that snickerdoodle tang. So I mixed brown butter into the dough and rolled them in cinnamon sugar. The result was unexpected. They spread just enough to get crispy edges but stayed chewy in the middle.
Now, they are a regular staple in our house. We bake them on weeknights. We bake them when we have guests. We bake them just because. And every time, my son asks for more. That’s the real test, you know? Not a five-star rating on a blog. Just a kid asking for seconds. If you’re looking for a fall treat that actually tastes like fall without being too sweet, this is it. Let’s get baking.
Why You’ll Love This Recipe
There are a few reasons why these crispy brown butter pumpkin snickerdoodle cookies have taken over our kitchen routine. First, the flavor profile is complex. Most pumpkin cookies taste like cake. These taste like a gourmet dessert. The browning of the butter adds a toasty, almost caramel-like depth that balances the sweetness of the brown sugar. It’s not just sweet; it’s savory-sweet. That’s the magic.
Here is what makes this recipe stand out from the crowd:
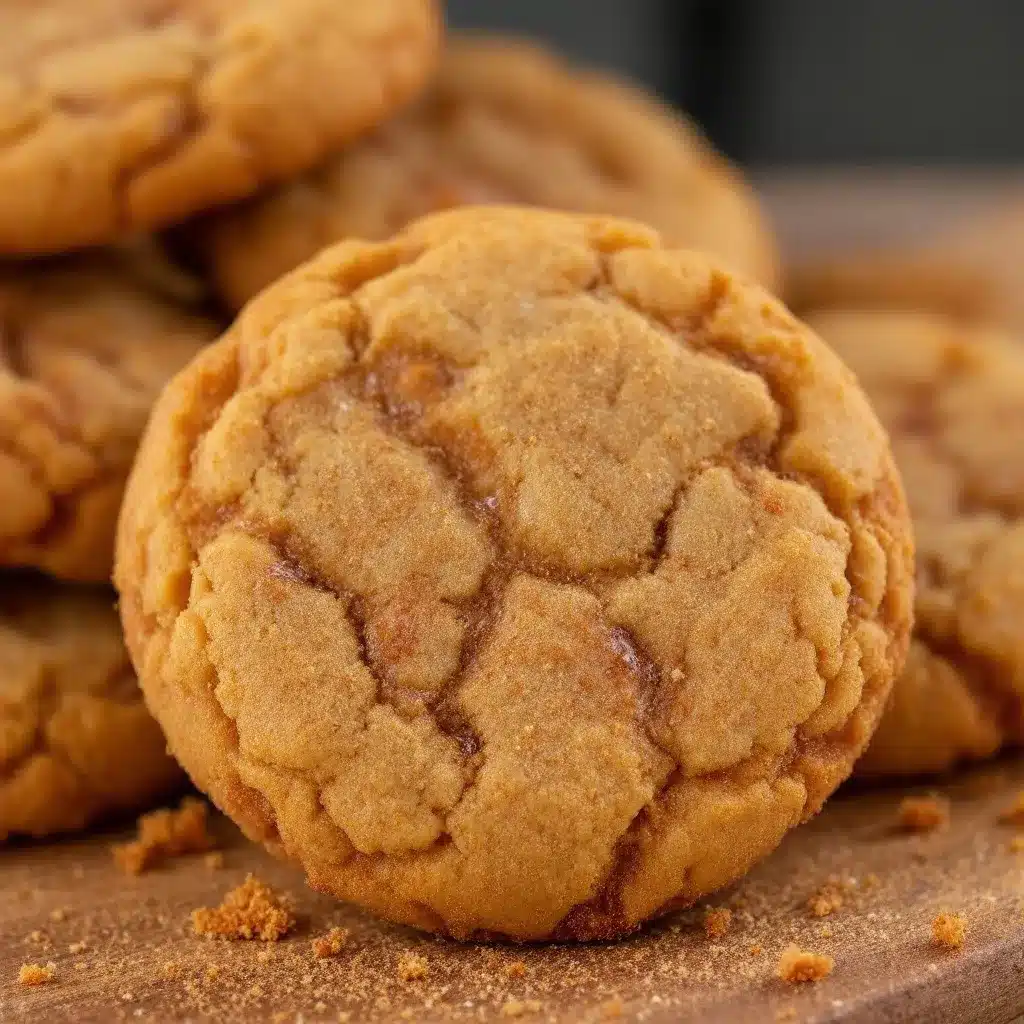
- Crispy Edges, Chewy Center: Unlike soft pumpkin cookies that fall apart, these have a satisfying snap. The brown butter helps dry out the edges slightly, giving you that perfect texture contrast.
- Authentic Snickerdoodle Tang: By using cream of tartar and baking soda, we get that classic tangy kick. It cuts through the richness of the pumpkin and butter perfectly.
- Weeknight Friendly: You don’t need fancy ingredients. Everything is likely in your pantry. The prep time is short, and the baking time is quick. You can have a fresh batch out in under 30 minutes.
- Family Approved: This isn’t just my opinion. My picky eater son, who usually hates vegetables, devours these. It’s a great way to sneak in a little fall flavor without the fuss.
- Nostalgic but New: It feels like a classic snickerdoodle, but the pumpkin adds a moisture and spice blend that feels modern and cozy. It’s comfort food reimagined.
This recipe isn’t just another version of pumpkin cookies. It’s the best version. I’ve tested it with different flours, different sugars, and different amounts of pumpkin. This ratio is the winner. It’s balanced. It’s reliable. And it tastes incredible. Whether you are baking for a school event or just a quiet Tuesday night, these cookies deliver. They are the kind that make you close your eyes after the first bite and just enjoy the moment.
What Ingredients You Will Need
This recipe uses simple, wholesome ingredients to deliver bold flavor and satisfying texture without the fuss. You don’t need a trip to a specialty store. Most of these items are pantry staples. The key is quality. Since there are so few ingredients, each one matters. Here is what you need to get started.
For the Brown Butter Base
- Unsalted Butter (1 cup / 226g): Use high-quality butter. I prefer European-style butter because it has a higher fat content, which makes the browning process richer. Salted butter can work, but you will need to reduce the added salt.
- Pumpkin Puree (1/2 cup / 120g): Make sure this is 100% pure pumpkin, not pumpkin pie filling. Pie filling has sugar and spices added, which will throw off the balance. Look for a brand with a short ingredient list.
- Vanilla Extract (2 teaspoons): Use real vanilla. Artificial vanilla can taste harsh and chemical. A good quality extract adds warmth and depth.
For the Dry Mix
- All-Purpose Flour (2 1/4 cups / 280g): Spoon and level your flour. Do not scoop it directly from the bag, or you will pack it down and end up with dry cookies. If you want a gluten-free option, use a 1:1 gluten-free flour blend.
- Baking Soda (1 teaspoon): Fresh baking soda is crucial for the rise and the spread. If it’s old, your cookies might not spread enough.
- Cream of Tartar (1 teaspoon): This is the secret ingredient for that snickerdoodle tang. It reacts with the baking soda to create carbon dioxide bubbles, giving the cookies their characteristic texture.
- Salt (1/2 teaspoon): Salt enhances the flavor of the pumpkin and the brown butter. Do not skip it.
For the Sugar Coating
- Granulated Sugar (1/2 cup / 100g): This goes into the dough. It helps with crispiness.
- Brown Sugar (1 cup / 200g): Pack this tightly. It adds moisture and a caramel flavor. Dark brown sugar has more molasses and will give a deeper flavor.
- Cinnamon (2 teaspoons): Ground cinnamon is essential. Use a fresh jar for the best aroma.
For the Rolling Coating
- Granulated Sugar (1/4 cup / 50g): Mixed with 1 teaspoon of cinnamon. This creates the crunchy, sweet exterior.
Equipment Needed
You don’t need much to make these cookies, but having the right tools makes a big difference.
- Heavy-Bottomed Saucepan: This is essential for browning the butter. A light pan might burn the butter quickly. I use a stainless steel saucepan because I can see the color changes clearly.
- Mixing Bowls: You will need one large bowl for the dry ingredients and one medium bowl for the wet ingredients. Glass or stainless steel works best.
- Whisk: A good whisk helps aerate the dry ingredients and blend the butter smoothly.
- Silicone Spatula: Essential for scraping the bowl and folding the dough. It’s better than a spoon for incorporating the flour without overmixing.
- Baking Sheets: Use light-colored aluminum sheets. Dark sheets can cause the bottoms to burn. If you only have dark sheets, lower the oven temperature by 25 degrees.
- Parchment Paper: Always line your baking sheets. It prevents sticking and makes cleanup a breeze. It also helps the cookies bake evenly.
- Cooling Rack: Let the cookies cool on a rack. This stops the cooking process and keeps the bottoms from getting soggy.
Preparation Method
Let’s walk through the steps. It’s straightforward, but timing is key.
- Brown the Butter: Start by melting the butter in a saucepan over medium heat. Stir constantly. You will hear it sizzle. It will foam up. Watch it closely. Once the foam subsides, you will see brown bits at the bottom and smell a nutty aroma. This takes about 5-7 minutes. Immediately pour the butter into a heat-proof bowl to stop the cooking. Let it cool for 10 minutes. (Time: 10 minutes)
- Mix Wet Ingredients: In a medium bowl, whisk together the cooled brown butter, pumpkin puree, and vanilla extract until smooth. The mixture might look slightly separated at first, but that’s okay. Whisk until it’s uniform. (Time: 2 minutes)
- Whisk Dry Ingredients: In a large bowl, whisk together the flour, baking soda, cream of tartar, and salt. Make sure there are no lumps. (Time: 1 minute)
- Combine Wet and Dry: Pour the wet mixture into the dry ingredients. Use a silicone spatula to fold them together. Stop as soon as the flour disappears. Overmixing will make the cookies tough. The dough should be thick and slightly sticky. (Time: 2 minutes)
- Chill the Dough: This step is optional but recommended. Cover the bowl and refrigerate for 30 minutes. This firms up the butter, which helps the cookies hold their shape and develop a crispier edge. (Time: 30 minutes)
- Preheat Oven: Preheat your oven to 350°F (175°C). Line two baking sheets with parchment paper. (Time: 5 minutes)
- Make Cinnamon Sugar: In a small bowl, mix the granulated sugar and cinnamon for rolling. (Time: 1 minute)
- Shape the Cookies: Scoop about 1.5 tablespoons of dough per cookie. Roll them into balls. Then, roll each ball in the cinnamon sugar mixture until fully coated. Place them on the baking sheets, spacing them about 2 inches apart. They will spread. (Time: 5 minutes)
- Bake: Bake for 10-12 minutes. The edges should be golden brown and set, but the centers should still look slightly soft. Do not overbake. They will firm up as they cool. (Time: 12 minutes)
- Cool: Let the cookies cool on the baking sheet for 5 minutes. Then transfer them to a wire rack to cool completely. (Time: 5 minutes)
Cooking Tips & Techniques
Here are some professional tips to ensure your cookies turn out perfect every time.
- Don’t Rush the Butter: Browning butter is an art. If you walk away, it will burn. Listen to the sound. When it goes from a loud sizzle to a quiet pop, you are close. The smell is your best guide. It should smell like toasted nuts.
- Measure Flour Correctly: The most common mistake is using too much flour. This leads to dry, crumbly cookies. Spoon the flour into your measuring cup and level it off with a knife. Never scoop directly.
- Chill the Dough: I know it’s tempting to bake right away, but chilling the dough helps the flavors meld and prevents the cookies from spreading too much. It also ensures that crispy edge.
- Watch the Oven: Ovens vary. Start checking your cookies at 10 minutes. If the edges are dark, take them out. They will continue to cook on the hot pan.
- Use a Cookie Scoop: A cookie scoop ensures uniform size. This helps them bake evenly. If you don’t have one, use two spoons.
Variations & Adaptations
You can customize these cookies to suit your taste or dietary needs.
- Gluten-Free: Substitute the all-purpose flour with a 1:1 gluten-free flour blend. Add 1/4 teaspoon of xanthan gum if your blend doesn’t include it.
- Dairy-Free: Use a high-quality dairy-free butter alternative. Note that the browning process might differ slightly, so watch closely.
- Add-Ins: Fold in 1/2 cup of white chocolate chips or chopped pecans for extra texture. This pairs well with the pumpkin flavor.
- Spice It Up: Add 1/2 teaspoon of nutmeg or allspice to the dry ingredients for a more complex spice profile.
- Mini Cookies: Make smaller cookies for parties. Reduce the baking time to 8-9 minutes.
Serving & Storage Suggestions
Serve these cookies warm with a glass of cold milk. They are best enjoyed the day they are baked, but they keep well.
- Storage: Store in an airtight container at room temperature for up to 5 days. Place a slice of bread in the container to keep them soft.
- Freezing: You can freeze the dough balls. Place them on a baking sheet and freeze until solid. Then transfer to a freezer bag. Bake from frozen, adding 1-2 minutes to the baking time.
- Reheating: Warm in the microwave for 10 seconds before serving for a fresh-baked taste.
Nutritional Information & Benefits
Each cookie contains approximately 150 calories. They provide a good source of carbohydrates for energy. The pumpkin adds a small amount of fiber and vitamin A. The brown butter adds healthy fats, though in moderation. These cookies are not a health food, but they are a balanced treat. They satisfy sweet cravings without being overly sugary.
Conclusion
These crispy brown butter pumpkin snickerdoodle cookies are a winner. They are easy to make, delicious, and perfect for fall. I love them because they bring my family together. My son asks for them constantly, and that says it all. Try this recipe and see for yourself. Customize it to your liking. Share them with friends. And don’t forget to leave a comment below with your thoughts. Happy baking!
FAQs
Can I use pumpkin pie filling instead of pure pumpkin puree?
No. Pumpkin pie filling has sugar and spices added. This will make the cookies too sweet and alter the texture. Use 100% pure pumpkin puree.
Why are my cookies flat?
This usually happens if the butter was too warm when mixed or if the dough wasn’t chilled. Make sure the brown butter is cooled before mixing. Also, chill the dough for at least 30 minutes.
Can I freeze the baked cookies?
Yes. Let them cool completely, then place them in an airtight container or freezer bag. They will last for up to 3 months. Thaw at room temperature.
What is cream of tartar?
Cream of tartar is an acidic powder that gives snickerdoodles their tangy flavor. It also helps with the texture. You can find it in the spice aisle.
How do I know when the butter is browned?
The butter will turn a golden brown color, and you will see brown specks at the bottom of the pan. It will smell nutty and toasty. Remove it from the heat immediately.
Pin This Recipe!
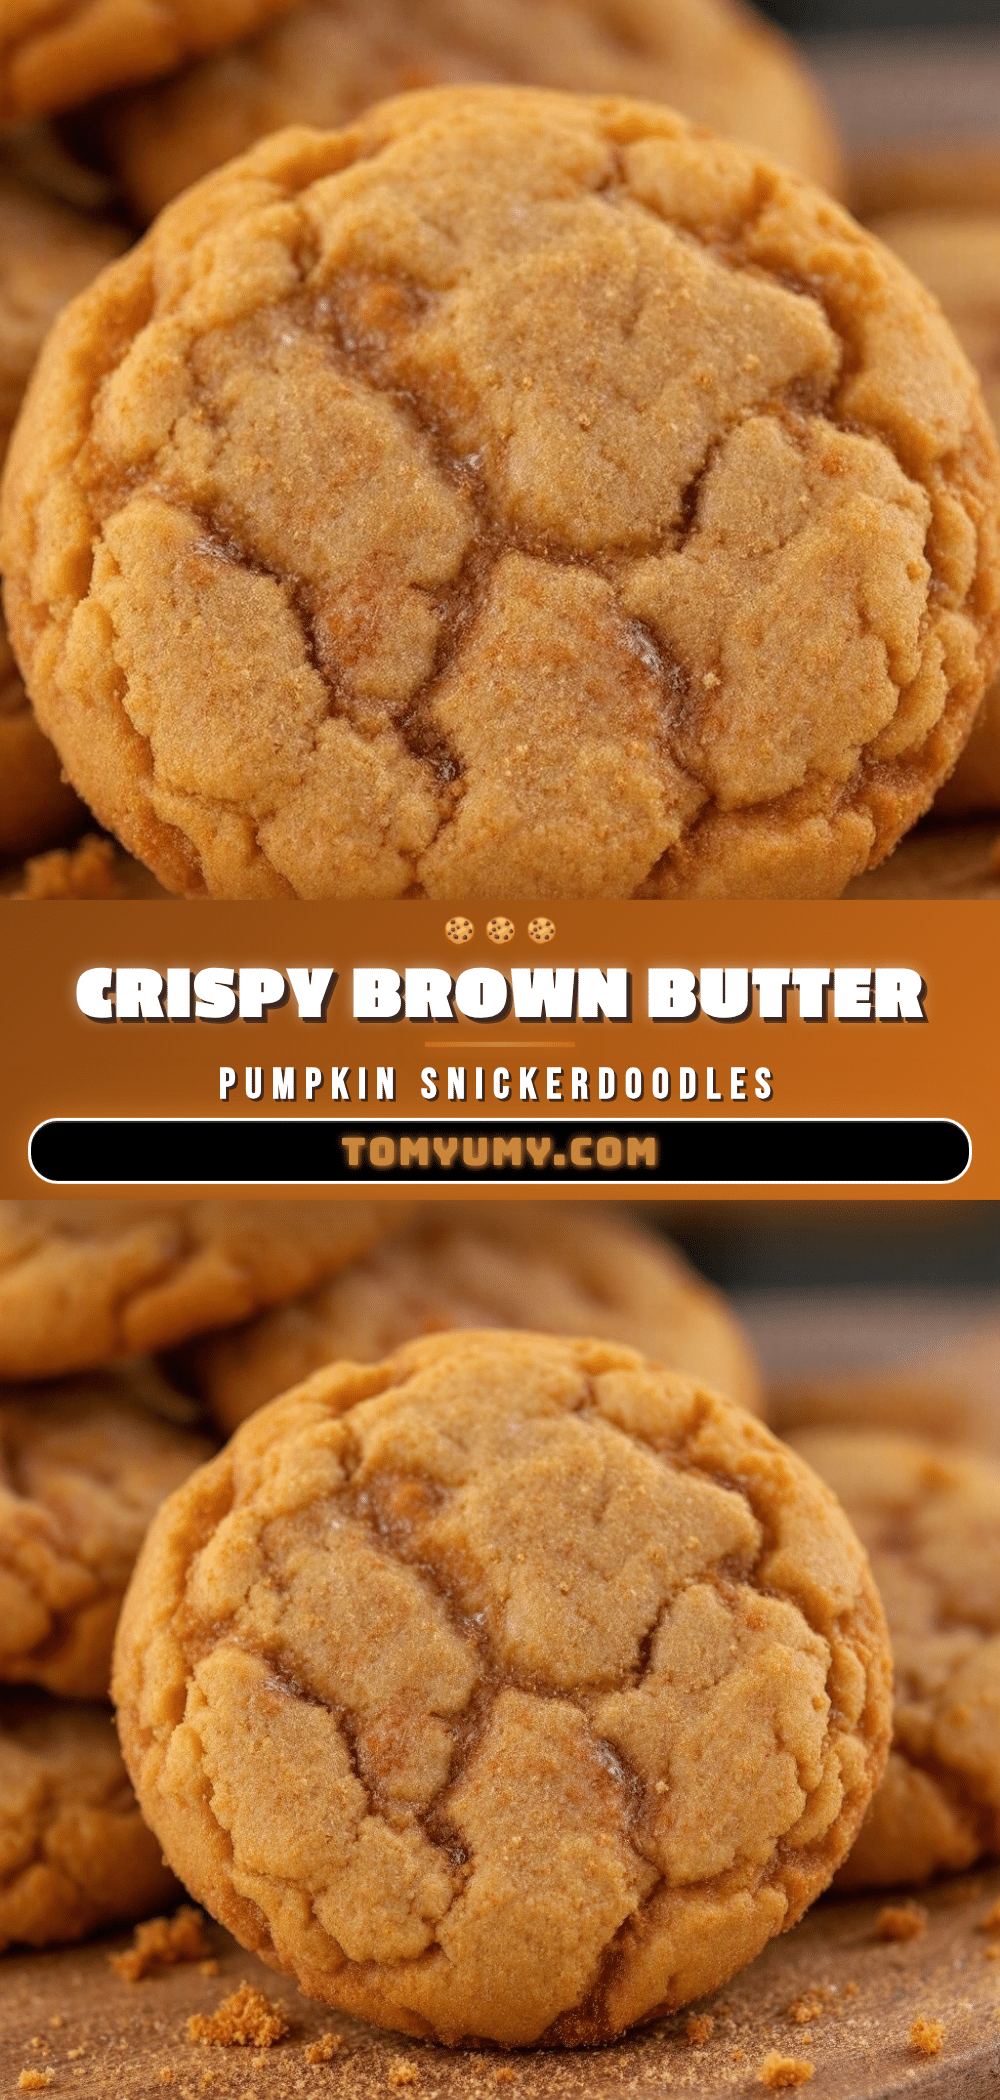
Crispy Brown Butter Pumpkin Snickerdoodle Cookies
These cookies feature crispy edges and a chewy center, combining the nutty depth of browned butter with the tangy kick of classic snickerdoodles and the cozy flavor of pumpkin.
- Prep Time: 30 minutes
- Cook Time: 12 minutes
- Total Time: 45 minutes
- Yield: Approximately 24 cookies 1x
- Category: Dessert
- Cuisine: American
Ingredients
- 1 cup (226g) unsalted butter
- 1/2 cup (120g) 100% pure pumpkin puree
- 2 teaspoons vanilla extract
- 2 1/4 cups (280g) all-purpose flour
- 1 teaspoon baking soda
- 1 teaspoon cream of tartar
- 1/2 teaspoon salt
- 1/2 cup (100g) granulated sugar (for dough)
- 1 cup (200g) brown sugar, packed
- 2 teaspoons ground cinnamon
- 1/4 cup (50g) granulated sugar (for rolling)
- 1 teaspoon ground cinnamon (for rolling)
Instructions
- Melt butter in a heavy-bottomed saucepan over medium heat, stirring constantly until foam subsides and brown bits form (5-7 minutes). Pour into a heat-proof bowl and cool for 10 minutes.
- In a medium bowl, whisk together the cooled brown butter, pumpkin puree, and vanilla extract until smooth.
- In a large bowl, whisk together the flour, baking soda, cream of tartar, and salt.
- Pour the wet mixture into the dry ingredients and fold with a silicone spatula until just combined. Do not overmix.
- Cover and refrigerate the dough for 30 minutes to firm up the butter.
- Preheat oven to 350°F (175°C) and line baking sheets with parchment paper.
- Mix the 1/4 cup granulated sugar and 1 teaspoon cinnamon in a small bowl for the coating.
- Scoop 1.5 tablespoons of dough per cookie, roll into balls, and coat thoroughly in the cinnamon sugar mixture. Place on baking sheets 2 inches apart.
- Bake for 10-12 minutes until edges are golden brown and centers look slightly soft.
- Let cookies cool on the baking sheet for 5 minutes, then transfer to a wire rack to cool completely.
Notes
Ensure you use pure pumpkin puree, not pumpkin pie filling. Spoon and level the flour to avoid dry cookies. Chilling the dough is recommended for better texture and spread control. Brown butter should smell nutty and have brown specks at the bottom of the pan.
Nutrition
- Serving Size: 1 cookie
- Calories: 150
- Sugar: 14
- Sodium: 120
- Fat: 8
- Saturated Fat: 5
- Carbohydrates: 20
- Fiber: 1
- Protein: 2
Keywords: pumpkin cookies, snickerdoodle, brown butter, fall baking, crispy cookies, easy dessert, gluten-free option