The bowl was empty. Not just a few stray seeds left at the bottom, but completely, thoroughly gone. I had just finished stirring the last of them into the pan, the smell of roasted nuttiness still hanging heavy in the kitchen air. I turned around to grab a napkin, and when I looked back, my partner was holding the ceramic bowl up to the light like it was a treasure map.
“That was too fast,” they said. “We need to make this again. Tomorrow.”
I honestly didn’t think they would like them. You know how it is with snacks that are technically “healthy” or just plain roasted nuts. Usually, they end up in the back of the pantry for months until they go rancid. But these? These were different. The crunch was audible from across the room. The salt hit just right. It wasn’t a subtle flavor; it was loud and proud.
I remember the first time I tried making Crispy Roasted Pumpkin Seeds with Sea Salt. I was skeptical. I thought pumpkin seeds were just a garnish for salads or a sad addition to bread. But roasting them changes everything. It unlocks this deep, earthy richness that raw seeds just don’t have. It’s like turning a quiet background character into the main event.
Now, it’s become this little ritual of mine. When the weather turns crisp and I’m carving pumpkins for decoration or cooking up a batch of brown butter maple pumpkin cookies, I never throw the guts away. I clean them, dry them, and roast them. The result is always the same: an empty bowl and a request for the recipe. It’s a quiet pride, knowing that something so simple can create such a specific, happy reaction. It’s not just a snack; it’s a moment of recognition that you did something right.
Why You’ll Love This Recipe
There is a specific kind of satisfaction that comes from making your own snacks from scratch. It’s not just about saving money, though that’s a nice bonus. It’s about control. When you buy store-bought pumpkin seeds, you’re often stuck with ones that are either too salty, too oily, or just plain stale. With this recipe for Crispy Roasted Pumpkin Seeds with Sea Salt, you get total control over the texture and flavor profile.
I’ve tested this method dozens of times. Some people try to boil the seeds first to help them peel, but I find that skips that step and roasts them straight from the rinse is faster and keeps them plumper. Here is why this version stands out from the rest:
- Quick & Easy: From cleaning the seeds to having them cooling on the counter takes about 45 minutes. That is perfect for a busy weeknight when you want something crunchy but don’t want to order takeout.
- Simple Ingredients: You don’t need a specialty store for this. You likely have pumpkin seeds (if you have a pumpkin), oil, and salt right now. No fancy grocery trips needed.
- Perfect for Seasonal Eating: These are the ultimate fall snack. They pair beautifully with cozy activities or as a topping for soups. They are also great for parties, acting as a savory alternative to chips.
- Crowd-Pleaser: Kids usually love them because they are fun to eat, and adults appreciate the lack of artificial ingredients. It’s a rare win-win.
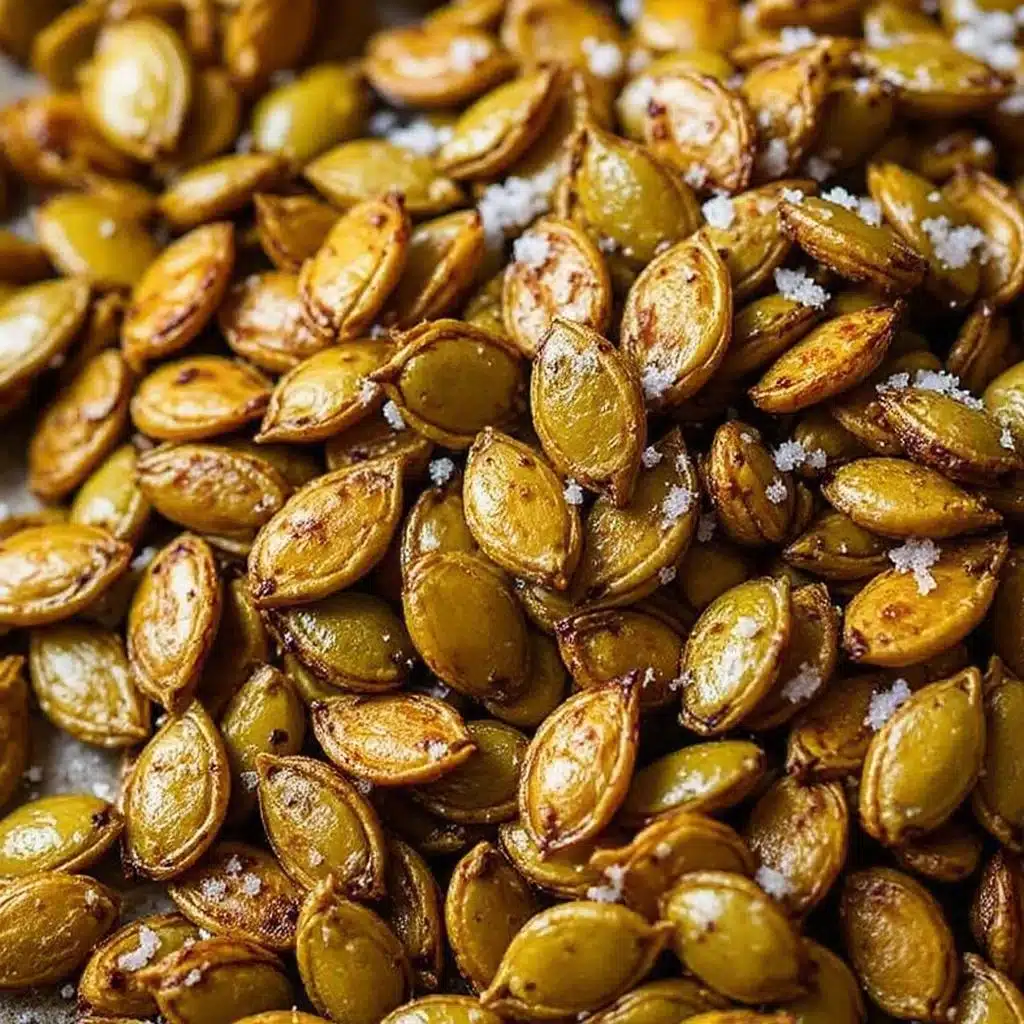
- Unbelievably Delicious: The texture is the star here. They should be golden brown and snap when you break them. The flavor is nutty, savory, and slightly earthy.
What makes this recipe different is the attention to the drying process. Many people skip drying the seeds thoroughly, and that leads to soggy, steamed seeds instead of crispy ones. By patting them down and letting them air dry for a bit, you ensure that the oil adheres properly and the heat crisps them up evenly. It’s a small step that makes a huge difference. This isn’t just another roasted seed recipe; it’s the one that actually stays crispy for days.
What Ingredients You Will Need
This recipe relies on the quality of a few simple components to deliver bold flavor and satisfying texture without the fuss. The beauty of Crispy Roasted Pumpkin Seeds with Sea Salt is that the ingredients are minimal, so each one has to do its job. We aren’t masking the flavor of the seed with heavy spices; we are letting it shine.
Here is what you need to gather:
- Pumpkin Seeds (Pepitas): About 1 cup of raw, shelled seeds. You can buy these pre-shelled at most grocery stores, but using seeds from a fresh pumpkin tastes fresher and has more character. Look for seeds that are flat and green, not white or hard.
- Neutral Oil: 1-2 tablespoons. I prefer avocado oil or light olive oil because they have high smoke points and don’t overpower the natural nutty flavor. Butter works too if you want a richer taste, but oil gives a crispier finish.
- Fine Sea Salt: ½ teaspoon. Fine salt adheres better to the oily surface than coarse kosher salt. If you only have kosher salt, you can crush it a bit in your hand first. It adds that essential savory punch.
- Water: For rinsing. You need enough to cover the seeds in a bowl to wash away the stringy pulp.
- Optional Add-ins: If you want to get fancy later, you can add garlic powder, chili powder, or smoked paprika. But for the classic version, salt and oil are all you really need.
I usually keep a bag of raw pepitas in my pantry for emergencies, but using fresh seeds from a carving pumpkin feels more special. When sourcing seeds, look for ones that are vibrant green. If they are pale or yellowish, they might be older or not fully mature. Also, if you are using store-bought seeds, make sure they are raw and unsalted. You want a blank canvas to work with.
Equipment Needed
You don’t need a lot of fancy gadgets to make this snack, which is part of the appeal. Here is what you will need:
- Large Mixing Bowl: Something wide enough to swish the seeds around in water. A standard 4-quart bowl works perfectly.
- Colander or Sieve: To drain the water after rinsing. A fine-mesh sieve is best so you don’t lose any tiny seeds.
- Paper Towels or Clean Kitchen Towel: This is crucial. You need something absorbent to dry the seeds. If they are wet, they won’t roast properly.
- Baking Sheet: A standard half-sheet pan. I recommend using parchment paper or a silicone baking mat. It makes cleanup a breeze and prevents sticking, though these seeds rarely stick if oiled well.
- Spatula: A silicone spatula is good for spreading the seeds out evenly. You want a single layer for maximum crispiness.
If you don’t have parchment paper, you can use aluminum foil, but you might need to grease the foil lightly. I’ve tried making these on a bare pan before, and while they still tasted good, they left a stubborn residue that took forever to scrub off. The parchment paper is worth the extra few cents. Also, make sure your baking sheet isn’t too big for your oven. Air circulation is important for even roasting.
Preparation Method
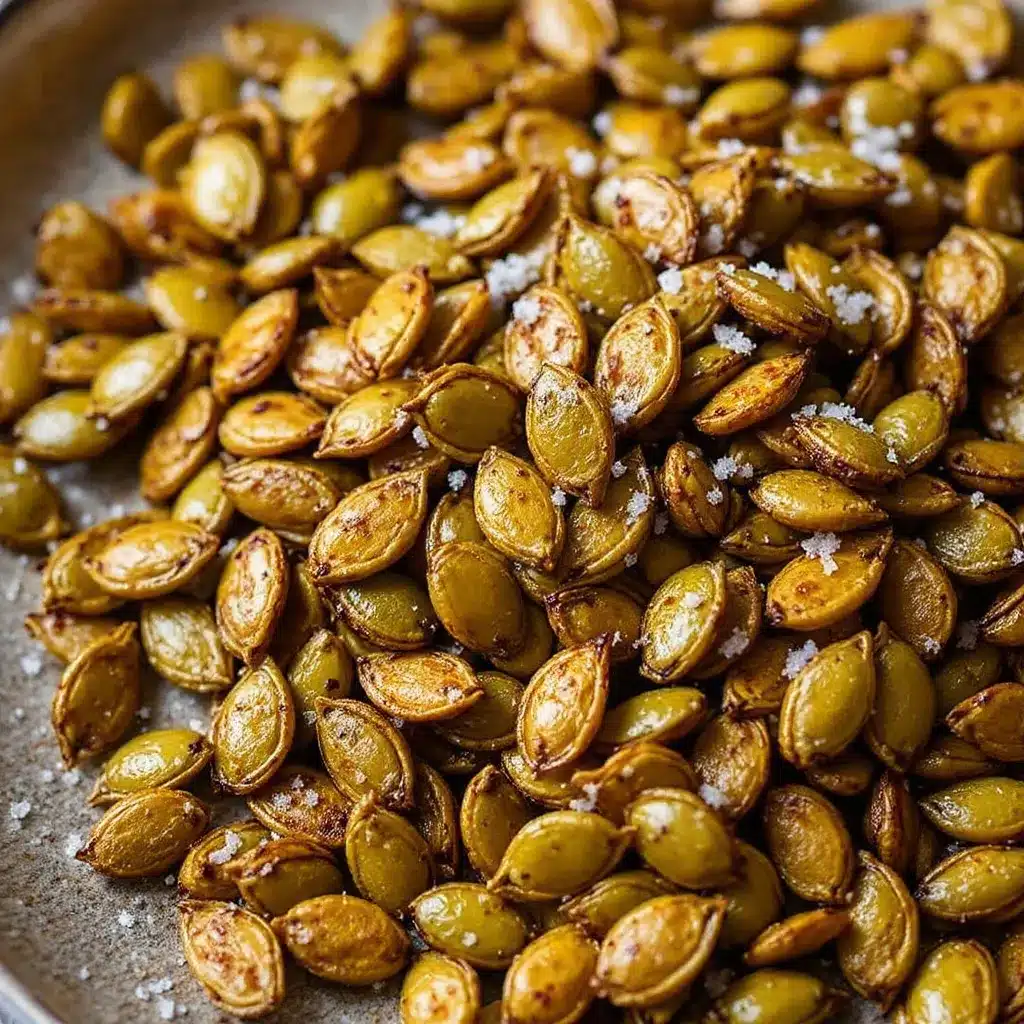
Getting those seeds crispy requires a bit of patience, but the steps are straightforward. Here is how to make Crispy Roasted Pumpkin Seeds with Sea Salt from start to finish.
- Rinse and Separate (5 minutes): Scoop the seeds and pulp from your pumpkin into a large bowl. Cover them with warm water. Swirl them around with your hands. The pulp will float to the top, and the seeds will sink. Skim off the floating pulp with a spoon. Repeat this rinsing process two or three times until the water runs mostly clear. You want the seeds clean, but you don’t need to scrub every single fiber off. A little bit of texture is fine.
- Drain Thoroughly (2 minutes): Pour the seeds into a colander. Shake it well to get rid of excess water. Then, spread them out on a layer of paper towels. Pat them dry with more paper towels. This step is important. If they are dripping wet, they will steam in the oven instead of roast.
- Preheat the Oven (10 minutes): While you are cleaning the seeds, preheat your oven to 325°F (165°C). I like to use a lower temperature than you might think. High heat burns the outside before the inside gets crispy. Low and slow is the secret.
- Toss with Oil and Salt (2 minutes): Transfer the damp seeds to a dry bowl. Drizzle with your oil and sprinkle with salt. Toss them with your hands until every seed is coated. You want them to look shiny, not swimming in oil. If they look dry, add a tiny bit more oil. If they look greasy, add a few more seeds or a sprinkle of salt.
- Spread on Baking Sheet (1 minute): Line your baking sheet with parchment paper. Spread the seeds in a single layer. Do not overcrowd the pan. If they are piled on top of each other, they will steam. Give each seed its own space to breathe and crisp up.
- Roast (20-30 minutes): Place the pan in the oven. Roast for 20 minutes, then take the pan out and stir the seeds. This ensures even browning. Roast for another 5-10 minutes. Keep a close eye on them during the last few minutes. They go from perfect to burnt very quickly. They are done when they are golden brown and make a clicking sound when you shake the pan.
- Cool Completely (15-20 minutes): This is the hardest part. Take the pan out and let the seeds cool on the pan. They will continue to cook slightly from the residual heat. They will only become truly crispy once they are completely cool. If you eat them hot, they might feel a bit chewy. Patience pays off.
When you first take them out of the oven, they might still feel slightly soft. Don’t panic. This is normal. The crispiness develops as they cool. Trust the process. Once they are cool, store them in an airtight container.
Cooking Tips & Techniques
I’ve learned a few things the hard way while making these seeds. Here are some tips to ensure your batch comes out perfectly crispy every time.
First, dry them as much as possible. I know it’s tempting to rush this step, but moisture is the enemy of crispiness. If you have a clean kitchen towel, use that instead of paper towels. It absorbs more water. Some people even let them air dry on the counter for an hour before roasting. If you have time, do that. It makes a noticeable difference.
Second, don’t overcrowd the pan. I’ve made the mistake of trying to roast too many seeds at once. The result was a mix of crispy and soggy seeds. It’s better to roast in two batches than to have a mediocre single batch. The heat needs to circulate around each seed.
Third, stir them halfway through. Ovens have hot spots. By stirring the seeds at the 20-minute mark, you ensure that the ones on the edges don’t burn while the ones in the middle finish cooking. It’s a simple step that guarantees even results.
Finally, let them cool completely. I know how hard it is to wait. But hot seeds are not crispy seeds. They need time to harden. If you eat them hot, they might feel rubbery. Wait until they are room temperature. The crunch will be worth the wait.
Variations & Adaptations
Once you master the basic salty version, you can experiment with other flavors. Here are a few variations I’ve tried:
- Spicy Pumpkin Seeds: Add ½ teaspoon of chili powder and a pinch of cayenne pepper to the oil mixture. This gives them a nice kick that pairs well with cold weather.
- Garlic Parmesan: Toss the roasted seeds with a little grated parmesan cheese and garlic powder while they are still warm. The cheese will melt slightly and stick to the seeds. It’s like a savory popcorn.
- Sweet Cinnamon Sugar: Skip the salt and oil, and toss the raw seeds in a mixture of melted butter, cinnamon, and a little brown sugar. Roast them at a lower temperature (300°F) to prevent the sugar from burning. These are great for dessert.
If you are watching your sodium, you can reduce the salt or skip it entirely. The natural flavor of the seeds is still good. For a gluten-free option, this recipe is naturally gluten-free, which is great for those with allergies. You can also swap the oil for melted coconut oil for a subtle sweetness.
Serving & Storage Suggestions
These seeds are best served at room temperature. They make a great standalone snack, or you can sprinkle them over salads, soups, or avocado toast. They add a nice crunch that contrasts with softer textures.
For storage, let them cool completely before transferring them to an airtight container. They will keep at room temperature for up to one week. If you live in a humid climate, they might lose their crispiness faster, so check them after a few days. For longer storage, you can freeze them. Place them in a freezer-safe bag and freeze for up to three months. When you want a snack, just let them come to room temperature.
Reheating is optional, but if they lose their crunch, you can pop them back in the oven at 300°F for 5 minutes to revive them. The flavors tend to meld and deepen over the first couple of days, so they might taste even better on day two.
Nutritional Information & Benefits
Pumpkin seeds are a nutritional powerhouse. They are packed with magnesium, zinc, and protein. A one-ounce serving has about 5 grams of protein and 2 grams of fiber. They are also a good source of healthy fats. Eating them can help support immune health and improve sleep quality due to their tryptophan content.
This recipe is naturally gluten-free and vegan (if you use oil instead of butter). It is also low in carbohydrates, making it suitable for low-carb or keto diets. Just be mindful of the portion size, as they are calorie-dense. A little goes a long way. I like to think of them as a guilt-free treat that actually does your body some good.
Conclusion
Making Crispy Roasted Pumpkin Seeds with Sea Salt is a simple way to reduce waste and create a delicious, healthy snack. It’s a recipe that rewards patience and pays off with a crunchy, savory treat that everyone will love. I hope you try it and enjoy the process as much as I do.
Feel free to experiment with different spices and flavors to make it your own. And if you make this recipe, I’d love to hear how it turned out. Leave a comment below with your favorite variation or just let me know if you ended up with an empty bowl like I did. Happy roasting!
Frequently Asked Questions
Can I use store-bought raw pumpkin seeds?
Yes, absolutely. Store-bought raw pumpkin seeds (often called pepitas) work perfectly. Just skip the rinsing step and go straight to drying and roasting. They are already clean and shelled.
Why are my seeds still chewy after cooling?
If they are still chewy after cooling, they might not have been roasted long enough or they were too wet before roasting. Make sure you dry them thoroughly and roast them until they are golden brown and make a clicking sound.
How do I store the seeds to keep them crispy?
Store them in an airtight container at room temperature. Avoid storing them in the fridge, as the moisture can make them soggy. If they do lose some crunch, you can reheat them in the oven for a few minutes.
Can I roast them in an air fryer?
Yes, you can. Use a lower temperature, around 300°F, and check them frequently. They cook faster in an air fryer, so you might only need 8-10 minutes. Shake the basket halfway through.
Are pumpkin seeds healthy?
Yes, pumpkin seeds are very healthy. They are rich in magnesium, zinc, iron, and healthy fats. They are also a good source of protein and fiber, making them a nutritious snack option.
Pin This Recipe!
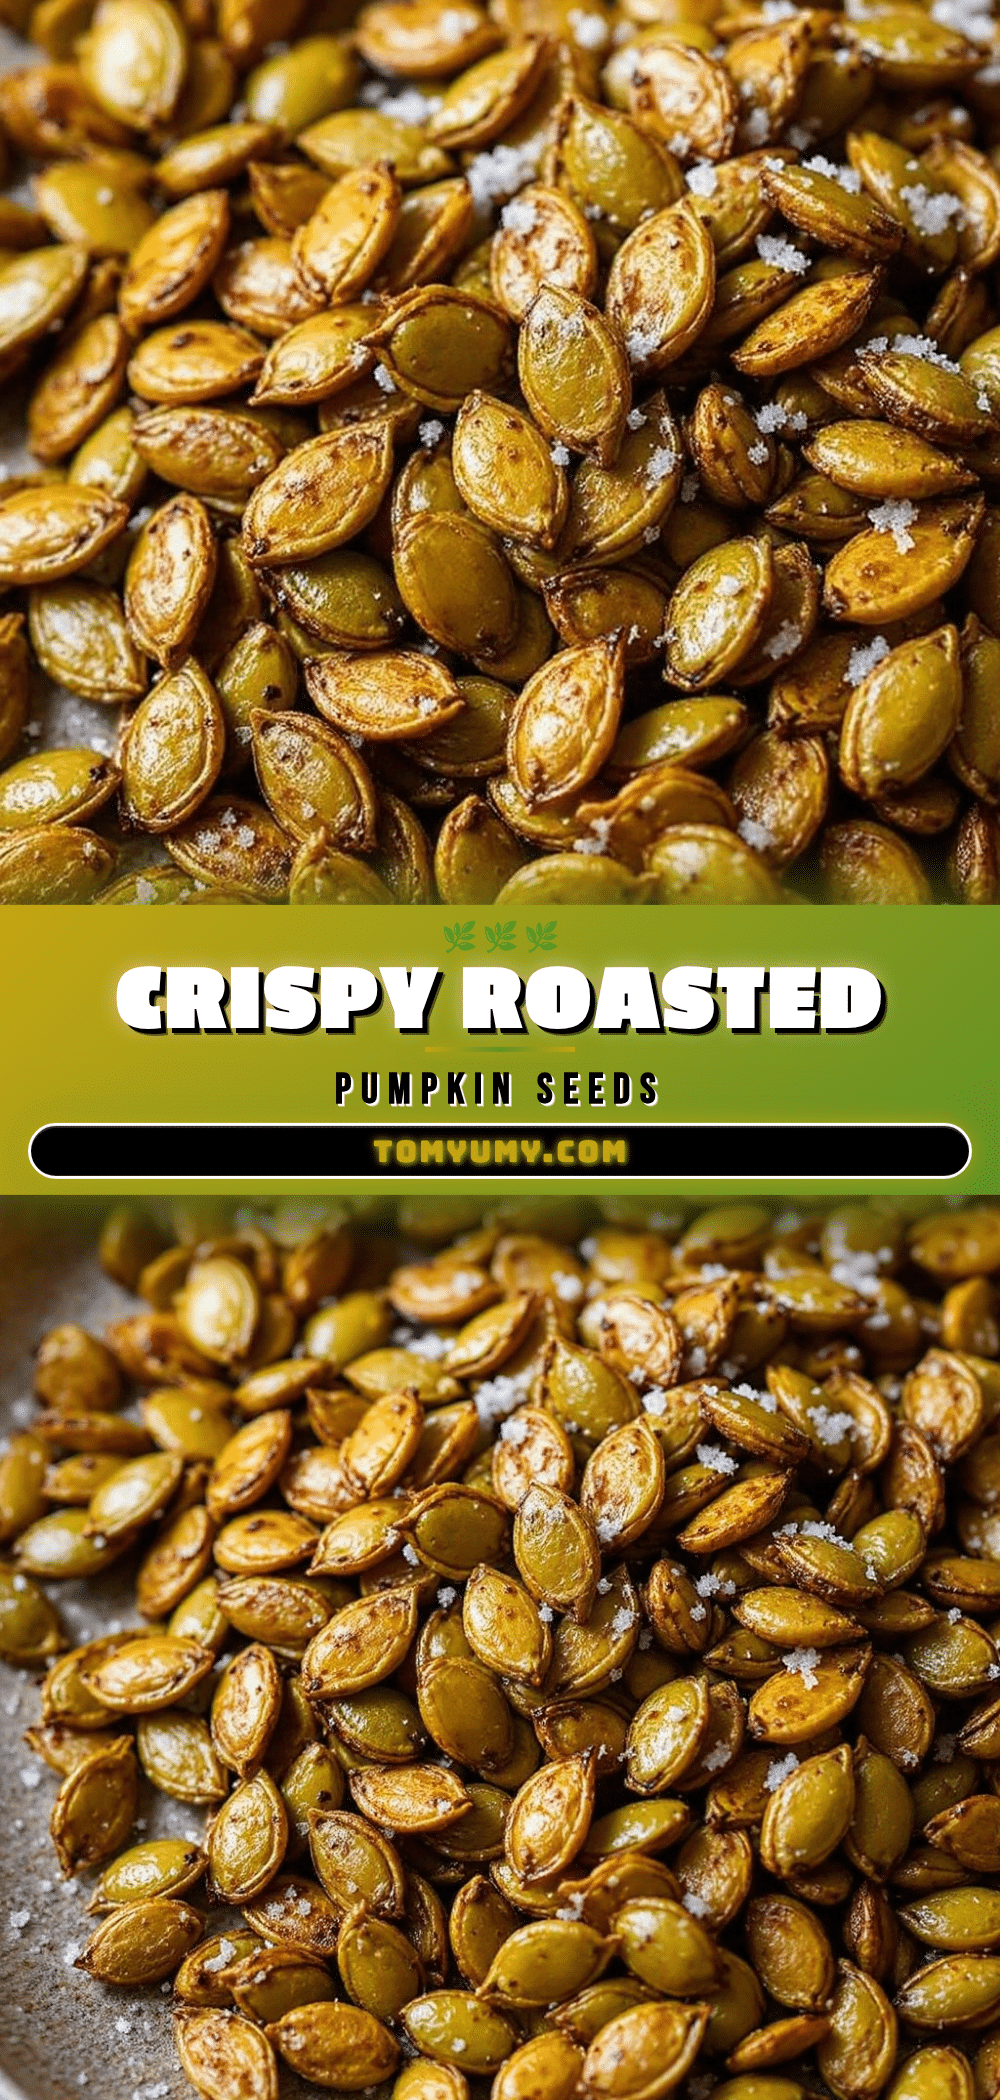
Crispy Roasted Pumpkin Seeds with Sea Salt
A simple, healthy, and addictive homemade snack made by roasting raw pumpkin seeds with oil and sea salt until golden brown and crunchy.
- Prep Time: 15 minutes
- Cook Time: 30 minutes
- Total Time: 45 minutes
- Yield: 1 cup 1x
- Category: Snack
- Cuisine: American
Ingredients
- 1 cup raw pumpkin seeds (pepitas)
- 1–2 tablespoons neutral oil (such as avocado or light olive oil)
- 1/2 teaspoon fine sea salt
- Water for rinsing
Instructions
- Rinse the seeds in a large bowl of warm water, swirling to remove pulp. Skim off floating pulp and repeat until water runs clear.
- Drain the seeds in a colander and pat them completely dry using paper towels or a clean kitchen towel.
- Preheat the oven to 325°F (165°C).
- Transfer the dried seeds to a bowl and toss with oil and salt until evenly coated and shiny.
- Spread the seeds in a single layer on a parchment-lined baking sheet.
- Roast for 20 minutes, then remove and stir the seeds. Roast for another 5-10 minutes until golden brown and clicking when shaken.
- Remove from oven and let cool completely on the pan to ensure crispiness.
Notes
Ensure seeds are thoroughly dried before roasting to prevent steaming. Do not overcrowd the pan; roast in batches if necessary. Seeds will continue to crisp up as they cool completely. Store in an airtight container at room temperature for up to one week.
Nutrition
- Serving Size: 1 ounce (approx. 1/4
- Calories: 160
- Sodium: 150
- Fat: 14
- Saturated Fat: 2
- Carbohydrates: 2
- Fiber: 2
- Protein: 5
Keywords: pumpkin seeds, pepitas, roasted seeds, healthy snack, fall snack, gluten-free, vegan, keto-friendly, homemade snack