“You’ve got a jar of flour and water sitting on the counter for days, and you’re starting to wonder if it’s actually magic or just a science experiment gone sideways.” That’s exactly how my sourdough journey began—half skeptical, half curious, and mostly impatient. Honestly, I was convinced that a sourdough starter was some fancy baker’s ritual, not something a regular home cook could tame. But after a particularly rough day juggling work and dinner chaos, I decided to give it one more shot. I mixed flour and water, left it alone, and forgot about it for a while (which, in sourdough terms, is actually a good thing).
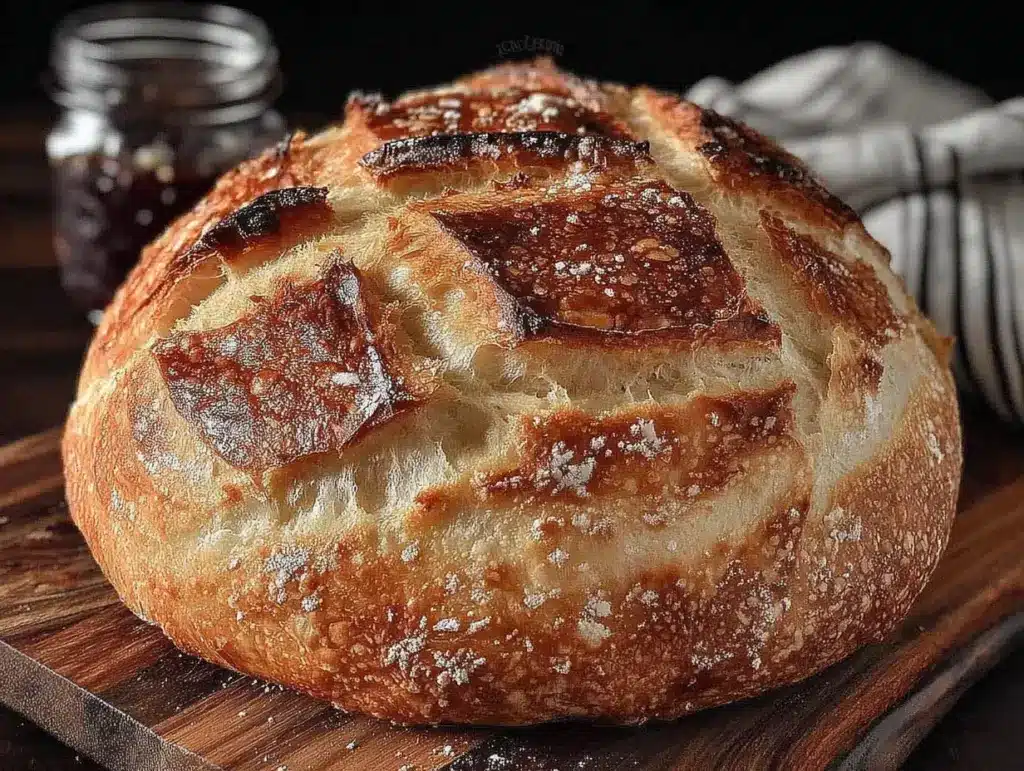
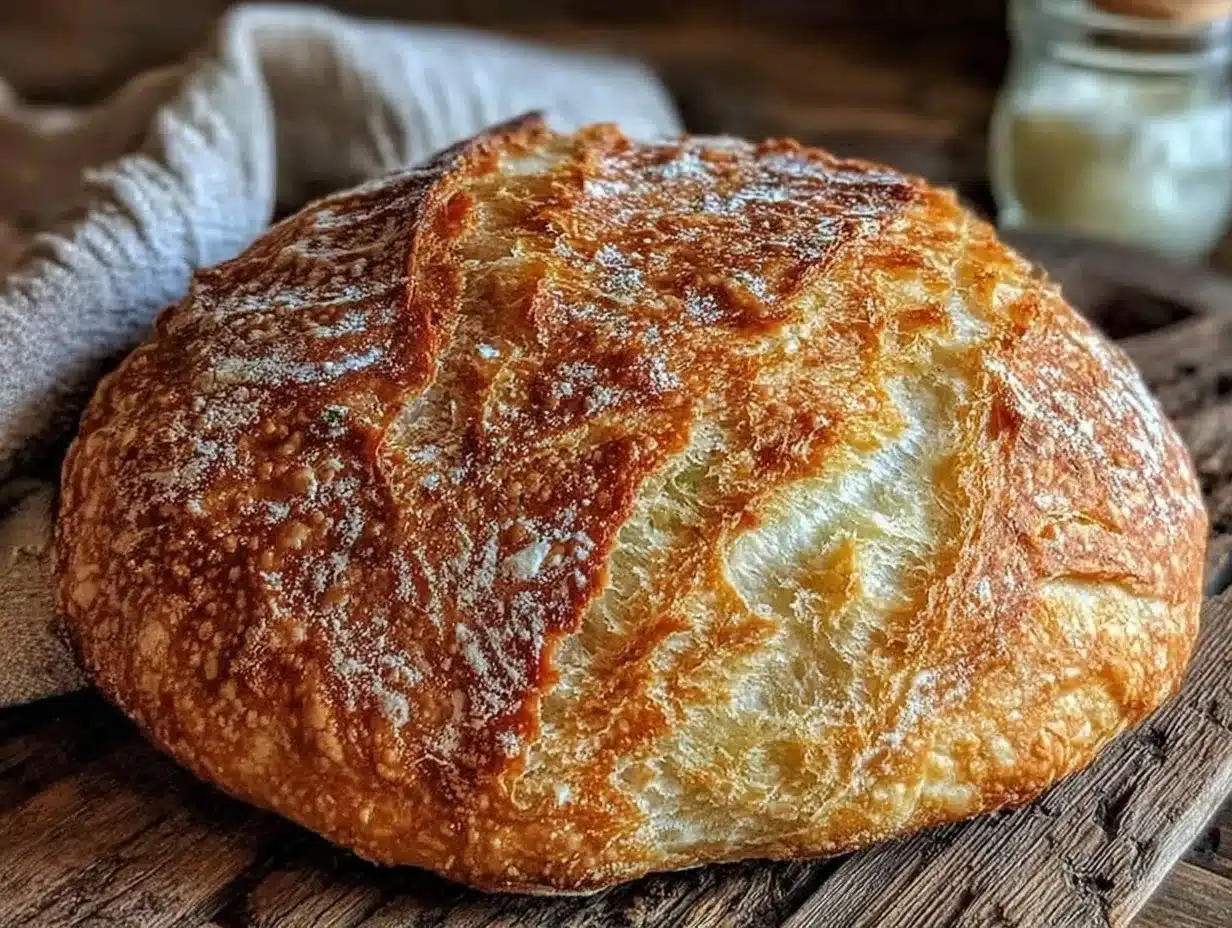
Within a few days, bubbles appeared, and a subtle tangy aroma filled the kitchen. That unassuming jar turned into the heart of my baking, producing artisan loaves with crackly crusts and tender crumb I never thought I’d pull off at home. The “Easy Beginner Sourdough Starter Guide for Perfect Artisan Loaves” isn’t just a recipe—it’s a gentle nudge to trust the process, even if you feel clueless at first. It’s that quiet moment when you realize baking sourdough is less about perfection and more about patience (and a little bit of kitchen magic). This guide stuck with me because it made sourdough approachable, not intimidating, and it’s the reason I keep coming back to homemade bread over and over—there’s just nothing like it.
Why You’ll Love This Recipe
Making your own sourdough starter might sound intimidating, but this easy beginner sourdough starter guide breaks it down into something anyone can handle, no fancy gear or wild ingredients needed. After baking with this starter for months, I can say it’s a total game-changer for your bread baking routine.
- Quick & Easy: You just mix flour and water—simple as that! The starter takes about 5 minutes daily for 5 days, perfect for busy folks who want artisan bread without a huge time investment.
- Simple Ingredients: Only flour and water—no weird additives or costly starters. You likely have everything at home already.
- Perfect for Any Occasion: Whether it’s weekend baking, cozy Sunday brunch, or impressing guests with homemade artisan bread, this starter sets you up for success.
- Crowd-Pleaser: The bread you bake with this starter gets raves every time—crunchy crust, airy crumb, and a subtle tang that’s addictively good.
- Unbelievably Delicious: The flavor depth you get from a natural starter beats commercial yeast every time—it’s like tasting bread that’s alive.
What makes this starter different? I’ve fine-tuned the feeding schedule and flour ratios for consistency that even a sourdough newbie can handle. Plus, I share tips from my own kitchen where things didn’t always go perfectly (because, trust me, they rarely do the first time). This isn’t just any starter recipe—it’s the one I trust to give me perfect artisan loaves without the fuss or confusion.
What Ingredients You Will Need
This recipe uses simple, wholesome ingredients that come together to create a lively, bubbly sourdough starter—a living culture that will give your bread incredible flavor and texture. All ingredients are pantry staples, and if you don’t have them on hand, they’re easy to find at any grocery store.
- Unbleached all-purpose flour: The base of your starter. I prefer King Arthur Flour for its consistent quality and great fermentation results.
- Whole wheat flour: Adds extra nutrients and wild yeast to kick-start the fermentation. Bob’s Red Mill is a reliable choice.
- Filtered or spring water: Chlorine and fluoride can slow fermentation, so use water without those chemicals if possible.
For the starter feedings, you’ll use a simple mix of:
- 50 grams (about 1/3 cup + 1 tablespoon) unbleached all-purpose flour
- 50 grams (about 1/3 cup + 1 tablespoon) whole wheat flour
- 100 grams (about 1/3 cup + 2 tablespoons) water at room temperature
These proportions create a balanced environment for the yeast and bacteria to thrive. If you want a gluten-free option, you can swap the flours for brown rice or oat flour, but know it might take a bit longer to ferment. If you’re curious about how this starter can lead to amazing bread, try pairing it with the savory jalapeño popper cheesy cornbread casserole for a fun twist on classic baking.
Equipment Needed
To get started on your sourdough journey, you don’t need a fancy setup—honestly, the simpler the better. Here’s what I recommend:
- Glass or plastic container: A quart-sized jar or food-safe container works best. I’ve found glass jars easier to monitor since you can see the bubbles forming.
- Kitchen scale: For accuracy in flour and water measurements. It really helps keep the starter consistent. If you don’t have one, measuring cups work but expect a bit more variability.
- Wooden spoon or spatula: For mixing. Avoid metal utensils as they can react with the starter over time.
- Loose lid or cloth cover: You want to keep the starter covered but allow airflow. A coffee filter secured with a rubber band or a loose-fitting lid is perfect.
Optional but handy:
- Thermometer: To check water temperature (ideal is about 75°F/24°C). I usually just use my wrist to test, but it helps if you want precision.
- Bench scraper: Useful when you start handling dough, especially if you try baking pumpkin spice molasses crinkle scones alongside your sourdough bread.
Maintenance tip: Rinse your container with warm water and avoid soap, which can kill the natural yeast. I keep a dedicated jar just for starters—it saves headaches!
Preparation Method
- Day 1: Mix your starter (5 minutes)
Combine 50g unbleached all-purpose flour, 50g whole wheat flour, and 100g filtered water in your jar. Stir until fully combined into a thick batter. Scrape down the sides, cover loosely, and set it in a warm spot (around 70-75°F/21-24°C). I like placing mine near the stove but away from drafts. - Day 2: Check for bubbles (1-2 minutes)
You might see a few bubbles or smell a faint tang. If nothing’s happening, don’t worry; it can take time. Stir the starter to incorporate air, cover again, and leave it be. - Day 3: First feeding (5 minutes)
Discard about half of the starter (roughly 100g), then add 50g all-purpose flour, 50g whole wheat flour, and 100g water. Stir well, cover loosely, and return to the warm spot. The discard helps keep the starter manageable and encourages active fermentation. - Days 4 and 5: Repeat feedings (5 minutes each)
Continue the discard and feed routine every 24 hours. By day 5, you should see lots of bubbles, and the starter should roughly double in size within 6-8 hours of feeding. It will have a pleasantly sour aroma, like mild yogurt or apples. - Day 6: Ready to bake!
If your starter passes the “float test” (drop a spoonful in water, and it floats), it’s ready. If not, keep feeding daily until it does. Now you have a living starter to make artisan bread with that beautiful crust and chewy crumb.
Pro tip: If your kitchen is cold, try placing the jar inside your oven with just the light on (no heat) or near a warm appliance. Patience is key here—this process is part science, part art.
Cooking Tips & Techniques
Working with a sourdough starter can feel like babysitting a tiny pet, but a few tricks make it easier:
- Consistency matters: Use a kitchen scale for feeding to keep the flour-to-water ratio steady. This consistency encourages healthy yeast growth.
- Temperature control: Yeast is happiest around 75°F (24°C). If your kitchen is cold, your starter might take longer to bubble up—just be patient and don’t rush the feedings.
- Don’t skip discards: Removing half before feeding keeps acidity balanced and prevents your jar from becoming an unmanageable blob of dough sludge.
- Stir daily: Mixing in air helps yeast multiply. I personally find stirring once a day enough until the starter is strong.
- Watch the smell: Your starter should smell tangy and fresh, not foul or moldy. If you see pink or orange hues, it’s time to start over (it happens to all of us!).
One time I ignored the instructions and fed my starter with tap water straight from the fridge. It stalled for days, and I was ready to give up. Switching to filtered water fixed everything. These little experiences taught me that sourdough is forgiving but appreciates a bit of TLC.
Variations & Adaptations
Once you have your basic starter thriving, try some tweaks to suit your preferences or dietary needs:
- Whole grain boost: Use 100% whole wheat or rye flour for a heartier, earthier starter. It ferments faster and adds complexity to your bread.
- Gluten-free option: Substitute flours with brown rice or buckwheat flour. Keep in mind, gluten-free starters behave differently and may need more frequent feedings.
- Hydration adjustment: Try a thicker starter (less water) for a more sour flavor or thinner for a milder tang. This is a personal preference and can be tweaked as you experiment.
- Alternative feeding schedule: If you bake less often, keep your starter in the fridge and feed weekly. Just bring it back to room temperature and feed twice before baking.
Personally, I once swapped in rye flour during a chilly winter, and the starter bubbled up like crazy. That loaf had a richer flavor that paired perfectly with my homemade creamy peanut butter French silk pie dessert—talk about a dinner with a sweet ending!
Serving & Storage Suggestions
Once your starter is ready, you can bake artisan bread that’s best enjoyed fresh and warm, straight from the oven. Serve slices with butter, olive oil, or alongside soups and stews for ultimate comfort. It pairs wonderfully with hearty dishes, or even alongside sweet treats like the brown butter strawberry peach pie for a special brunch.
For storing your starter long-term, keep it in the refrigerator with a tight lid and feed once a week. Before baking, bring it out, feed it twice a day for two days, and it’ll be lively and ready. Leftover bread freezes beautifully—just slice before freezing and toast straight from the freezer.
Reheating bread in a hot oven (350°F/175°C for 5-10 minutes) restores crust crispness. The flavors also develop more depth if you let the bread rest wrapped overnight.
Nutritional Information & Benefits
A sourdough starter is more than a rise agent—it’s a natural ferment that breaks down gluten and phytates in flour, making bread easier to digest and nutrients more available. Bread made with sourdough starter often has a lower glycemic index than commercial yeast bread, which is great for blood sugar control.
Here’s a rough estimate per slice of artisan sourdough bread (1 oz/28g):
- Calories: 80-90
- Carbohydrates: 15g
- Protein: 3g
- Fat: 0.5g
- Fiber: 1g
If you’re gluten-sensitive (not celiac), sourdough’s fermentation may help reduce symptoms. Just keep in mind the starter contains wheat gluten unless using gluten-free flours.
Conclusion
This easy beginner sourdough starter guide is your first step toward baking stunning artisan bread that tastes like it came from a cozy bakery down the street. It’s a recipe that feels doable, even if you’ve never worked with natural yeast before. The magic of sourdough lies in its simplicity and the little daily rituals—feeding, stirring, waiting—that turn plain flour and water into something alive and delicious.
Feel free to customize your starter and bread to suit your taste and lifestyle. I adore how this project has made my kitchen feel a bit more connected to tradition and a bit less rushed. Plus, it’s a perfect companion for comfort dishes or desserts like pumpkin spice molasses crinkle scones.
Try it out, share your experiences, or ask questions—I’d love to hear how your starter journey goes. Remember, every jar is a new story bubbling to life.
FAQs
How long does it take to make a sourdough starter?
It usually takes about 5 to 7 days for a sourdough starter to become active and bubbly enough for baking. Some starters may take longer depending on temperature and flour type.
Can I use tap water to feed my starter?
Tap water with chlorine or fluoride can inhibit yeast growth. It’s best to use filtered, spring, or bottled water for feeding your starter.
What does it mean if my starter smells bad or has mold?
A healthy starter should smell tangy or slightly yeasty. If it smells rotten, has pink or orange streaks, or visible mold, it’s best to discard and start fresh.
How often should I feed my sourdough starter?
If kept at room temperature, feed your starter daily. If refrigerated, feeding once a week is sufficient, but bring it to room temp and feed a couple of times before baking.
Can I use only all-purpose flour for my starter?
Yes, you can start with all-purpose flour, but adding whole wheat or rye flour helps jumpstart the fermentation because of the extra nutrients and wild yeast.
Pin This Recipe!
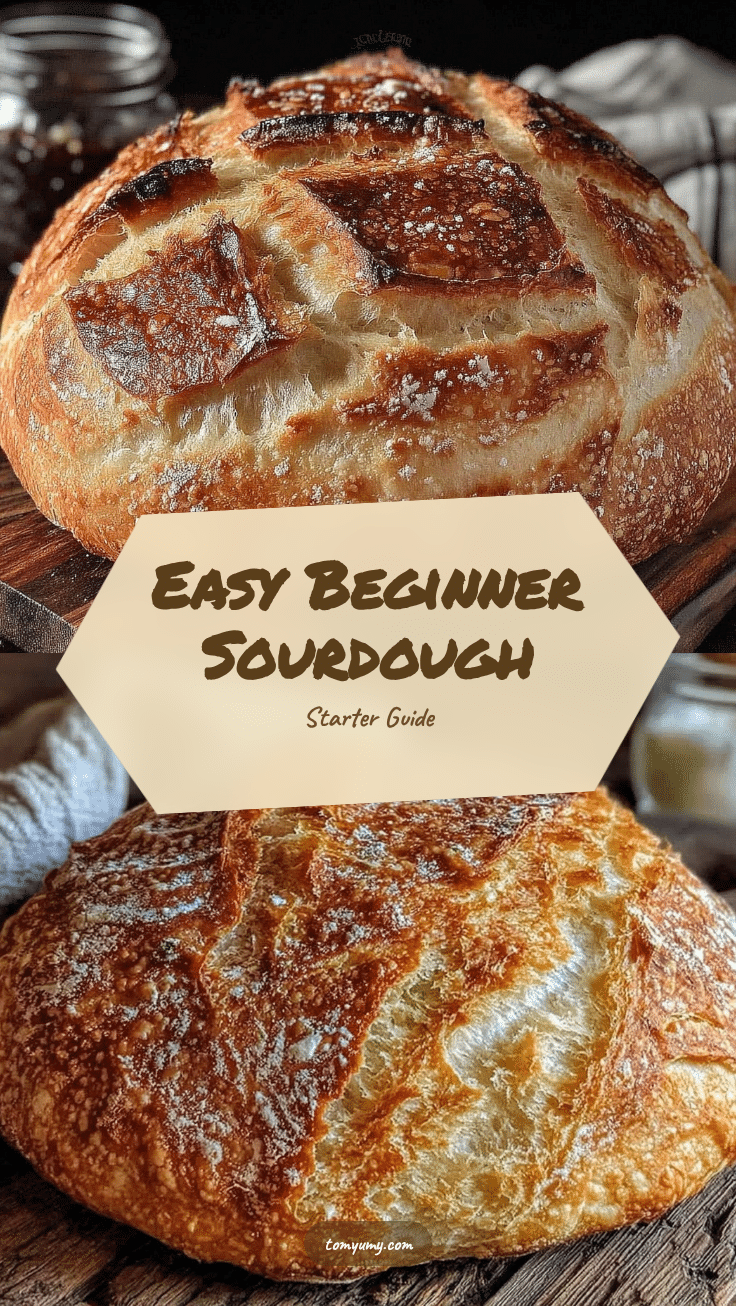
Easy Beginner Sourdough Starter Guide for Perfect Artisan Bread at Home
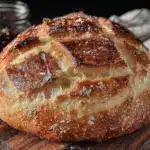
This easy beginner sourdough starter guide helps you create a lively, bubbly starter with simple ingredients and minimal equipment, perfect for baking artisan bread at home.
- Prep Time: 5 minutes daily for 5 days
- Cook Time: N/A
- Total Time: 5 to 7 days
- Yield: 1 sourdough starter culture 1x
- Category: Bread Starter
- Cuisine: Artisan Bread
Ingredients
- 50 grams (about 1/3 cup + 1 tablespoon) unbleached all-purpose flour
- 50 grams (about 1/3 cup + 1 tablespoon) whole wheat flour
- 100 grams (about 1/3 cup + 2 tablespoons) filtered or spring water at room temperature
Instructions
- Day 1: Mix 50g unbleached all-purpose flour, 50g whole wheat flour, and 100g filtered water in a jar. Stir until fully combined into a thick batter. Scrape down the sides, cover loosely, and set in a warm spot (around 70-75°F).
- Day 2: Check for bubbles or a faint tangy smell. Stir the starter to incorporate air, cover loosely, and leave it be.
- Day 3: Discard about half of the starter (roughly 100g). Add 50g all-purpose flour, 50g whole wheat flour, and 100g water. Stir well, cover loosely, and return to the warm spot.
- Days 4 and 5: Repeat the discard and feed routine every 24 hours. By day 5, the starter should double in size within 6-8 hours of feeding and have a pleasantly sour aroma.
- Day 6: Perform the float test by dropping a spoonful of starter in water. If it floats, the starter is ready to bake with. If not, continue feeding daily until it does.
Notes
Use filtered or spring water to avoid chlorine and fluoride which inhibit fermentation. Maintain consistent flour-to-water ratio using a kitchen scale. Keep starter in a warm spot around 70-75°F. Discard half the starter before feeding to maintain acidity balance. If kitchen is cold, place jar in oven with light on for warmth. Avoid metal utensils. If starter smells foul or shows pink/orange hues, discard and restart.
Nutrition
- Serving Size: 1 slice of artisan s
- Calories: 85
- Fat: 0.5
- Carbohydrates: 15
- Fiber: 1
- Protein: 3
Keywords: sourdough starter, artisan bread, beginner sourdough, homemade bread, natural yeast, bread baking, fermentation