It was 2019. I was twenty-four, tired, and trying to survive on vending machine chips and hope. Every Tuesday, I’d walk past the sushi place and smell that sweet soy reduction hitting the hot grill. It smelled like freedom. It smelled like a meal that didn’t come in a wrapper.
I’d sit at my desk, open my tupperware, and feel a little bit of dignity return. Honestly, it wasn’t gourmet. But it was mine. It was warm, it was salty, and it tasted like I actually cared about my afternoon.
Now, years later, I still make that same chicken. But I do it better. I’ve swapped the takeout containers for actual bento boxes. I’ve learned how to get the rice fluffy without a rice cooker (though a rice cooker helps, let’s be real). And I’ve mastered the art of packing lunch so it doesn’t get soggy by 1 PM.
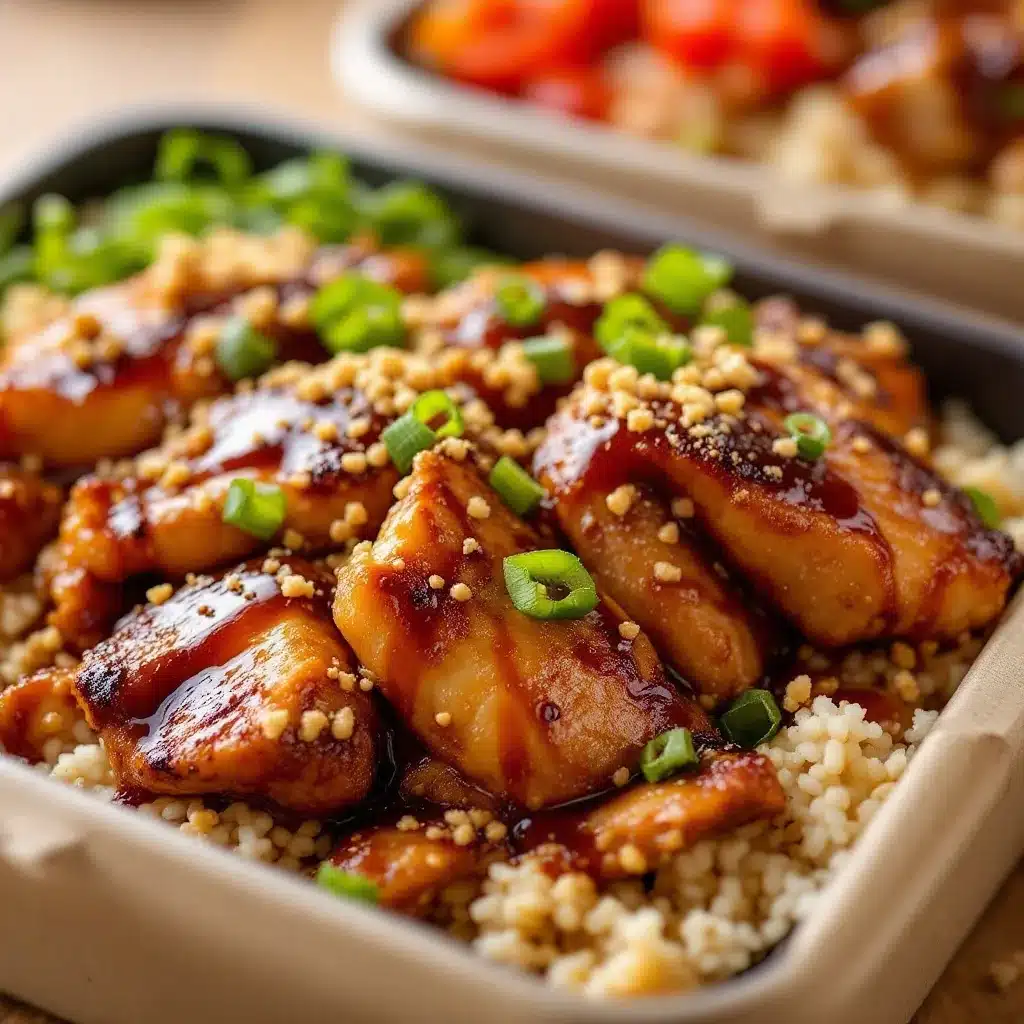
This Easy Bento Box Chicken Teriyaki Meal Prep isn’t just about saving money. It’s about reclaiming your lunch hour. It’s about having a meal that tastes like you spent an hour in the kitchen, even if you only spent twenty minutes.
I remember the first time I packed this for my daughter’s school lunch. She came home and said, “Mom, why can’t we have this every day?” That’s the power of good meal prep. It turns the dread of “what’s for lunch?” into a quiet moment of satisfaction.
So, let’s make it. Not the fancy version. The real version. The one that fits in your bag and keeps you full until dinner.
Why You’ll Love This Recipe
Let’s be honest for a second. Meal prep can feel like a chore. It can feel like you’re spending your entire Sunday chopping vegetables like you’re in a cooking show. But this recipe? It’s different. It’s built for real life.
Here is why this bento box chicken teriyaki has become a staple in my weekly rotation:
- Quick & Easy: The chicken cooks in under 15 minutes. The sauce takes 5. The rest is just assembly. You can have this ready in the time it takes to watch one episode of your favorite show.
- Simple Ingredients: You don’t need a specialty store. You need chicken, soy sauce, sugar, ginger, and rice. If you have these in your pantry, you’re good to go. No fancy trips to the market needed.
- Perfect for Busy Weeknights: This is the ultimate lunch for anyone who works late or has kids’ activities. Pack it on Sunday, grab it on Tuesday, and breathe a sigh of relief.
- Crowd-Pleaser: My husband, who claims he “just wants a sandwich,” actually asks for this. Even my picky eater loves the sweet and savory balance. It’s that universally liked flavor profile.
- Unbelievably Delicious: The texture of the chicken is tender, not dry. The sauce is sticky and rich, coating every grain of rice. It’s comfort food that doesn’t feel heavy.
What makes this different from the other teriyaki recipes online? It’s the balance. Most recipes are too sweet. Or the chicken is rubbery. This version uses a quick marinade that keeps the meat juicy. And the sauce is reduced properly, so it’s not watery. It’s glossy. It’s perfect.
It’s the kind of meal that makes you close your eyes after the first bite. It’s not just food. It’s a pause button in a busy day. It’s healthy, it’s fast, and it’s delicious.
What Ingredients You Will Need
This recipe relies on a few key components that work together to create that classic Japanese takeout flavor at home. You don’t need anything exotic. Most of this is probably in your kitchen right now.
Here is what you need to make it happen:
- Chicken Breast: Boneless, skinless. I prefer chicken thighs for more flavor, but breasts are leaner and cook faster. If you use thighs, just trim the excess fat. Look for fresh, pink meat, not gray or dried out.
- Low-Sodium Soy Sauce: This is your base. Low-sodium is better because the sauce reduces and concentrates. If you use regular soy sauce, cut the salt in the rest of the recipe. I recommend Kikkoman because it has a consistent flavor profile.
- Water: Just plain old tap water to adjust the consistency of the sauce. Don’t skip this, or your sauce will be too salty and thick.
- Granulated Sugar: Brown sugar works too, but white sugar gives that clear, glossy shine. It balances the saltiness of the soy sauce. Don’t be afraid of the sugar; it caramelizes nicely.
- Minced Garlic: Fresh is best. Jarred garlic is okay in a pinch, but it can taste metallic. Fresh garlic adds that sharp, aromatic punch.
- Fresh Ginger: Grated or minced. This is non-negotiable. Ginger gives it that fresh, zesty kick. If you don’t have fresh, use 1/4 teaspoon of ground ginger, but fresh is better.
- Cornstarch: This is the thickener. It creates that sticky, clingy texture we all love. Mix it with a little water to make a slurry before adding it to the pan.
- Sesame Oil: A few drops at the end. It adds a nutty depth that ties everything together. Don’t use it as the main cooking oil; it has a low smoke point.
- Jasmine Rice: Short-grain or medium-grain works too, but jasmine has that floral aroma. Cook it according to package instructions. Fluff it with a fork.
- Vegetables: Broccoli florets are classic. Snap peas, carrots, or edamame also work well. Steam them lightly so they stay crisp-tender.
- Green Onions: For garnish. They add color and a fresh onion bite. Chop them finely.
If you are gluten-free, swap the soy sauce for tamari. If you want to save calories, you can skip the sugar and use a zero-calorie sweetener, but the texture won’t be as glossy.
Equipment Needed
You don’t need a fancy kitchen to make this. Here is what I use:
- Non-Stick Skillet: A 10-inch skillet is perfect. It gives you enough surface area to sear the chicken without crowding it. If you don’t have one, a cast iron skillet works, just be careful with the acid in the soy sauce.
- Measuring Cups and Spoons: Accuracy matters, especially with the cornstarch. Too much, and it’s glue. Too little, and it’s soup.
- Bento Boxes or Meal Prep Containers: I use glass containers with dividers. Glass keeps the food fresh longer and doesn’t stain. Plastic is fine if you are on the go, but glass is easier to clean.
- Steamer Basket: If you want to steam vegetables in the microwave or on the stove, a steamer basket is handy. Or just use a microwave-safe bowl with a damp paper towel.
- Whisk: For mixing the sauce slurry. A small whisk works best.
- Rice Cooker (Optional): I have one, but it’s not required. A heavy-bottomed pot with a tight lid works fine too.
I’ve ruined pans by using metal utensils on non-stick surfaces. Use wood or silicone. It’s worth the investment. Also, clean your containers immediately after use. Teriyaki sauce stains plastic like crazy.
Preparation Method
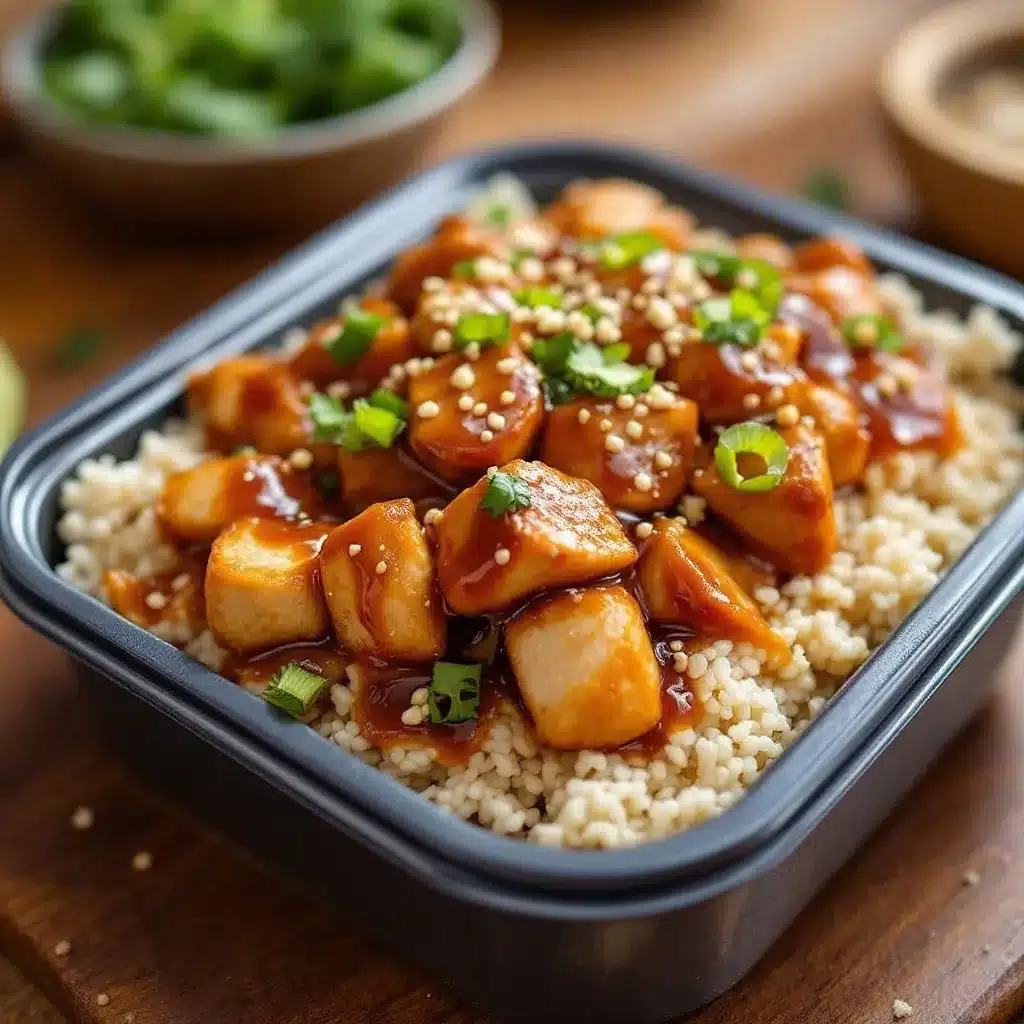
Here is how you put it all together. Keep it simple.
- Cook the Rice: Start here because it takes the longest. Rinse 1 cup of jasmine rice under cold water until the water runs clear. This removes excess starch. Add 1.5 cups of water to the pot. Bring to a boil, then reduce heat to low, cover, and simmer for 15 minutes. Turn off the heat and let it sit, covered, for 10 minutes. Fluff with a fork. (Time: 25-30 minutes)
- Prep the Chicken: While the rice cooks, cut 1 pound of chicken breast into bite-sized strips. Pat them dry with a paper towel. This helps them sear instead of steam. Season lightly with salt and pepper. (Time: 5 minutes)
- Make the Sauce: In a small bowl, whisk together 1/2 cup soy sauce, 1/4 cup water, 2 tablespoons sugar, 1 teaspoon minced garlic, and 1 teaspoon minced ginger. Set aside. (Time: 2 minutes)
- Cook the Chicken: Heat 1 tablespoon of oil in your skillet over medium-high heat. Add the chicken in a single layer. Don’t crowd the pan. Cook for 3-4 minutes per side until golden brown and cooked through. Remove chicken from the pan and set aside on a plate. (Time: 8-10 minutes)
- Thicken the Sauce: Reduce heat to medium. Pour the sauce mixture into the same pan. Let it simmer for 1-2 minutes. In a separate small cup, mix 1 teaspoon cornstarch with 1 tablespoon cold water. Pour this slurry into the sauce. Stir constantly. The sauce will thicken in about 30 seconds. It should coat the back of a spoon. (Time: 3 minutes)
- Combine: Add the cooked chicken back into the sauce. Toss to coat. Turn off the heat. Stir in 1/2 teaspoon sesame oil. (Time: 1 minute)
- Steam Vegetables: While the sauce thickens, steam your broccoli or other veggies until tender-crisp. Don’t overcook them. They should still have a bite. (Time: 3-5 minutes)
- Assemble: Divide the rice into your containers. Top with chicken and sauce. Add vegetables. Garnish with green onions. (Time: 5 minutes)
The key is to not overcook the chicken. It continues to cook a little bit when you add it to the hot sauce. Pull it when it’s just barely done.
Cooking Tips & Techniques
I’ve made this recipe enough times to know where things go wrong. Here is how to avoid the pitfalls.
First, don’t skip the cornstarch slurry. If you add dry cornstarch to the hot sauce, it will clump. Always mix it with cold water first. That’s the secret to a smooth, glossy sauce.
Second, pat your chicken dry. Wet chicken steams. Dry chicken sears. You want those brown bits for flavor. If your pan isn’t hot enough, the chicken will stick. Get that pan hot before adding the oil.
Third, taste the sauce before you add the chicken. It should taste slightly too salty and too sweet. Once it coats the chicken and mixes with the rice, it will be perfect. If it’s too sweet, add a splash of vinegar. If it’s too salty, add a little water.
I once made this with too much sugar and it was cloying. I had to throw it out. Don’t be afraid to adjust. Cooking is about balancing flavors.
Also, don’t over-stir the chicken. Let it sit. You want a crust. If you keep moving it, it won’t brown.
Finally, let the rice rest. It seems minor, but resting the rice allows the moisture to redistribute. It makes for fluffier, better-textured rice in your bento box.
Variations & Adaptations
This recipe is flexible. Here are some ways to make it your own.
- Protein Swap: Use shrimp instead of chicken. Shrimp cooks in 2-3 minutes. Just add it to the sauce at the end. You can also use tofu cubes for a vegetarian version. Press the tofu first to remove moisture.
- Gluten-Free: Use tamari instead of soy sauce. Check your cornstarch label to ensure it’s gluten-free (most are, but some are mixed with wheat).
- Low-Carb: Swap the rice for cauliflower rice. Sauté the cauliflower rice with a little butter and garlic for 5 minutes. It absorbs the sauce well.
- Spicy Kick: Add a teaspoon of sriracha or red pepper flakes to the sauce. It adds a nice heat that cuts through the sweetness.
- Different Veggies: Use snap peas, bok choy, or bell peppers. Whatever you have in the fridge. Just keep them crisp.
I tried making this with salmon once. It was good, but the sauce was too heavy for the delicate fish. Stick to chicken or shrimp for this specific sauce profile.
Serving & Storage Suggestions
Serve this warm or at room temperature. It doesn’t need to be piping hot. In fact, many people prefer bento box food at room temperature because the flavors meld together.
Pair it with a cup of green tea or miso soup. It’s a light but filling meal.
For storage, let the food cool completely before putting the lids on. Trapped steam makes the rice soggy. Store in the refrigerator for up to 4 days.
To reheat, microwave for 1-2 minutes. If the rice is dry, sprinkle a teaspoon of water over it before heating. This creates steam and rehydrates the rice.
The sauce actually gets better on day two. The chicken absorbs more of the flavor. It’s worth making a double batch.
Nutritional Information & Benefits
This meal is balanced. The chicken provides lean protein. The rice gives you energy. The vegetables add fiber and vitamins.
One serving (approx. 1/4 of the recipe) contains about 350-400 calories, depending on the rice portion. It has roughly 25g of protein, 40g of carbohydrates, and 5g of fat.
It is naturally gluten-free if you use tamari. It is dairy-free. It is low in saturated fat.
I love this recipe because it’s not a “diet” food. It’s just good food. It keeps me full and satisfied. It doesn’t leave me craving snacks an hour later.
Conclusion
This Easy Bento Box Chicken Teriyaki Meal Prep is more than just lunch. It’s a tool. It helps you stay on track. It helps you save money. And it helps you eat better without thinking about it too much.
I hope you try it. Make it your own. Add your favorite veggies. Change the spice level. The point is to make it work for you.
If you make this, let me know in the comments. I love hearing how you adapt recipes. Share your photos on social media and tag me. I’d love to see your bento boxes.
Enjoy your lunch. You deserve a good one.
FAQs
Can I use frozen chicken?
Yes, but you need to thaw it completely first. Cooking frozen chicken in a hot pan will lead to uneven cooking. Thaw it in the fridge overnight.
How long does the sauce last?
The sauce can be made ahead and stored in the fridge for up to a week. Just reheat it before using.
Can I freeze the bento boxes?
Yes, but the texture of the rice changes. It becomes softer. Thaw in the fridge overnight and reheat gently. Vegetables may get mushy, so add fresh veggies if possible.
What if I don’t have ginger?
You can use ground ginger, but use only 1/4 teaspoon. Fresh ginger is much stronger and fresher tasting.
Can I use brown rice?
Yes, brown rice works well. Just note that it takes longer to cook and has a nuttier flavor. Adjust your liquid ratio accordingly.
Pin This Recipe!
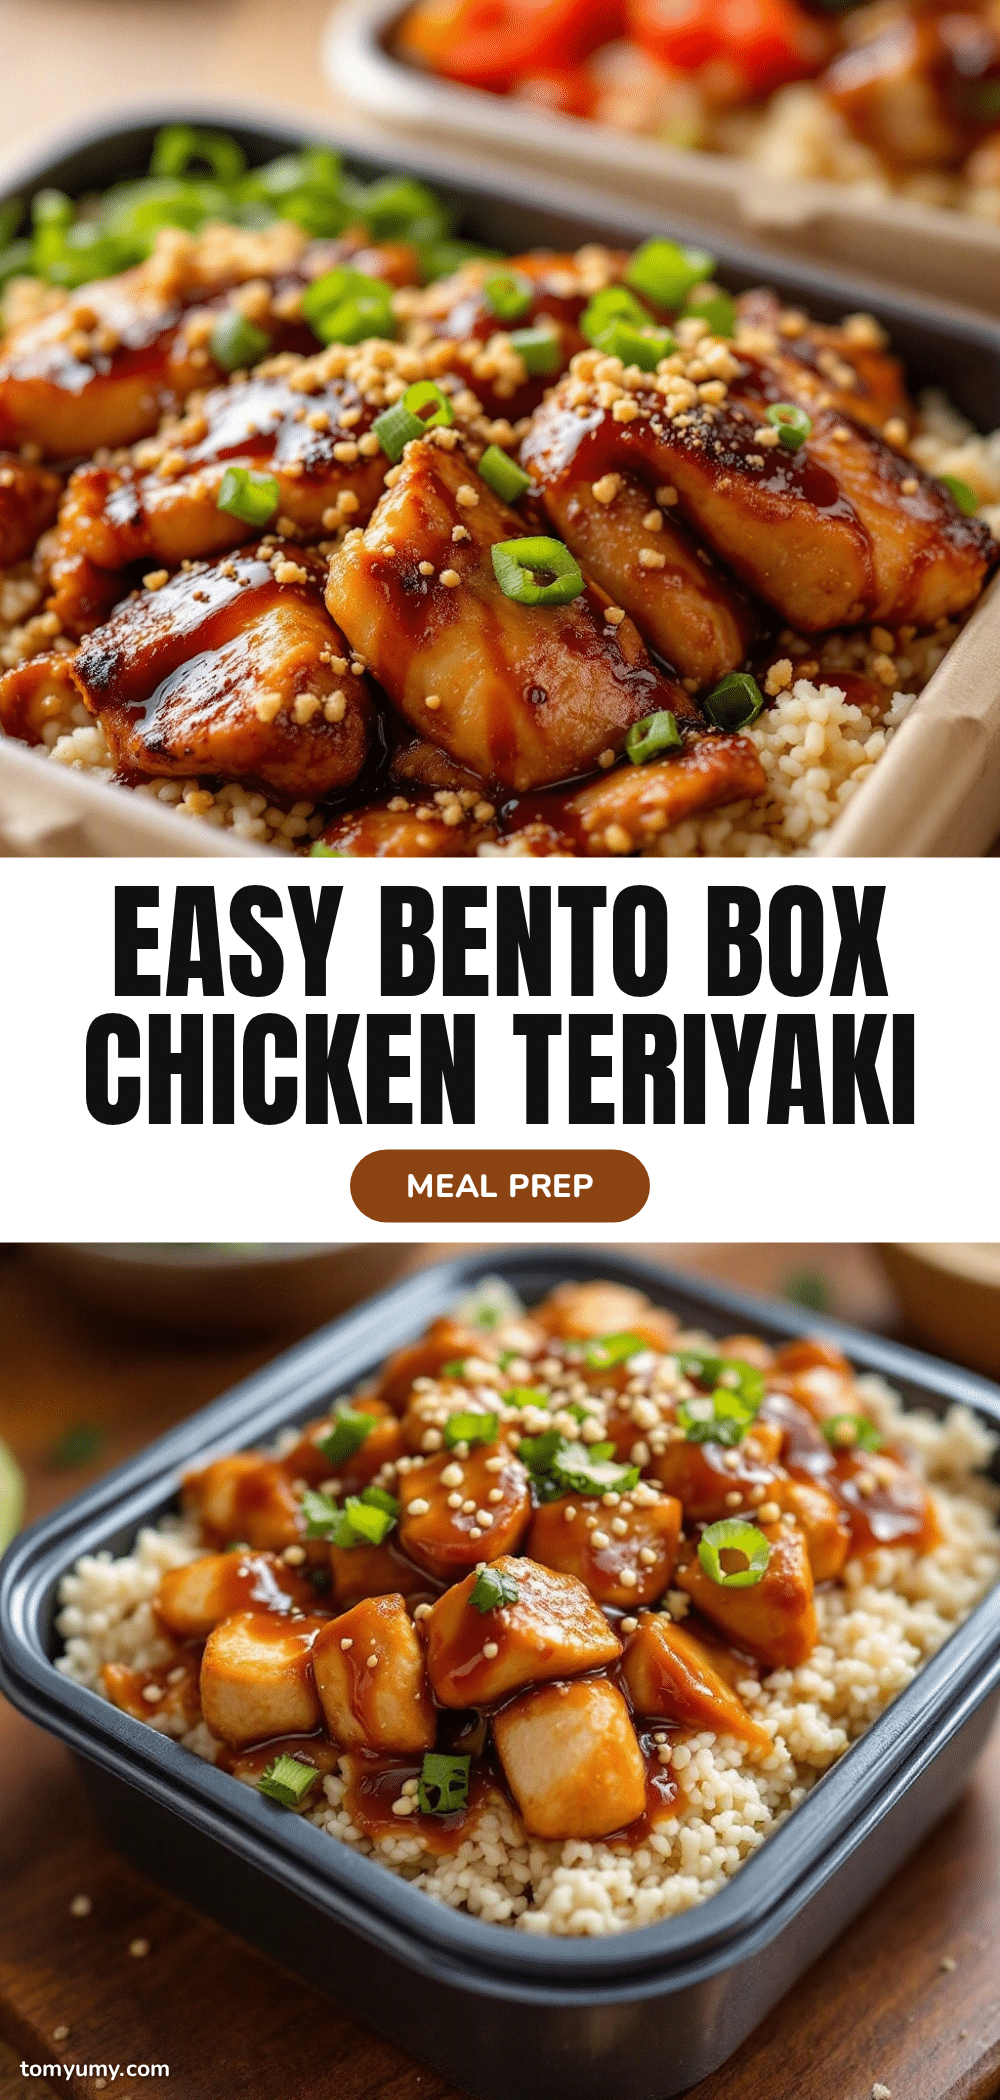
Easy Bento Box Chicken Teriyaki Meal Prep: 5-Min Lunch

A quick and delicious meal prep recipe featuring tender chicken breast in a glossy, sweet-savory teriyaki sauce, served with fluffy jasmine rice and steamed vegetables. Perfect for busy weeknights and packed lunches.
- Prep Time: 15 minutes
- Cook Time: 30 minutes
- Total Time: 45 minutes
- Yield: 4 servings 1x
- Category: Main Course
- Cuisine: Japanese
Ingredients
- 1 cup jasmine rice
- 1.5 cups water (for rice)
- 1 pound chicken breast, boneless and skinless, cut into bite-sized strips
- Salt and pepper, for seasoning
- 1 tablespoon cooking oil
- 1/2 cup low-sodium soy sauce
- 1/4 cup water (for sauce)
- 2 tablespoons granulated sugar
- 1 teaspoon minced garlic
- 1 teaspoon minced fresh ginger
- 1 teaspoon cornstarch
- 1 tablespoon cold water (for cornstarch slurry)
- 1/2 teaspoon sesame oil
- Vegetables (e.g., broccoli florets, snap peas, carrots, or edamame)
- Green onions, chopped (for garnish)
Instructions
- Rinse 1 cup of jasmine rice under cold water until clear. Add 1.5 cups water to the pot, bring to a boil, then reduce heat to low, cover, and simmer for 15 minutes. Turn off heat and let sit covered for 10 minutes. Fluff with a fork.
- While rice cooks, pat chicken strips dry and season lightly with salt and pepper.
- In a small bowl, whisk together 1/2 cup soy sauce, 1/4 cup water, 2 tablespoons sugar, 1 teaspoon minced garlic, and 1 teaspoon minced ginger. Set aside.
- Heat 1 tablespoon oil in a 10-inch non-stick skillet over medium-high heat. Add chicken in a single layer and cook for 3-4 minutes per side until golden brown and cooked through. Remove chicken and set aside.
- Reduce heat to medium. Pour the sauce mixture into the same pan and simmer for 1-2 minutes.
- Mix 1 teaspoon cornstarch with 1 tablespoon cold water to create a slurry. Pour into the sauce and stir constantly until thickened (about 30 seconds).
- Add the cooked chicken back into the sauce, toss to coat, turn off heat, and stir in 1/2 teaspoon sesame oil.
- Steam vegetables until tender-crisp.
- Assemble by dividing rice into containers, topping with chicken and sauce, adding vegetables, and garnishing with green onions.
Notes
Pat chicken dry before cooking to ensure searing rather than steaming. Do not skip the cornstarch slurry; always mix with cold water first to prevent clumping. Let rice rest after cooking for fluffier texture. Sauce can be made ahead and stored for up to a week. For gluten-free, swap soy sauce for tamari.
Nutrition
- Serving Size: 1/4 of the recipe
- Calories: 375
- Sugar: 12
- Sodium: 800
- Fat: 5
- Saturated Fat: 1
- Carbohydrates: 40
- Fiber: 2
- Protein: 25
Keywords: chicken teriyaki, meal prep, bento box, lunch ideas, quick dinner, healthy lunch, gluten-free option, rice bowl