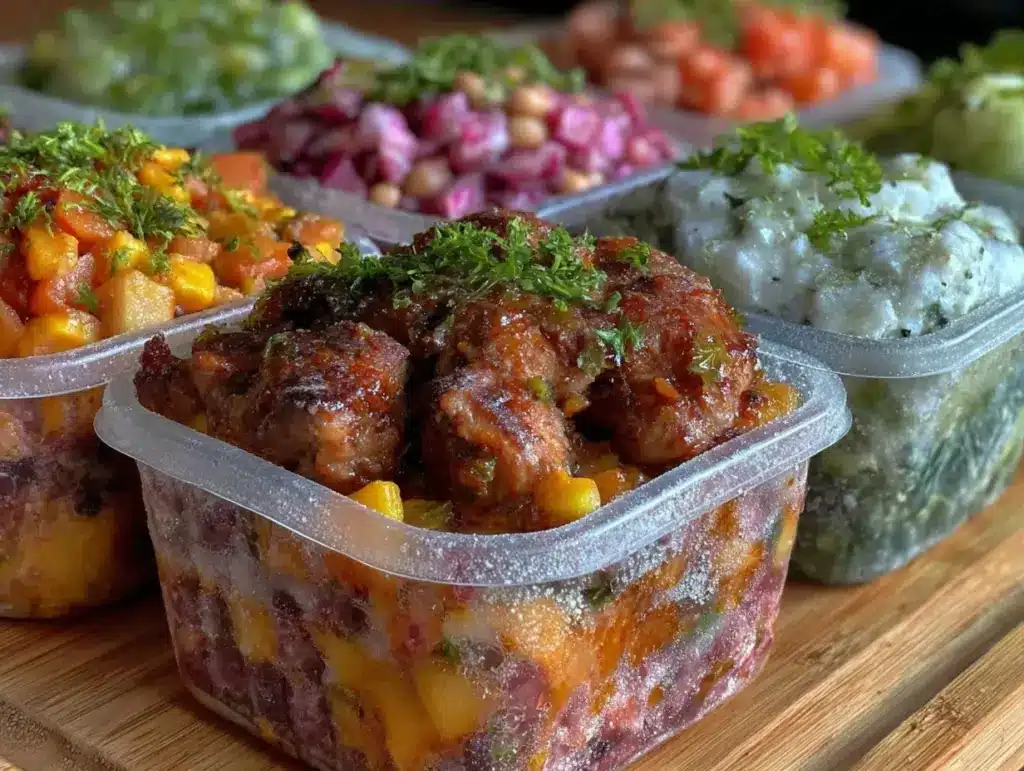
“Just toss it all in the bag and forget about dinner until next month,” my friend texted me one hectic evening, and honestly, I thought she was joking. But after a whirlwind week of juggling work, errands, and a toddler’s constant demands, I was desperate enough to give it a shot. The idea of these easy freezer meal prep dump bags sounded almost too good to be true. Could it really be that simple? No chopping, no complicated marinating, just open, dump, seal, and freeze?
Fast forward a few weeks, and those freezer bags have become my secret weapon for sanity. I don’t have to scramble for dinner plans or fall back on takeout that leaves me feeling sluggish. The best part is how the flavors develop in the freezer, so when I finally cook one of these meals, it tastes like I spent hours prepping it. Honestly, it’s like having a personal chef who works on my schedule.
This recipe stuck around because it quietly solved a problem I didn’t think I could fix. It’s not flashy or complicated, but it’s reliable, comforting, and downright convenient. And you know what? That’s exactly why it feels like a little gift I give myself every month.
Why You’ll Love This Recipe
After making these freezer meal prep dump bags multiple times, I can say they truly changed how I handle busy weeks. Here’s why you might find yourself reaching for this recipe more often than you expect:
- Quick & Easy: Each bag takes less than 10 minutes to assemble, perfect for those evenings when you barely have time to breathe.
- Simple Ingredients: No ingredient hunt needed—most are pantry staples or easy-to-find basics.
- Perfect for Monthly Planning: Prep several bags in one go and enjoy stress-free dinners for weeks.
- Crowd-Pleaser: These meals please picky eaters and hungry adults alike—no complaints here!
- Unbelievably Delicious: The slow melding of flavors while freezing means every bite is juicy and full of personality.
- Hands-Off Convenience: Once prepped, just thaw and cook—no mess, no fuss.
What sets this apart from other meal prep ideas? The magic lies in the “dump bag” technique. You layer your ingredients in a sealed bag, which marinates in the freezer, making the cooking process effortless yet flavorful. No need to babysit the stove or worry about last-minute grocery runs.
Honestly, it’s the kind of recipe that makes you pause mid-bite and think, “How did I ever live without this?” Plus, if you’re a fan of dishes like the creamy bacon jalapeño popper mac and cheese bake, you’ll appreciate how these bags deliver that same cozy, satisfying vibe but with less effort.
What Ingredients You Will Need
This recipe uses straightforward, wholesome ingredients that work together to create a hearty, flavorful meal without any fuss. You probably have most of these in your kitchen already, and they’re easy to substitute if needed.
- Protein: 1.5 lbs (700 g) boneless skinless chicken thighs or breasts, trimmed and cut into chunks (thighs stay juicier)
- Vegetables:
- 2 cups (300 g) baby potatoes, halved or quartered (small red or Yukon gold work well)
- 1 cup (130 g) baby carrots, whole or halved if large
- 1 cup (150 g) green beans, trimmed (fresh or frozen)
- Seasoning:
- 2 teaspoons garlic powder
- 1 teaspoon smoked paprika (adds a subtle depth)
- 1 teaspoon dried thyme
- Salt and black pepper to taste
- Liquids:
- 1/4 cup (60 ml) olive oil or avocado oil (for richness and to help seasoning stick)
- 2 tablespoons lemon juice or apple cider vinegar (adds brightness)
- Optional: 1/2 cup (120 ml) chicken broth for juicier results
If you want to switch things up, try using turkey instead of chicken or swap green beans for chopped bell peppers. For a gluten-free option, this recipe is naturally free of gluten, making it a safe bet. Just pick a trusted olive oil brand like California Olive Ranch for the best flavor.
Equipment Needed
- Large resealable freezer bags (quart or gallon size depending on batch size) – I prefer heavy-duty freezer bags for durability
- Measuring spoons and cups for precise seasoning
- A large mixing bowl (if you want to toss ingredients before bagging)
- Sharp knife and cutting board for prepping vegetables and protein
- Optional: Vacuum sealer and bags, if you want to extend freezer life and avoid freezer burn
If you don’t have freezer bags handy, reusable silicone bags are a great eco-friendly alternative and work just as well. I learned the hard way that flimsy bags can leak or tear, so investing a few dollars in quality ones pays off. Keeping your knives sharp also speeds up prep time, trust me.
Preparation Method
- Prep Your Ingredients (10 minutes): Wash and cut the baby potatoes into halves or quarters so they cook evenly. Trim the green beans and peel or halve the baby carrots if needed. Cut chicken into bite-size pieces for faster cooking and easier eating.
- Mix Seasonings: In a small bowl, combine garlic powder, smoked paprika, dried thyme, salt, and pepper. This blend will give your meal that cozy, warming flavor without overwhelming the natural taste of the ingredients.
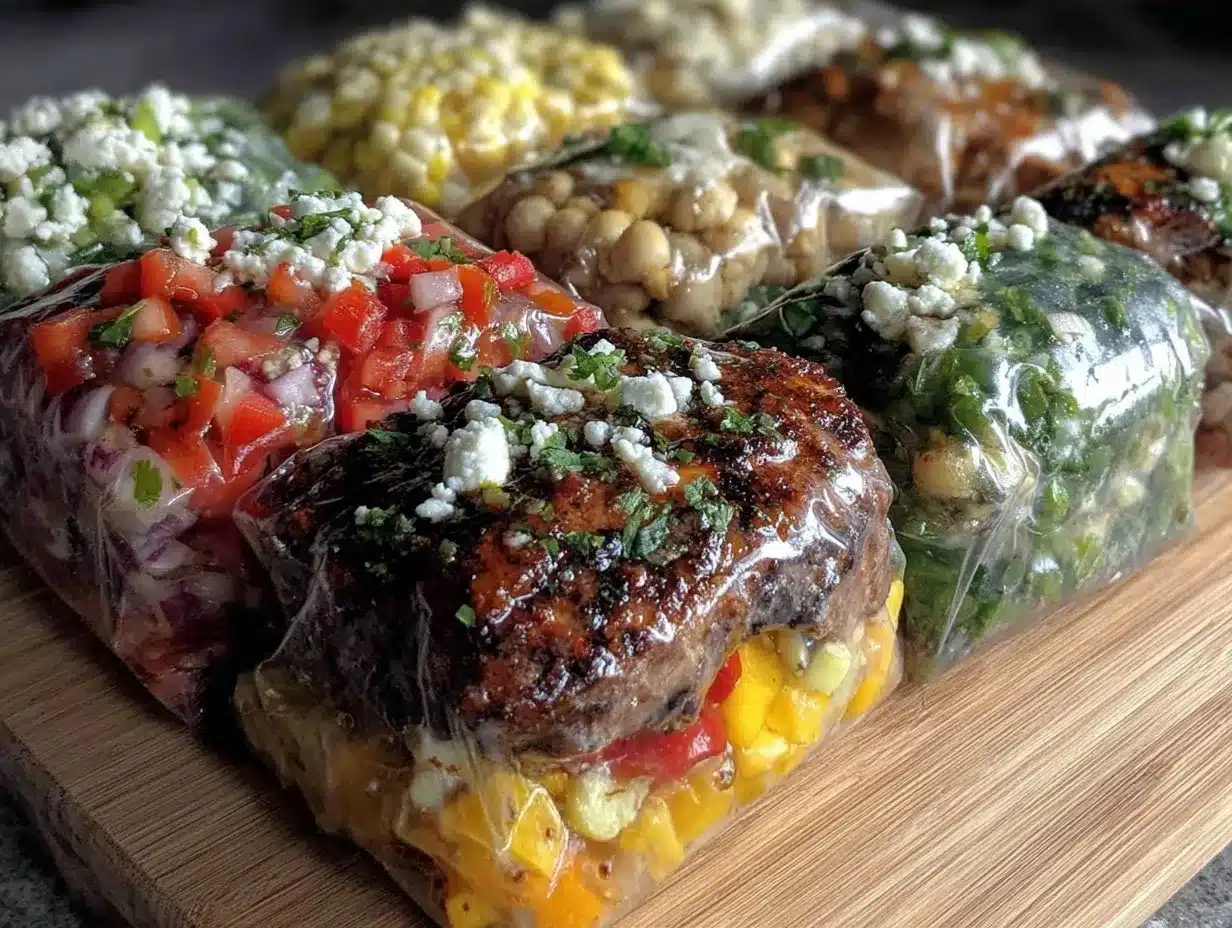
- Assemble the Dump Bags: Lay out a freezer bag and add the chicken pieces first. Then layer in the potatoes, carrots, and green beans. Pour the olive oil and lemon juice over everything. Sprinkle the seasoning mix evenly on top. If you’re using chicken broth, add it last.
- Seal and Massage: Carefully press out excess air and seal the bag tightly. Gently massage the bag to distribute oil and seasoning, making sure everything is coated well. This step is key to flavor penetration during freezing.
- Freeze Flat: Lay the bags flat in your freezer so they freeze evenly and save space. Label each bag with the date and contents. These will keep well for up to 3 months.
- Cooking When Ready: When you’re ready to eat, thaw the bag overnight in the fridge or place it in cold water for a quicker thaw. Pour the contents into a baking dish and bake at 400°F (200°C) for 40-45 minutes until chicken is cooked through and potatoes are tender. You can also cook on a sheet pan or in a slow cooker if preferred.
Pro tip: If you notice the potatoes are cooking faster than the chicken, try cutting them smaller next time or adding them halfway through baking for even texture. Don’t skip the massaging step—it makes a big difference in flavor!
Cooking Tips & Techniques
One thing I learned is that layering ingredients thoughtfully helps everything cook evenly. Placing the chicken at the bottom of the bag lets it soak up juices, while the veggies on top get the right amount of roasting.
Sometimes I skipped adding broth, but adding just a splash keeps the dish moist without turning it soggy. And honestly, olive oil is your best friend here—it helps the seasoning cling and crisps up the edges during baking.
Freezing the bags flat is a game changer—thawing is quicker and stacking is easier. Also, letting the bags sit in the fridge overnight after thawing helps flavors meld even more, making dinner taste like you spent hours prepping.
Don’t be afraid to experiment with herbs—fresh rosemary or oregano are fantastic swaps for thyme. Just reduce the quantity slightly if using fresh herbs to avoid overpowering the dish.
Variations & Adaptations
- Beef or Pork Version: Swap chicken for cubed beef stew meat or pork shoulder for a richer flavor. Adjust cooking time to ensure meat is tender.
- Spicy Kick: Add a diced jalapeño or sprinkle cayenne pepper in the seasoning mix for some heat. This pairs well with a side like the jalapeño popper cheesy cornbread casserole for a full meal.
- Vegetarian Option: Use hearty vegetables like sweet potatoes, mushrooms, and chickpeas instead of meat. Include vegetable broth to keep moisture.
- Slow Cooker Friendly: You can dump the thawed ingredients into a slow cooker on low for 6-8 hours for an even hands-off dinner.
- Allergen Swap: For those avoiding nightshades, replace potatoes with parsnips or turnips, and omit paprika.
I tried a version with turkey and butternut squash once, and the sweetness of the squash gave the meal a wonderful balance. It’s always fun to tweak the recipe to suit what you have on hand or crave.
Serving & Storage Suggestions
Serve your cooked dump bag meal hot, right out of the oven, garnished with fresh parsley or a squeeze of lemon for brightness. Pair it with a simple side salad or some crusty bread to soak up any juices.
These meals store beautifully in the fridge for up to 3 days. Reheat gently in the oven or microwave to keep the texture intact. If you want to freeze leftovers, place them in airtight containers or freezer bags for up to 2 months.
Flavors often deepen after a day in the fridge, so if you can resist, leftovers taste even better the next day. This trick comes in handy when you’re prepping for a potluck or a busy week—kind of like how the flavor builds in this creamy peanut butter French silk pie, slowly melding layers of yum.
Nutritional Information & Benefits
This recipe is a balanced blend of lean protein, complex carbs, and fiber-rich vegetables. A serving roughly contains:
| Nutrient | Amount per serving |
|---|---|
| Calories | 350-400 kcal |
| Protein | 30-35 g |
| Carbohydrates | 25-30 g |
| Fat | 12-15 g (mostly healthy fats) |
| Fiber | 5-7 g |
The chicken provides a solid protein punch, while potatoes and green beans offer vitamins and minerals like vitamin C and potassium. Olive oil delivers heart-healthy fats, and lemon juice adds a dose of refreshing vitamin C.
This recipe fits nicely into gluten-free and low-sugar diets. Plus, the whole food ingredients make it a clean, wholesome meal you can feel good about feeding your family (or just yourself!).
Conclusion
These easy freezer meal prep dump bags truly make monthly meal planning doable without the usual chaos. They save time, reduce stress, and deliver real, satisfying meals on your schedule. You can change up the ingredients to keep things interesting or stick to your favorites for reliable comfort.
I love this recipe because it feels like a secret little helper in my kitchen, quietly making my life easier. And it’s the kind of meal that brings everyone to the table without fuss.
Give it a try, tweak it your way, and let me know how these freezer bags change your month. I’m always curious to hear your twists and tips!
Frequently Asked Questions
Can I use frozen vegetables in the dump bags?
Yes, frozen veggies like green beans or mixed veggies work well and save prep time. Just adjust cooking time slightly if needed.
How long can I store the dump bags in the freezer?
They keep best for up to 3 months to maintain flavor and texture. Label bags with the date to track freshness.
What’s the best way to thaw the meal prep bags?
Thaw overnight in the fridge for best results, or submerge the sealed bag in cold water for a faster method.
Can I make these dump bags vegetarian or vegan?
Absolutely! Swap the chicken for plant-based proteins like chickpeas or tofu and use vegetable broth.
Is it possible to cook these meals in an Instant Pot?
Yes, after thawing, you can cook the ingredients in an Instant Pot on high pressure for about 10-12 minutes followed by a quick release.
Pin This Recipe!
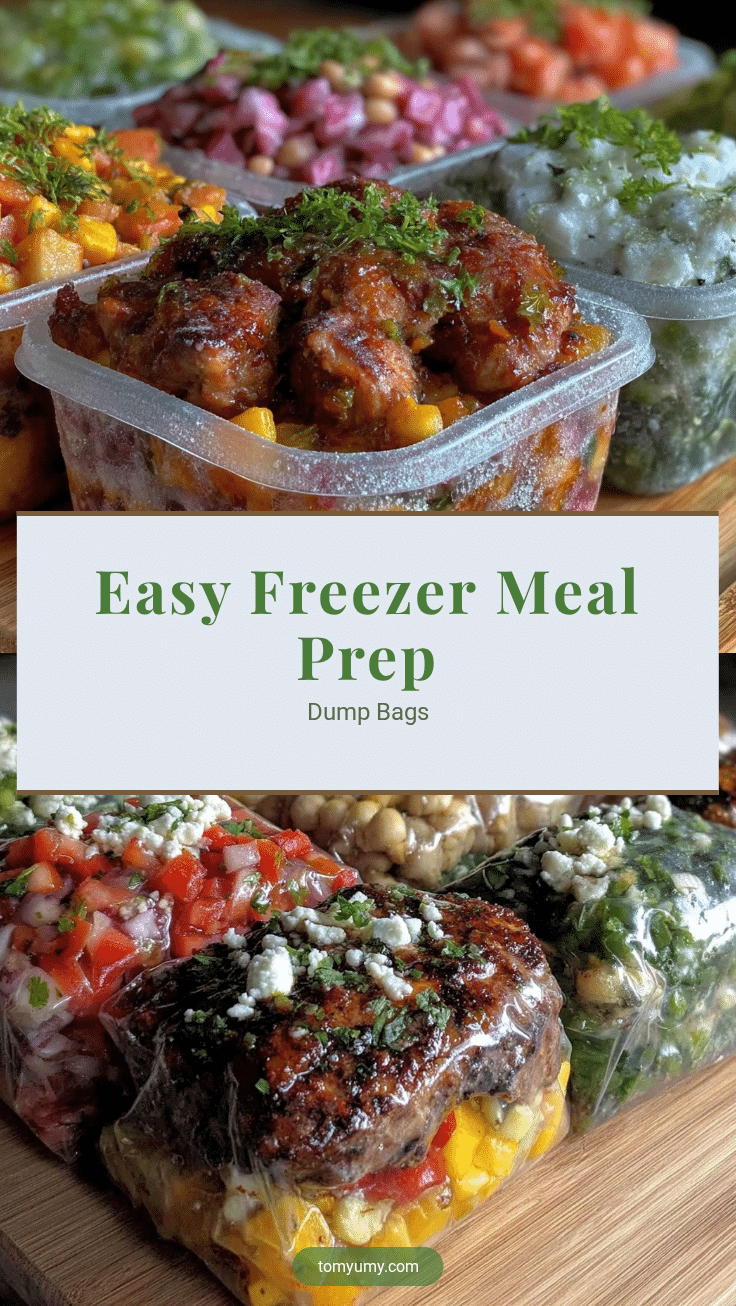
Easy Freezer Meal Prep Dump Bags for Perfect Monthly Convenience
A simple and convenient freezer meal prep recipe featuring chicken, vegetables, and seasonings layered in freezer bags for effortless cooking and delicious flavor.
- Prep Time: 10 minutes
- Cook Time: 40-45 minutes
- Total Time: 50-55 minutes
- Yield: 4 servings 1x
- Category: Main Course
- Cuisine: American
Ingredients
- 1.5 lbs boneless skinless chicken thighs or breasts, trimmed and cut into chunks
- 2 cups baby potatoes, halved or quartered (small red or Yukon gold)
- 1 cup baby carrots, whole or halved if large
- 1 cup green beans, trimmed (fresh or frozen)
- 2 teaspoons garlic powder
- 1 teaspoon smoked paprika
- 1 teaspoon dried thyme
- Salt and black pepper to taste
- 1/4 cup olive oil or avocado oil
- 2 tablespoons lemon juice or apple cider vinegar
- Optional: 1/2 cup chicken broth
Instructions
- Wash and cut the baby potatoes into halves or quarters so they cook evenly. Trim the green beans and peel or halve the baby carrots if needed. Cut chicken into bite-size pieces.
- In a small bowl, combine garlic powder, smoked paprika, dried thyme, salt, and pepper.
- Lay out a freezer bag and add the chicken pieces first. Then layer in the potatoes, carrots, and green beans. Pour the olive oil and lemon juice over everything. Sprinkle the seasoning mix evenly on top. Add chicken broth if using.
- Press out excess air and seal the bag tightly. Gently massage the bag to distribute oil and seasoning.
- Lay the bags flat in the freezer to freeze evenly and save space. Label each bag with the date and contents. Store for up to 3 months.
- When ready to cook, thaw the bag overnight in the fridge or in cold water for quicker thawing. Pour contents into a baking dish and bake at 400°F (200°C) for 40-45 minutes until chicken is cooked through and potatoes are tender. Alternatively, cook on a sheet pan, in a slow cooker, or Instant Pot.
Notes
Massage the bag after sealing to distribute seasoning and oil for better flavor. Freeze bags flat for even freezing and space saving. Thaw overnight in fridge or use cold water for faster thawing. Adjust potato size or add halfway through baking if potatoes cook faster than chicken. Fresh herbs can be substituted for dried thyme with reduced quantity. Adding chicken broth keeps the dish moist without sogginess.
Nutrition
- Serving Size: 1/4 of the prepared
- Calories: 375
- Sugar: 4
- Sodium: 350
- Fat: 13.5
- Saturated Fat: 2.5
- Carbohydrates: 27.5
- Fiber: 6
- Protein: 32.5
Keywords: freezer meal, meal prep, dump bags, chicken recipe, easy dinner, freezer cooking, healthy meal, gluten-free, low sugar


