The house is silent, save for the hum of the refrigerator kicking on in the hallway. It’s that strange, suspended hour between the day’s end and the morning’s start, where the world feels slightly out of focus. I’m sitting at the kitchen counter, still in my pajamas, staring at the empty space on the stove where a pot should be boiling. Honestly, it’s not hunger that wakes me up—it’s the memory of comfort.
There’s a specific kind of loneliness that comes with cooking for one, or even for a family that has already gone to sleep. You want something warm, something substantial, but you don’t have the energy for a complex recipe. You just need food that hugs you back. This easy ground beef & rice skillet isn’t fancy. It doesn’t have foie gras or saffron threads. It’s just browned meat, fluffy rice, and cheese, all thrown into one pan.
I remember the first time I made this on a Tuesday night when the power went out. No oven, no fancy appliances. Just a single burner and a cast iron skillet I’d had since college. We ate it straight from the pan, standing up, laughing about the absurdity of the situation. That meal stuck with me. Not because it was gourmet, but because it was real. It was fast, it was filling, and it required zero cleanup drama.
Now, whenever I feel overwhelmed by the noise of the week, I come back to this recipe. It’s my reset button. The smell of onions sizzling in butter is a signal to my brain that everything is going to be okay. You don’t need to be a chef to make this work. You just need patience and a willingness to let the rice absorb the flavors. It’s a quiet ritual, a small act of care for yourself in the middle of the night.
And let’s face it, sometimes the best dinners are the ones that don’t demand anything from you. They just feed you. This skillet is that kind of friend. It’s always there when you need it, reliable and warm. I’ve made it hundreds of times, tweaking the spices slightly, adding different vegetables, but the core remains the same. It’s about simplicity. It’s about coming home to something that tastes like safety.
If you’re reading this at an odd hour, or just feeling tired of complicated meal plans, give this a try. It’s not just dinner; it’s a pause. A moment to breathe. A reminder that good food doesn’t have to be hard. Sometimes, it just has to be easy.
Why You’ll Love This Recipe
Let’s be honest for a second. We’ve all been there—staring into the fridge at 6 PM, wondering what to feed the family when we have exactly zero energy left. This easy ground beef & rice skillet is the answer to that specific panic. It’s not just another recipe; it’s a lifesaver. I’ve tested this version dozens of times, from rushed weeknights to lazy Sundays, and it never fails to deliver. Here’s why it deserves a permanent spot in your rotation:
- Quick & Easy: You can have this on the table in under 30 minutes. Seriously. From chopping the onions to the last bite, it’s fast. Perfect for those nights when you’re hanging up your keys and praying dinner is already done.
- Simple Ingredients: You likely have everything right now. Ground beef, rice, onions, garlic, broth, and cheese. No obscure spices or trips to three different specialty stores. It’s pantry-friendly and stress-free.
- Perfect for Busy Families: This is the ultimate “one-pan” wonder. Minimal cleanup means more time with the kids or just collapsing on the couch. It’s great for potlucks, meal prep lunches, or cozy weeknight dinners.
- Crowd-Pleaser: Kids love it because it’s cheesy and savory. Adults love it because it’s hearty and doesn’t feel like “diet food.” It bridges the gap between toddler picky-eating and adult comfort cravings.
- Unbelievably Delicious: The texture is the key. You get the slight chew of the rice, the crispness of the browned beef, and the gooey stretch of melted cheese. It’s next-level comfort food that feels homemade, not processed.
What makes this recipe different from the rest? It’s the technique. A lot of people boil the rice separately and then mix it in. That’s a mistake. By cooking the rice directly in the skillet with the beef and broth, the grains absorb all that savory, beefy flavor. It becomes one cohesive dish rather than two separate components slapped together. It’s a small change, but it makes a huge difference in taste.
Also, I use a blend of cheeses—cheddar for the sharpness and mozzarella for the melt. It creates a depth of flavor that single-cheese recipes just miss. And don’t skip the garlic. Fresh garlic, minced fine, changes the entire aroma. It’s the kind of recipe that makes you close your eyes after the first bite. It’s comfort food reimagined—healthier than takeout, faster than a casserole, but with the same soul-soothing satisfaction.
It’s perfect for impressing guests without the stress of a multi-course meal. Or, more likely, it’s perfect for turning a simple, tired Tuesday into something memorable. You know that feeling when you eat something and it just… fits? That’s this skillet.
What Ingredients You Will Need
This recipe uses simple, wholesome ingredients to deliver bold flavor and satisfying texture without the fuss. The beauty of this dish lies in its accessibility. You don’t need to run to the store for exotic items. Most of this comes from your basic pantry and freezer. Here is exactly what you need to make it work:
- Ground Beef (1 lb / 450g): I prefer 80/20 lean-to-fat ratio for maximum flavor. If you want it leaner, go 90/10, but you might need a splash more oil. It browns better with a little fat.
- White or Brown Rice (1 cup / 200g): Long-grain white rice is traditional and cooks up fluffy. Brown rice works too, but you’ll need more liquid and time. For this quick version, white is your best friend.
- Onion (1 medium): Yellow or white onion, finely diced. This is the base of the flavor. Don’t rush this step; let it sweat until translucent.
- Garlic (3 cloves): Freshly minced. Jarred garlic just doesn’t hit the same note. It adds that sharp, aromatic punch.
- Beef Broth (2 cups / 480ml): Low-sodium is best so you can control the saltiness. Use a good quality broth, like Swanson or Kitchen Basic. It’s the cooking liquid that infuses the rice.
- Tomato Sauce (1/2 cup / 120g): Adds a bit of acidity and body. You can use crushed tomatoes or even a can of Rotel if you want a little kick.
- Shredded Cheddar Cheese (1 cup / 100g): Block cheese, shredded yourself. Pre-shredded cheese has anti-caking agents that prevent it from melting smoothly. Trust me on this.
- Mozzarella Cheese (1/2 cup / 50g): For that stretchy, gooey texture. Again, shred it fresh.
- Butter (2 tbsp): For sautéing the onions and adding richness.
- Seasonings: Salt, black pepper, and a teaspoon of paprika or cumin. I like a little cumin for warmth.
I always recommend buying ground beef from a local butcher if you can. The quality difference is noticeable. Look for beef that is bright red, not brown. If it’s brown, it’s been exposed to oxygen too long. Also, for the rice, stick to a reputable brand like Uncle Ben’s or Mahatma for consistent results.
If you’re dairy-free, you can swap the cheese for a dairy-free alternative, though the melt might not be as good. For a gluten-free option, just ensure your broth and tomato sauce are certified gluten-free. In summer, I sometimes swap the tomato sauce for fresh diced tomatoes. It changes the profile slightly, making it brighter and fresher.
Keep this section scannable. You’re not here for a lecture on agriculture; you’re here to cook. Just grab the items, check the expiration dates, and get started. It’s that simple.
Equipment Needed
You don’t need a fancy kitchen to make this. In fact, the simpler the tools, the better. Here is what you’ll need:
- 12-inch Skillet: Cast iron is ideal because it retains heat and gets a nice crust on the beef. Stainless steel works too. Non-stick is fine, but you won’t get that same fond (browned bits) at the bottom.
- Wooden Spoon or Spatula: For stirring and scraping the bottom of the pan. Essential for preventing sticking and distributing heat.
- Cutting Board and Knife: For prepping the onions and garlic. A sharp knife makes this step much faster and safer.
- Measuring Cups and Spoons: Precision matters with the rice-to-liquid ratio. Too much water makes mush; too little makes crunchy rice.
- Colander (Optional): If you choose to rinse your rice, you’ll need this. I usually rinse mine to remove excess starch, which helps keep the grains separate.
I’ve tried using a smaller 10-inch pan, and it just gets too crowded. The beef steams instead of browning. Stick to the 12-inch. If you don’t have cast iron, a heavy-bottomed stainless steel pan is a good budget-friendly alternative. Just be sure to watch the heat so nothing burns. Maintenance tip: If you use cast iron, just wipe it clean with oil after washing. No soap needed, really. It’s low effort.
Preparation Method
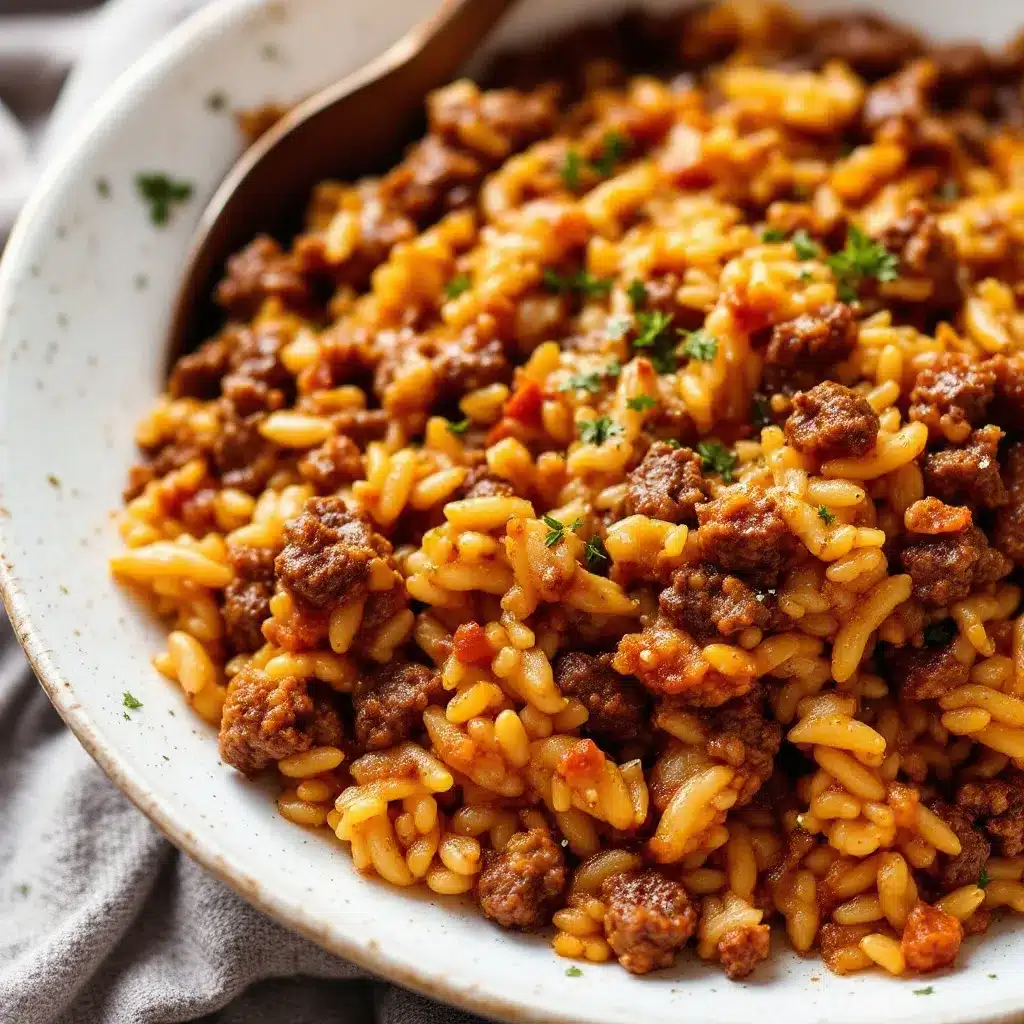
Let’s get into the nitty-gritty. This process is straightforward, but timing is everything. Follow these steps closely for the best results.
- Prep Your Ingredients (5 minutes): Dice the onion finely. Mince the garlic. Measure out your rice, broth, and cheese. Have everything ready before you turn on the heat. This is called *mise en place*, and it saves you from burning things while you’re fumbling for a spoon.
- Sauté the Aromatics (3 minutes): Heat your 12-inch skillet over medium heat. Add the butter. Once it foams, add the diced onions. Cook them until they are soft and translucent, about 3 minutes. Add the garlic in the last 30 seconds so it doesn’t burn. Garlic burns fast and tastes bitter.
- Brown the Beef (5-7 minutes): Add the ground beef to the skillet. Break it up with your wooden spoon. Don’t just let it sit in a big chunk. You want small crumbles. Season with salt, pepper, and paprika. Cook until the beef is no longer pink. You want some browning here—that’s where the flavor is. Drain excess grease if there’s too much, but leave a little for flavor.
- Add the Rice and Liquid (2 minutes): Stir in the uncooked rice. Toast it in the beef fat for about 1 minute. This helps keep the grains separate. Then, pour in the beef broth and tomato sauce. Stir well, scraping the bottom of the pan to release any browned bits. This is crucial for flavor.
- Simmer the Rice (15-18 minutes): Bring the mixture to a boil. Once it boils, reduce the heat to low. Cover the skillet with a tight-fitting lid. Let it simmer gently. Do not lift the lid! The steam is cooking the rice. Check at 15 minutes. If the rice is tender and the liquid is absorbed, you’re good. If not, give it 3 more minutes.
- Add the Cheese (2 minutes): Remove the skillet from the heat. Sprinkle the cheddar and mozzarella cheese evenly over the top. Put the lid back on for 1 minute to let the residual heat melt the cheese. Alternatively, you can put the skillet under the broiler for 2-3 minutes for a bubbly, golden top.
- Rest and Serve (5 minutes): Let the skillet sit for 5 minutes before serving. This allows the rice to firm up slightly and the cheese to set. It makes serving much cleaner. Garnish with fresh parsley or green onions if you have them.
Personal tip: If your rice is still hard after 20 minutes, add a splash more hot water and cook for another 5 minutes. But usually, 15-18 minutes is perfect for long-grain white rice.
Cooking Tips & Techniques
Here are some professional tricks to make this skillet even better.
- Don’t Stir Too Much: When browning the beef, let it sit for a minute to get a crust. Stirring too early steams the meat.
- Rinse Your Rice: Always rinse white rice until the water runs clear. This removes surface starch and prevents the dish from becoming gluey.
- Control the Heat: When simmering, keep the heat low. High heat will burn the bottom of the rice before the top is cooked.
- Use a Tight Lid: If your lid doesn’t seal well, wrap the handle in foil or use a towel under the lid to trap steam. Steam is the cooking agent here.
- Watch the Salt: Beef broth varies in sodium. Taste your mixture after adding the liquid before you add more salt.
I once made this with a loose lid and ended up with dry, crunchy rice. Lesson learned. Also, multitasking is key. While the rice simmers, you can set the table or start cleaning the counter. It’s a short cook time, so stay nearby but don’t hover.
Variations & Adaptations
This recipe is a canvas. Here are some ways to make it your own.
- Spicy Version: Add a diced jalapeño with the onions. Use chipotle peppers in adobo sauce instead of tomato sauce for a smoky kick.
- Vegetarian Twist: Swap the beef for lentils or a plant-based ground meat substitute. Use vegetable broth instead of beef broth.
- Mexican Style: Add black beans, corn, and cumin. Top with sour cream and avocado. This is basically a deconstructed burrito bowl.
- Italian Style: Use marinara sauce instead of tomato sauce. Add Italian sausage instead of plain beef. Top with parmesan cheese.
- Gluten-Free: Ensure your broth and sauces are GF. Use rice instead of barley or wheat.
I’ve tried adding frozen peas at the end of the cooking time. They add a nice pop of sweetness and color. It’s a personal variation I do often when I have them in the freezer. Don’t be afraid to tweak it to suit your palate.
Serving & Storage Suggestions
Serve this hot, straight from the skillet. It looks rustic and inviting. Pair it with a simple green salad or steamed broccoli to balance the richness. A glass of red wine or a cold beer goes well with the savory flavors.
Storage: Leftovers keep well in an airtight container in the fridge for up to 4 days. The rice will absorb more liquid, so it might seem dry.
Reheating: Reheat in the microwave with a splash of water or broth to restore moisture. Or, reheat in a skillet over low heat with a lid on. It tastes almost as good the next day, maybe even better as the flavors meld.
The flavors develop over time. The cheese becomes part of the dish rather than a topping. It’s great for meal prep lunches. Just pack it in a container and grab it on your way out the door.
Nutritional Information & Benefits
This dish is balanced and hearty. Here’s an estimated breakdown per serving (assuming 4 servings):
- Calories: ~450 kcal
- Protein: 25g (from the beef)
- Carbs: 40g (from the rice)
- Fat: 20g (from the beef and cheese)
Ground beef is a great source of iron and B vitamins. Rice provides energy. Cheese adds calcium. It’s a complete meal in one pan. If you’re watching calories, use leaner beef and less cheese. It’s flexible. Personally, I love this for its satiating quality. It keeps me full for hours, which means fewer snacks later. It’s wellness-friendly in its own way—comfort without the guilt.
Conclusion
This easy ground beef & rice skillet is more than just a meal. It’s a solution. It’s a way to get a hot, homemade dinner on the table when you’re tired, busy, or just don’t feel like dealing with a mess. I love this recipe because it’s forgiving. You can’t really mess it up. It’s reliable. It’s warm. It’s there for you.
Try it your way. Add your favorite veggies. Swap the cheese. Make it spicy or mild. The point is to make it work for you. And when you’re done, tell me how it turned out. I’d love to hear your variations. Leave a comment below, share a photo, or just let me know if it saved your night. Cooking should be enjoyable, not stressful. This recipe is proof of that.
So, grab your skillet. Turn on the burner. Let’s make something delicious. You’ve got this.
FAQs
Can I use instant rice for this recipe?
Yes, you can, but reduce the cooking time. Instant rice cooks very quickly, usually in 5 minutes. Add it at the same time as the liquid, but check it after 5-7 minutes to avoid mushiness.
What kind of cheese is best for this skillet?
Cheddar is classic for its sharp flavor, but a mix of cheddar and mozzarella gives the best texture. You can also use Monterey Jack or Pepper Jack for more flavor.
Can I make this in a slow cooker?
Absolutely. Brown the beef and onions first, then add everything else to the slow cooker. Cook on low for 6-8 hours or high for 3-4 hours. Add cheese at the end.
Why is my rice crunchy?
It likely didn’t absorb all the liquid. Make sure your lid is tight and the heat is low. If it’s still crunchy after 20 minutes, add a little more hot water and cook longer.
Can I freeze this dish?
Yes, it freezes well. Let it cool completely, then portion it into containers. It will keep in the freezer for up to 3 months. Thaw in the fridge before reheating.
Pin This Recipe!
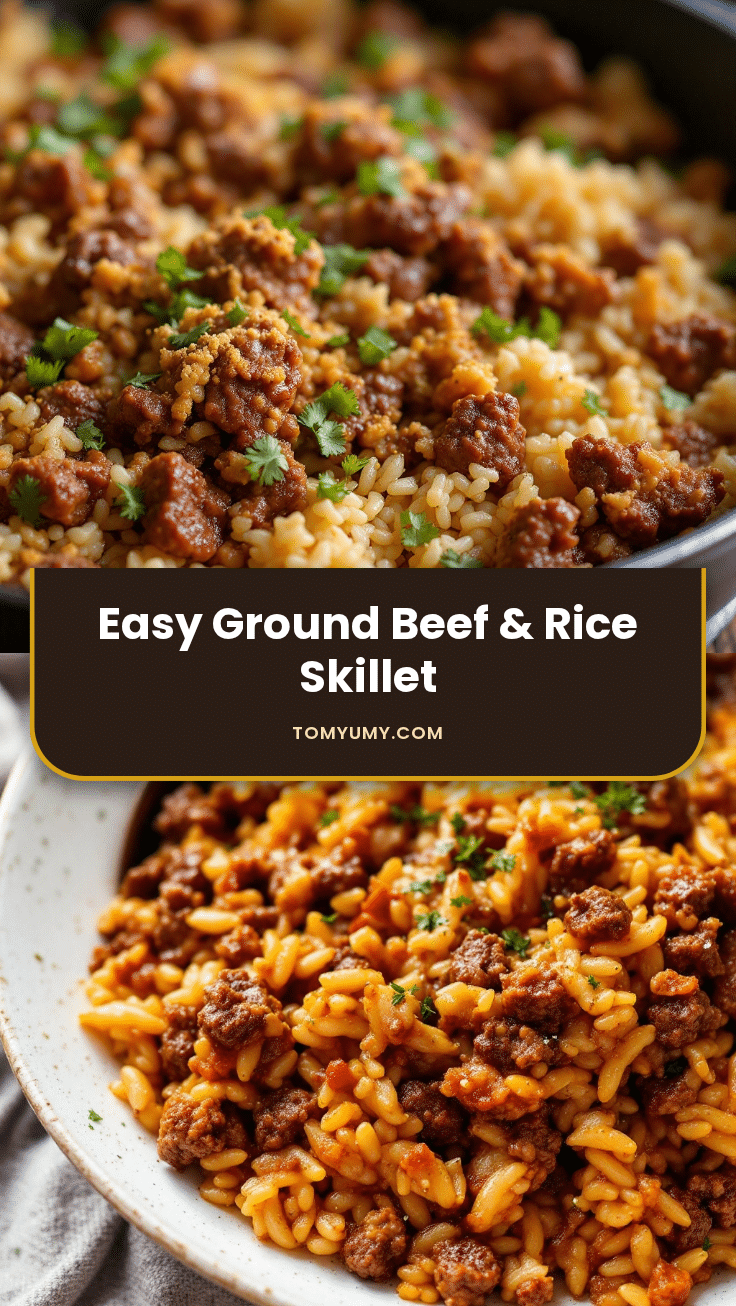
Easy Ground Beef & Rice Skillet: 30-Minute Dinner

A comforting, one-pan dinner featuring browned ground beef, fluffy rice, and melted cheese, cooked entirely in a skillet for minimal cleanup and maximum flavor.
- Prep Time: 5 minutes
- Cook Time: 25 minutes
- Total Time: 30 minutes
- Yield: 4 servings 1x
- Category: Main Course
- Cuisine: American
Ingredients
- 1 lb ground beef (80/20 lean-to-fat ratio preferred)
- 1 cup long-grain white rice
- 1 medium onion, finely diced
- 3 cloves garlic, minced
- 2 cups beef broth (low-sodium)
- 1/2 cup tomato sauce
- 1 cup shredded cheddar cheese
- 1/2 cup shredded mozzarella cheese
- 2 tbsp butter
- Salt and black pepper to taste
- 1 tsp paprika or cumin
Instructions
- Dice the onion and mince the garlic. Measure out the rice, broth, and cheese.
- Heat a 12-inch skillet over medium heat and add the butter. Once foaming, add the onions and cook until soft and translucent (about 3 minutes). Add garlic in the last 30 seconds.
- Add the ground beef to the skillet, breaking it up into small crumbles. Season with salt, pepper, and paprika. Cook until browned and no longer pink (5-7 minutes). Drain excess grease if necessary.
- Stir in the uncooked rice and toast in the beef fat for 1 minute. Pour in the beef broth and tomato sauce, stirring to scrape up browned bits from the bottom of the pan.
- Bring the mixture to a boil, then reduce heat to low. Cover with a tight-fitting lid and simmer for 15-18 minutes without lifting the lid, until rice is tender and liquid is absorbed.
- Remove from heat. Sprinkle cheddar and mozzarella cheese evenly over the top. Cover and let sit for 1 minute to melt the cheese (or broil for 2-3 minutes for a golden top).
- Let the skillet rest for 5 minutes before serving to allow the rice to firm up. Garnish with fresh parsley or green onions if desired.
Notes
Rinse white rice until water runs clear to remove excess starch. Ensure the lid is tight during simmering to trap steam. If rice is crunchy after 20 minutes, add a splash of hot water and cook longer. For dairy-free, swap cheese for dairy-free alternatives. For vegetarian, swap beef for lentils or plant-based meat and use vegetable broth.
Nutrition
- Serving Size: 1/4 of the skillet
- Calories: 450
- Sugar: 3
- Sodium: 600
- Fat: 20
- Saturated Fat: 10
- Carbohydrates: 40
- Fiber: 2
- Protein: 25
Keywords: ground beef, rice skillet, one pan dinner, comfort food, quick dinner, easy recipe, family friendly, weeknight meals