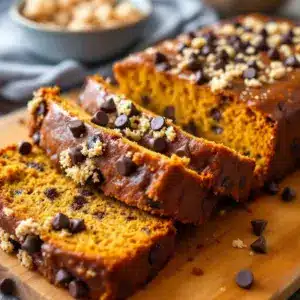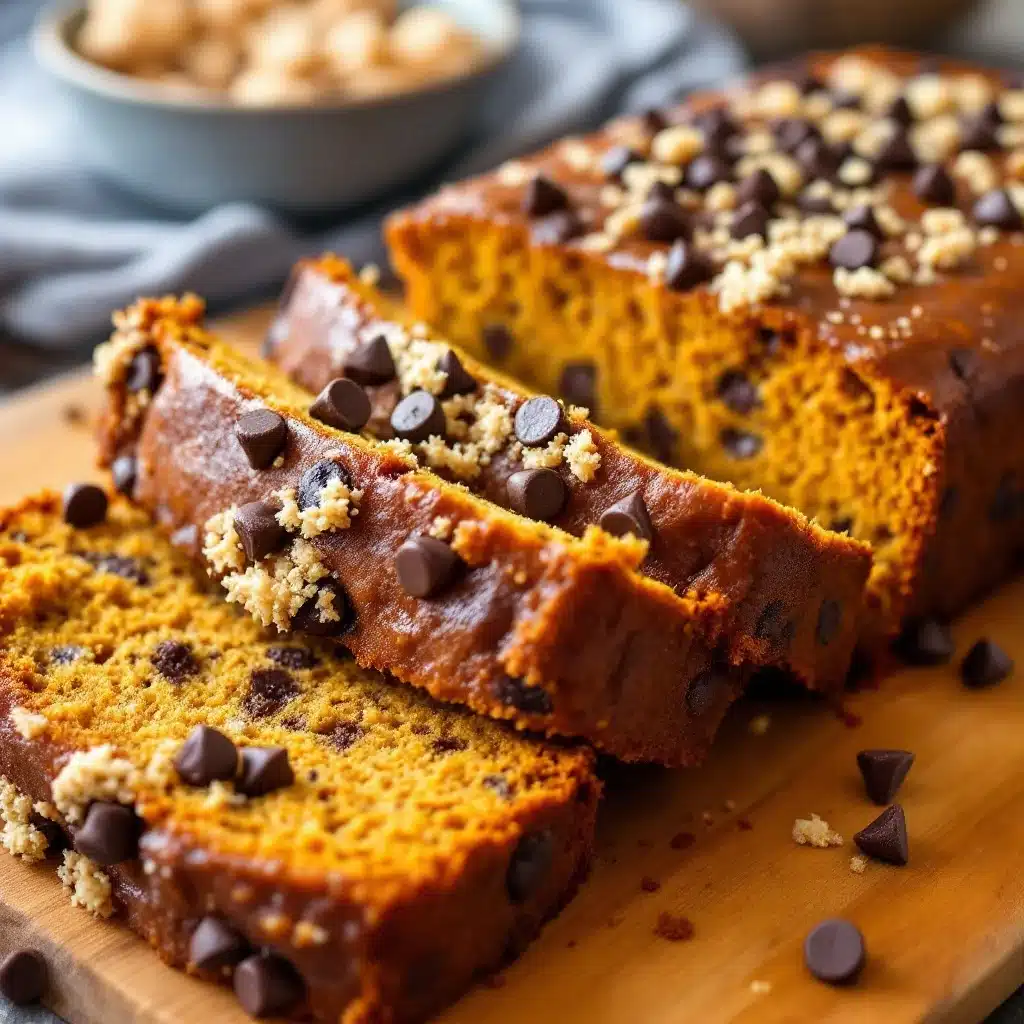
Introduction
“You know that bread you make? The one that smells like a bakery but takes ten minutes to mix?”
My brother sent that text at 6:45 PM on a Tuesday. It was raining. The kind of rain that makes you want to stay under a blanket and not move. I was staring at a half-empty pantry and a loaf pan that had seen better days. He didn’t ask for a complex cake or a complicated dessert. He just wanted something warm, something sweet, and something that didn’t require a trip to the store.
I looked at the can of pumpkin puree sitting next to the spices. I looked at the bag of chocolate chips that had been hiding in the back of the cabinet since October. It clicked. This wasn’t about being a gourmet chef. It was about comfort. It was about that specific, gooey, spiced sweetness that feels like a hug in food form.
This moist pumpkin chocolate chip snack bread recipe was born out of that lazy, rainy evening. It’s not fancy. It doesn’t have a fancy glaze or a complicated technique. It’s just simple, reliable, and incredibly delicious. I’ve made this loaf dozens of times since that night. Sometimes I add nuts. Sometimes I use half the sugar. But the core recipe stays the same because it works. It works when you’re tired. It works when you’re hosting friends. It works when you just need a slice with your coffee.
The kitchen filled up with the scent of cinnamon and vanilla almost immediately. My brother came over an hour later, pulled a warm slice from the oven, and took one bite. He didn’t say anything else. He just pointed at the loaf. That’s the highest praise I can get. This recipe is for those quiet moments when you want to create something comforting without the stress. It’s easy, it’s forgiving, and it tastes like fall.
Why You’ll Love This Recipe
Let’s be honest for a second. Baking can be intimidating. You open a cookbook and see ingredients like “cream of tartar” or techniques like “folding in egg whites.” You close the book. You order takeout. I get it. I’ve been there. That’s exactly why this pumpkin bread is my go-to. It strips away the complexity and focuses on what matters: flavor and texture.
Here is why this recipe stands out from the other pumpkin loaves you’ve tried:
- Quick & Easy: You can have this in the oven in under 20 minutes of active prep time. No standing over a mixer for twenty minutes. No tempering eggs. Just mix, pour, and bake. It’s perfect for those busy weeknights when you want homemade but don’t have hours to spare.
- Simple Ingredients: You likely have almost everything you need right now. Pumpkin puree, sugar, oil, eggs, flour, spices, and chocolate chips. No fancy grocery store runs for obscure items. It’s pantry-friendly baking at its best.
- Perfect for Any Time: This isn’t just for breakfast. It’s great for an afternoon snack with tea. It’s perfect for a potluck if you bring it sliced. It’s even good for dessert if you add a dollop of whipped cream. It fits into your life, not the other way around.
- Crowd-Pleaser: Kids love the chocolate chips. Adults love the warm spices. It’s a safe bet for any gathering. I’ve brought this to work, to family dinners, and to casual hangouts. It always disappears. People ask for the recipe within minutes of the first bite.
- Unbelievably Delicious: The texture is the star here. Because we use oil instead of butter, the crumb stays moist for days. The spices are balanced so it’s not too sweet, and the chocolate chips add those necessary pockets of richness. It’s comfort food reimagined for the modern kitchen.
What makes this different from the box mix? It’s the quality of the pumpkin and the freshness of the spices. Box mixes use preservatives and artificial flavors. This uses real pumpkin puree and real cinnamon. The difference is night and day. This recipe is my best version because it’s been tested and tweaked until it was perfect. It’s the kind of bread that makes you close your eyes after the first bite. It’s soul-soothing satisfaction in a slice.
What Ingredients You Will Need
This recipe relies on a few key components to create that signature moist texture and rich flavor. The balance of wet and dry ingredients is crucial, but don’t worry—it’s very forgiving. Here is what you need to gather before you start mixing.
For the Base
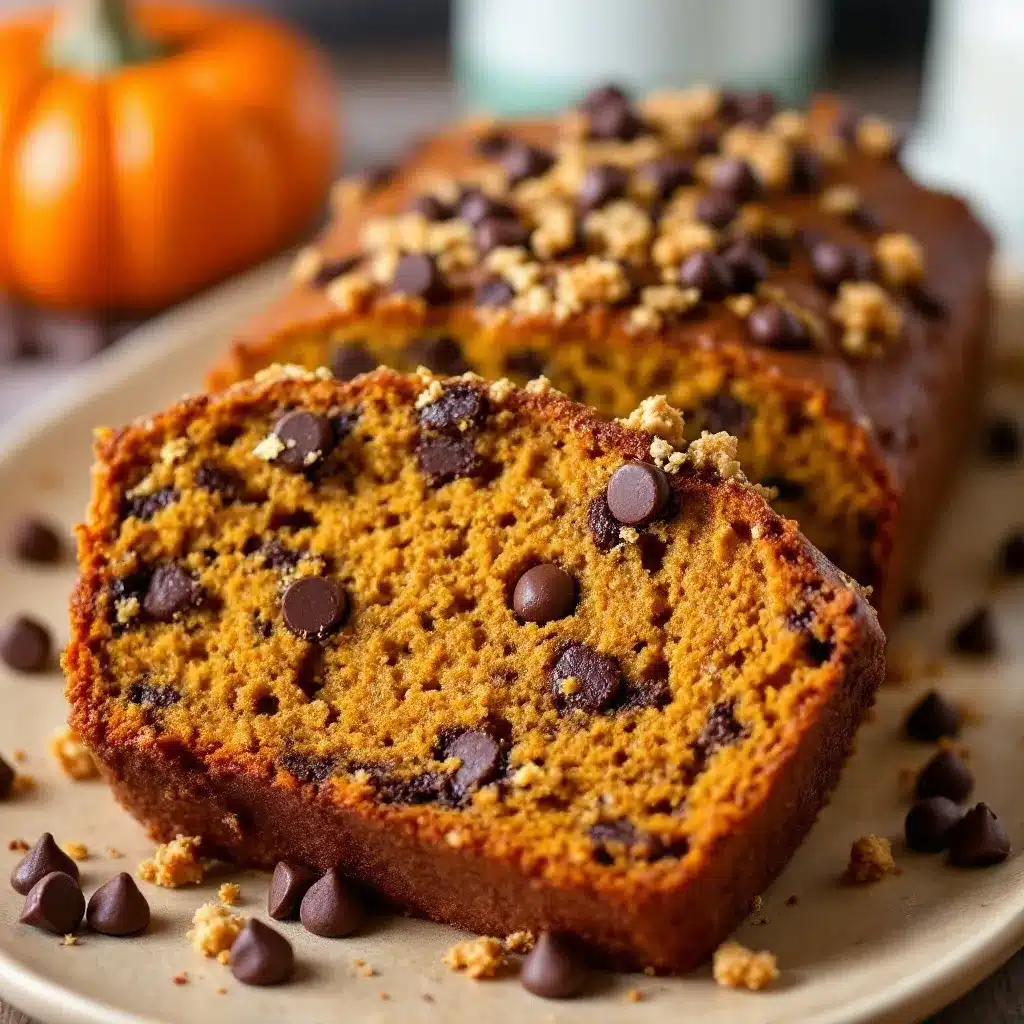
- Pumpkin Puree (1 cup): Make sure you use 100% pure pumpkin puree, not pumpkin pie filling. The filling has added sugar and spices which will throw off the balance. I prefer Libby’s or a local brand that feels fresh. If your puree looks watery, drain it in a coffee filter for a few minutes to remove excess moisture.
- Vegetable Oil (1/2 cup): I use vegetable oil because it keeps the bread moist longer than butter. Butter can make baked goods dense as they cool. Oil stays liquid, keeping the crumb tender. You can use canola or light olive oil, but avoid strong-flavored olive oils.
- Eggs (2 large): Room temperature eggs mix better into the batter. If you’re in a rush, just drop them in a bowl of warm water for five minutes.
- Vanilla Extract (1 teaspoon): Use real vanilla extract, not imitation. It adds a depth of flavor that makes the pumpkin taste more authentic.
For the Dry Mix
- All-Purpose Flour (1 1/2 cups): Standard flour works best here. If you need gluten-free, use a 1-to-1 baking flour blend. Don’t use bread flour; it will make the bread too chewy.
- Baking Soda (1 teaspoon): This helps the bread rise. Make sure it’s not expired. If it’s old, it won’t activate properly and your bread will be dense.
- Baking Powder (1/2 teaspoon): A little extra lift to ensure a nice dome.
- Salt (1/2 teaspoon): Salt is non-negotiable. It balances the sweetness and makes the spices pop.
- Cinnamon (1 teaspoon): The backbone of the flavor. Use ground cinnamon. If you have fresh, freshly ground cinnamon, even better.
- Ginger (1/2 teaspoon): Ground ginger adds a nice warmth. Don’t skip it.
- Nutmeg (1/4 teaspoon): Just a pinch. Too much nutmeg can taste bitter.
For the Sweet & Chunky Parts
- Granulated Sugar (3/4 cup): You can reduce this to 1/2 cup if you prefer less sweet, but 3/4 cup gives that nice caramelized crust.
- Brown Sugar (1/4 cup): Packed. This adds moisture and a slight molasses flavor that pairs perfectly with pumpkin.
- Chocolate Chips (1 cup): Semi-sweet chocolate chips are my favorite. They balance the spice. You can also use mini chips for more chocolate distribution in every bite.
Equipment Needed
You don’t need a fancy kitchen to make this bread. Here is what you’ll need:
- 9×5 Loaf Pan: A standard metal loaf pan works best. Glass pans take longer to bake and can result in a darker crust. If you use glass, lower the oven temperature by 25 degrees.
- Mixing Bowls: One large bowl for the wet ingredients and one medium for the dry. Or, you can do it all in one large bowl if you like fewer dishes.
- Whisk or Fork: A whisk is better for combining the dry ingredients evenly. A fork works if you’re in a pinch.
- Spatula: A rubber spatula is great for scraping the bowl and folding in the chocolate chips without overmixing.
- Cooling Rack: Essential for letting the bread cool evenly. If you leave it in the hot pan, the bottom will get soggy.
I used to use a wooden spoon, but I switched to a spatula because it scrapes the corners better. Also, make sure your loaf pan is in good condition. If it’s warped, the bread might not bake evenly. A little non-stick spray or butter for greasing goes a long way.
Preparation Method
Let’s get into the nitty-gritty. This process is straightforward, but attention to detail makes the difference between good bread and great bread.
- Preheat and Prep (5 minutes): Preheat your oven to 350°F (175°C). Grease your 9×5 loaf pan with butter or non-stick spray. If you want extra insurance against sticking, line the bottom with parchment paper. This makes removal easy later.
- Mix Wet Ingredients (3 minutes): In a large bowl, whisk together the vegetable oil, granulated sugar, and brown sugar until smooth. This might take a minute. Then, add the eggs one at a time, whisking well after each addition. Add the vanilla extract and the pumpkin puree. Whisk until the mixture is completely smooth and uniform in color. No streaks of white pumpkin left.
- Combine Dry Ingredients (2 minutes): In a separate bowl, whisk together the flour, baking soda, baking powder, salt, cinnamon, ginger, and nutmeg. Whisking here ensures that the leavening agents are distributed evenly. This prevents bitter spots of baking soda in your final bread.
- Combine Wet and Dry (2 minutes): Pour the dry ingredients into the wet ingredients. Use your spatula to gently fold them together. Stop as soon as the flour disappears. Overmixing is the enemy of moist bread. It develops gluten and makes the bread tough. You want a thick, chunky batter, not a smooth cake batter.
- Add Chocolate Chips (1 minute): Fold in the chocolate chips. Reserve a small handful to sprinkle on top later for a bakery-style look.
- Bake (50-60 minutes): Pour the batter into the prepared loaf pan. Smooth the top with your spatula. Sprinkle the reserved chocolate chips on top. Bake for 50 to 60 minutes. After 30 minutes, check the top. If it’s browning too fast, loosely tent a piece of aluminum foil over the pan. This prevents burning while the inside finishes cooking.
- Cool (30 minutes): Let the bread cool in the pan for 10 minutes. Then, transfer it to a wire rack to cool completely. This step is hard, but slicing warm bread can make it gummy. Wait until it’s cool to the touch.
Cooking Tips & Techniques
I’ve made a few mistakes along the way so you don’t have to. Here is what I’ve learned.
First, don’t overmix. I know it’s tempting to beat the batter until it’s smooth. Resist that urge. A few lumps of flour are fine. Overmixing leads to a dense, rubbery loaf. Gentle folds are key.
Second, check your oven temperature. Ovens can be inaccurate. If your bread is always burnt on top but raw in the middle, your oven might be running hot. Use an oven thermometer to check. If it is, adjust accordingly or use the foil tenting trick earlier.
Third, the toothpick test. Insert a toothpick into the center of the bread. If it comes out clean or with just a few moist crumbs, it’s done. If it comes out with wet batter, bake for 5 more minutes. But be careful not to overbake. Pumpkin bread continues to cook slightly after you take it out of the oven due to residual heat.
Also, room temperature ingredients mix better. If your eggs are cold, they can cause the oil to seize up slightly. It’s not a disaster, but it makes mixing harder. Just let them sit out for a bit.
Finally, patience with cooling. I know you want to eat it. But slicing it too early releases steam and makes the texture weird. Let it rest. The flavors meld and improve as it cools.
Variations & Adaptations
Once you master the base recipe, you can play around with it. Here are some ideas.
Walnut or Pecan Bread: Add 1/2 cup of chopped walnuts or pecans along with the chocolate chips. The crunch contrasts nicely with the soft bread. Toast the nuts in a dry pan for 2 minutes before adding for extra flavor.
White Chocolate Chip: Swap the semi-sweet chips for white chocolate chips. This makes the bread sweeter and more like a dessert. It’s great with a cup of black coffee.
Gluten-Free: Use a 1-to-1 gluten-free flour blend. The texture might be slightly crumblier, but it still works well. Add an extra egg if the batter feels too dry.
Dairy-Free: This recipe is naturally dairy-free if you use oil instead of butter. Just ensure your chocolate chips are dairy-free (some dark chocolates are).
Less Sugar: Reduce the granulated sugar to 1/2 cup. The pumpkin provides natural sweetness, so it’s still sweet enough for most palates.
I once tried adding orange zest to the batter. It was a hit. The citrus brightens up the heavy spices. If you like orange, add the zest of one orange to the wet ingredients.
Serving & Storage Suggestions
This bread is best served slightly warm. If you microwave a slice for 10 seconds, the chocolate chips melt and it’s pure heaven. Serve it with a cup of coffee, tea, or hot cocoa.
For storage, keep the bread in an airtight container at room temperature for up to 3 days. If your kitchen is hot, store it in the fridge. It will last up to a week in the fridge. Just bring it to room temperature before eating for the best texture.
You can also freeze this bread. Slice it first, then wrap each slice in plastic wrap and place them in a freezer bag. It stays good for up to 3 months. Thaw a slice at room temperature or warm it in the microwave.
The flavors actually improve after a day. The spices have time to permeate the crumb. So if you can wait, it tastes better on day two.
Nutritional Information & Benefits
While this is a treat, it’s not all bad. Pumpkin is rich in Vitamin A, fiber, and potassium. It adds moisture and nutrients without adding too many calories. The chocolate chips add some antioxidants, especially if you use dark chocolate.
Each slice (assuming 10 slices per loaf) has approximately 250 calories. It contains about 10g of fat, 35g of carbohydrates, and 3g of protein. It’s not a health food, but it’s a balanced indulgence. If you’re watching sugar, reduce the sugar content as suggested in the variations.
From a wellness perspective, I love that this uses whole food ingredients. No artificial colors or preservatives. It’s a way to enjoy a sweet treat that feels a bit more wholesome. It’s a nice break from highly processed snacks.
Conclusion
This moist pumpkin chocolate chip snack bread is more than just a recipe. It’s a solution for those moments when you want something homemade but don’t have the energy for a big project. It’s reliable, delicious, and brings people together.
I hope you try it. I hope you share it with friends and family. I hope you enjoy every bite. Feel free to customize it with nuts or different chips. Make it your own.
If you make this recipe, please let me know how it turns out. Leave a comment below or share a photo. I love seeing your creations. And if you have other favorite pumpkin recipes, let me know in the comments too. I’m always looking for new ideas.
Happy baking! Enjoy the warmth and comfort of this loaf. It’s going to become a staple in your kitchen too.
FAQs
Can I use pumpkin pie filling instead of pure pumpkin puree?
No, you shouldn’t. Pumpkin pie filling has added sugar and spices. This would make the bread too sweet and alter the flavor profile. Always use 100% pure pumpkin puree.
How do I know when the bread is done baking?
Insert a toothpick into the center. If it comes out clean or with a few moist crumbs, it’s done. If it has wet batter, bake for 5 more minutes. The top should be golden brown.
Can I freeze this bread?
Yes, absolutely. Slice it first, wrap each slice in plastic wrap, and place them in a freezer bag. It will last for up to 3 months. Thaw at room temperature.
Can I use butter instead of oil?
You can, but the texture will be different. Butter makes the bread denser and less moist over time. Oil keeps it soft for days. If you must use butter, melt it and let it cool slightly before adding.
Why is my bread dense?
You likely overmixed the batter. Once you add the dry ingredients, mix gently until just combined. Overmixing develops gluten, which makes bread tough. Also, check your baking soda and powder to ensure they are fresh.
Pin This Recipe!
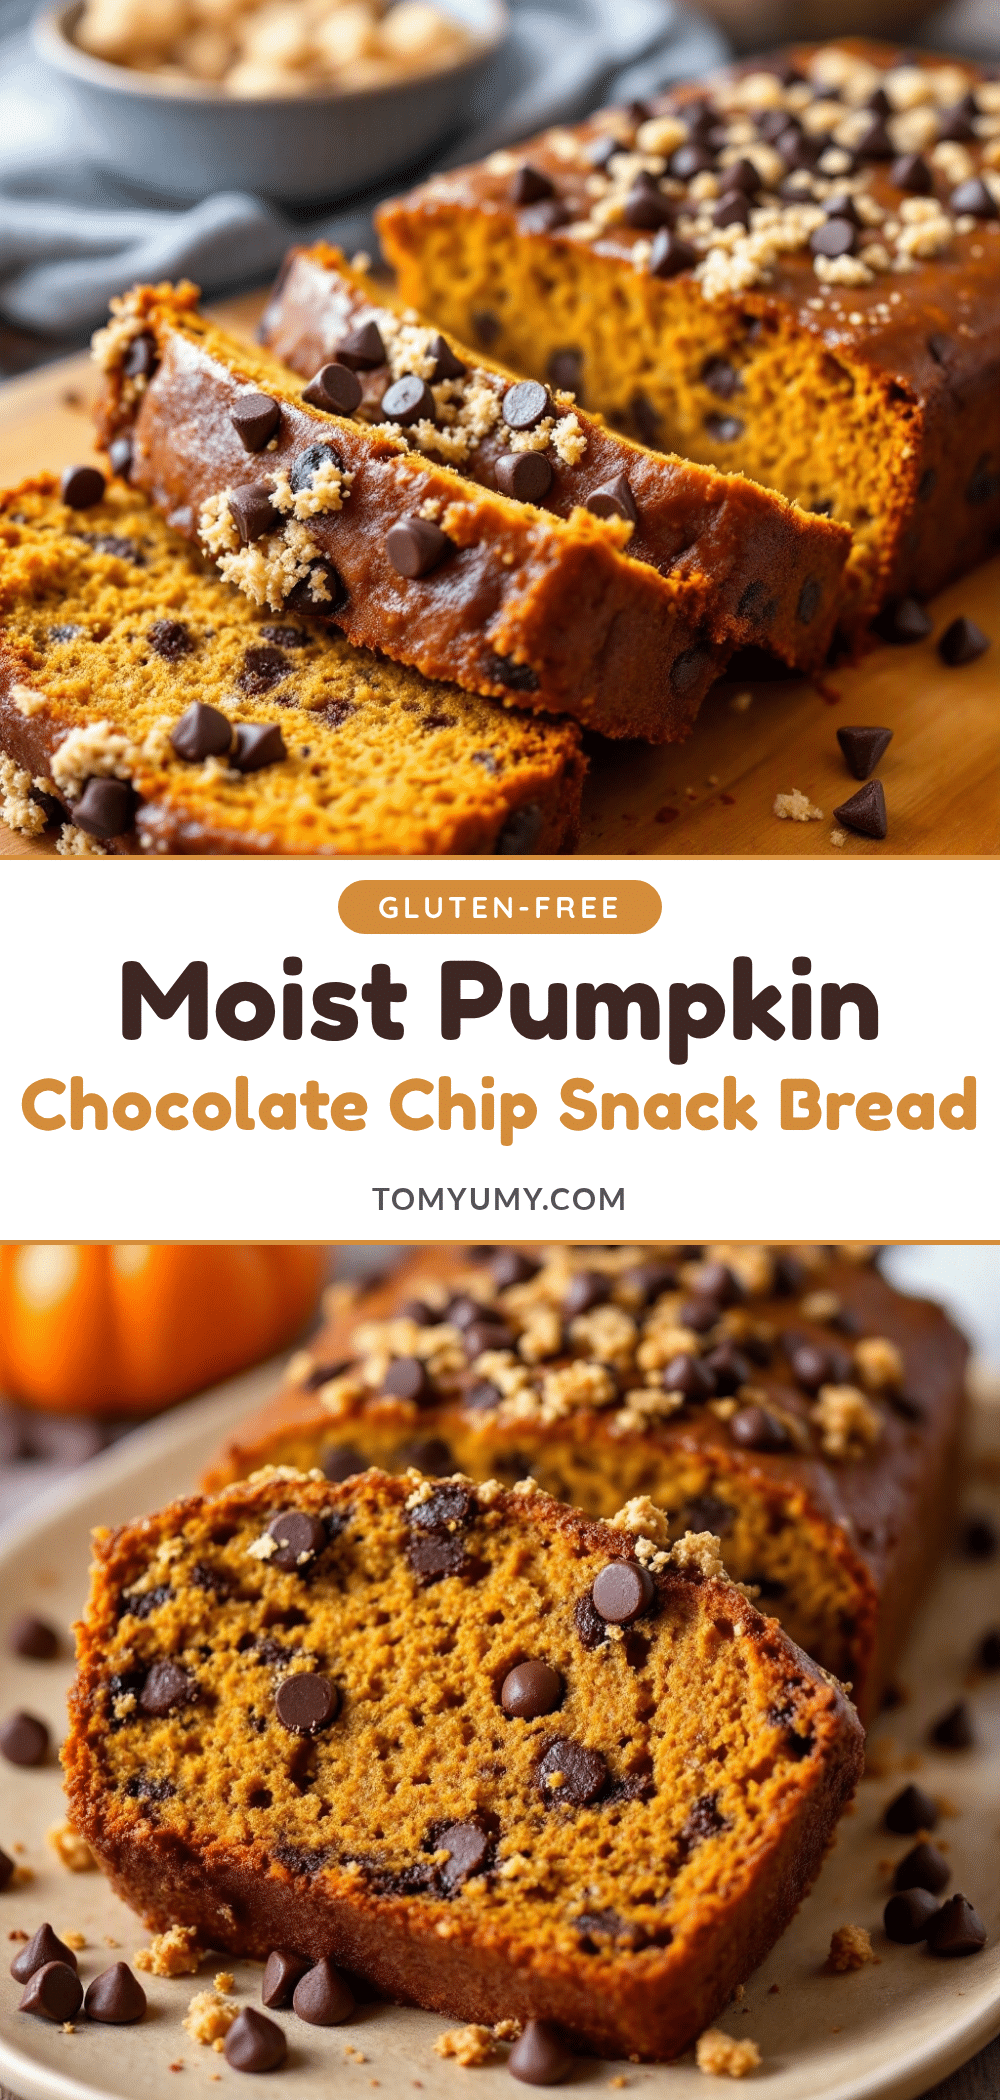
Moist Pumpkin Chocolate Chip Snack Bread
A simple, reliable, and incredibly moist pumpkin bread loaded with chocolate chips. This easy recipe requires minimal prep time and uses pantry-friendly ingredients for a comforting, bakery-style treat.
- Prep Time: 20 minutes
- Cook Time: 50-60 minutes
- Total Time: 70-80 minutes
- Yield: 10 servings 1x
- Category: Dessert
- Cuisine: American
Ingredients
- 1 cup 100% pure pumpkin puree
- 1/2 cup vegetable oil
- 2 large eggs, room temperature
- 1 teaspoon vanilla extract
- 1 1/2 cups all-purpose flour
- 1 teaspoon baking soda
- 1/2 teaspoon baking powder
- 1/2 teaspoon salt
- 1 teaspoon ground cinnamon
- 1/2 teaspoon ground ginger
- 1/4 teaspoon nutmeg
- 3/4 cup granulated sugar
- 1/4 cup packed brown sugar
- 1 cup semi-sweet chocolate chips
Instructions
- Preheat oven to 350°F (175°C). Grease a 9×5 loaf pan with butter or non-stick spray, optionally lining the bottom with parchment paper.
- In a large bowl, whisk together vegetable oil, granulated sugar, and brown sugar until smooth.
- Add eggs one at a time, whisking well after each addition. Stir in vanilla extract and pumpkin puree until the mixture is smooth and uniform.
- In a separate medium bowl, whisk together flour, baking soda, baking powder, salt, cinnamon, ginger, and nutmeg.
- Pour dry ingredients into the wet ingredients. Gently fold together with a spatula until the flour just disappears; do not overmix.
- Fold in 1 cup of chocolate chips, reserving a small handful for topping.
- Pour batter into the prepared loaf pan and smooth the top. Sprinkle reserved chocolate chips on top.
- Bake for 50-60 minutes. If the top browns too quickly after 30 minutes, tent loosely with aluminum foil.
- Test for doneness by inserting a toothpick into the center; it should come out clean or with moist crumbs.
- Let the bread cool in the pan for 10 minutes, then transfer to a wire rack to cool completely before slicing.
Notes
Ensure you use 100% pure pumpkin puree, not pumpkin pie filling. Do not overmix the batter to avoid a dense, tough texture. Room temperature ingredients mix better. The bread keeps well in an airtight container at room temperature for 3 days or in the fridge for up to a week. It can also be frozen for up to 3 months.
Nutrition
- Serving Size: 1 slice
- Calories: 250
- Sugar: 22
- Sodium: 200
- Fat: 10
- Saturated Fat: 3
- Carbohydrates: 35
- Fiber: 2
- Protein: 3
Keywords: pumpkin bread, chocolate chip bread, snack bread, easy baking, fall recipes, moist pumpkin bread, gluten-free option