“Are those brown butter cookies? Because if they are, I’m moving in.”
My husband said that while standing in the doorway of the kitchen, holding an empty coffee mug like a shield against the overwhelming scent of toasted nuts and cinnamon. He wasn’t being dramatic, honestly. The smell had already taken over the entire house, drifting under the bedroom door and into the living room, wrapping everyone in a warm, spicy hug before we even sat down to eat. It was one of those accidental baking sessions that happens when you’re trying to use up a can of pumpkin puree that’s been sitting in the back of the fridge since October.
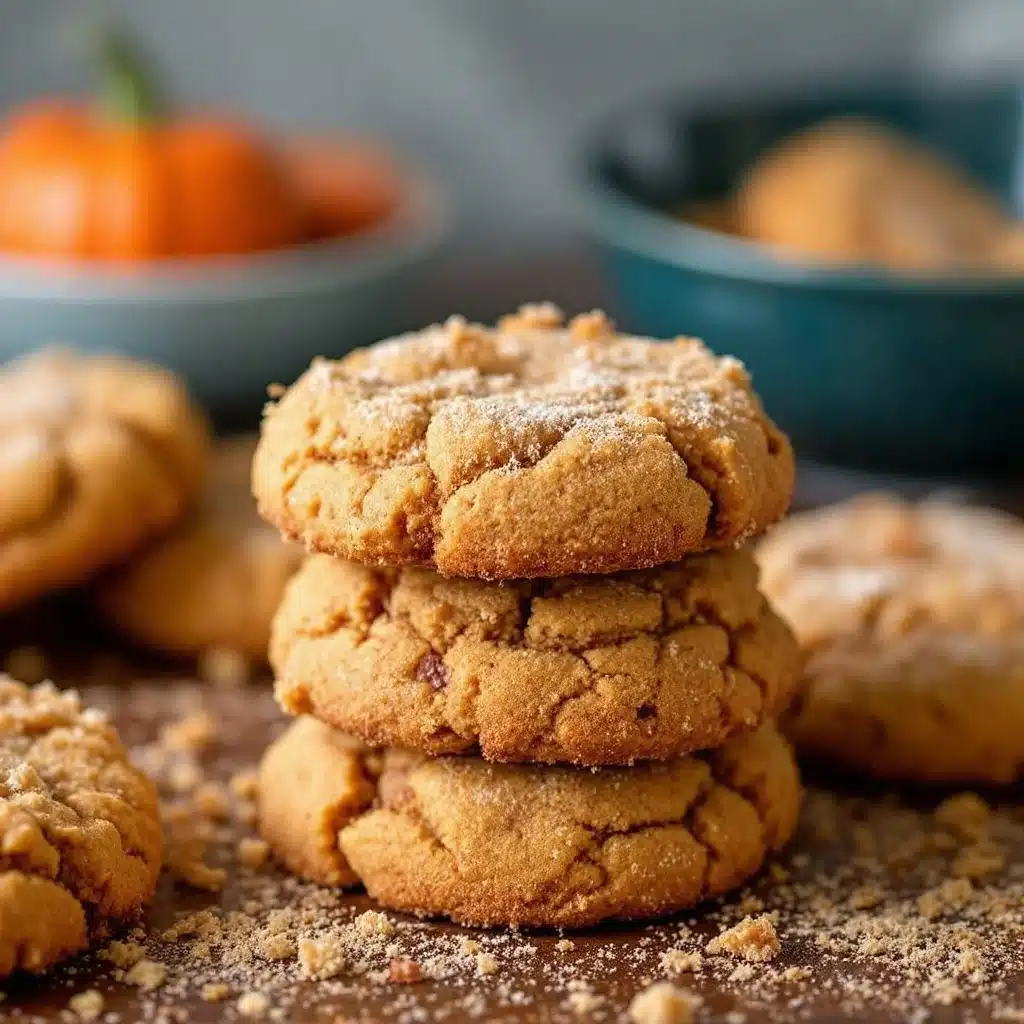
I had originally planned to make something simple, maybe those pumpkin spice molasses crinkle scones I posted last week, but the light hit the butter in the pan just right. You know that moment when the milk solids start to speckle and turn golden brown? It’s hypnotic. I couldn’t walk away. So, I swapped the sugar coating for a cinnamon-sugar mix, added a pinch of extra nutmeg, and prayed the cookies would hold their shape. They did. In fact, they did more than hold their shape; they developed these incredible crispy, lacy edges that shatter when you bite into them, giving way to a soft, chewy center that tastes like autumn in a bite.
These crispy brown butter pumpkin snickerdoodle cookies are the result of a happy accident and a serious craving for texture. There’s something about the combination of nutty brown butter and tangy cream of tartar that just hits different. It’s not just a pumpkin cookie; it’s a flavor profile that feels complex but tastes like comfort food from your childhood. I’ve made them three times in the last two weeks, and every time, the batch disappears before they even cool down completely. If you’re looking for a dessert that screams fall but has a sophisticated twist, this is it.
Why You’ll Love This Recipe
Let’s be real for a second. Most pumpkin cookies are dense, cakey, and sometimes a bit bland. They rely too heavily on the spice blend and forget about texture. This recipe is different because it tackles the texture head-on. By browning the butter first, you’re introducing a deep, toasty flavor that standard melted butter just can’t compete with. It adds a nutty richness that makes every single bite feel intentional and high-quality.
- Quick & Easy: The dough comes together in about 10 minutes before chilling. You don’t need to wait hours for it to set, which is perfect for those sudden weekend baking urges or when you need a last-minute treat for guests.
- Simple Ingredients: You likely have almost everything you need right now. Brown butter just requires butter, a pan, and patience. The rest is pantry staples like flour, sugar, and spices. No fancy grocery trips needed.
- Perfect for Fall Gatherings: Whether it’s a Halloween party, a Thanksgiving dessert table, or just a cozy Tuesday night, these cookies fit any occasion. They pair beautifully with a hot cup of coffee or a glass of cold milk.
- Crowd-Pleaser: I’ve served these to picky eaters and seasoned bakers alike, and the reaction is always the same. Kids love the sweetness and cinnamon roll vibes, while adults appreciate the sophisticated brown butter depth.
- Unbelievably Delicious: The contrast between the crispy, caramelized edges and the soft, spiced center is next-level comfort food. It’s the kind of cookie that makes you close your eyes after the first bite.
What makes this recipe stand out from the rest is the specific technique of browning the butter and then cooling it slightly before mixing. This step ensures the cookies don’t spread too thin, keeping that snickerdoodle-like puffiness while still getting those lacy, crispy rims. It’s a small detail that makes a huge difference in the final texture, creating a cookie that isn’t just another version—it’s the best version.
What Ingredients You Will Need
This recipe uses simple, wholesome ingredients to deliver bold flavor and satisfying texture without the fuss. The key here is quality over quantity. Since there aren’t many ingredients, each one plays a critical role in the final taste and structure of the cookie.
- Unsalted Butter: You’ll need 1 cup (2 sticks) of high-quality butter. I recommend using a brand like Kerrygold or Plugra because the higher fat content helps create a richer flavor and better texture. You’ll be browning this, so start with a cold stick.
- Pumpkin Puree: Use ½ cup of pure pumpkin puree, not pumpkin pie filling. Look for a small-curd, thick puree if possible, as excess moisture can make the dough too wet. In the summer, you can swap this for a thick apple butter if you want a similar texture, but for fall, stick to pumpkin.
- Granulated Sugar: 1 cup of white granulated sugar forms the base of the dough. It helps create that crisp exterior as it caramelizes slightly in the oven.
- Light Brown Sugar: ½ cup of light brown sugar adds moisture and a hint of molasses flavor. Dark brown sugar works too if you want a deeper, more robust taste.
- Large Eggs: 2 large eggs, room temperature. Room temperature eggs emulsify better with the butter and sugars, creating a smoother dough.
- Vanilla Extract: 1 tablespoon of pure vanilla extract. Don’t skip this; it bridges the gap between the pumpkin and the spices.
- All-Purpose Flour: 2 ½ cups of all-purpose flour. This provides the structure. If you need a gluten-free option, you can use a 1-to-1 gluten-free flour blend, though the texture might be slightly more crumbly.
- Baking Soda: 1 teaspoon. This helps the cookies spread and rise.
- Cream of Tartar: 1 teaspoon. This is the secret weapon for snickerdoodles. It adds that signature tang and helps keep the centers soft.
- Baking Powder: ½ teaspoon. A little extra lift to ensure they aren’t too dense.
- Cinnamon: 1 ½ teaspoons of ground cinnamon. Use a fresh jar if you can; stale cinnamon will ruin the flavor.
- Nutmeg: ½ teaspoon. Freshly grated is best, but ground works fine.
- Ginger: ¼ teaspoon of ground ginger for a little zing.
- Salt: ½ teaspoon of fine sea salt to balance the sweetness.
- Cinnamon-Sugar Coating: For rolling the dough balls, mix ½ cup of granulated sugar with 1 tablespoon of cinnamon. This creates that classic snickerdoodle crust.
I personally prefer using a digital scale for the flour to ensure accuracy, but measuring cups work if you spoon and level them. Avoid scooping directly from the bag, as that packs too much flour and leads to dry cookies.
Equipment Needed
You don’t need much to make these cookies, but having the right tools makes the process smoother and the results more consistent.
- Medium Saucepan: A light-colored stainless steel or aluminum saucepan is best for browning butter. The light color allows you to see the milk solids turning golden brown without burning them. Dark non-stick pans hide the color changes, which is risky.
- Baking Sheets: Heavy-gauge aluminum baking sheets are ideal because they distribute heat evenly. If you use thin, flimsy sheets, your cookies might brown too quickly on the bottom. I use half-sheet pans, but standard quarter sheets work fine too.
- Parchment Paper: Always line your baking sheets with parchment paper. It prevents sticking and makes cleanup a breeze. Silicone baking mats are a great reusable alternative if you prefer them.
- Mixer: A hand mixer or stand mixer with a paddle attachment makes creaming the butter and sugars much easier. You can do it by hand, but it takes extra effort.
- Cooling Rack: Essential for letting the cookies cool evenly. If you leave them on the hot baking sheet, they’ll continue to cook and might become too crispy or burnt on the bottom.
- Digital Kitchen Scale: Optional but highly recommended for precision, especially with the flour.
If you don’t have a saucepan for browning butter, you can use a microwave-safe bowl, but you have to watch it like a hawk in 30-second intervals. The stovetop method gives you more control over the browning process.
Preparation Method
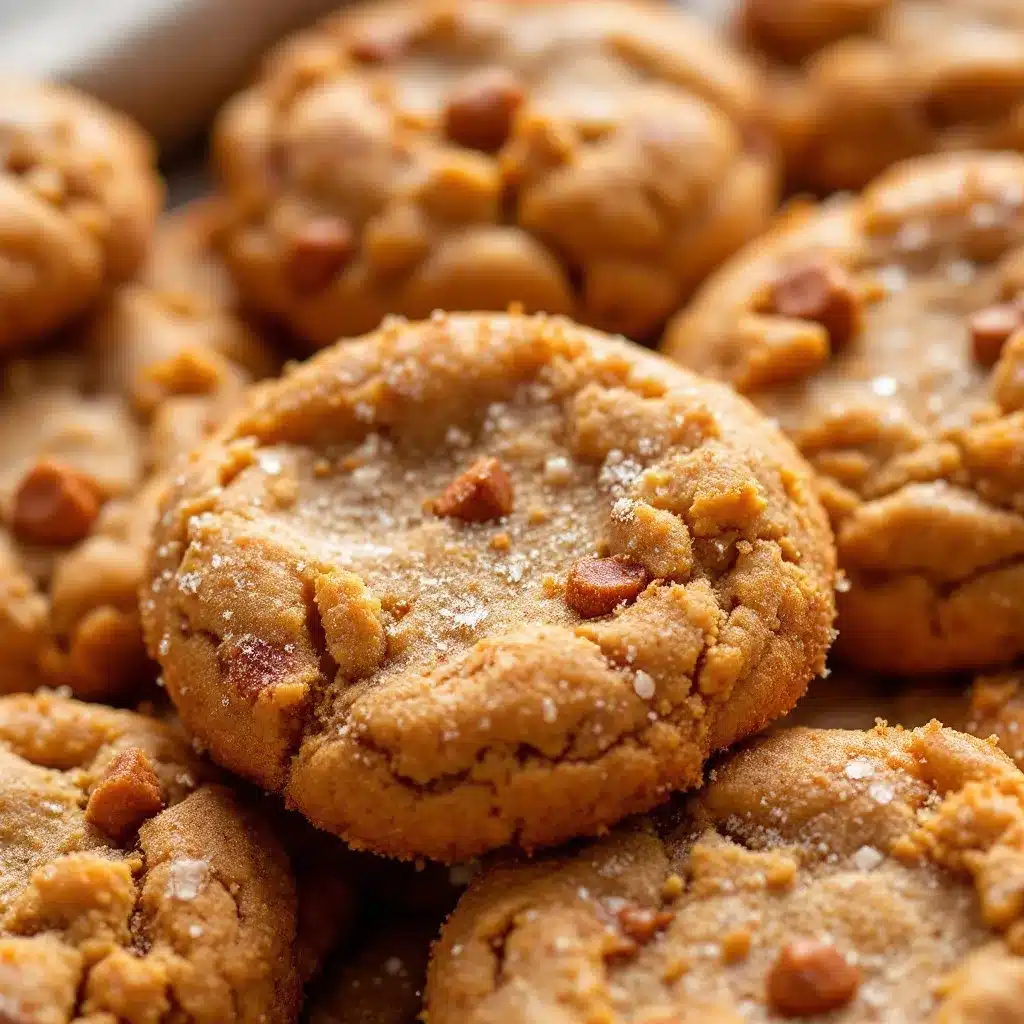
Making these cookies is straightforward, but attention to detail is key. Follow these steps carefully for the best results.
- Brown the Butter (10 minutes): Start by placing your unsalted butter in a medium saucepan over medium heat. Stir frequently with a silicone spatula. The butter will melt, foam up, and then start to crackle. Keep stirring. You’re looking for the foam to subside and the milk solids at the bottom to turn golden brown. It should smell nutty, like hazelnuts or toasted almonds. This usually takes 5-7 minutes. Immediately pour the brown butter into a heat-proof bowl to stop the cooking process. Let it cool for about 10-15 minutes until it’s just warm, not hot.
- Cream the Sugars and Butter (3 minutes): In a large mixing bowl, combine the slightly cooled brown butter, granulated sugar, and brown sugar. Using a hand mixer or stand mixer on medium speed, beat them together until the mixture is light and fluffy. This incorporates air, which helps with the texture. Scrape down the sides of the bowl with a spatula to ensure everything is evenly mixed.
- Add Wet Ingredients (1 minute): Add the pumpkin puree, eggs, and vanilla extract to the butter mixture. Mix on low speed until just combined. Be careful not to overmix here, as too much air can cause the cookies to collapse. The mixture might look slightly curdled at first; that’s normal.
- Combine Dry Ingredients (2 minutes): In a separate medium bowl, whisk together the all-purpose flour, baking soda, cream of tartar, baking powder, cinnamon, nutmeg, ginger, and salt. Whisking ensures that the leavening agents are evenly distributed, so you don’t get any bitter spots of baking soda in the final cookie.
- Make the Dough (2 minutes): Gradually add the dry ingredients to the wet ingredients. Mix on low speed until a dough forms. It should be thick and slightly sticky. If it seems too dry, add a teaspoon of milk. If it’s too wet, add a tablespoon of flour. Do not overmix.
- Chill the Dough (30 minutes): This step is crucial. Cover the bowl with plastic wrap and refrigerate the dough for at least 30 minutes. Chilling solidifies the fat, which prevents the cookies from spreading too much in the oven. It also allows the flavors to meld together. While you wait, preheat your oven to 350°F (175°C) and line your baking sheets with parchment paper.
- Prepare the Cinnamon-Sugar Coating (1 minute): In a small shallow bowl, mix the granulated sugar and cinnamon. Set aside.
- Scoop and Roll (10 minutes): Take the chilled dough out of the fridge. Using a cookie scoop or a tablespoon, portion out the dough. Roll each ball between your palms to smooth out any cracks. Then, roll the ball in the cinnamon-sugar mixture until it’s fully coated. Place the coated dough balls on the prepared baking sheets, spacing them about 2 inches apart, as they will spread slightly.
- Bake (12-14 minutes): Bake the cookies in the preheated oven for 12-14 minutes. You want the edges to be set and lightly golden, but the centers should still look slightly soft and underbaked. They will firm up as they cool. Do not overbake, or they will lose their chewiness.
- Cool (10 minutes): Remove the baking sheet from the oven and let the cookies cool on the sheet for 5 minutes. Then, transfer them to a wire rack to cool completely. This resting period allows the structure to set.
Personal tip: If you like a more pronounced crispy edge, leave the cookies in the oven for an extra minute or two. If you prefer them softer and chewier, pull them out at the 12-minute mark.
Cooking Tips & Techniques
Browning butter is an art form, and it’s easy to burn it. The key is to remove it from the heat just before you think it’s done, because the residual heat in the pan will continue to cook the butter. If you see dark brown specks or smell a burnt scent, you’ve gone too far, and the butter will taste bitter. In that case, start over—it’s worth it.
Another common mistake is using warm butter instead of cooled brown butter. If the butter is too hot when you mix it with the sugar, the sugar will start to dissolve immediately, leading to flat, greasy cookies. Always let the brown butter cool until it’s just warm to the touch.
Chilling the dough is non-negotiable for these cookies. Pumpkin puree adds moisture, and without chilling, the cookies will spread into one giant pancake on your baking sheet. The 30-minute chill ensures they stay puffy and distinct.
When scooping the dough, try to keep the balls uniform in size so they bake evenly. If you have larger and smaller cookies, the small ones will burn while the large ones are still raw. Using a cookie scoop helps with consistency.
Don’t skip the cream of tartar. It’s what gives snickerdoodles their tangy flavor and soft texture. Without it, you’re just making a spiced sugar cookie. The acid in the cream of tartar also reacts with the baking soda to create carbon dioxide bubbles, which helps the cookies rise.
Variations & Adaptations
One of the best things about this recipe is how adaptable it is. Here are a few ways to customize it to suit your taste or dietary needs.
- Add-ins: For a twist, fold in ½ cup of white chocolate chips or butterscotch chips after the dough is mixed. The creamy sweetness pairs wonderfully with the pumpkin and brown butter. Chopped pecans or walnuts also add a nice crunch.
- Gluten-Free Option: As mentioned, you can use a 1-to-1 gluten-free flour blend. Just note that gluten-free cookies can sometimes be more fragile, so handle them gently when transferring to the cooling rack.
- Dairy-Free: Swap the butter for a high-quality dairy-free butter alternative that is designed for baking. Note that the flavor will be slightly different, as dairy-free butters don’t brown in the same way.
- Spice Level: If you love extra spice, increase the cinnamon to 2 teaspoons and add a pinch of cloves or allspice. For a milder flavor, reduce the spices by half and add a teaspoon of orange zest to the dough for a bright, citrusy note.
- Mini Cookies: If you want bite-sized treats, scoop half the size of the standard dough balls. Bake them for 8-10 minutes. These are perfect for party platters or gift boxes.
I once tried adding a cream cheese swirl to the dough, but it made the cookies too dense. Stick to the base recipe for the best texture, and add-ins only if you want to keep the light, crispy edges.
Serving & Storage Suggestions
These cookies are best served at room temperature, where you can fully appreciate the crispiness of the edges and the chewiness of the center. They pair beautifully with a hot cup of coffee, tea, or a cold glass of milk. For a fancy presentation, serve them on a wooden board with a dusting of powdered sugar.
To store, keep the cookies in an airtight container at room temperature for up to 5 days. If you live in a humid climate, adding a piece of bread to the container can help keep them soft. For longer storage, freeze the baked cookies in a freezer-safe bag for up to 3 months. Thaw them at room temperature before serving.
You can also freeze the dough balls before baking. Scoop and roll them in cinnamon sugar, then place them on a baking sheet and freeze until solid. Transfer the frozen dough balls to a freezer bag. When you’re ready to bake, just add 1-2 minutes to the baking time.
The flavors actually develop and meld together after a day or two, making them even better if you can wait a bit before eating them all. The brown butter flavor becomes more pronounced, and the spices deepen.
Nutritional Information & Benefits
While these are definitely a treat, they offer some interesting nutritional points. Pumpkin puree is rich in vitamin A, fiber, and antioxidants, which adds a healthful boost to your cookies. Brown butter provides a richer flavor profile, which means you might feel satisfied with fewer cookies.
Each cookie contains approximately 150-180 calories, depending on the size. They are a good source of carbohydrates for energy and contain small amounts of protein and fat from the butter and eggs. For those watching their sugar intake, you can reduce the sugar in the dough by ¼ cup, though the cookies will be less sweet and spread more.
These cookies are not suitable for vegans due to the butter and eggs, but they can be adapted as mentioned earlier. They are a comforting, satisfying dessert that feels indulgent but is balanced by the earthy notes of pumpkin and spices.
Conclusion
These crispy brown butter pumpkin snickerdoodle cookies are a game-changer for fall baking. They combine the classic comfort of snickerdoodles with the seasonal warmth of pumpkin and the sophisticated depth of brown butter. Whether you’re a seasoned baker or a beginner, this recipe is approachable and rewarding.
I encourage you to try this recipe and make it your own. Add your favorite mix-ins, adjust the spices to your liking, or share them with friends and family. Baking is all about experimentation and enjoyment.
If you make these cookies, I’d love to hear how they turned out! Leave a comment below with your thoughts, or tag me on social media if you post a photo. I always enjoy seeing your creations. Happy baking, and enjoy every crispy, chewy bite!
FAQs
Can I use pumpkin pie filling instead of pumpkin puree?
No, do not use pumpkin pie filling. It contains added sugars and spices that will throw off the balance of the recipe. Always use plain, pure pumpkin puree for the best results.
Why did my cookies spread too much?
This usually happens if the butter was too warm when mixed with the sugar, or if the dough wasn’t chilled long enough. Make sure to cool the brown butter and chill the dough for at least 30 minutes.
Can I freeze the cookie dough?
Yes, you can freeze the dough balls before baking. Scoop them, roll them in cinnamon sugar, freeze them on a tray, and then transfer to a bag. Bake from frozen, adding a minute or two to the bake time.
What is the difference between these and regular pumpkin cookies?
The main difference is the brown butter and the cream of tartar. Brown butter adds a nutty, toasty flavor, and cream of tartar gives them a tangy, chewy texture similar to snickerdoodles, rather than a cakey pumpkin cookie texture.
How do I store these cookies?
Store them in an airtight container at room temperature for up to 5 days. For longer storage, freeze them in a freezer-safe bag for up to 3 months.
Pin This Recipe!
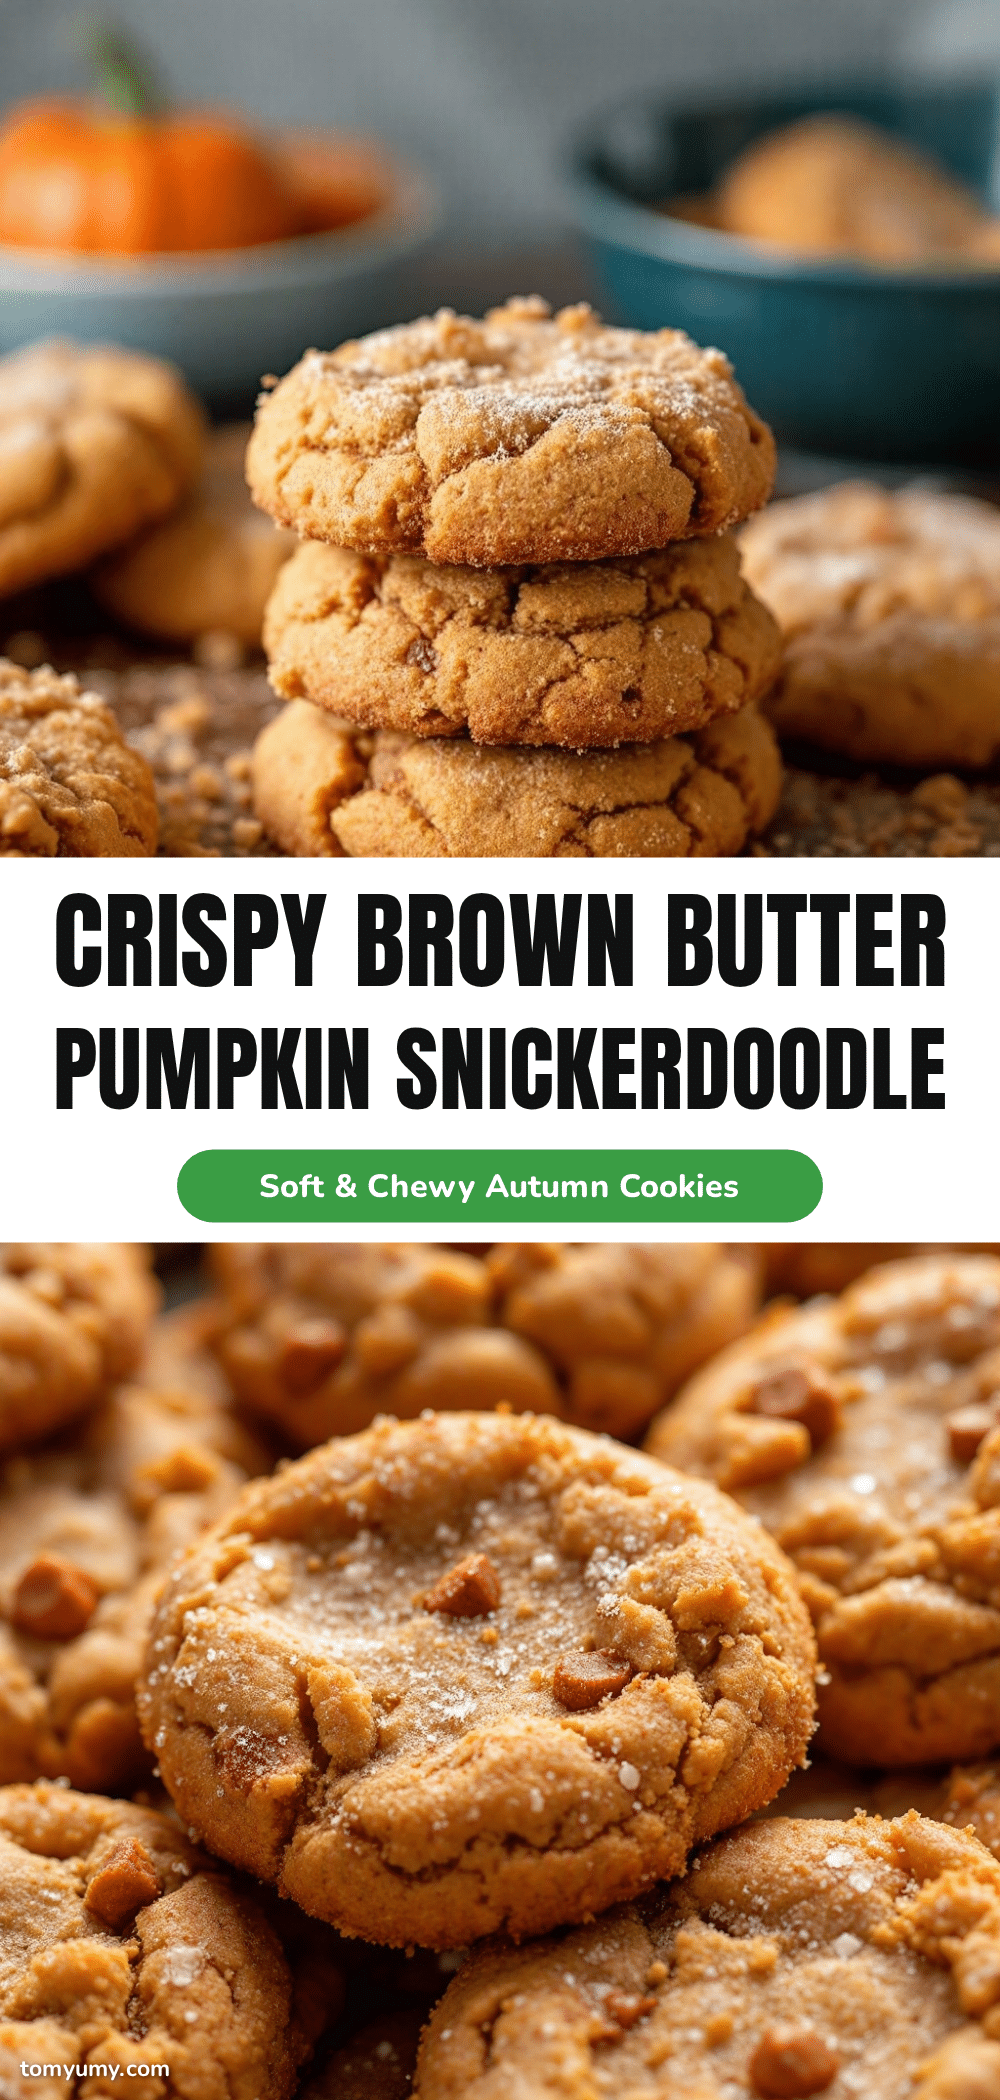
Crispy Brown Butter Pumpkin Snickerdoodle Cookies
These cookies feature a sophisticated twist on classic snickerdoodles with nutty brown butter and seasonal pumpkin puree, resulting in crispy, lacy edges and a soft, chewy center.
- Prep Time: 10 minutes
- Cook Time: 12-14 minutes
- Total Time: 45 minutes
- Yield: Approximately 24 cookies 1x
- Category: Dessert
- Cuisine: American
Ingredients
- 1 cup (2 sticks) unsalted butter
- 1 cup granulated sugar
- 1/2 cup light brown sugar
- 1/2 cup pure pumpkin puree
- 2 large eggs, room temperature
- 1 tablespoon pure vanilla extract
- 2 1/2 cups all-purpose flour
- 1 teaspoon baking soda
- 1 teaspoon cream of tartar
- 1/2 teaspoon baking powder
- 1 1/2 teaspoons ground cinnamon
- 1/2 teaspoon ground nutmeg
- 1/4 teaspoon ground ginger
- 1/2 teaspoon fine sea salt
- 1/2 cup granulated sugar (for coating)
- 1 tablespoon cinnamon (for coating)
Instructions
- Brown the butter: Melt butter in a medium saucepan over medium heat, stirring frequently until milk solids turn golden brown and it smells nutty (5-7 minutes). Pour into a heat-proof bowl and cool for 10-15 minutes until just warm.
- Cream the sugars and butter: In a large mixing bowl, combine cooled brown butter, granulated sugar, and brown sugar. Beat on medium speed until light and fluffy.
- Add wet ingredients: Mix in pumpkin puree, eggs, and vanilla extract on low speed until just combined.
- Combine dry ingredients: In a separate bowl, whisk together flour, baking soda, cream of tartar, baking powder, cinnamon, nutmeg, ginger, and salt.
- Make the dough: Gradually add dry ingredients to wet ingredients and mix on low speed until a thick, slightly sticky dough forms.
- Chill the dough: Cover and refrigerate dough for at least 30 minutes. Preheat oven to 350°F (175°C) and line baking sheets with parchment paper.
- Prepare coating: Mix 1/2 cup sugar and 1 tablespoon cinnamon in a shallow bowl.
- Scoop and roll: Portion dough into balls, roll in cinnamon-sugar mixture, and place on baking sheets 2 inches apart.
- Bake: Bake for 12-14 minutes until edges are set and lightly golden, but centers still look soft.
- Cool: Let cookies cool on the baking sheet for 5 minutes, then transfer to a wire rack to cool completely.
Notes
Ensure brown butter is cooled to just warm before mixing to prevent flat cookies. Chilling the dough is crucial to prevent excessive spreading due to the moisture in the pumpkin puree. Do not use pumpkin pie filling; use only pure pumpkin puree.
Nutrition
- Serving Size: 1 cookie
- Calories: 165
- Sugar: 14
- Sodium: 150
- Fat: 8
- Saturated Fat: 5
- Carbohydrates: 22
- Fiber: 1
- Protein: 2
Keywords: pumpkin cookies, brown butter cookies, snickerdoodle, fall baking, crispy cookies, pumpkin puree, easy dessert