The oven was still cold. The kids were already arguing over who got the last juice box. Honestly, I was about to order pizza again. You know the drill. Another weeknight where “healthy” meant something that came in a box or a bag from the drive-thru. But then I looked at those apples. They were bruised on one side, perfect on the other. Too good to throw away, too many to eat raw before they turned to mush.
I didn’t have a plan. I didn’t have a recipe card. I just had a craving for something warm, sweet, and comforting without the fuss of a pie crust that demands patience I didn’t have. So, I threw everything into a bowl. Flour, oats, cold butter, brown sugar, cinnamon, and those sad, beautiful apples. I didn’t measure. I just mixed until it looked like wet sand and piled it on top.
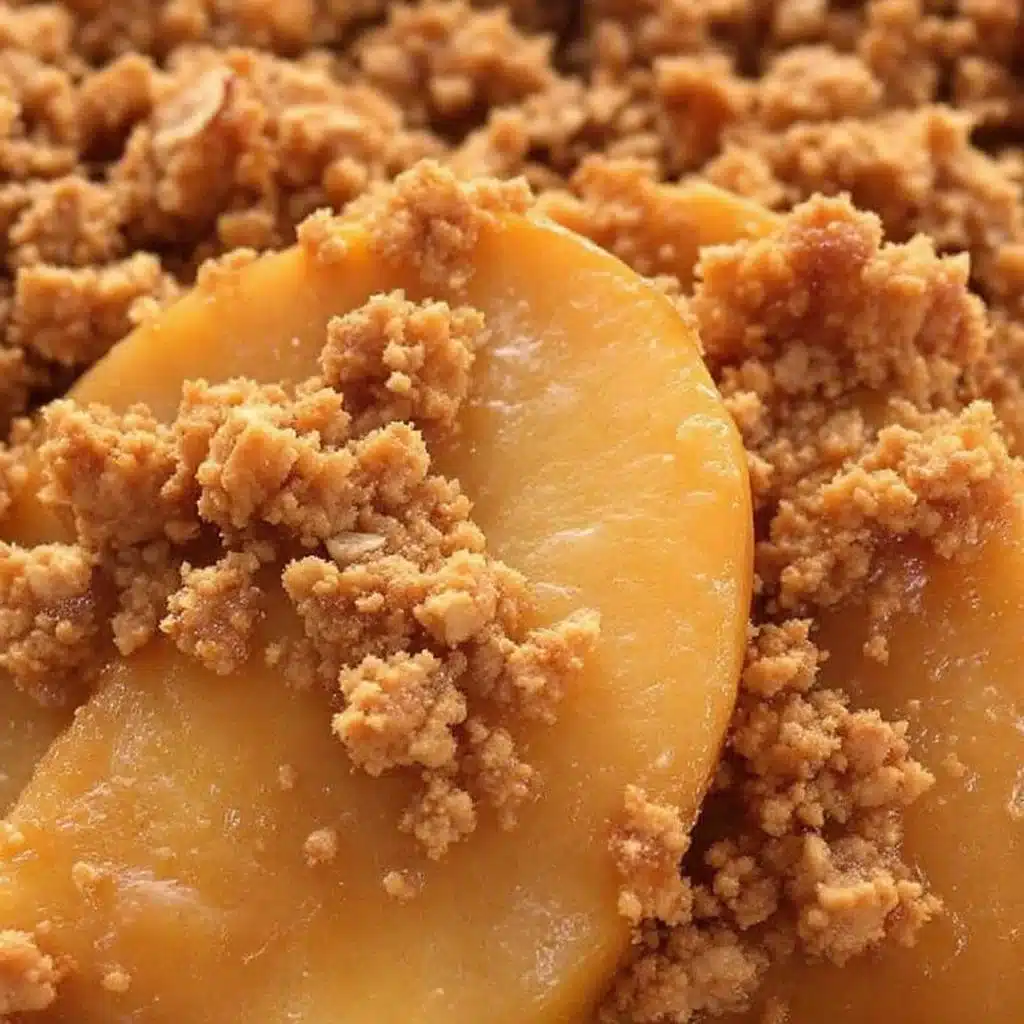
What came out of the oven twenty minutes later changed everything. It wasn’t pie. It wasn’t cobbler. It was better. It was that classic apple crisp with oat streusel texture we all love but rarely make because we think it’s too much work. The kitchen filled with the smell of baked cinnamon and caramelized sugar. My kids stopped fighting. My husband stopped checking his phone. We just sat there, spoons in hand, scraping the bottom of the dish.
It stuck because it’s real. It’s not fancy. It doesn’t require a rolling pin or twenty minutes of butter cutting. It’s just honest food. Made from what you have. And honestly, that’s the kind of recipe that saves your evening when you’re running on empty.
Why You’ll Love This Recipe
Look, I’ve made hundreds of desserts over the years. Some are fancy. Some are complicated. But this classic apple crisp with oat streusel is the one that keeps coming back. It’s not just because it tastes amazing—though it definitely does. It’s because it’s forgiving. You know how pie crusts can be tricky? They tear. They shrink. They refuse to stay in the pan. This recipe has zero of that drama.
- Quick & Easy: You can have this from prep to plate in under 45 minutes. That’s huge for busy weeknights or when unexpected guests show up. No advance planning needed.
- Simple Ingredients: You likely have everything in your pantry right now. Flour, oats, sugar, butter, cinnamon, apples. No obscure spices or hard-to-find items.
- Perfect for Cozy Nights: Whether it’s a rainy Tuesday or a holiday gathering, this fits perfectly. It’s warm, it’s homey, and it smells like comfort.
- Crowd-Pleaser: Kids love the sweetness. Adults love the texture contrast between the soft apples and the crunchy topping. It’s a win-win.
- Unbelievably Delicious: The oat streusel topping adds a nutty, chewy crunch that elevates it above standard crumbles. It’s the kind of texture combo that makes you close your eyes after the first bite.
What makes this version different? I use a mix of oats and flour in the topping. The oats give it that rustic, hearty chewiness that pure flour crumbles lack. Plus, I add a pinch of salt to cut through the sugar. It’s a small detail, but it makes the flavor pop. This isn’t just another apple dessert. It’s the best version of a simple one. It’s comfort food reimagined—faster, easier, but with the same soul-soothing satisfaction. It’s perfect for impressing guests without the stress of making a lattice crust.
What Ingredients You Will Need
This recipe relies on simple, wholesome ingredients to deliver bold flavor and satisfying texture without the fuss. The beauty of an apple crisp is that it highlights the fruit, so choosing good apples matters. You want something that holds its shape but breaks down just enough to create a juicy sauce.
For the Apple Filling
- 6-7 large apples: Use a mix of Granny Smith and Honeycrisp for the best balance of tart and sweet. (Granny Smiths keep their structure; Honeycrisps get soft and juicy.)
- 1 tablespoon lemon juice: Prevents browning and adds a bright note.
- 1/2 cup granulated sugar: Adjust based on how tart your apples are.
- 1/2 cup brown sugar: Adds moisture and a deeper, molasses-like flavor.
- 1 teaspoon cinnamon: Essential for that classic fall taste.
- 1/4 teaspoon nutmeg: Just a pinch to add warmth and complexity.
- 2 tablespoons all-purpose flour: Helps thicken the juices so you don’t end up with a soupy dish.
- 1 tablespoon cornstarch: An extra thickener if your apples are extra juicy.
For the Oat Streusel Topping
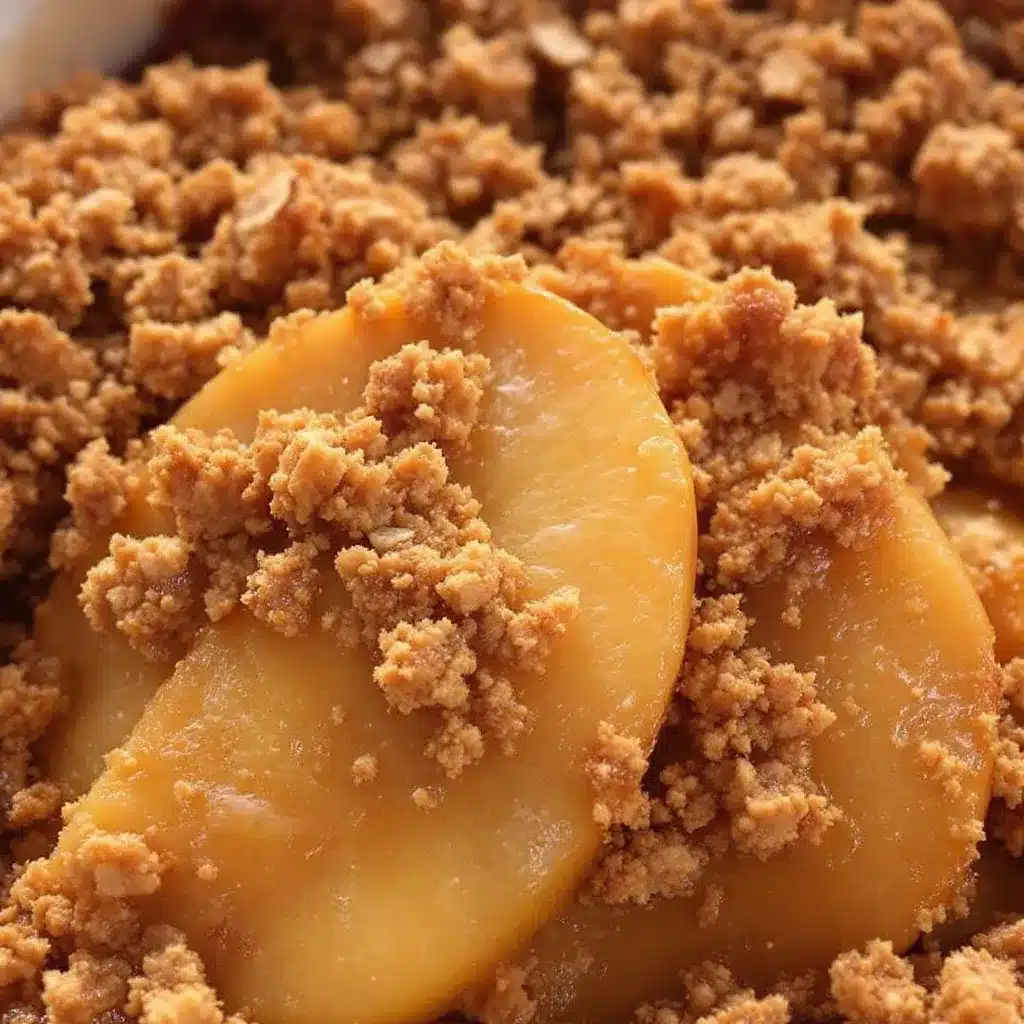
- 1 cup old-fashioned rolled oats: Don’t use instant oats. They get mushy. Old-fashioned gives you the chew.
- 1 cup all-purpose flour: Creates the base of the crumble.
- 1 cup unsalted butter, cold and cubed: Cold butter is key for those distinct, crunchy clumps. (I recommend high-quality butter like Kerrygold for better flavor.)
- 1 cup brown sugar, packed: For that sticky, caramelized crunch.
- 1/2 teaspoon salt: Balances the sweetness.
- 1 teaspoon cinnamon: Matches the filling flavor profile.
If you’re short on time, you can use pre-sliced apples from the store, though fresh ones always taste better. For a gluten-free option, swap the all-purpose flour with a 1:1 gluten-free flour blend. If you need to avoid dairy, use a high-quality plant-based butter, though the flavor won’t be quite as rich.
Equipment Needed
You don’t need anything fancy to make this. A large mixing bowl is essential for tossing the apples with sugar and spices. I usually use a big stainless steel bowl because it’s easy to hold while tossing with my hands. For the topping, another bowl is needed to mix the dry ingredients before cutting in the butter.
You’ll need a 9×13 inch baking dish. Glass or ceramic works best because they distribute heat evenly. If you only have an 8×8 dish, the crisp will be thicker and might need a few extra minutes in the oven. A pastry cutter or two forks are helpful for cutting the butter into the flour mixture, but honestly, your fingers work just fine and it’s faster. Just make sure your hands are clean!
A sharp knife and a cutting board are needed for slicing the apples. I prefer a chef’s knife for control. If you have a mandoline, use it with caution—it’s great for even slices but risky if you’re in a hurry. Finally, a spatula for spreading the topping evenly. Keep it simple. You don’t need a stand mixer or any specialized gadgets.
Preparation Method
- Preheat and Prep: Start by preheating your oven to 375°F (190°C). Grease your 9×13 inch baking dish with a little butter or cooking spray. This prevents sticking and adds flavor. (Takes 2 minutes)
- Prepare the Apples: Peel, core, and slice your apples into 1/4-inch thick wedges. Try to keep them uniform so they cook evenly. Place them in a very large bowl. If the slices are too thick, they won’t soften properly. If they’re too thin, they’ll turn to applesauce. Aim for consistency. (Takes 10 minutes)
- Season the Fruit: Sprinkle the granulated sugar, brown sugar, cinnamon, nutmeg, flour, and cornstarch over the apples. Drizzle with lemon juice. Toss everything together until the apples are evenly coated. You want every slice to have a little sugary dusting on it. Let it sit for 5 minutes while you make the topping. This draws out some juices, which helps with the sauce. (Takes 5 minutes)
- Make the Topping: In a separate bowl, combine the rolled oats, flour, brown sugar, salt, and cinnamon. Mix these dry ingredients together. Now, add the cold, cubed butter. Use a pastry cutter, two forks, or your fingers to work the butter into the dry mix. You’re looking for coarse crumbs with some larger, pea-sized clumps. Don’t overmix it into a paste. You want texture. (Takes 5 minutes)
- Assemble: Pour the apple mixture into your prepared baking dish. Spread it out evenly. Sprinkle the oat streusel topping over the apples. Cover the entire surface. You don’t need to press it down, just let it rest on top. (Takes 2 minutes)
- Bake: Place the dish in the preheated oven. Bake for 45-55 minutes. The topping should be golden brown and crispy. The apples should be tender when pierced with a fork. If the topping starts browning too quickly, cover the edges with foil. (Takes 50 minutes)
- Cool and Serve: Let the crisp cool for at least 15 minutes before serving. This allows the juices to thicken slightly. If you cut into it immediately, it might be runny. Serve warm, ideally with a scoop of vanilla ice cream or a dollop of whipped cream. (Takes 15 minutes)
Cooking Tips & Techniques
One thing I learned the hard way is that not all apples are created equal. If you use only red delicious apples, they tend to turn into mush and lose their flavor. Stick to firm varieties like Granny Smith, Honeycrisp, Fuji, or Braeburn. A mix is best. Also, don’t skip the lemon juice. It keeps the apples looking fresh and adds a necessary acidity to balance the sugar.
When making the topping, keep the butter cold. If the butter melts before it hits the oven, you lose those crunchy clumps. I actually keep my butter in the freezer for 10 minutes before cubing it if my kitchen is warm. This ensures the fat stays distinct from the flour, creating that ideal crumble texture.
Another common mistake is under-baking. The topping needs time to turn golden. If it comes out pale, it’ll taste like raw flour. Look for deep golden edges and bubbling juices in the center. If the center isn’t bubbling, the starches haven’t thickened yet. Give it those extra 5-10 minutes. Patience pays off with a better texture.
For efficiency, prep your apples while the oven preheats. Slice them, toss them, and let them sit. By the time you’re ready to add the topping, the apples will have released some juice, making the mixture easier to spread. This multitasking saves time and ensures everything goes into the oven together.
Variations & Adaptations
This recipe is a blank canvas. Once you master the base, you can play around with flavors. For a spicier kick, add a pinch of cardamom or allspice to the topping. It pairs beautifully with the cinnamon and apples. If you want a nuttier flavor, stir in 1/2 cup of chopped pecans or walnuts into the streusel. Toasting the nuts first intensifies their flavor.
For a seasonal twist, try swapping half the apples with sliced pears. Pear crisp is just as good. In the fall, you can add a handful of dried cranberries to the apple mix for a tart burst. For a vegan version, use plant-based butter and check your sugar (some brown sugars are processed with bone char, though most modern brands are fine). You can also use maple syrup instead of brown sugar for a more natural sweetener, though the texture might be slightly softer.
I once tried adding a layer of cream cheese to the bottom before the apples. It was delicious but made the bottom soggy. Instead, I now swirl a little cream cheese into the topping before baking. It creates little creamy pockets in the crunch. It’s a fun variation for special occasions. For a gluten-free option, use certified gluten-free oats and a 1:1 gluten-free flour blend. The texture is nearly identical.
Serving & Storage Suggestions
Serve this apple crisp warm. The contrast between the hot fruit and the cool ice cream is the best part. I recommend vanilla bean ice cream because it doesn’t overpower the apple flavor. A dollop of whipped cream is also great if you want something lighter. For presentation, sprinkle a little extra cinnamon on top right before serving. It looks inviting and smells amazing.
Leftovers store well in the refrigerator. Cover the dish tightly with plastic wrap or foil. It will keep for up to 4 days. The flavors actually meld together over time, making it even more flavorful on day two. To reheat, pop individual portions in the microwave for 30-60 seconds. For a crispier topping, reheat in a 350°F oven for 10-15 minutes. This restores the crunch that the microwave might soften.
You can also freeze the baked crisp. Let it cool completely, then wrap it tightly in foil and plastic wrap. It will last for up to 3 months. Thaw it in the refrigerator overnight and reheat in the oven. The texture of the apples might be slightly softer after freezing, but the taste remains excellent. Don’t freeze the topping separately; it’s better baked together.
Nutritional Information & Benefits
While this is a dessert, apples provide fiber, vitamin C, and antioxidants. The oats add some fiber and heart-healthy benefits. However, it’s still a sweet treat, so enjoy in moderation. One serving (about 1/10 of the dish) contains approximately 350-400 calories, depending on the size of the scoop and added toppings. It contains about 5-6 grams of fiber and 30-35 grams of sugar.
If you’re watching your sugar intake, you can reduce the sugar in the topping by 1/4 cup without losing too much flavor. The apples provide natural sweetness. For those with nut allergies, this recipe is naturally nut-free unless you add pecans or walnuts. It’s also dairy-free if you use plant-based butter, though the traditional version contains dairy. It’s a balanced treat that feels indulgent but uses real, whole food ingredients.
Conclusion
This classic apple crisp with oat streusel is more than just a dessert. It’s a reminder that simple ingredients can create something extraordinary. It’s easy to make, forgiving, and always a crowd-pleaser. I love it because it brings people together. There’s something about sharing a warm dish straight from the oven that feels like a hug.
Try it your way. Add your favorite nuts. Swap the apples. Make it gluten-free. Make it vegan. It’s your recipe now. I hope it becomes a staple in your home, just like it has in mine. Please leave a comment below and let me know how it turned out. Did you add nuts? Did you use Granny Smiths or Honeycrisps? I love hearing your variations. Share this recipe with a friend who needs a little comfort in their life. Happy baking!
Frequently Asked Questions
Can I use frozen apples for this recipe?
Yes, you can use frozen apples, but they tend to release more water. You may need to increase the flour and cornstarch by 1 tablespoon each to thicken the juices. Also, frozen apples may cook faster, so check the tenderness earlier.
Why is my apple crisp topping soggy?
Soggy topping usually means the butter was too warm or the oven wasn’t hot enough. Make sure your butter is cold and cubed. Also, ensure your oven is fully preheated before putting the crisp in. Avoid covering the dish with foil during baking unless the topping is browning too fast.
Can I make this in a smaller dish?
Yes, but it will be thicker. If you use an 8×8 inch dish, the cooking time might increase by 5-10 minutes. Keep an eye on the topping to ensure it doesn’t burn before the apples are cooked.
What is the best apple for apple crisp?
A mix of firm apples is best. Granny Smith provides tartness and structure, while Honeycrisp or Fuji adds sweetness and juiciness. Avoid apples that turn to mush easily, like Red Delicious.
How do I store leftover apple crisp?
Store leftovers in an airtight container in the refrigerator for up to 4 days. Reheat in the oven or microwave. You can also freeze it for up to 3 months.
For more cozy dessert ideas, check out these salted caramel apple butter thumbprint cookies or try my creamy cinnamon roll cheesecake stuffed baked apples for a unique twist on apple desserts. If you’re in the mood for something with oats, these cinnamon pecan streusel muffins are also a fantastic choice.
Pin This Recipe!
Classic Apple Crisp with Oat Streusel

A quick, easy, and forgiving dessert featuring tender apples topped with a crunchy, nutty oat streusel. Perfect for busy weeknights or cozy gatherings.
- Prep Time: 20 minutes
- Cook Time: 50 minutes
- Total Time: 70 minutes
- Yield: 8 servings 1x
- Category: Dessert
- Cuisine: American
Ingredients
- 6–7 large apples (mix of Granny Smith and Honeycrisp), peeled, cored, and sliced
- 1 tablespoon lemon juice
- 1/2 cup granulated sugar
- 1/2 cup brown sugar
- 1 teaspoon cinnamon
- 1/4 teaspoon nutmeg
- 2 tablespoons all-purpose flour
- 1 tablespoon cornstarch
- 1 cup old-fashioned rolled oats
- 1 cup all-purpose flour
- 1 cup unsalted butter, cold and cubed
- 1/2 teaspoon salt
Instructions
- Preheat oven to 375°F (190°C) and grease a 9×13 inch baking dish.
- In a large bowl, toss sliced apples with lemon juice, granulated sugar, brown sugar, cinnamon, nutmeg, flour, and cornstarch until evenly coated. Let sit for 5 minutes.
- In a separate bowl, combine rolled oats, 1 cup flour, brown sugar, salt, and cinnamon.
- Add cold cubed butter to the dry topping ingredients. Use a pastry cutter, forks, or fingers to work the butter in until the mixture resembles coarse crumbs with pea-sized clumps.
- Pour the apple mixture into the prepared baking dish and spread evenly.
- Sprinkle the oat streusel topping over the apples, covering the entire surface.
- Bake for 45-55 minutes, or until the topping is golden brown and the apples are tender.
- Let cool for at least 15 minutes before serving to allow juices to thicken.
Notes
Use cold butter for the topping to ensure crunchy clumps. A mix of tart and sweet apples works best. For gluten-free, use GF flour blend and certified GF oats. For vegan, use plant-based butter. Store leftovers in the fridge for up to 4 days or freeze for up to 3 months.
Nutrition
- Serving Size: 1/10 of the dish
- Calories: 375
- Sugar: 32
- Sodium: 120
- Fat: 14
- Saturated Fat: 8
- Carbohydrates: 58
- Fiber: 5
- Protein: 3
Keywords: apple crisp, oat streusel, easy dessert, fall recipe, comfort food, gluten-free option, vegan option