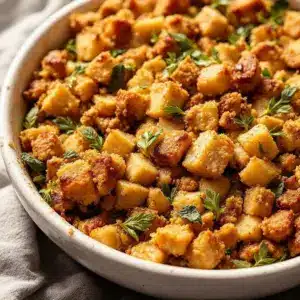
That nutty, amber-colored aroma — the kind that hits you before you even pull the pan out of the oven — still takes me straight to my grandmother’s kitchen in November. It wasn’t just any kitchen; it was the one with the peeling yellow paint and the radiator that clanked like a dying engine, yet somehow smelled like heaven every time the holidays rolled around. I remember standing on a stool, watching her butter melt in a heavy cast-iron skillet, turning from pale yellow to a deep, toasted brown that smelled like toasted hazelnuts and warm wool blankets. She didn’t measure a thing, just swirled the pan until the milk solids sizzled and popped, releasing that signature scent that told me dinner was almost ready.
Honestly, I used to think stuffing was just the boring part of the meal, the bread-heavy filler that sat on the edge of the plate. But that memory, anchored by the smell of browned butter and fresh sage, changed my perspective completely. When I finally tried making Crispy Brown Butter Sage Stuffing on my own, I realized that the secret wasn’t in the bread or the broth. It was in that golden, nutty liquid fat that transforms simple ingredients into something unforgettable.
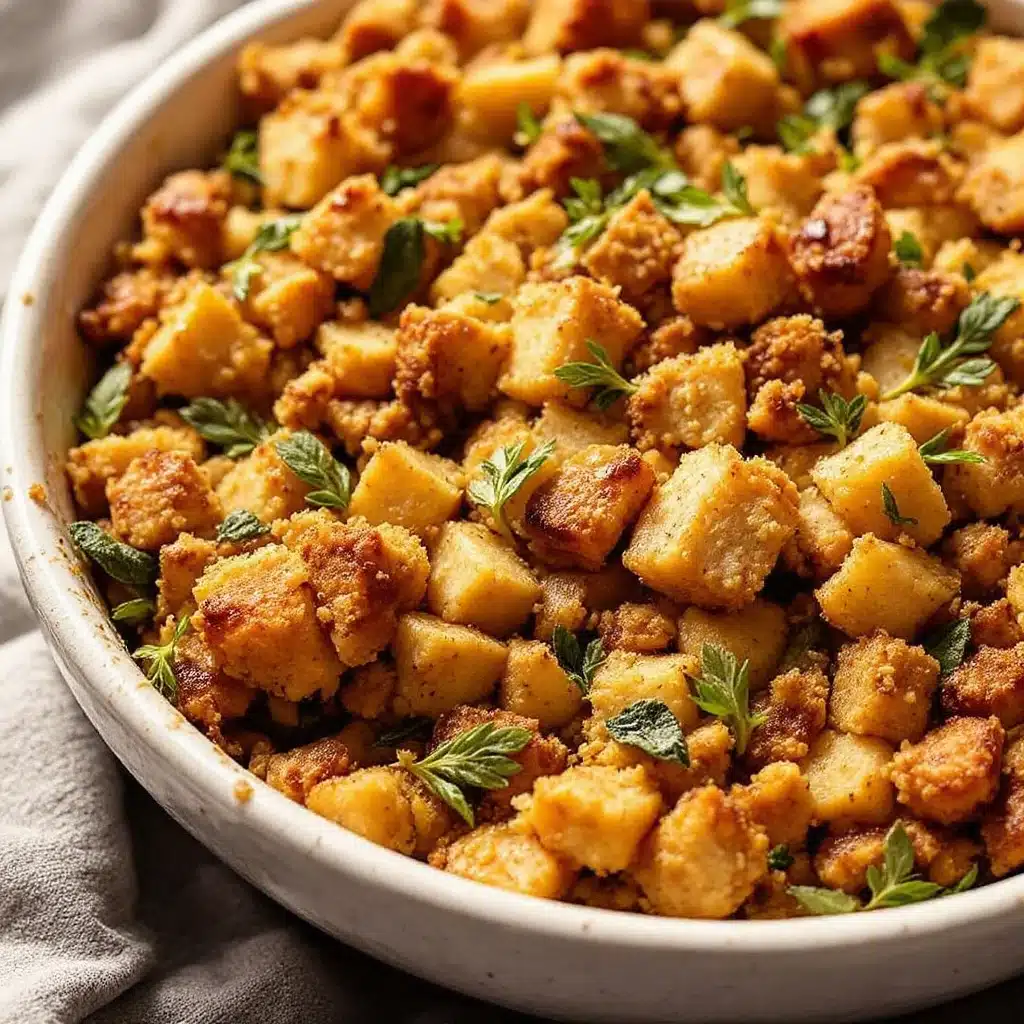
I’ve made this dish for Thanksgiving dinners that stretched late into the night, and for quiet weeknight suppers where I just needed something comforting. Every single time, the result is the same: a crust so crisp it shatters when you dig in, and an interior that’s moist, savory, and deeply aromatic. It’s not just a side dish; it’s a memory you can eat. And once you taste that contrast between the crunchy edges and the soft, buttery center, you’ll never go back to plain melted butter again.
Why You’ll Love This Recipe
This isn’t just another bread pudding in disguise. It’s the kind of recipe that makes you close your eyes after the first bite because the flavor is just that good. I’ve tested this Crispy Brown Butter Sage Stuffing version dozens of times, tweaking the ratios and the browning time, until I landed on the perfect balance. Here is why this recipe stands out from the rest of the crowd:
- Quick & Easy: You don’t need to start the day before. The browning butter happens in minutes, and the whole dish comes together in under an hour. It’s perfect for busy weeknights or last-minute holiday prep when you’re running around like a headless chicken.
- Simple Ingredients: No fancy grocery trips needed. You likely already have butter, sage, and bread in your kitchen. The magic comes from technique, not obscure ingredients. It’s wholesome, rustic cooking at its finest.
- Perfect for Thanksgiving: While it’s great for holidays, this stuffing is versatile enough for cozy winter dinners. It pairs beautifully with roasted meats and adds a touch of elegance to the table without the stress.
- Crowd-Pleaser: Kids and adults alike love it. The nutty flavor of the brown butter is sophisticated, but the texture is familiar and comforting. It’s the kind of dish that gets scraped clean.
- Unbelievably Delicious: The texture and flavor combo is next-level comfort food. The sage adds an earthy, pine-like note that cuts through the richness of the butter, creating a savory profile that is impossible to resist.
What makes this recipe different is the focus on the bread’s texture. Most stuffings get soggy because they sit in broth too long. By toasting the bread cubes first and using brown butter instead of plain butter or oil, we create a barrier that keeps the cubes distinct. It’s not just good—it’s the kind of side dish that becomes the star of the meal. It’s comfort food reimagined—faster, but with the same soul-soothing satisfaction. Plus, if you’re looking for other savory sides to round out your table, this pairs wonderfully with dishes like crispy bacon wrapped asparagus or even a hearty savory jalapeño popper cheesy cornbread casserole for those who like a bit of heat.
What Ingredients You Will Need
This recipe uses simple, wholesome ingredients to deliver bold flavor and satisfying texture without the fuss. The key here is quality. Since there are only a few components, each one needs to shine. I recommend using a sturdy, day-old bread like sourdough or a rustic country loaf. Avoid soft sandwich bread, as it will turn into mush too quickly.
- Day-old bread (8-10 cups cubed): Use a dense, crusty bread. Sourdough is my personal favorite because its tangy flavor balances the rich butter. Let the cubes air-dry on a baking sheet overnight to remove excess moisture.
- Unsalted butter (1 cup / 2 sticks): This is the star of the show. Use high-quality European-style butter if you can find it; the higher fat content makes for better browning. I prefer Kerrygold or Plugrá for their consistent flavor.
- Fresh sage leaves (1/2 cup, packed): Fresh is non-negotiable here. Dried sage has a dusty, muted flavor that won’t give you that bright, herbal punch. Look for vibrant green leaves with no brown spots.
- Large eggs (2): These act as a binder, holding the stuffing together without making it too dense. Room temperature eggs mix in more evenly.
- Chicken or vegetable broth (2 cups): Use a low-sodium version so you can control the saltiness. Warm the broth before adding it to the bread so it doesn’t shock the eggs.
- Yellow onion (1 medium, diced): Sweet onions like Vidalia or Walla Walla work best. They caramelize slightly in the butter, adding a subtle sweetness.
- Garlic (3 cloves, minced): Fresh garlic adds a necessary pungency. Don’t skimp on this; it balances the earthy sage.
- Kosher salt and black pepper: To taste. Always season to taste at the end, as the bread and broth may vary in salt content.
- Optional Add-ins: If you want to get fancy, you can add diced celery or sautéed mushrooms. For a gluten-free option, use certified gluten-free bread cubes.
Equipment Needed
You don’t need a fancy kitchen to make this, but having the right tools helps. A large cast-iron skillet is ideal for browning the butter because it distributes heat evenly and can go from stovetop to oven. If you don’t have cast iron, a heavy-bottomed stainless steel saucepan works too. You’ll also need a large mixing bowl for combining the ingredients and a 9×13 inch baking dish. A wooden spoon is best for stirring the butter to prevent burning. Keep your tools clean and ready; brown butter goes from perfect to burnt in seconds, so you want to be efficient.
Preparation Method
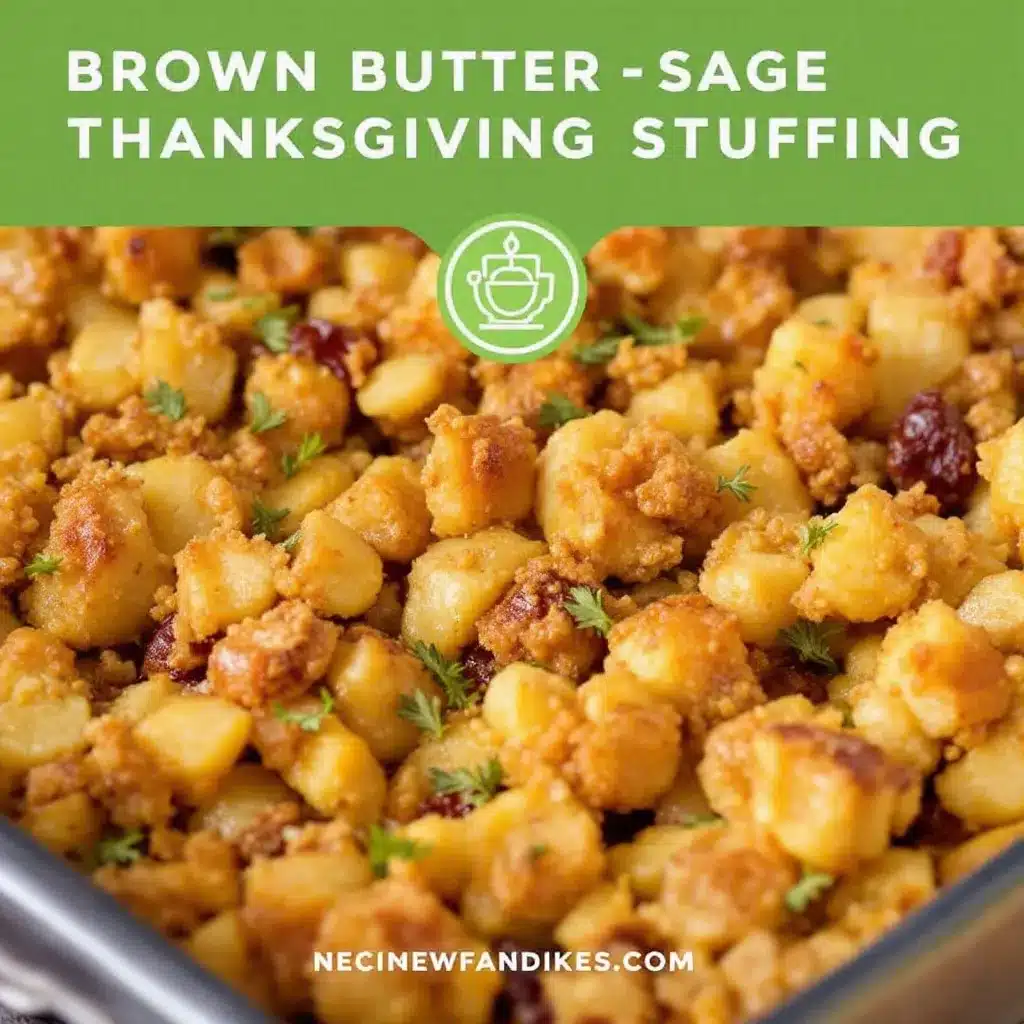
Follow these steps carefully to achieve that perfect crispy texture.
- Prep the Bread (10 minutes): Preheat your oven to 350°F (175°C). Cut your day-old bread into 1-inch cubes. Spread them out in a single layer on two large baking sheets. Toast them in the oven for 10-15 minutes, flipping halfway through, until they are dry and lightly golden. This step is crucial for preventing soggy stuffing. Let them cool completely.
- Make the Brown Butter (5 minutes): In your cast-iron skillet or saucepan over medium heat, melt the butter. Swirl the pan occasionally. Watch closely as the butter foams and then begins to settle. You are looking for a deep amber color and a nutty aroma. This should take about 3-5 minutes. Remove from heat immediately once it reaches this stage to prevent burning.
- Sauté the Aromatics (5 minutes): In the same skillet (if using cast iron) or a separate pan, add a tablespoon of the brown butter. Add the diced onion and cook until translucent, about 5 minutes. Add the minced garlic and cook for another 30 seconds until fragrant. Remove from heat.
- Combine the Mixture (5 minutes): In a very large bowl, combine the toasted bread cubes, sautéed onions, and garlic. Chop the fresh sage leaves roughly and add them to the bowl. In a separate small bowl, whisk the eggs and the warm broth together. Pour this liquid mixture over the bread cubes.
- Fold and Soak (10 minutes): Gently fold the ingredients together with a spatula. Make sure every cube is coated. Let the mixture sit for 10 minutes. This allows the bread to absorb the liquid and the flavors to meld. The bread should look moist but not swimming in broth.
- Assemble and Bake (30 minutes): Pour the mixture into your greased 9×13 baking dish. Smooth the top. Drizzle the remaining brown butter evenly over the top. This ensures a crispy crust. Bake at 375°F (190°C) for 25-30 minutes, or until the top is golden brown and crisp, and the center is set.
Cooking Tips & Techniques
The biggest mistake people make with stuffing is under-toasting the bread. If the bread is soft, it will absorb too much liquid and become mushy. That’s why the initial toast in the oven is non-negotiable. Also, pay attention to the butter. Brown butter burns easily. If you smell it burning, pour it into a cold bowl immediately to stop the cooking process. It’s better to slightly under-brown it than to have a bitter, burnt taste. Another tip: don’t skip the resting time after mixing. Letting the bread sit allows it to hydrate evenly, ensuring that the center isn’t dry while the edges are soggy. I learned this the hard way after my first attempt ended up with a dry center, so trust the process.
Variations & Adaptations
This recipe is a canvas for your creativity. Here are a few ways to adapt it:
- Gluten-Free: Swap the sourdough for gluten-free bread cubes. Ensure your broth is certified gluten-free.
- Vegan: Use plant-based butter and vegetable broth. You can add nutritional yeast for a cheesy, savory depth.
- With Sausage: Add cooked Italian sausage or breakfast sausage to the onion mixture for a heartier dish.
- With Chestnuts: Fold in chopped roasted chestnuts for a classic holiday flavor that pairs perfectly with sage.
I once tried adding dried cranberries and chopped pecans, which was a hit with my family. It added a nice sweet-tart contrast to the savory sage.
Serving & Storage Suggestions
Serve this stuffing hot, right out of the oven. It pairs beautifully with roast turkey or chicken. For storage, let it cool completely, then cover tightly with plastic wrap or aluminum foil. It will keep in the refrigerator for up to 4 days. To reheat, place it in an oven-safe dish and cover with foil at 350°F for 20 minutes. If you want to crisp up the top again, remove the foil for the last 5 minutes. You can also freeze it for up to 3 months. The flavors actually develop and deepen after a day or two, making it great for leftovers. If you’re looking for other ways to use leftover stuffing, try stuffing it into a turkey-shaped snack or using it in a savory bread pudding.
Nutritional Information & Benefits
This stuffing is rich in calories due to the butter, but it provides energy and satisfaction. Sage contains antioxidants and anti-inflammatory properties, which is a nice bonus. The bread provides carbohydrates for energy. For a lighter option, you can reduce the butter by half and increase the broth, though the texture will be less rich. Always consider portion sizes, as this is a dense, flavorful side dish.
Conclusion
This Crispy Brown Butter Sage Stuffing is worth the extra step of browning the butter. It transforms a simple side into a memorable dish. I hope you try it and make it your own. Feel free to add your favorite herbs or nuts. Let me know in the comments how you like to customize your stuffing! Happy cooking, and enjoy every bite of this cozy, nutty delight.
FAQs
Can I make this stuffing ahead of time?
Yes! You can prepare the mixture up to the baking stage and refrigerate it overnight. Let it sit at room temperature for 30 minutes before baking. You may need to add 5-10 minutes to the baking time.
Why is my stuffing soggy?
This usually happens if the bread isn’t dry enough. Make sure to toast the bread cubes until they are stiff and dry before mixing. Also, avoid adding too much broth.
Can I use fresh bread?
Fresh bread has too much moisture. If you must use fresh bread, toast the cubes in the oven for 15-20 minutes at 300°F to dry them out before proceeding.
What kind of sage should I use?
Always use fresh sage. Dried sage lacks the vibrant flavor and aroma that defines this recipe. If you can’t find fresh, you can use a smaller amount of dried, but the flavor will be different.
How do I store leftovers?
Store leftovers in an airtight container in the refrigerator for up to 4 days. Reheat in the oven at 350°F until warmed through. You can also freeze it for longer storage.
Pin This Recipe!
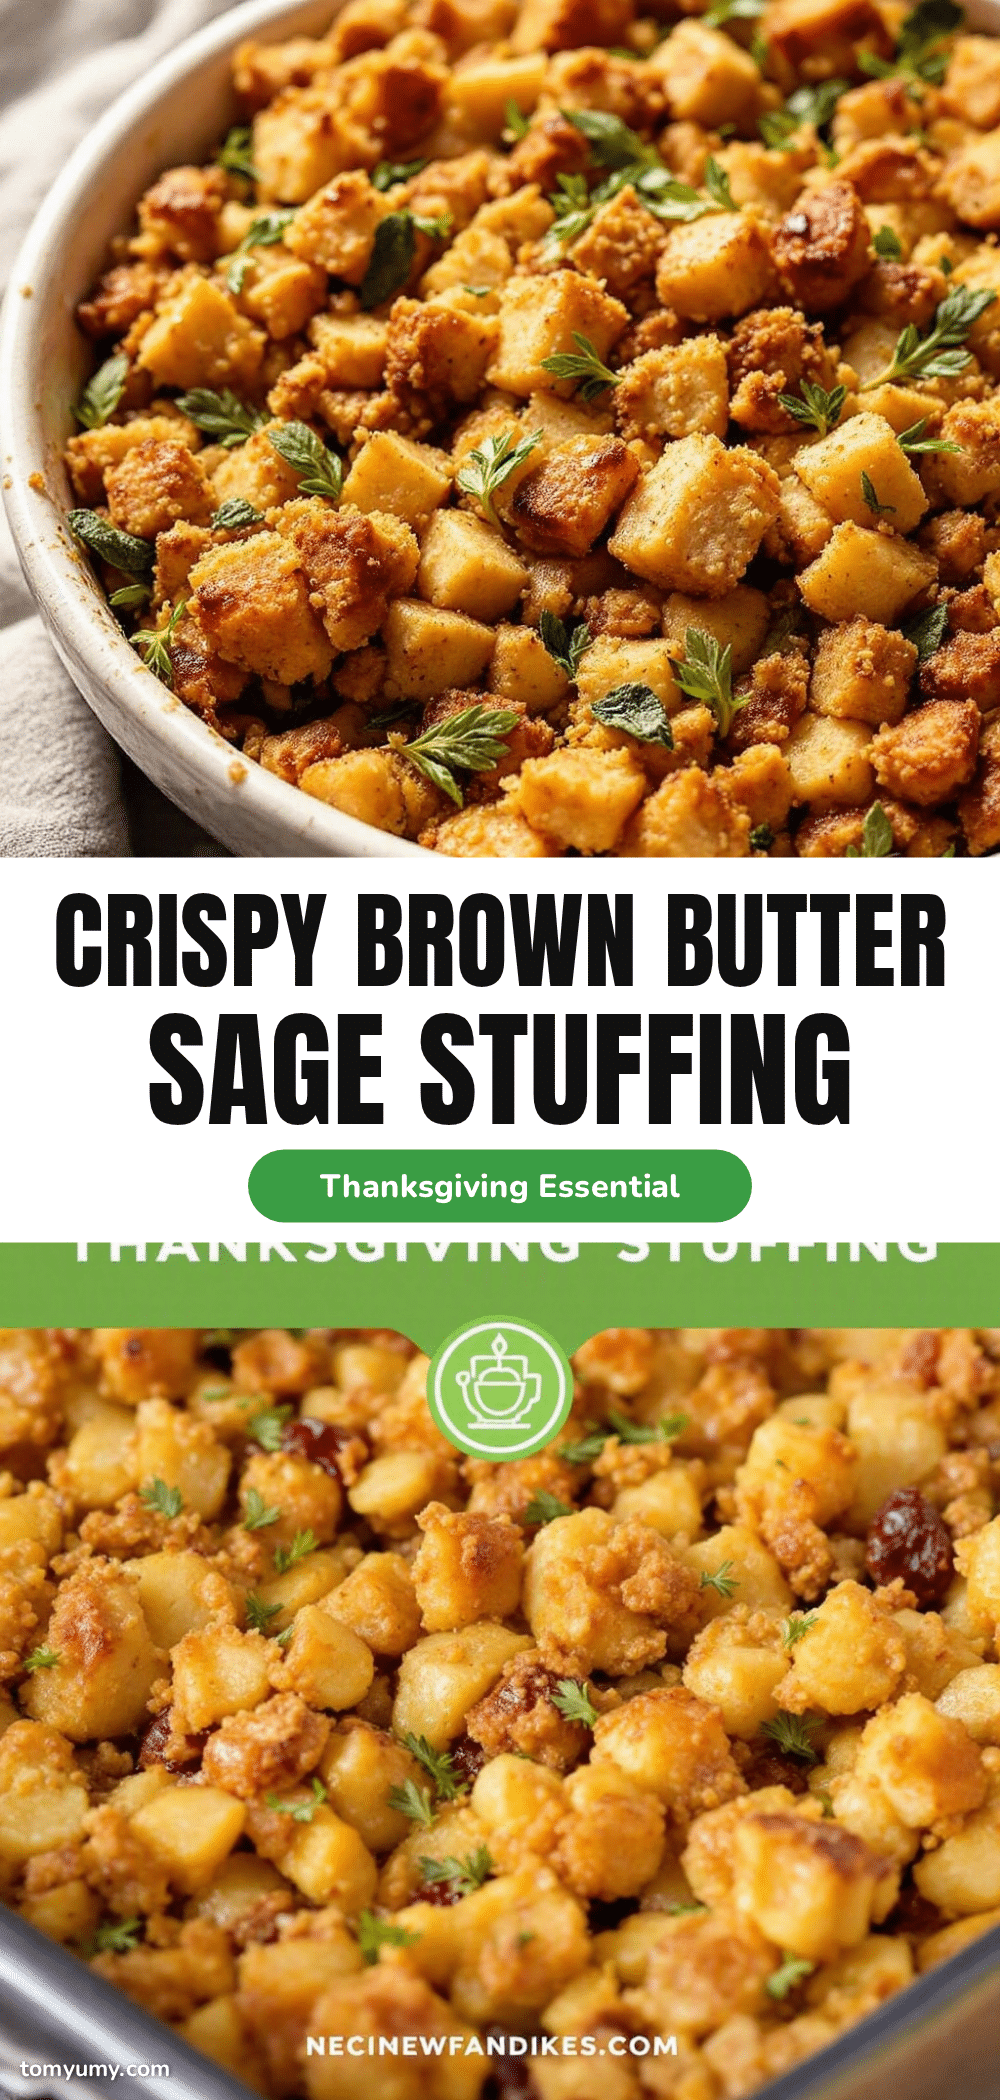
Crispy Brown Butter Sage Stuffing
A rich and savory side dish featuring toasted bread cubes, fresh sage, and nutty brown butter, resulting in a crispy crust and moist interior.
- Prep Time: 25 minutes
- Cook Time: 30 minutes
- Total Time: 55 minutes
- Yield: 8 servings 1x
- Category: Side Dish
- Cuisine: American
Ingredients
- 8–10 cups day-old bread (sourdough or rustic country loaf), cut into 1-inch cubes
- 1 cup (2 sticks) unsalted butter
- 1/2 cup fresh sage leaves, packed
- 2 large eggs
- 2 cups chicken or vegetable broth (low-sodium)
- 1 medium yellow onion, diced
- 3 cloves garlic, minced
- Kosher salt and black pepper to taste
Instructions
- Preheat oven to 350°F (175°C). Spread bread cubes on baking sheets and toast for 10-15 minutes until dry and lightly golden. Let cool completely.
- In a cast-iron skillet or saucepan over medium heat, melt butter. Swirl occasionally until it turns deep amber and smells nutty (3-5 minutes). Remove from heat immediately.
- In the same skillet, add 1 tablespoon of the brown butter. Sauté diced onion until translucent (5 minutes). Add garlic and cook for 30 seconds until fragrant. Remove from heat.
- In a large bowl, combine toasted bread cubes, sautéed onions, garlic, and chopped sage.
- In a separate small bowl, whisk eggs and warm broth together. Pour this mixture over the bread cubes.
- Gently fold ingredients to coat all cubes. Let sit for 10 minutes to allow bread to absorb liquid.
- Pour mixture into a greased 9×13 inch baking dish. Smooth the top and drizzle remaining brown butter evenly over it.
- Bake at 375°F (190°C) for 25-30 minutes until the top is golden brown and crisp, and the center is set.
Notes
Ensure bread is toasted until dry to prevent sogginess. Brown butter burns easily, so watch closely. Let the mixture rest for 10 minutes before baking to ensure even hydration. Can be made ahead and refrigerated overnight before baking.
Nutrition
- Serving Size: 1 cup
- Calories: 350
- Sugar: 2
- Sodium: 450
- Fat: 22
- Saturated Fat: 13
- Carbohydrates: 28
- Fiber: 2
- Protein: 6
Keywords: Thanksgiving sides, brown butter, sage stuffing, crispy stuffing, holiday recipes, comfort food