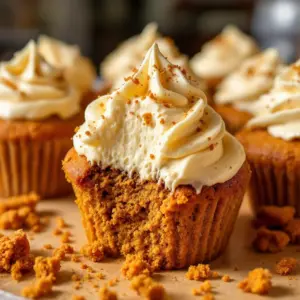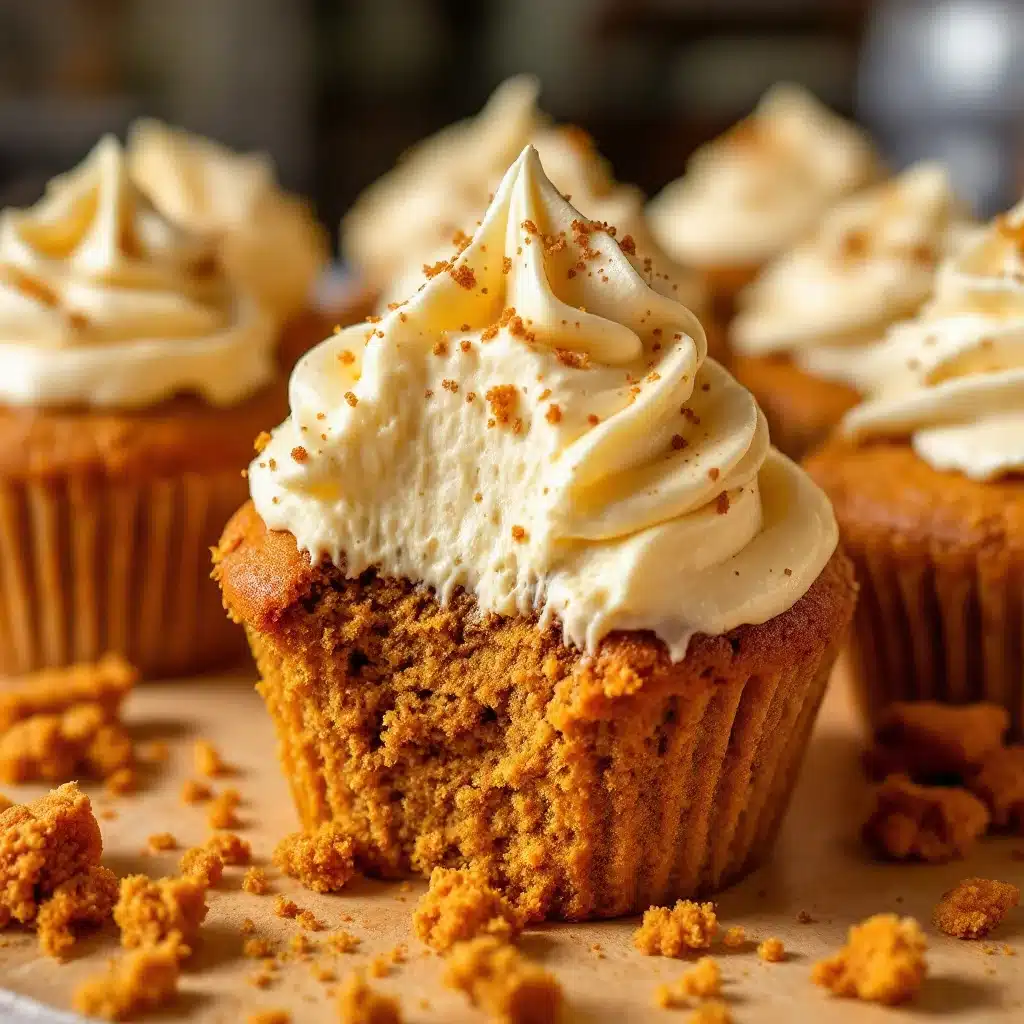
It starts with a smell that hits you before you even see the result. That specific scent of butter browning just past the foaming stage, right when the milk solids turn a deep amber and release that aroma of toasted hazelnuts. It is a smell that demands attention. I remember standing in my kitchen last November, watching the butter sputter in a stainless steel skillet, mesmerized by the color shift from pale yellow to a rich, caramel bronze. The steam rising off the pan carried that nutty perfume into the hallway, pulling my kids out of their screens and into the kitchen. They didn’t ask what was cooking; they just stopped. That is the magic of brown butter, and it is the secret weapon behind these Moist Brown Butter Pumpkin Cupcakes.
Honestly, most pumpkin recipes rely on oil or melted butter to keep the crumb tender. But oil lacks soul, and melted butter is just… butter. It doesn’t change. Brown butter transforms. It adds a layer of complexity that makes the pumpkin spice taste less like a powder mix and more like a warm hug. The texture of the cupcake itself is dense yet airy, thanks to the emulsion of the browned butter and the moisture from the pumpkin puree. It holds together in a way that feels substantial, not airy and fake.
I’ve tested this recipe at least a dozen times. Some batches were too dry, some were too greasy. But this version? This one is the winner. The brown butter is folded into the batter carefully, cooling it slightly so it doesn’t cook the eggs, then mixed with spices that taste like autumn in a jar. The result is a cupcake that is deeply flavored from the very first bite to the very last crumb. It’s not just a dessert; it’s a reminder that slowing down in the kitchen pays off. You know that feeling when you take a bite and your eyes close because the flavor is just so good? That’s the goal here. These cupcakes are the kind of thing that makes you want to stay in your pajamas a little longer on a crisp morning.
Why You’ll Love This Recipe
There are a hundred pumpkin cupcake recipes out there, but this one stands out because it respects the ingredient while pushing it into new territory. I spent years working in professional kitchens where precision was everything, and I learned that the best flavors come from technique, not just more sugar. This recipe is built on that foundation. It isn’t just about sweetness; it’s about balance. The nuttiness of the brown butter cuts through the sweetness of the frosting, creating a profile that is sophisticated but still feels like home baking.
Here is why this recipe has become a staple in my rotation:
* **Quick & Easy**: Despite the brown butter step, this comes together in under 45 minutes. You can have these in the oven by mid-morning and ready to eat by lunch. It is perfect for busy weeknights or last-minute cravings when you need something special but don’t have hours to spare.
* **Simple Ingredients**: No fancy grocery trips needed. You likely already have the staples like flour, sugar, and spices in your pantry. The only “special” item is the butter, which you already use for cooking.
* **Perfect for Fall Gatherings**: These are great for brunch, potlucks, or cozy dinners. They travel well in a tin and stay moist for days, making them ideal for bringing to office parties or neighbor drop-offs.
* **Crowd-Pleaser**: Always gets rave reviews from kids and adults alike. Even people who usually skip pumpkin desserts find themselves reaching for seconds because the flavor is so rich.
* **Unbelievably Delicious**: The texture and flavor combo is next-level comfort food. The brown butter adds a savory depth that balances the sweet spices, making every bite interesting.
What makes this recipe different from the rest is the technique. By browning the butter first, you caramelize the milk solids, adding a toasty note that plain melted butter can’t achieve. I also use a specific ratio of pumpkin to flour that ensures the cupcake is moist without being gummy. Whether it is a special technique like this, or a perfectly balanced seasoning profile, make it clear this isn’t just another version—it’s your best version. This recipe isn’t just good; it is the kind that makes you close your eyes after the first bite. It’s comfort food reimagined—healthier, faster, but with the same soul-soothing satisfaction. Perfect for impressing guests without stress, or turning a simple meal into something memorable. If you enjoy this level of flavor, you might also appreciate the depth found in my brown butter maple pumpkin cookies, which use a similar technique for a chewier treat.
What Ingredients You Will Need
This recipe uses simple, wholesome ingredients to deliver bold flavor and satisfying texture without the fuss. The key here is quality. Since the number of ingredients is small, each one carries more weight. I recommend using high-quality pumpkin puree, not pumpkin pie filling, which has added sugars and spices that will throw off the balance. You want pure, canned pumpkin or even fresh roasted pumpkin if you have the time.
Here is what you will need to get started:
**For the Brown Butter Base:**
* **Unsalted butter, softened**: I recommend using a high-fat butter like Plugrá or Kerrygold for the best browning results. The higher fat content means more milk solids to toast, which equals more flavor. You will need 1 cup (2 sticks) for this recipe.
* **Granulated sugar**: 1 cup. This provides structure and sweetness.
* **Brown sugar, packed**: 1/2 cup. This adds moisture and a hint of molasses, which complements the nutty butter.
**For the Dry Mix:**
* **All-purpose flour**: 2 cups. This is the backbone of the cupcake. Do not use cake flour unless you adjust the liquid, as all-purpose gives the right amount of chew.
* **Baking soda**: 1 teaspoon. This reacts with the acidic pumpkin to help the cupcakes rise.
* **Baking powder**: 1/2 teaspoon. An extra lift to ensure they are fluffy.
* **Salt**: 1 teaspoon. Essential for balancing the sweet and enhancing the spices.
* **Cinnamon**: 2 teaspoons. Use ground cinnamon for consistent flavor.
* **Nutmeg**: 1/2 teaspoon. Freshly grated is best, but ground works fine.
* **Ginger**: 1/2 teaspoon. Adds a little heat and complexity.
* **Cloves**: 1/4 teaspoon. Use sparingly; they are potent and can overpower the dish if used too much.
**For the Wet Mix:**
* **Large eggs, room temperature**: 2 large eggs. Room temperature eggs emulsify better with the butter, creating a smoother batter.
* **Pumpkin puree**: 1 cup. Make sure it is pure pumpkin, not pie filling.
* **Vanilla extract**: 1 teaspoon. Pure vanilla adds a floral note that ties everything together.
**For the Frosting:**
* **Cream cheese, softened**: 8 ounces. This adds tanginess to cut the sweetness.
* **Butter, softened**: 1/2 cup. Unsalted is best.
* **Powdered sugar**: 2-3 cups. Depending on how sweet you like it.
* **Vanilla extract**: 1 teaspoon.
If you are looking to substitute ingredients, you can use gluten-free flour blend for a gluten-free option, though the texture may be slightly denser. Swap Greek yogurt with dairy-free coconut yogurt if needed, but note that this will change the tanginess of the cupcake. For the frosting, you can use a dairy-free cream cheese alternative, though it may not hold its shape as well in warm weather. I personally love the texture of pumpkin spice molasses crinkle scones for a similar spice profile, but these cupcakes offer a softer, more delicate crumb that pairs beautifully with a morning coffee.
Equipment Needed
You don’t need a fancy kitchen to make these cupcakes, but having the right tools makes the process smoother and the results more consistent. Here is what you will need:
* **Medium Saucepan**: A stainless steel or light-colored pan is essential for browning the butter. You need to see the color change clearly, so avoid dark non-stick pans. A stainless steel pan also allows you to swirl the butter easily to ensure even browning.
* **Stand Mixer or Hand Mixer**: While you can mix by hand, a mixer ensures the butter and sugars are creamed properly, which incorporates air and leads to a lighter texture. A stand mixer with a paddle attachment is ideal.
* **Large Mixing Bowl**: For combining the dry ingredients.
* **Medium Mixing Bowl**: For whisking the wet ingredients.
* **Cupcake Tin**: Standard 12-cup muffin tin.
* **Cupcake Liners**: Paper liners work best for easy removal. I prefer white liners as they look elegant and let you see the golden color of the cupcake.
* **Cooling Rack**: Essential for cooling the cupcakes before frosting. If you frost warm cupcakes, the frosting will melt and slide off.
* **Spatula**: A rubber spatula is great for scraping down the sides of the bowl to ensure all ingredients are incorporated.
If you don’t have a stand mixer, a strong arm and a wooden spoon will work, but it will take more effort. For the brown butter step, a thermometer is helpful but not required. You are looking for the butter to turn amber and smell nutty, which usually takes about 5-7 minutes over medium heat. Keep an eye on it, as it can go from perfect to burnt quickly.
Preparation Method
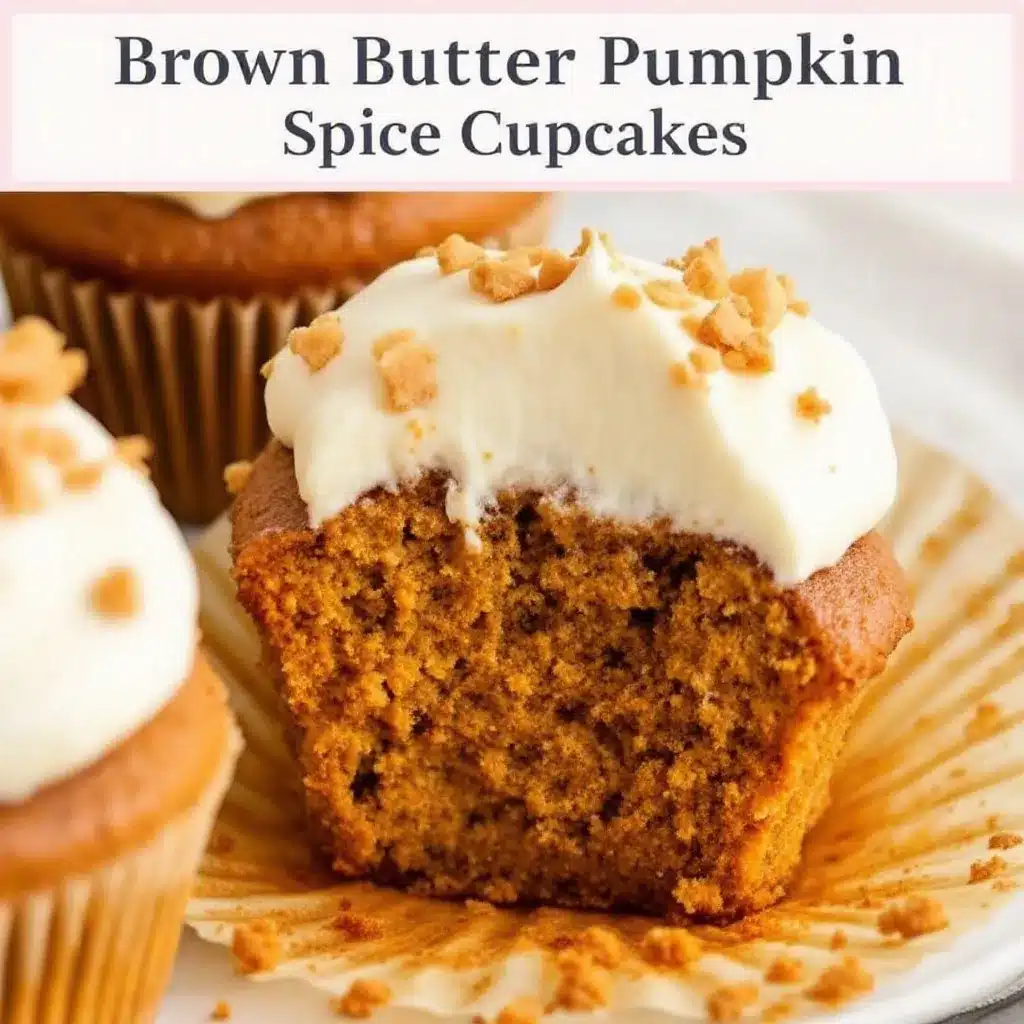
Making these cupcakes is straightforward if you follow the steps carefully. The key is to brown the butter first, then let it cool slightly before mixing.
1. **Brown the Butter**: Melt 1 cup of unsalted butter in a medium saucepan over medium heat. Stir frequently with a wooden spoon or silicone spatula. The butter will foam up, then subside. Watch closely as the milk solids begin to settle at the bottom. Once the butter turns a deep amber color and smells nutty (about 5-7 minutes), remove it from the heat immediately. Pour it into a heat-proof bowl to stop the cooking process. Let it cool for 10-15 minutes until it is warm but not hot. (Time: 10 minutes)
2. **Preheat and Prep**: Preheat your oven to 350°F (175°C). Line a 12-cup muffin tin with cupcake liners. This ensures even baking and easy removal. (Time: 2 minutes)
3. **Mix Dry Ingredients**: In a large mixing bowl, whisk together the all-purpose flour, baking soda, baking powder, salt, cinnamon, nutmeg, ginger, and cloves. Whisking ensures that the leavening agents and spices are evenly distributed, preventing pockets of bitter soda or spice in the final cupcake. (Time: 2 minutes)
4. **Cream Butter and Sugars**: In the bowl of a stand mixer fitted with the paddle attachment, beat the cooled brown butter, granulated sugar, and brown sugar on medium-high speed for about 3-4 minutes. The mixture should look light and fluffy. This step incorporates air, which helps the cupcakes rise. (Time: 4 minutes)
5. **Add Eggs and Vanilla**: Beat in the eggs one at a time, mixing well after each addition. Add the vanilla extract and mix until combined. Scrape down the sides of the bowl with a spatula to ensure everything is incorporated. (Time: 2 minutes)
6. **Combine Wet and Dry**: Reduce the mixer speed to low. Add the dry ingredients to the wet ingredients in three additions, alternating with the pumpkin puree in two additions. Begin and end with the dry ingredients. Mix until just combined. Do not overmix, or the cupcakes will become tough. The batter should be thick and slightly lumpy. (Time: 3 minutes)
7. **Fill Liners**: Divide the batter evenly among the 12 cupcake liners, filling each about 2/3 full. You can use an ice cream scoop for even portions. (Time: 2 minutes)
8. **Bake**: Bake in the preheated oven for 18-20 minutes, or until a toothpick inserted into the center comes out clean or with a few moist crumbs. The tops should be lightly golden. Avoid opening the oven door too early, as this can cause the cupcakes to collapse. (Time: 20 minutes)
9. **Cool**: Let the cupcakes cool in the pan for 5 minutes, then transfer them to a wire rack to cool completely. This is crucial before frosting. (Time: 15 minutes)
10. **Make Frosting**: While the cupcakes cool, beat the softened cream cheese and butter until smooth. Gradually add the powdered sugar and vanilla, beating on low speed until combined, then increase to high speed for 2 minutes until fluffy. (Time: 5 minutes)
11. **Frost and Serve**: Once the cupcakes are completely cool, pipe or spread the frosting on top. Garnish with a sprinkle of cinnamon or a few pumpkin seeds if desired. (Time: 5 minutes)
Cooking Tips & Techniques
Browning butter is a skill that pays off in many recipes, but it requires attention. The most common mistake is letting the butter burn. Butter burns quickly once the milk solids start to brown. If you see dark brown bits forming, your butter is too far gone. Trust your nose; the nutty smell is your best indicator. If it smells acrid or burnt, start over.
Another tip is to ensure your eggs and cream cheese are at room temperature. Cold ingredients can cause the batter to seize or not emulsify properly, leading to a grainy texture. If you forget to take them out, you can warm them slightly by placing them in a bowl of warm water for a few minutes.
When mixing the batter, stop as soon as the flour disappears. Overmixing develops gluten, which makes cupcakes dense and chewy instead of tender. A few small lumps are okay. Also, be careful not to overfill the cupcake liners. If you fill them too high, the batter will spill over the edges during baking, creating a mess and uneven cupcakes.
For consistent results, use an oven thermometer. Ovens can vary in temperature, and baking at the wrong temperature can lead to dry or undercooked cupcakes. If your oven runs hot, lower the temperature by 25 degrees.
I once made a batch where I didn’t cool the brown butter enough, and it cooked the eggs when I added them, creating little curds in the batter. It was edible but not pretty. So, patience is key. Let the butter cool until it is just warm to the touch.
Variations & Adaptations
This recipe is versatile and can be adapted to suit different tastes and dietary needs. Here are a few ideas:
* **Spice It Up**: Add a pinch of cardamom or allspice for a more complex spice profile. I love adding a little cayenne pepper for a subtle heat that complements the pumpkin.
* **Add-Ins**: Fold in 1/2 cup of chocolate chips, pecans, or walnuts for added texture and flavor. Chopped dates or dried cranberries also work well.
* **Gluten-Free**: Substitute the all-purpose flour with a 1:1 gluten-free flour blend. Add 1/2 teaspoon of xanthan gum if your blend doesn’t include it, to help with structure.
* **Dairy-Free**: Use a dairy-free butter alternative for the brown butter step (note that it won’t brown the same way, so use a nut milk butter for better results). Use dairy-free cream cheese for the frosting.
* **Mini Cupcakes**: Reduce the baking time to 12-15 minutes for mini cupcakes. These are perfect for parties and appetizers.
I recently tried adding a swirl of cream cheese into the batter before baking, which created a marbled effect. It was delicious, but be careful not to overmix the swirl, or it will disappear into the batter.
Serving & Storage Suggestions
These cupcakes are best served at room temperature, allowing the flavors to fully develop. They pair wonderfully with a hot cup of coffee or tea. For a more decadent treat, serve them with a dollop of whipped cream or a scoop of vanilla ice cream.
To store, keep the cupcakes in an airtight container at room temperature for up to 2 days. If you live in a hot or humid climate, store them in the refrigerator. Before serving, let them come to room temperature for the best texture.
For longer storage, you can freeze the unfrosted cupcakes. Wrap them tightly in plastic wrap and then in aluminum foil. They will keep for up to 3 months. Thaw them at room temperature before frosting.
The frosting can be made ahead and stored in the refrigerator for up to 5 days. Let it come to room temperature and re-whip it before using. The flavors of the brown butter and pumpkin will deepen over the first day, making them even better on day two.
Nutritional Information & Benefits
While these cupcakes are a treat, they do offer some nutritional benefits. Pumpkin is rich in vitamins A and C, as well as potassium and fiber. Brown butter adds flavor without the need for excessive sugar, allowing you to use less sweetener overall. The spices used, such as cinnamon and ginger, have anti-inflammatory properties.
Each cupcake contains approximately 250-300 calories, depending on the amount of frosting. They are not gluten-free unless you use a gluten-free flour blend. They contain dairy and eggs, so they are not suitable for those with allergies to these ingredients.
From a wellness perspective, I believe in enjoying desserts in moderation. These cupcakes are rich and flavorful, so a small slice is often satisfying. They are a great way to enjoy seasonal ingredients while treating yourself to something special.
Conclusion
These Moist Brown Butter Pumpkin Cupcakes are a testament to the power of simple techniques. By browning the butter, you add a depth of flavor that transforms a standard pumpkin cupcake into something extraordinary. They are moist, flavorful, and perfect for any autumn occasion.
I encourage you to try this recipe and make it your own. Add your favorite spices, nuts, or mix-ins to create a version that suits your taste. I love this recipe because it brings me back to those quiet mornings in the kitchen, smelling the nutty butter and feeling the warmth of the oven. It is a recipe that feels like home.
Please share your results with me! I would love to see your creations and hear how they turned out. Leave a comment below with your thoughts or tag me on social media. Happy baking!
Frequently Asked Questions
Can I use pumpkin pie filling instead of pure pumpkin puree?
No, do not use pumpkin pie filling. It contains added sugars and spices that will throw off the balance of the recipe. Always use pure pumpkin puree for the best results.
How do I know when the butter is browned?
The butter is browned when it turns a deep amber color and smells nutty, like toasted hazelnuts. The milk solids at the bottom of the pan will also be brown. Be careful not to let it burn, as it will taste acrid.
Can I freeze these cupcakes?
Yes, you can freeze the unfrosted cupcakes. Wrap them tightly in plastic wrap and then in aluminum foil. They will keep for up to 3 months. Thaw them at room temperature before frosting.
What kind of frosting goes best with these cupcakes?
Cream cheese frosting is the classic pairing for pumpkin cupcakes. The tanginess of the cream cheese balances the sweetness of the cupcake and the nuttiness of the brown butter.
Can I make these cupcakes gluten-free?
Yes, you can substitute the all-purpose flour with a 1:1 gluten-free flour blend. Add 1/2 teaspoon of xanthan gum if your blend doesn’t include it, to help with structure.
Pin This Recipe!
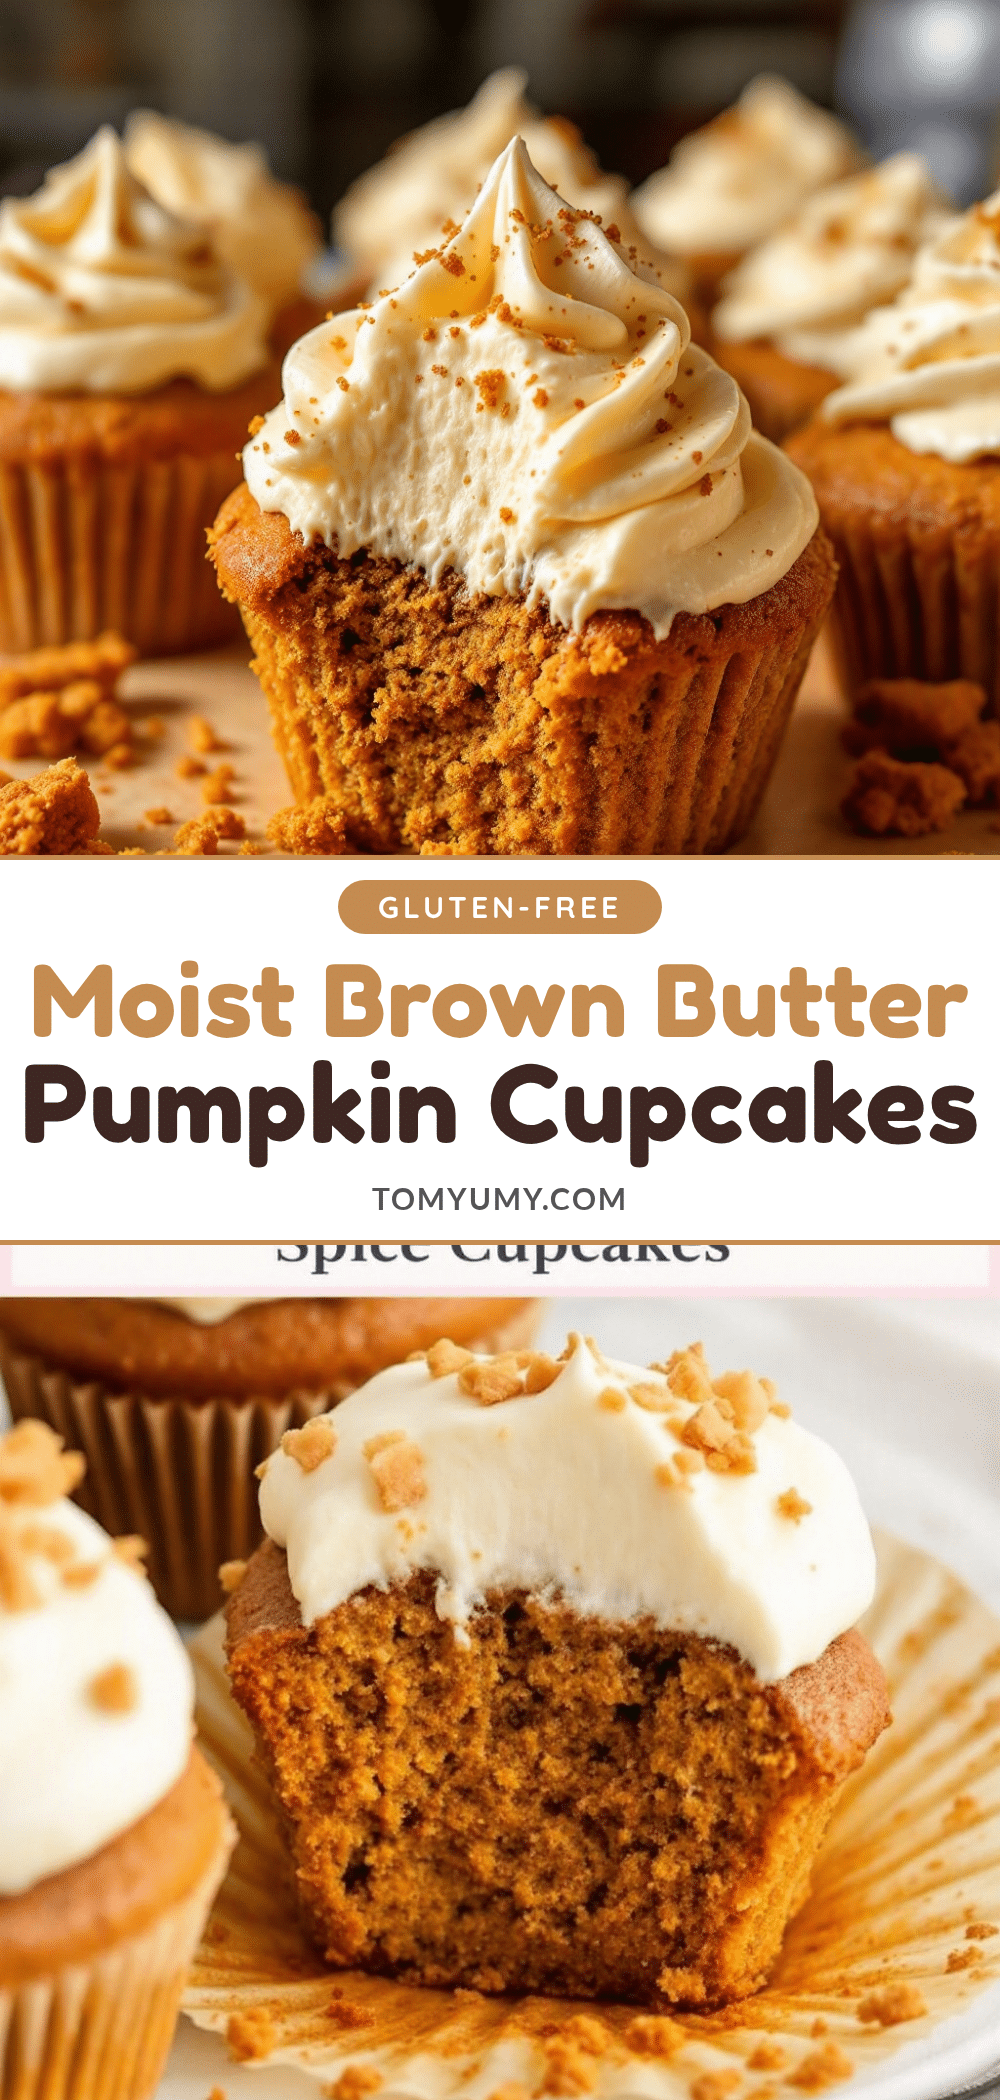
Moist Brown Butter Pumpkin Cupcakes
These cupcakes feature a rich, nutty flavor profile achieved by browning the butter, resulting in a dense yet airy texture that is moist and deeply spiced, topped with a tangy cream cheese frosting.
- Prep Time: 20 minutes
- Cook Time: 20 minutes
- Total Time: 45 minutes
- Yield: 12 servings 1x
- Category: Dessert
- Cuisine: American
Ingredients
- 1 cup (2 sticks) unsalted butter
- 1 cup granulated sugar
- 1/2 cup packed brown sugar
- 2 cups all-purpose flour
- 1 teaspoon baking soda
- 1/2 teaspoon baking powder
- 1 teaspoon salt
- 2 teaspoons ground cinnamon
- 1/2 teaspoon ground nutmeg
- 1/2 teaspoon ground ginger
- 1/4 teaspoon ground cloves
- 2 large eggs, room temperature
- 1 cup pure pumpkin puree
- 1 teaspoon vanilla extract
- 8 ounces cream cheese, softened
- 1/2 cup unsalted butter, softened
- 2–3 cups powdered sugar
- 1 teaspoon vanilla extract (for frosting)
Instructions
- Melt 1 cup of unsalted butter in a medium saucepan over medium heat. Stir frequently until the butter foams, subsides, and turns a deep amber color with a nutty aroma (about 5-7 minutes). Remove from heat and pour into a heat-proof bowl to cool for 10-15 minutes.
- Preheat oven to 350°F (175°C) and line a 12-cup muffin tin with cupcake liners.
- In a large mixing bowl, whisk together the all-purpose flour, baking soda, baking powder, salt, cinnamon, nutmeg, ginger, and cloves.
- In the bowl of a stand mixer fitted with the paddle attachment, beat the cooled brown butter, granulated sugar, and brown sugar on medium-high speed for 3-4 minutes until light and fluffy.
- Beat in the eggs one at a time, mixing well after each addition. Add the vanilla extract and mix until combined. Scrape down the sides of the bowl.
- Reduce mixer speed to low. Add the dry ingredients in three additions, alternating with the pumpkin puree in two additions, beginning and ending with the dry ingredients. Mix until just combined.
- Divide the batter evenly among the 12 cupcake liners, filling each about 2/3 full.
- Bake for 18-20 minutes, or until a toothpick inserted into the center comes out clean. The tops should be lightly golden.
- Let the cupcakes cool in the pan for 5 minutes, then transfer to a wire rack to cool completely.
- While cupcakes cool, beat the softened cream cheese and 1/2 cup butter until smooth. Gradually add powdered sugar and vanilla, beating on low until combined, then high speed for 2 minutes until fluffy.
- Once cupcakes are completely cool, pipe or spread the frosting on top. Garnish with cinnamon or pumpkin seeds if desired.
Notes
Ensure eggs and cream cheese are at room temperature for proper emulsification. Do not overmix the batter to avoid tough cupcakes. Brown butter can burn quickly, so watch closely for amber color and nutty smell. Store unfrosted cupcakes in the freezer for up to 3 months.
Nutrition
- Serving Size: 1 cupcake
- Calories: 275
- Sugar: 28
- Sodium: 250
- Fat: 14
- Saturated Fat: 8
- Carbohydrates: 38
- Fiber: 1
- Protein: 3
Keywords: pumpkin cupcakes, brown butter, fall baking, cream cheese frosting, autumn dessert, pumpkin spice, easy cupcakes