I burned three batches of chicken before I figured out why the crust kept sticking to the air fryer basket.
It wasn’t the oil. It wasn’t the temperature. It was the moisture.
You know how it goes. You pat the chicken dry, you toss it in the parmesan and garlic mix, and you slide it into the hot basket. You wait the ten minutes. You pull it out, and the crust has turned into a soggy, gray mess that sticks to the metal like glue.
I felt pretty stupid standing there scraping charred cheese off my non-stick basket with a plastic spatula.
Honestly, I almost just ordered pizza. I had convinced myself that air fryer chicken thighs were just a gimmick. That they couldn’t compete with a proper oven roast or a deep fryer.
But then I stopped trying to force it. I stopped loading the basket too tight. I started using a light spray of oil instead of a heavy dip. I let the chicken rest before seasoning.
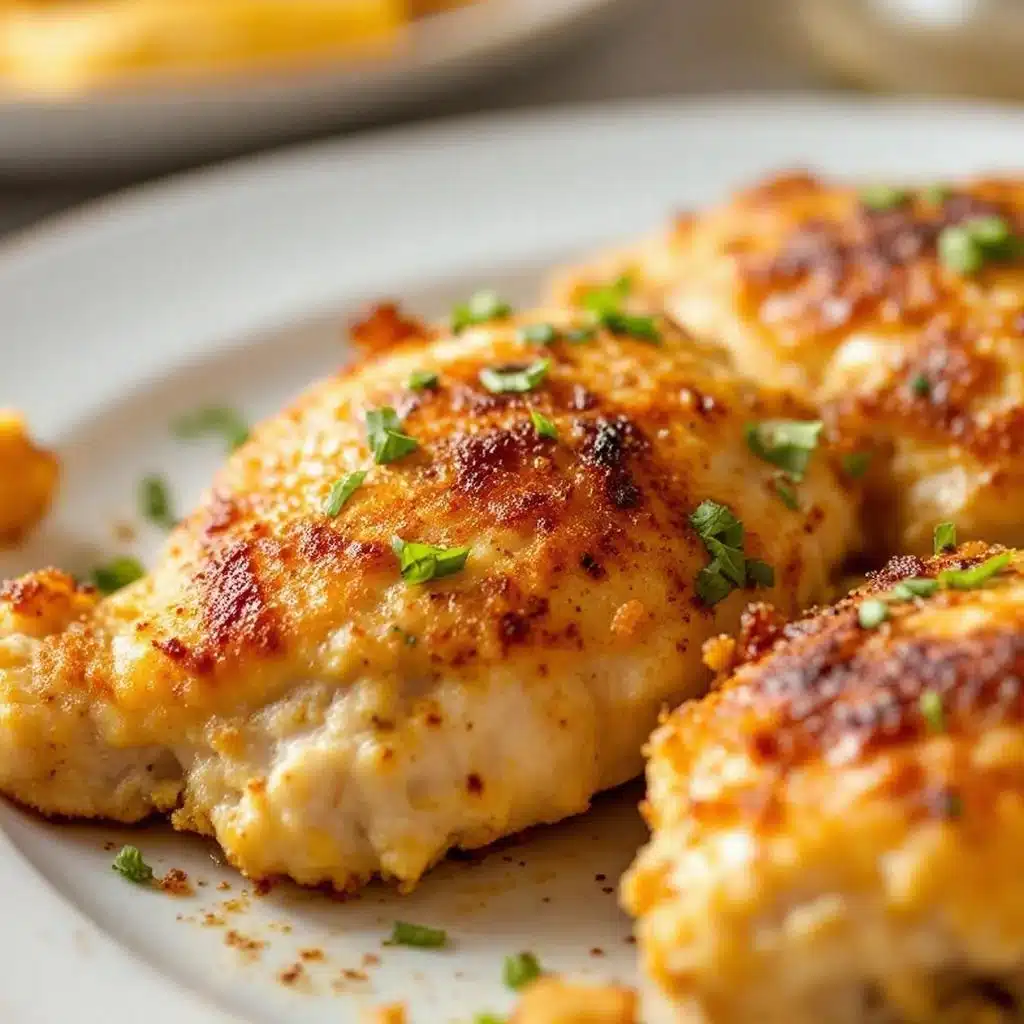
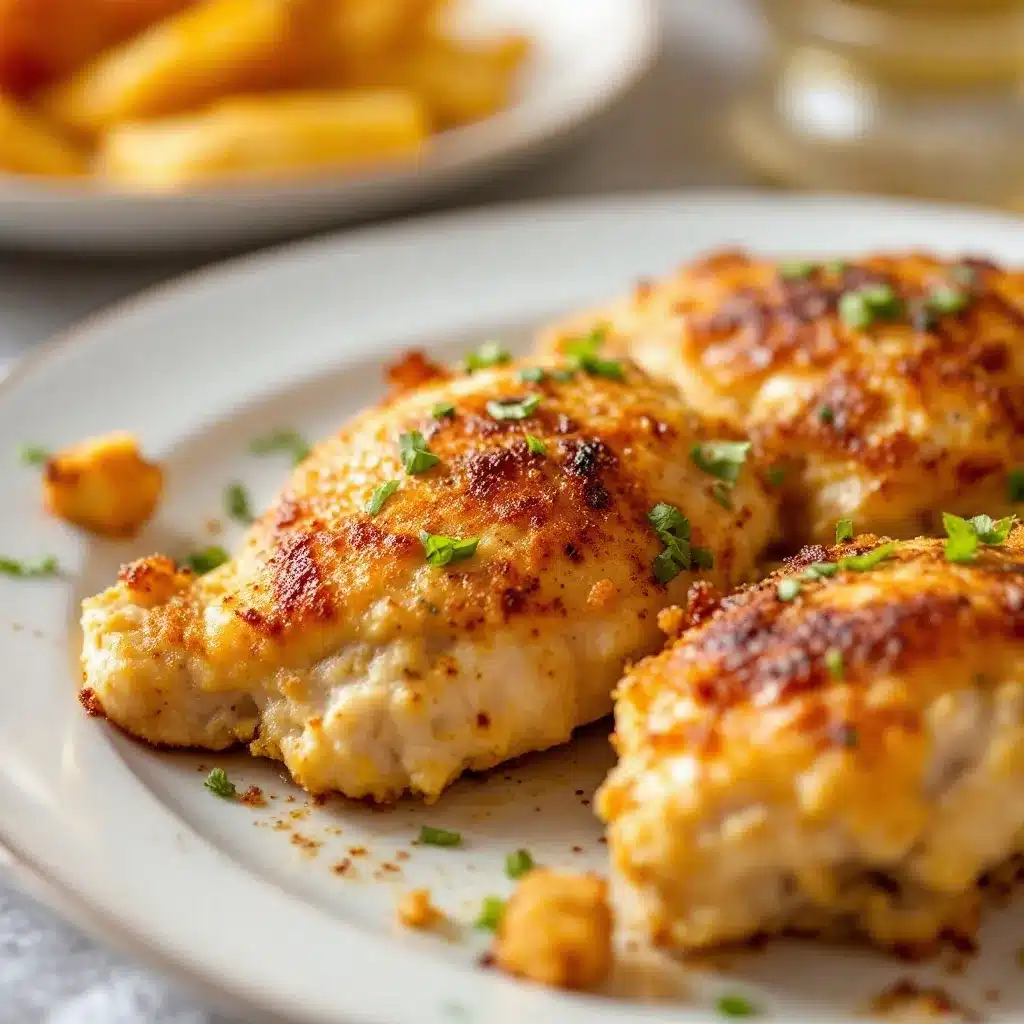
The fourth batch came out golden, shattering slightly when you tap it with a fork.
It tasted like comfort food, but lighter. The garlic hit you first, sharp and aromatic. Then the salty, nutty crunch of the parmesan. It wasn’t just “good for air fryer food.” It was just good.
Now, this is the go-to weeknight dinner. It’s the one my family asks for when they’re tired. It’s the one I make when I need something fast but still feels special.
It took me a month of burnt cheese to get here, but the result is worth every scrap of scrubbing.
Why You’ll Love This Recipe
This isn’t just another chicken recipe. It’s the one that changed how I cook weeknight meals.
I’ve tested a lot of versions. Some are too dry. Some are too greasy. This one hits that sweet spot where the meat is juicy, and the coating is actually crunchy.
Here is why this recipe works so well for real life:
- Quick & Easy: It comes together in under 20 minutes. The air fryer does the heavy lifting while you chop a quick salad or just relax. It is perfect for those busy weeknights when you are tired.
- Simple Ingredients: You likely already have everything in your kitchen. Chicken thighs, parmesan, garlic, and a binder. No fancy grocery trips needed. It is pantry-friendly and stress-free.
- Perfect for Meal Prep: These thighs hold up really well in the fridge. I often make a double batch on Sunday to grab during the week. The flavor stays strong even after a day or two.
- Crowd-Pleaser: Always gets rave reviews from kids and adults alike. The garlic parmesan flavor is familiar and loved by everyone, even picky eaters.
- Unbelievably Delicious: The texture and flavor combo is next-level comfort food. It feels like you are eating at a nice restaurant, but it is made in your own kitchen.
What makes this different? It is the technique. Most people just toss raw chicken in cheese and hope for the best. That leads to burning.
I use a specific ratio of binder to coating. It creates a barrier that protects the cheese from burning too fast, while still letting it crisp up. It is my best version of this dish.
It is the kind of meal that makes you close your eyes after the first bite. It is comfort food reimagined—faster, but with the same soul-soothing satisfaction.
If you like savory, crispy meals, you might also enjoy these crispy bacon wrapped asparagus bundles. They pair perfectly with this chicken for a full meal.
What Ingredients You Will Need
This recipe uses simple, wholesome ingredients to deliver bold flavor and satisfying texture without the fuss.
The key is quality. Since there are only a few ingredients, each one matters. You do not need expensive cuts of meat, but you do need the right kind of chicken.
Here is what you need to gather:
- Chicken Thighs: Boneless, skinless thighs are the best choice here. They have more fat than breasts, which keeps them juicy in the air fryer. Look for thighs that are roughly the same size so they cook evenly. If you buy a big bag, trim any excess skin or large fat pockets.
- Garlic Powder: Do not skip this. Fresh garlic burns instantly in an air fryer. Garlic powder gives you that strong garlic flavor without the char. I recommend using a brand like McCormick for consistent flavor. It dissolves into the binder easily.
- Grated Parmesan Cheese: This is the star of the crust. Use freshly grated parmesan if you can. The pre-grated bags often have anti-caking agents that prevent the cheese from melting and crisping properly. Look for the kind that clumps slightly. It melts better and creates a crunchier shell.
- Egg White: This acts as the glue. It holds the parmesan to the chicken. Using just the white makes the coating lighter and crispier. If you are allergic to eggs, you can use a little mayo or even a thick yogurt, but the egg white gives the best texture.
- Mayonnaise: A small amount of mayo helps create a smooth paste that spreads easily. It adds richness and helps the cheese adhere. It sounds weird, but you won’t taste the mayo once it cooks. It just adds creaminess.
- Black Pepper: Freshly cracked black pepper adds a little heat and depth. It balances the saltiness of the cheese. Don’t be shy with it. A good grind makes a big difference.
- Cooking Spray: You need a little oil to help the cheese brown. Use a neutral oil spray like avocado or canola. Olive oil can burn at high air fryer temperatures, so stick to neutral oils.
If you are gluten-free, this recipe is naturally safe. Just check your parmesan to ensure it was not processed in a facility with wheat, though that is rare.
For a spicy kick, you can add a pinch of red pepper flakes to the mix. It changes the flavor profile completely.
Equipment Needed
You do not need a lot of fancy gear for this. The air fryer is the main tool, but having the right setup helps.
- Air Fryer: This is essential. Any brand works, but make sure it has enough room. If you have a small basket, you might need to cook in two batches. Overcrowding is the enemy of crispiness.
- Small Mixing Bowl: You need a bowl to mix the egg white, mayo, and spices. A small bowl is best so the mixture doesn’t spread too thin.
- Shallow Dish or Plate: Use this for the parmesan cheese. You will roll or press the chicken into it. A pie plate works well because it has low sides.
- Pastry Brush or Spoon: To spread the mayo-egg mixture on the chicken. A silicone brush is easier to clean, but a spoon works fine too.
- Tongs: Use tongs to handle the chicken. It keeps your fingers clean and makes it easier to flip the pieces without breaking the coating.
If you do not have an air fryer, you can use an oven. Preheat to 400°F and bake on a wire rack for about 20-25 minutes. The texture will be slightly different, but still good.
Keep your air fryer basket clean between batches. Residual cheese can burn and smoke if you don’t wipe it down. A quick wipe with a paper towel after each batch saves a lot of scrubbing later.
Preparation Method
Let’s get cooking. This part is straightforward, but timing matters.
- Prep the Chicken (5 minutes): Take your chicken thighs out of the fridge. Pat them very dry with paper towels. This is the most important step. Moisture is the enemy of crispiness. If the chicken is wet, the coating will slide off. Place the dried thighs on a clean plate.
- Make the Binder (2 minutes): In a small bowl, whisk together one egg white and one tablespoon of mayonnaise. Add half a teaspoon of garlic powder and a quarter teaspoon of black pepper. Whisk until it is smooth and creamy. It should look like a thin paste.
- Prep the Coating (2 minutes): Pour about one cup of grated parmesan cheese into a shallow dish. Add the remaining garlic powder and a pinch of salt if you like. Mix it with a fork. If your cheese is very salty, skip the extra salt.
- Coat the Chicken (5 minutes): Take a piece of chicken and dip it into the egg white mixture. Make sure it is fully covered. Let the excess drip off for a second. Then, press the chicken into the parmesan mixture. Use your hand to press the cheese onto the chicken. You want a thick, even layer. Flip it over and coat the other side. Place the coated chicken on a clean plate.
- Preheat the Air Fryer (3 minutes): While you are coating the chicken, preheat your air fryer to 380°F. This ensures the chicken starts cooking immediately when it goes in. It helps the crust set faster.
- Arrange in the Basket: Lightly spray the air fryer basket with cooking oil. Place the chicken thighs in the basket in a single layer. Do not overlap them. Air needs to circulate. If you have a small basket, cook in batches.
- First Cook (8 minutes): Spray the tops of the chicken lightly with oil. This helps the cheese brown. Cook at 380°F for 8 minutes. The coating should start to firm up.
- Flip and Finish (5-7 minutes): Open the basket. Flip the chicken carefully. Spray the other side with oil. Cook for another 5 to 7 minutes. The chicken is done when the internal temperature reaches 165°F. The cheese should be golden brown and bubbling.
- Rest and Serve: Let the chicken rest for 2 minutes. This keeps the juices inside. Serve immediately while hot and crispy.
If the cheese starts to burn before the chicken is cooked, lower the temperature by 10 degrees for the second half. Every air fryer runs slightly different.
Cooking Tips & Techniques
There are a few tricks that separate good air fryer chicken from great chicken.
First, dry the chicken. I cannot stress this enough. Wet chicken equals soggy crust. Use fresh paper towels. If the chicken is slimy, rinse it and dry it again.
Second, press the cheese. Don’t just dip it. Press it. You want the cheese to adhere to the binder. If you just drop it in the cheese, it will fall off in the basket. Use your fingers to pack it on.
Third, do not overcrowd the basket. This is the most common mistake. If the chicken pieces touch, they steam instead of fry. They will not get crispy. Cook in batches if you have to. It takes an extra five minutes, but it is worth it.
I learned this the hard way. One time I tried to fit six thighs in a small basket. They came out looking like boiled chicken with sad cheese on top. Never again.
Also, check the temperature. Air fryers vary. Some run hot, some run cold. Use a meat thermometer. 165°F is the safe zone. If you pull them early, they might be dry. If you leave them too long, they become rubbery.
For extra crispiness, you can add a tablespoon of almond flour to the parmesan mix. It adds a little crunch and absorbs moisture.
If you like spicy, add cayenne pepper to the binder. Just a pinch goes a long way.
Variations & Adaptations
This recipe is flexible. You can tweak it to fit your tastes or what you have on hand.
- Spicy Version: Add a teaspoon of smoked paprika and a half teaspoon of cayenne pepper to the parmesan mix. It adds a nice heat that pairs well with the salty cheese. This is great if you like a little kick.
- Herb Crusted: Mix dried oregano and basil into the parmesan. It gives it an Italian pizza vibe. Fresh parsley sprinkled on top after cooking adds a nice color and fresh flavor.
- Gluten-Free: This recipe is naturally gluten-free. Just ensure your parmesan is pure cheese and not a blend with flour. Check the label to be sure.
- Dairy-Free: You can use a vegan parmesan alternative. However, the texture will be different. It may not crisp up as well. You might need to spray with more oil. I have not tested this extensively, but it should work.
- Baked Option: If you do not have an air fryer, bake at 400°F on a wire rack for 20-25 minutes. Flip halfway. It takes longer, but the result is similar.
I tried adding breadcrumbs once. It made the coating too thick and heavy. Stick to pure parmesan for the best texture. It is lighter and crunchier.
You can also use chicken breasts if you prefer. Just reduce the cooking time by 2-3 minutes. Breasts dry out faster, so watch them closely.
Serving & Storage Suggestions
How you serve this matters. These thighs are best when hot and fresh.
Pair them with a simple green salad with a vinaigrette. The acidity cuts through the richness of the cheese. Roasted vegetables like broccoli or asparagus work well too. They add fiber and color to the plate.
For a carb, serve with garlic bread or mashed potatoes. The leftover parmesan juices from the chicken are great for drizzling over potatoes.
If you have leftovers, store them in an airtight container in the fridge for up to 3 days. They keep well.
To reheat, use the air fryer. Set it to 350°F for 3-4 minutes. This restores the crispiness. Do not use the microwave. It will make the coating soggy and rubbery. The microwave ruins the texture every time.
The flavors actually get stronger after a day. The garlic has time to soak in. So leftovers are not just good; they are often better the next day.
You can also freeze them. Cook them first, let them cool, then freeze in a freezer bag. Reheat from frozen in the air fryer at 350°F for 8-10 minutes.
Nutritional Information & Benefits
This recipe is relatively low-carb and high-protein.
Chicken thighs provide a good amount of protein, which helps with muscle repair and satiety. The parmesan adds calcium and more protein.
Each serving has roughly 300-350 calories, depending on the size of the thighs. The fat content is moderate, coming from the chicken skin (if left on) and the mayo.
If you are watching your sodium, be careful with the parmesan. It is salty. You can reduce the amount or use a low-sodium version.
This meal is gluten-free, making it safe for most dietary restrictions. It is also keto-friendly if you skip any high-carb sides.
I love this recipe because it feels indulgent but is actually balanced. It satisfies the craving for fried food without the guilt.
Conclusion
This Crispy Garlic Parmesan Air Fryer Chicken Thighs recipe is a game-changer. It is simple, fast, and delicious.
I hope you try it. It has become a staple in my kitchen for a reason. It works.
Feel free to adjust the spices to your liking. Make it your own.
If you make this, please leave a comment below. I love hearing how it turned out for you. Share your variations or tips.
Thanks for reading. Enjoy your dinner.
Frequently Asked Questions
Can I use chicken breasts instead of thighs?
Yes, but they cook faster. Check them at 12 minutes to avoid drying them out. Thighs are juicier and more forgiving.
Why is my parmesan burning?
The cheese might be too close to the heating element. Try lowering the temperature to 360°F or checking the chicken earlier. Also, ensure you are spraying with oil, not pouring it.
Can I make this ahead of time?
You can coat the chicken and refrigerate it for up to 24 hours before cooking. This saves time on busy nights. Just take it out of the fridge 10 minutes before cooking.
Is this recipe gluten-free?
Yes, as long as you use pure parmesan cheese and no flour in the mix. Always check labels for cross-contamination if you have celiac disease.
How do I keep the crust from falling off?
Press the cheese firmly onto the chicken. Ensure the binder is thick enough to stick. Do not flip the chicken too early; let the crust set first.
Pin This Recipe!
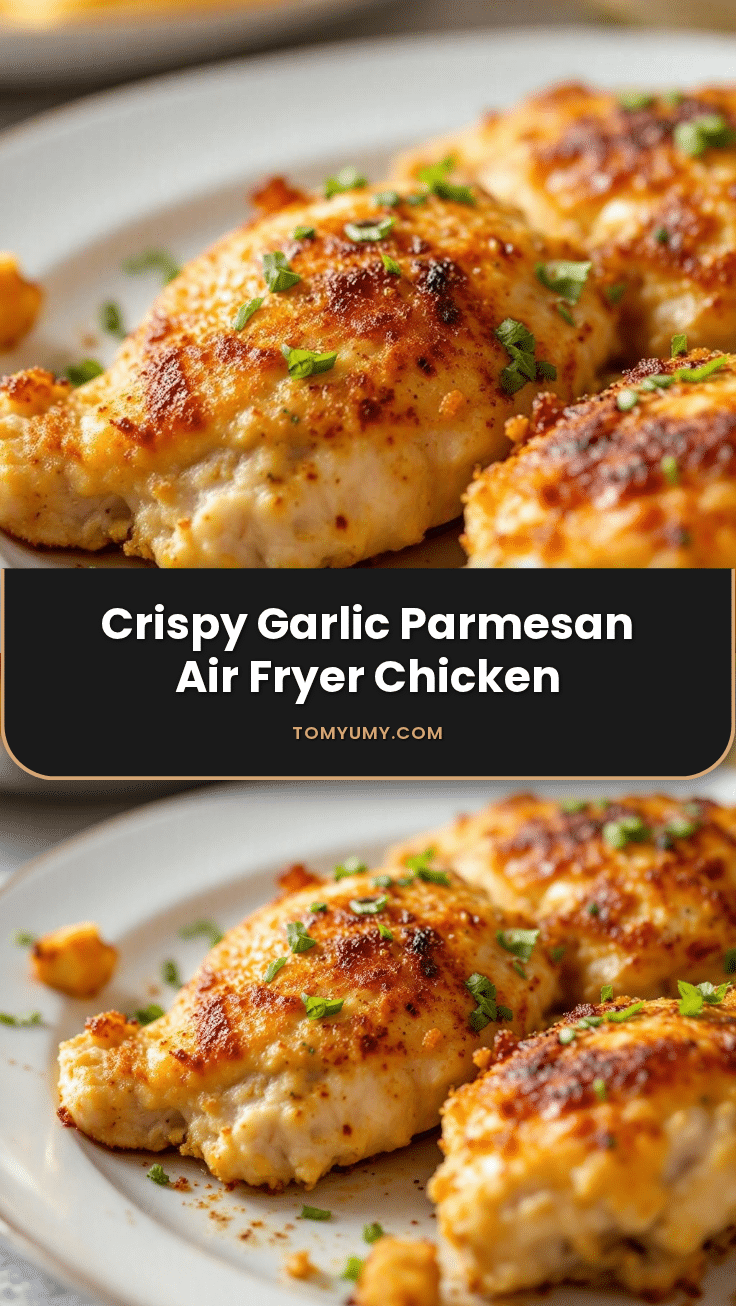
Crispy Garlic Parmesan Air Fryer Chicken Thighs: 3-Ingredient Dinner

Juicy air fryer chicken thighs coated in a crispy garlic and parmesan crust. This simple weeknight dinner comes together in under 20 minutes and delivers restaurant-quality crunch without the grease.
- Prep Time: 15 minutes
- Cook Time: 15 minutes
- Total Time: 30 minutes
- Yield: 4 servings 1x
- Category: Main Course
- Cuisine: American
Ingredients
- 1.5 lbs boneless, skinless chicken thighs
- 1 egg white
- 1 tablespoon mayonnaise
- 1 cup grated parmesan cheese
- 1 teaspoon garlic powder (divided)
- 1/4 teaspoon black pepper
- 1/2 teaspoon salt (optional, depending on cheese saltiness)
- Cooking spray (neutral oil like avocado or canola)
Instructions
- Pat chicken thighs very dry with paper towels to remove moisture.
- In a small bowl, whisk together the egg white, mayonnaise, 1/2 teaspoon garlic powder, and black pepper until smooth.
- In a shallow dish, combine the grated parmesan cheese, remaining 1/2 teaspoon garlic powder, and salt if using.
- Dip each chicken thigh into the egg white mixture, letting excess drip off.
- Press the chicken firmly into the parmesan mixture, coating both sides evenly. Place on a clean plate.
- Preheat air fryer to 380°F.
- Lightly spray the air fryer basket with cooking oil.
- Arrange chicken thighs in a single layer in the basket, ensuring they do not overlap.
- Lightly spray the tops of the chicken with oil.
- Cook at 380°F for 8 minutes.
- Flip the chicken carefully, spray the other side with oil, and cook for another 5-7 minutes until internal temperature reaches 165°F and cheese is golden brown.
- Let chicken rest for 2 minutes before serving.
Notes
Ensure chicken is completely dry before coating to prevent soggy crust. Do not overcrowd the air fryer basket; cook in batches if necessary. If cheese burns before chicken is cooked, lower temperature by 10°F for the second half. Leftovers can be reheated in the air fryer at 350°F for 3-4 minutes to restore crispiness.
Nutrition
- Serving Size: 1-2 chicken thighs p
- Calories: 325
- Sugar: 1
- Sodium: 450
- Fat: 22
- Saturated Fat: 8
- Carbohydrates: 3
- Protein: 28
Keywords: air fryer chicken, parmesan chicken, garlic chicken, crispy chicken thighs, keto dinner, gluten-free dinner, quick weeknight meals, healthy air fryer recipes